
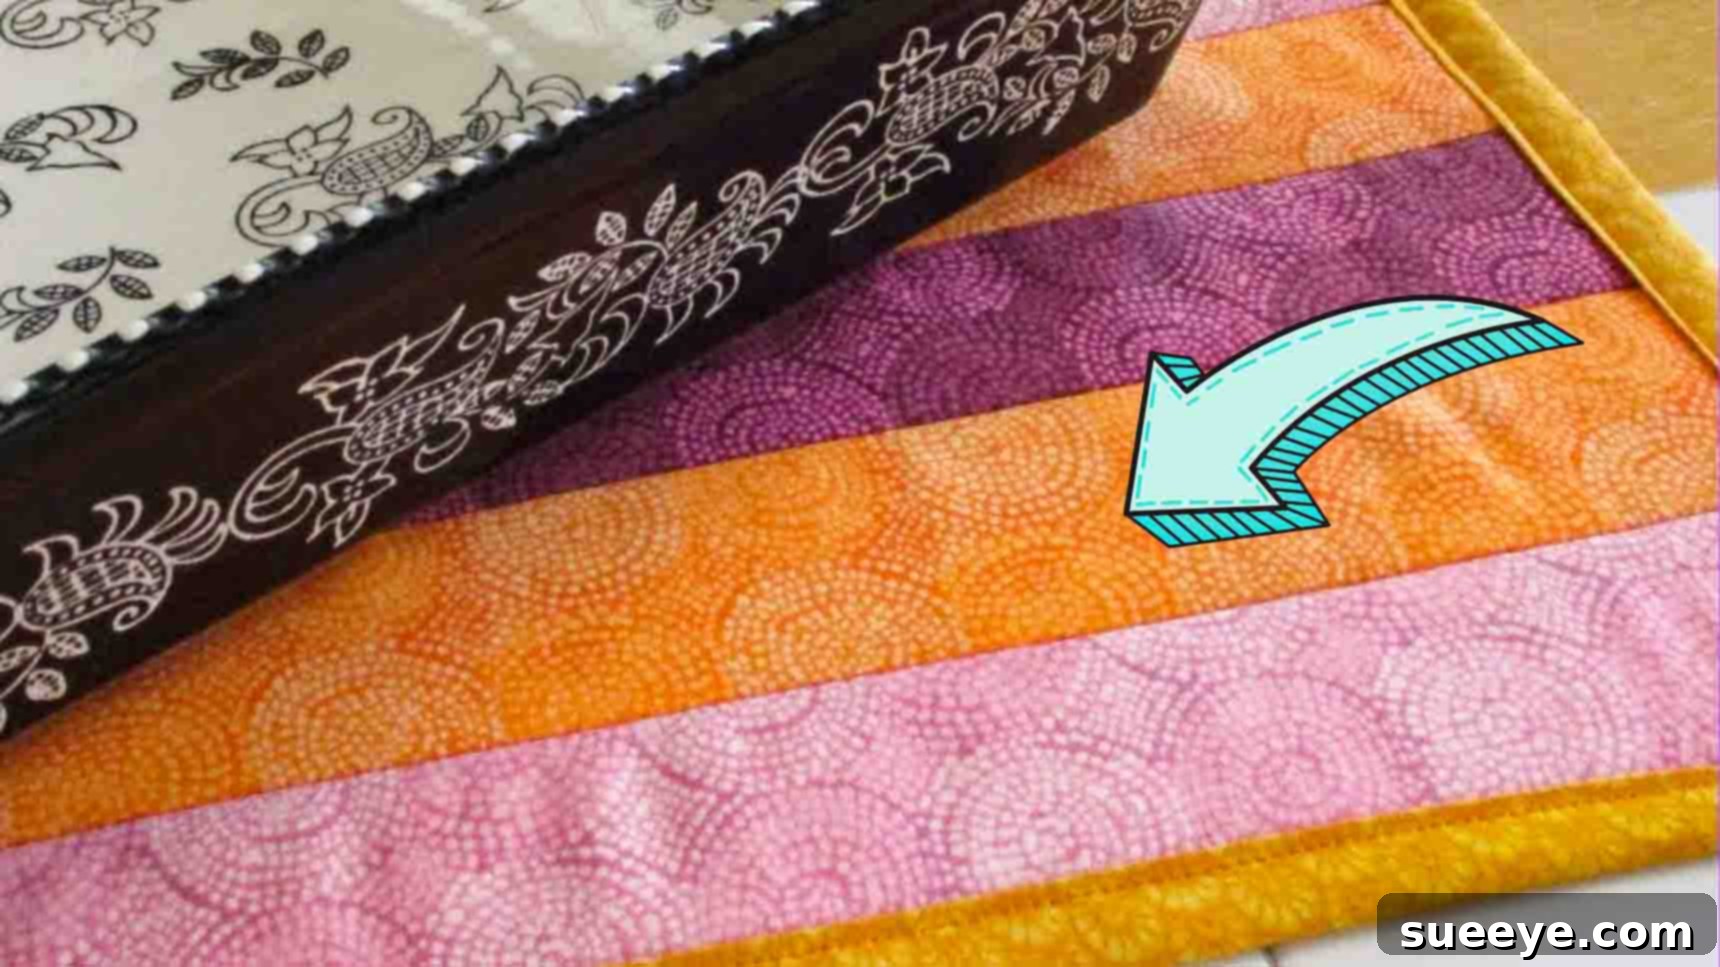
Master the Quilt-As-You-Go Fabric Strip Hot Pad: A Beginner-Friendly DIY Tutorial
Are you looking for a rewarding, quick, and easy quilting project that’s perfect for both seasoned crafters and absolute beginners? Look no further! This comprehensive tutorial will guide you through creating charming and highly functional hot pads using the popular “quilt-as-you-go” method. Not only is this project incredibly satisfying, but it’s also an excellent way to use up your fabric scraps, transform them into practical kitchen essentials, and practice fundamental quilting skills.
Handmade hot pads are more than just practical items; they add a touch of warmth and personality to any kitchen. They also make thoughtful, personalized gifts for family and friends, perfect for housewarmings, holidays, or just because. The “quilt-as-you-go” technique is particularly appealing because it simplifies the quilting process, allowing you to piece and quilt your fabric strips in a single, efficient step. This means less time fussing and more time enjoying the creative process!
For a visual step-by-step guide, we highly recommend checking out the inspiring tutorial from Debs Days on Youtube. Her clear instructions complement this written guide perfectly, ensuring you have all the resources you need to succeed. Get ready to dive into the wonderful world of quilting and create a beautiful hot pad you’ll be proud to use or gift!
Why Choose the Quilt-As-You-Go Method for Hot Pads?
The quilt-as-you-go (QAYG) technique is a game-changer for many crafters, especially when tackling smaller projects like hot pads. Instead of creating a quilt top, then a backing, then sandwiching and quilting all three layers separately, QAYG integrates the quilting process directly into the piecing. Here’s why it’s so effective for this project:
- Simplicity for Beginners: It breaks down a complex process into manageable steps, making it less intimidating for those new to quilting.
- Efficiency: You’re quilting each strip as you add it, saving time and effort compared to traditional methods.
- Stash Buster: QAYG is fantastic for utilizing small fabric scraps, helping you declutter your sewing space and create something beautiful from remnants.
- Strong & Durable: The continuous stitching provides excellent stability, resulting in a very durable hot pad that can withstand daily use and frequent washing.
- Instant Gratification: Smaller projects like hot pads come together quickly, offering a boost of confidence and motivation to tackle more ambitious quilting endeavors.
Essential Materials for Your Quilted Hot Pad
Gathering the right materials is the first step to a successful quilting project. For this hot pad, quality and composition are key, especially since it will be exposed to heat. Ensure all your fabrics are 100% cotton to prevent melting or scorching when exposed to high temperatures.
- 100% Cotton Fabrics: You’ll need a variety of cotton fabrics for your strips and a piece for the backing. Cotton is crucial because it’s heat-resistant and natural. Consider using contrasting patterns or colors for an eye-catching design. This is an excellent opportunity to dig into your scrap bin!
- Cotton Batting or Insul-Bright:
- Cotton Batting: Provides loft and some heat resistance, making your hot pad thick and comfortable to handle. It’s breathable and easily washable.
- Insul-Bright: This specialized thermal batting contains metalized polyester fibers that reflect heat or cold, making it superior for heat protection. If your primary goal is maximum heat resistance, Insul-Bright is the preferred choice for hot pads and oven mitts. You can even use a layer of cotton batting combined with a layer of Insul-Bright for extra protection and structure.
- Something for Basting: Basting temporarily holds your fabric layers together before sewing. Options include:
- Safety Pins: Curved safety pins are ideal for quilting, as they are easy to open and close and hold layers securely.
- Basting Spray: A temporary fabric adhesive that creates a strong, yet repositionable, bond.
- Fabric Clips or Pins: Useful for securing edges, especially when working with binding.
- Standard Sewing Supplies:
- Sewing Machine: A basic sewing machine with a straight stitch function is all you need.
- Thread: High-quality 100% cotton thread is recommended to match your fabric.
- Rotary Cutter, Mat, and Ruler: Essential for precise and quick cutting of fabric strips and trimming.
- Fabric Scissors: For any smaller, intricate cuts.
- Iron and Ironing Board: Crucial for pressing seams open and creating crisp folds, which is vital for a professional finish.
- Seam Ripper: Every sewist’s best friend for correcting mistakes!
Step-by-Step Directions to Quilt Your Hot Pad
Step 1: Preparing Your Fabric Sandwich and First Strips
This initial step involves setting up the foundation for your hot pad and laying down the first fabric strips using the efficient quilt-as-you-go method.
- Layering the Backing and Batting: Begin by taking your chosen backing fabric. Place it on your work surface with the wrong side facing up. This ensures the pretty side will be visible on the back of your finished hot pad.
- Centering the Batting: Carefully center your two pieces of batting (either two layers of cotton batting, or one layer of cotton and one layer of Insul-Bright) directly on top of the backing fabric. Ensure there’s an even border of approximately one and a half inches of backing fabric extending beyond the batting on all four sides. This border will later be used to create the binding.
- Basting the Layers: Once the batting is perfectly centered, baste the stack firmly in place. This prevents shifting as you sew. You can use curved safety pins, placing them strategically across the batting area, or a temporary basting spray, following the product’s instructions.
- Placing the First Fabric Strip: Now, take your first fabric strip. Position it diagonally across one corner of the batting, with the right side of the fabric facing up. This strip will be the foundational piece for your “quilt-as-you-go” design.
- Adding the Second Fabric Strip: Select another fabric strip. Place it directly on top of the first strip, aligning the raw edges. This time, the right side of this second fabric strip should be facing down, creating a “right sides together” scenario with the first strip.
- Securing and Stitching: Pin the two aligned fabric strips together along their long edge to keep them secure. Using your sewing machine, stitch along this pinned long edge with a consistent quarter-inch seam allowance. This is a standard seam allowance in quilting and helps create precise blocks.
- Pressing Your Seam: After sewing, remove the pins and carefully press the newly sewn strips open. Use a hot iron to ensure the seam lies flat and the fabric is smooth. This creates a clean, professional finish.
- Important Binding Tip: Since you are using the extended backing piece as the binding, it is crucial not to stitch beyond the edge of the batting. Your stitching line should begin and end precisely where the fabric strips meet the batting’s edge, leaving the backing fabric free for the binding process. This precision will ensure neat, crisp binding later on.
Step 2: Completing the Quilted Top and Creating the Binding
This stage involves finishing the quilted surface, trimming, and meticulously creating the durable binding that will enclose your hot pad, providing a clean edge and enhanced heat protection.
- Continuing to Add Fabric Strips: Select your next fabric strip. Place it on top of the previously sewn strip, ensuring the right side of the fabric is facing down and the raw edges are perfectly aligned. Pin it securely and stitch along the long edge using the same quarter-inch seam allowance. Press the seam open after stitching. Continue this process, adding strips one by one and pressing them open, until the entire surface of your batting is covered with fabric strips. Feel free to experiment with different strip widths and angles for a unique look.
- Trimming the Excess Fabric: Once the batting is fully covered, carefully trim away any “scraggly” or uneven fabric strips that extend beyond the batting’s edge. Use your rotary cutter and ruler for precision, ensuring you do not cut into your backing fabric. The goal is a neat, clean edge around the perimeter of the quilted section.
- Preparing the Backing for Binding: Now, it’s time to prepare the backing fabric to form your binding. Using your rotary cutter and ruler, trim the backing fabric so that it measures a consistent one inch all the way around the quilted piece. This one-inch allowance is crucial for creating a robust and professional binding.
- First Fold of the Binding: Take one side of the one-inch backing allowance. Fold it over so that the raw edge of the backing fabric meets near the raw edge of the quilted front. Press this fold firmly with your iron to create a crisp crease. This fold hides the raw edge and begins to encase the edge of your hot pad.
- Second Fold of the Binding: Fold the backing over one more time. This time, the folded edge should come all the way to the front of the hot pad, covering the raw edge of the quilted top and effectively becoming the binding. Press this second fold firmly. Use fabric clips to hold the binding securely in place as you work your way around all four sides of the hot pad, pressing and clipping as you go.
- Option for Mitered Corners (Enhanced Finish): For a more refined, professional look, you can miter the corners of your binding.
- Marking for Miters: Before the second fold on the corners, measure one inch away from each corner point on the backing fabric and mark it with a fabric marker or pencil.
- Cutting the Miter: Draw a straight line connecting these two marks at the corner. Carefully cut along this line, effectively trimming a triangle off the corner of your backing.
- Folding the Corner: Fold the raw edge of this mitered corner over the corner of the batting and the front fabric, pressing it down. This creates a clean 45-degree angle.
- Folding the Sides: Next, fold one of the adjacent sides of the backing so its raw edge meets near the raw edge of the batting/quilted front. Press it.
- Completing the Miter: Fold this side over one more time to become the binding on the front, pressing firmly. Repeat this exact process on the other adjacent side, ensuring the mitered corner folds neatly into itself to create a sharp, clean corner. Fabric clips are invaluable here for holding everything in place.
- Final Topstitching: Once your binding is folded, pressed, and secured with clips all around (whether simple or mitered), it’s time for the final topstitching. Using a coordinating thread, top stitch all around the entire hot pad, sewing very close to the open, inner edge of the binding on the front side. This stitch will secure the binding permanently, enclose all raw edges, and give your hot pad a beautifully finished, professional appearance.
Tips for Quilting Success and Beyond
To ensure your hot pad project goes smoothly and to elevate your quilting skills, here are some extra tips:
- Practice Your Seams: If you’re new to sewing, practice sewing a consistent quarter-inch seam allowance on scrap fabric before starting your project. Consistency is key in quilting.
- Use Quality Thread: A good quality 100% cotton thread will prevent breakage and ensure your seams are strong and durable.
- Don’t Rush the Pressing: Pressing is just as important as sewing. Take your time to press each seam flat and create sharp folds for your binding. A well-pressed project looks professionally made.
- Embrace Your Seam Ripper: Don’t be afraid to unpick and redo a seam if it’s not perfect. It’s part of the learning process, and the result will be much better.
- Experiment with Fabric Placement: While the basic steps are laid out, feel free to get creative with your fabric strip placement. Use a random assortment for a scrappy look, or arrange them in a gradient or pattern for a more intentional design.
- Vary Sizes: Once you’ve mastered the basic hot pad, try making different sizes – smaller ones for coasters, larger ones for casserole dishes, or even a trivet for a teapot.
- Personalize Your Gifts: These hot pads make wonderful handmade gifts. Consider adding a small loop for hanging, or even embroidering a name or initial on the backing for an extra personal touch.
Caring for Your Handmade Hot Pad
To ensure your beautiful, handmade hot pad lasts for years to come, proper care is essential. Since it’s likely to come into contact with spills and food, regular cleaning is a must.
- Washing: Most cotton hot pads can be machine washed on a gentle cycle with cold water. If you used Insul-Bright, it’s generally safe for machine washing and drying.
- Detergent: Use a mild detergent. Avoid harsh chemicals or bleach, as these can damage fabric colors and fibers.
- Drying: Tumble dry on low heat or, preferably, air dry flat to help maintain its shape and prevent shrinking. If air drying, reshape the hot pad while damp.
- Ironing: If your hot pad becomes wrinkled, you can gently iron it on a cotton setting.
Conclusion: Enjoy Your Functional Fabric Art!
Congratulations! You’ve successfully navigated the creation of a beautiful and practical quilt-as-you-go fabric strip hot pad. This project is a testament to the fact that quilting doesn’t have to be daunting. With a few basic supplies and clear instructions, anyone can create functional art for their home or delightful gifts for loved ones.
The satisfaction of using something you’ve made with your own hands is truly unparalleled. Whether this is your very first quilting endeavor or another addition to your growing collection, each stitch adds character and charm. So, heat up your iron, fire up your sewing machine, and start creating these wonderful hot pads today. You’ll not only enhance your kitchen but also discover the joy and tranquility that comes with the art of quilting!