
Master the Super Simple Squares Quilt: Your Ultimate Beginner’s Guide
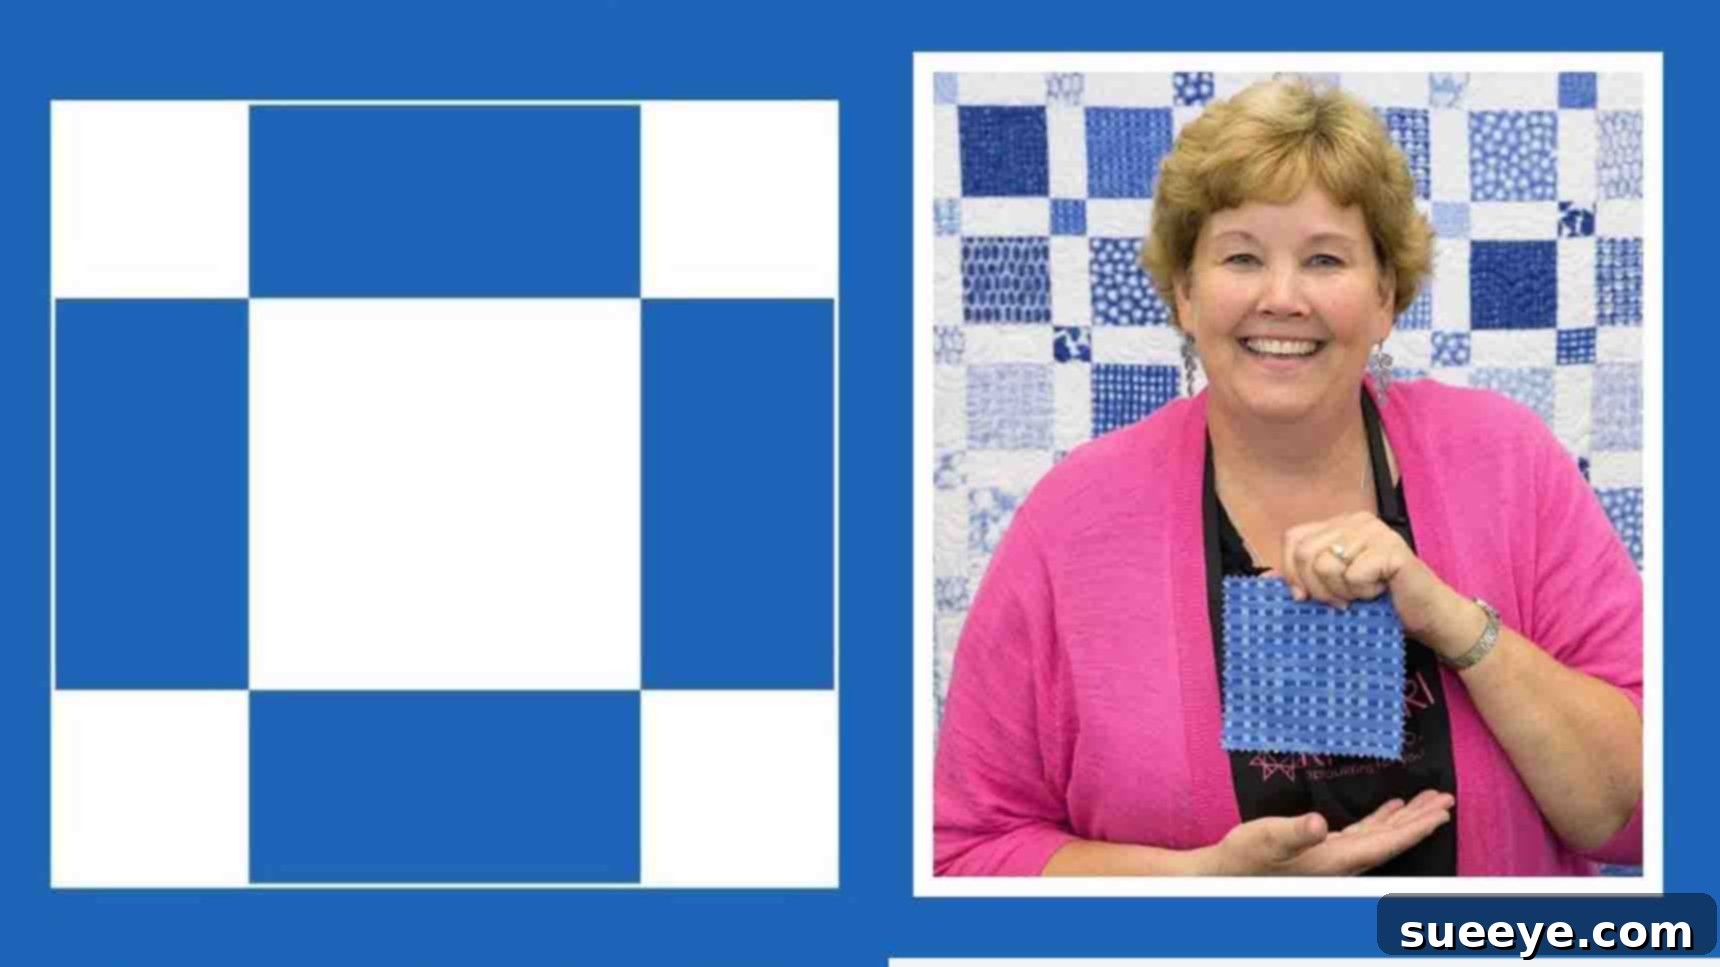
Are you dreaming of crafting your first quilt but feeling overwhelmed by complex patterns? Look no further! The “Super Simple Squares Quilt,” popularized by the inspiring Jenny Doan from Missouri Star Quilt Company on YouTube, is the perfect starting point for any aspiring quilter. This delightful pattern allows you to create a stunning, professional-looking quilt using readily available pre-cut 5-inch fabric squares and straightforward sashing techniques. It’s an ideal project for beginners to learn essential quilting skills without getting bogged down by intricate designs, proving that simplicity can indeed be profoundly gorgeous.
This comprehensive guide will walk you through each step of creating your very own Super Simple Squares Quilt, expanding on Jenny Doan’s brilliant method. We’ll delve into material selection, precise cutting, accurate sewing, and assembly techniques, ensuring you gain confidence with every stitch. Get ready to transform fabric into a cherished masterpiece!
Why Choose the Super Simple Squares Quilt?
Before we dive into the “how-to,” let’s explore why this particular quilt pattern is a fan favorite, especially for those new to the quilting world:
- Beginner-Friendly: The design relies on basic cuts and straight seams, making it highly approachable for novices.
- Utilizes Pre-Cuts: Working with pre-cut 5-inch squares (often called “Charm Packs”) saves immense time on cutting and ensures all your fabric pieces are perfectly sized and coordinated, eliminating much of the guesswork.
- Quick to Assemble: Thanks to the simple block construction and repetitive nature, you’ll see your quilt top come together surprisingly fast, providing immediate gratification.
- Versatile Design: While simple, the pattern creates a beautiful grid-like effect that can be dramatically altered just by changing fabric choices. Play with solids, prints, or a mix for entirely different aesthetics.
- Skill Building: This project is excellent for honing fundamental quilting skills like accurate 1/4-inch seam allowances, consistent pressing, and efficient chain piecing.
- Visually Stunning: Despite its ease, the finished quilt boasts a classic, timeless appeal that looks much more complex than it truly is.
Materials You’ll Need for Your Super Simple Squares Quilt
Gathering your materials is the first exciting step in your quilting adventure. This pattern is designed for a sizable throw quilt, perfect for snuggling on the couch or gifting to a loved one. The quantities listed below are estimates for a quilt approximately 60″ x 75″ or similar, which will provide ample fabric for a comfortable finish.
- Pre-cut 5″ Squares: 3 packs (approximately 126-168 squares total). These are the heart of your quilt, forming the primary blocks. Using charm packs ensures a cohesive color palette.
- Solid Background Fabric: 2 & 1/4 yards. This fabric will be used for your sashing strips and potentially cornerstones, providing visual breaks and unifying the design. Choose a color that contrasts or complements your 5″ squares effectively.
- Outer Border Fabric: 1 & 1/4 yards. Borders frame your quilt, add visual weight, and allow you to expand its size. Select a fabric that beautifully complements your quilt top.
- Backing Fabric: 5 yards. This will form the underside of your quilt. It’s often recommended to choose a soft, comfortable fabric that can stand up to regular use and washing.
- Quilt Batting: A queen-sized batting (approximately 90″ x 108″) or two throw-sized batts to accommodate your quilt top and a slight overhang for trimming.
Essential Quilting Tools:
- Sewing Machine: In good working order, with a 1/4-inch presser foot if available.
- Rotary Cutter: A sharp blade (45mm or 60mm) is crucial for accurate cutting.
- Cutting Mat: A self-healing mat to protect your work surface.
- Quilting Ruler: A large, clear ruler (e.g., 6″ x 24″ and a smaller square ruler like 5″ x 5″ or 6″ x 6″) for precise measurements and cuts.
- Iron and Ironing Board: For pressing seams flat and accurately.
- Thread: High-quality 100% cotton thread that matches or blends with your fabrics.
- Fabric Scissors: For snipping threads and small cuts.
- Pins or Fabric Clips: To hold fabric pieces together before sewing.
- Seam Ripper: Every quilter’s essential “un-sewing” tool. Don’t be afraid to use it!
Preparation: Setting Up for Success
Before you make your first cut or stitch, a little preparation goes a long way in ensuring a smooth and enjoyable quilting process.
- Pre-wash or Not? This is a common debate in quilting. Pre-washing your fabrics (especially if mixing different brands or fiber contents) can prevent future shrinkage and dye bleeding. However, many quilters skip this step with pre-cuts as they are often from coordinated lines and may lose their crispness when washed. If in doubt, test a small swatch for colorfastness.
- Organize Your Space: Clear a dedicated area for cutting and sewing. Good lighting and a comfortable chair are also beneficial.
- Read Through Instructions: Familiarize yourself with all the steps before you begin. Watching Jenny Doan’s video in conjunction with these written instructions will provide a clear visual guide.
- Check Your Tools: Ensure your rotary cutter blade is sharp, your sewing machine is threaded correctly, and your bobbin is full.
Directions: Constructing Your Super Simple Squares Quilt
This quilt top is constructed in two main phases: preparing your individual block units and sashing elements, and then assembling them into rows to create the final top. Accuracy at each stage is key to a beautiful finish.
Step 1: Preparing Your Blocks and Sashing Strips
This first step focuses on transforming your 5-inch squares and background fabric into the essential components for your quilt top.
To begin, open your packs of 5-inch fabric squares. From each 5-inch square, you will quarter it to create smaller corner squares that will be featured in the pattern. This means taking one 5-inch square, aligning your quilting ruler precisely along the center, and making a cut both horizontally and vertically. The result will be four smaller squares, each measuring approximately 2.5 inches by 2.5 inches. Repeat this process for ALL of your 5-inch squares. These smaller squares will add a dynamic visual element and act as cornerstones within your sashing layout.
Next, it’s time to prepare your sashing strips from your solid background fabric. Carefully cut a series of 2 & 1/2-inch wide strips across the entire width of your background fabric. To ensure clean edges, first, flip your fabric so you can see the selvage edges, and trim one selvage off with your rotary cutter and ruler for a straight start. Then, proceed to cut your 2.5-inch strips. These strips will run between your blocks and rows, providing structure and contrast.
Now, let’s create your individual block units. Take one of your original 5-inch squares (which you have quartered into four 2.5″ squares). You will re-assemble these into a block, but *with* sashing. Actually, the original wording here is a bit ambiguous for “Take a square and attach a sashing piece right along the edge.” Given the pattern outcome, it implies you will be creating blocks with sashing on *two* sides (adjacent) or incorporating cornerstones. Let’s clarify: The traditional way with Jenny’s pattern often involves creating specific block units and sashing units.
Based on the video tutorial, the sashing is indeed sewn directly to the sides of the smaller 2.5″ squares derived from your original 5″ squares. So, take one of the 2.5-inch squares you just cut, and attach a 2 & 1/2-inch wide sashing strip (cut to length, probably 2.5 inches for the first short sashing piece, or longer if it’s meant to go across several squares) right along one edge. Place the fabric pieces right sides together, ensuring edges are aligned. Sew them together using a precise 1/4-inch seam allowance. After sewing, carefully press the seam open (or to one side, whichever preference provides a flatter block) to reduce bulk and ensure your blocks lay flat. Repeat this process with all of your 2.5-inch squares and appropriate sashing pieces until you have many individual square-sashing units. These units will then be sewn together to form longer rows of blocks, interspersed with the sashing. For clarity, imagine you are creating strips where a 2.5″ fabric square alternates with a 2.5″ x 2.5″ sashing square, or a 2.5″ fabric square with a 2.5″ x 5″ sashing strip. Let’s simplify this to match Jenny’s technique more directly based on the description: the sashing strips are what separate the larger block units, and the small squares are cornerstones.
The essence of Step 1 is to create your basic building blocks. You’ll prepare your original 5″ squares by quartering them into four 2.5″ squares. Then, you’ll cut all your 2.5″ wide sashing strips from the background fabric. You will then start forming units by sewing these 2.5″ squares and sashing strips together. For instance, you might sew a 2.5″ square, then a 2.5″ sashing strip (cut to length), then another 2.5″ square, and so on, to create your long horizontal rows of pieced blocks. Always maintain that consistent 1/4-inch seam allowance throughout this process.
Step 2: Constructing Your Sashing Rows and Quilt Top Layout
Now that you have individual pieced units and sashing strips, it’s time to bring them together into full rows and prepare for the final quilt top assembly.
The design specifies “eight blocks in each row and ten down with sashing in between. It also starts with a sashing and ends with a sashing.” This means your quilt top will consist of alternating rows of pieced fabric blocks and rows made entirely of sashing with small cornerstones. First, you will assemble your fabric block rows. Lay out your pieced units (the 2.5″ squares combined with sashing segments) in rows of eight, ensuring your desired pattern emerges. Sew these units together to form ten complete horizontal fabric rows, each containing eight fabric blocks and the necessary sashing segments to separate them. Remember to press your seams as you go.
Once you have your ten fabric rows assembled, it’s time to construct the sashing rows that will separate them. These sashing rows will also appear at the very top and bottom of your quilt. The instruction states: “Take your little 2 & 1/2″ square and attach it to a 5″ piece. Sew with a 1/4″ seam.” This refers to creating the segments for your sashing rows, which typically consist of 2.5-inch wide sashing strips (cut from your background fabric) punctuated by small 2.5-inch “cornerstone” squares (also cut from your background fabric, or a coordinating fabric for an accent). You will sew a 2.5-inch cornerstone square, then a 2.5-inch wide sashing strip (cut to the length of your 2.5″ fabric blocks), then another cornerstone, and so on. Continue sewing these units together, ensuring each sashing row is the same length as your fabric block rows. You will need a total of eleven such sashing rows (one for the top, one for the bottom, and one between each of your ten fabric rows).
Sew a whole bunch of these sashing units together, then when you’re ready to put them together, just attach them to get a long row. You will create eleven identical sashing rows. After all your fabric block rows and sashing rows are complete, it’s time for the exciting part: laying out the entire quilt top. Arrange your rows on a large flat surface (like a clean floor) in the following order: Sashing Row, Fabric Row 1, Sashing Row, Fabric Row 2, Sashing Row, and so on, until you end with Sashing Row, Fabric Row 10, and a final Sashing Row.
Step 3: Assembling the Quilt Top and Adding Borders
With all your rows laid out, carefully pin each sashing row to the adjacent fabric block row, making sure to align all seams perfectly. This is a critical step for a professional finish. Nest your seams (pushing one seam allowance to the left and the adjacent one to the right) where they meet to help them lock together and create flatter junctions. Sew each row together using your consistent 1/4-inch seam allowance. Continue sewing until all your rows are joined, and you have a complete quilt center.
Once the center is complete, it’s time to add your outer borders using your border fabric. Borders help to square up your quilt, add visual appeal, and increase its overall size. To cut your borders, first, measure the exact length of your quilt center through the middle. Cut two border strips from your outer border fabric to this exact length, ensuring they are also 2.5 inches or 3.5 inches wide (your preference for border width). Sew these two border strips to the left and right sides of your quilt top, pressing seams outward.
Next, measure the exact width of your quilt top (including the newly added side borders) through the middle. Cut two more border strips to this exact length, maintaining the same width as your side borders. Sew these two strips to the top and bottom of your quilt. Again, press seams outwards. Your quilt top is now complete!
Finishing Your Quilt: The Three Layers
Completing your quilt involves three final steps: making the quilt sandwich, quilting, and binding. These steps transform your pieced top into a functional and beautiful textile.
Making the Quilt Sandwich
The quilt sandwich consists of three layers: the backing fabric, the batting, and the quilt top. Choose your backing fabric and trim it to be approximately 4-6 inches larger than your quilt top on all sides. Do the same for your batting. Lay your backing fabric flat on a clean floor or large table, right side down. Smooth out any wrinkles. Next, carefully lay your batting over the backing, again smoothing it out. Finally, center your finished quilt top over the batting, right side up, ensuring it’s smooth and flat.
Basting
Basting is the process of temporarily holding these three layers together so they don’t shift during quilting. There are several methods:
- Pin Basting: Use large safety pins (quilting pins are ideal) to secure the layers together, placing pins every 4-6 inches across the entire quilt.
- Spray Basting: Use a temporary fabric adhesive spray designed for quilting. This creates a soft, even bond without pins.
- Thread Basting: Hand-stitch long, loose basting stitches across the quilt.
Choose the method that you find most comfortable and effective for your project.
Quilting
Now, you’ll stitch through all three layers to give your quilt its texture and durability. For a beginner-friendly project like the Super Simple Squares Quilt, straight-line quilting is often the easiest and most effective. You can quilt along the sashing lines, diagonally across the squares, or a simple grid pattern. Experiment with different quilting motifs on scrap fabric first. You can machine quilt this yourself on your home sewing machine, or if you prefer, you can send it to a professional long-arm quilter for a custom finish.
Binding
The final step is to bind the edges of your quilt. This finishes the raw edges and adds a decorative frame. From your outer border fabric or a coordinating fabric, cut several 2 & 1/2-inch wide strips across the width of the fabric. Join these strips end-to-end to create one long strip (approximately 250-300 inches for this size quilt). Fold this long strip in half lengthwise and press. Attach the raw edge of the folded binding to the raw edge of your quilt top, sewing with a 1/4-inch seam. Miter the corners for a neat finish. Once sewn all around, flip the binding to the back of the quilt and hand-stitch or machine-stitch it down to secure it. Voila! Your quilt is complete!
Tips for Quilting Success
- Precision is Paramount: A 1/4-inch seam allowance might seem small, but consistency is crucial for your blocks to fit together perfectly. Practice on scraps if needed.
- Pressing Matters: Pressing seams after each step, rather than ironing, creates flatter blocks and helps in achieving accurate piecing.
- Chain Piecing: To save time and thread, sew multiple identical units one after another without lifting your needle, creating a “chain.”
- Sharp Tools: Always use a sharp rotary cutter blade and a fresh sewing machine needle for clean cuts and smooth stitching.
- Embrace Imperfection: Especially as a beginner, don’t strive for absolute perfection. Every quilt tells a story, and minor “design features” are part of its unique charm.
- Take Breaks: Quilting should be enjoyable! If you get frustrated, step away and come back with fresh eyes.
Frequently Asked Questions About Simple Squares Quilting
Q: Can I use different sized squares?
A: Absolutely! While this tutorial focuses on 5-inch squares, the same principles apply to 2.5-inch squares (mini charm packs), 10-inch squares (layer cakes), or even fat quarters. Just adjust your sashing strip widths and cutting instructions accordingly to maintain the desired proportions.
Q: What kind of batting should I use?
A: For beginners, a 100% cotton batting or an 80/20 cotton/polyester blend is often recommended. Cotton is soft, breathable, and easy to work with, while the blend offers a bit more drape and less shrinkage. Avoid very thick battings for your first projects, as they can be harder to machine quilt.
Q: How do I choose colors for my quilt?
A: Using pre-cut charm packs is a fantastic way to ensure your fabrics are coordinated, as they’re typically designed to work together. If choosing individual fabrics, consider a mix of light, medium, and dark values to create depth. A color wheel can be a helpful tool, or simply select fabrics that you love and that bring you joy!
Q: What if my 1/4-inch seam isn’t perfect?
A: Don’t worry! Many quilters struggle with this initially. Practice on scrap fabric, drawing a 1/4-inch line to guide you. A 1/4-inch presser foot for your sewing machine can be a game-changer. Consistency is more important than absolute perfection – as long as your seams are consistently *something*, your blocks will fit together better.
Super Simple Squares Quilt with Jenny Doan
As you can see, the Super Simple Squares Quilt is truly a fantastic project for anyone wanting to dip their toes into the wonderful world of quilting. Jenny Doan’s method simplifies the process, making it accessible and incredibly rewarding. By following these detailed instructions and utilizing the visual guidance from the Missouri Star Quilt Company video tutorial, you’ll be able to create a beautiful, handcrafted quilt that you’ll be proud to display or gift.
So, gather your materials, set up your sewing space, and embark on this creative journey. You’ll not only end up with a gorgeous quilt but also gain valuable skills and confidence for future projects. Happy quilting!