
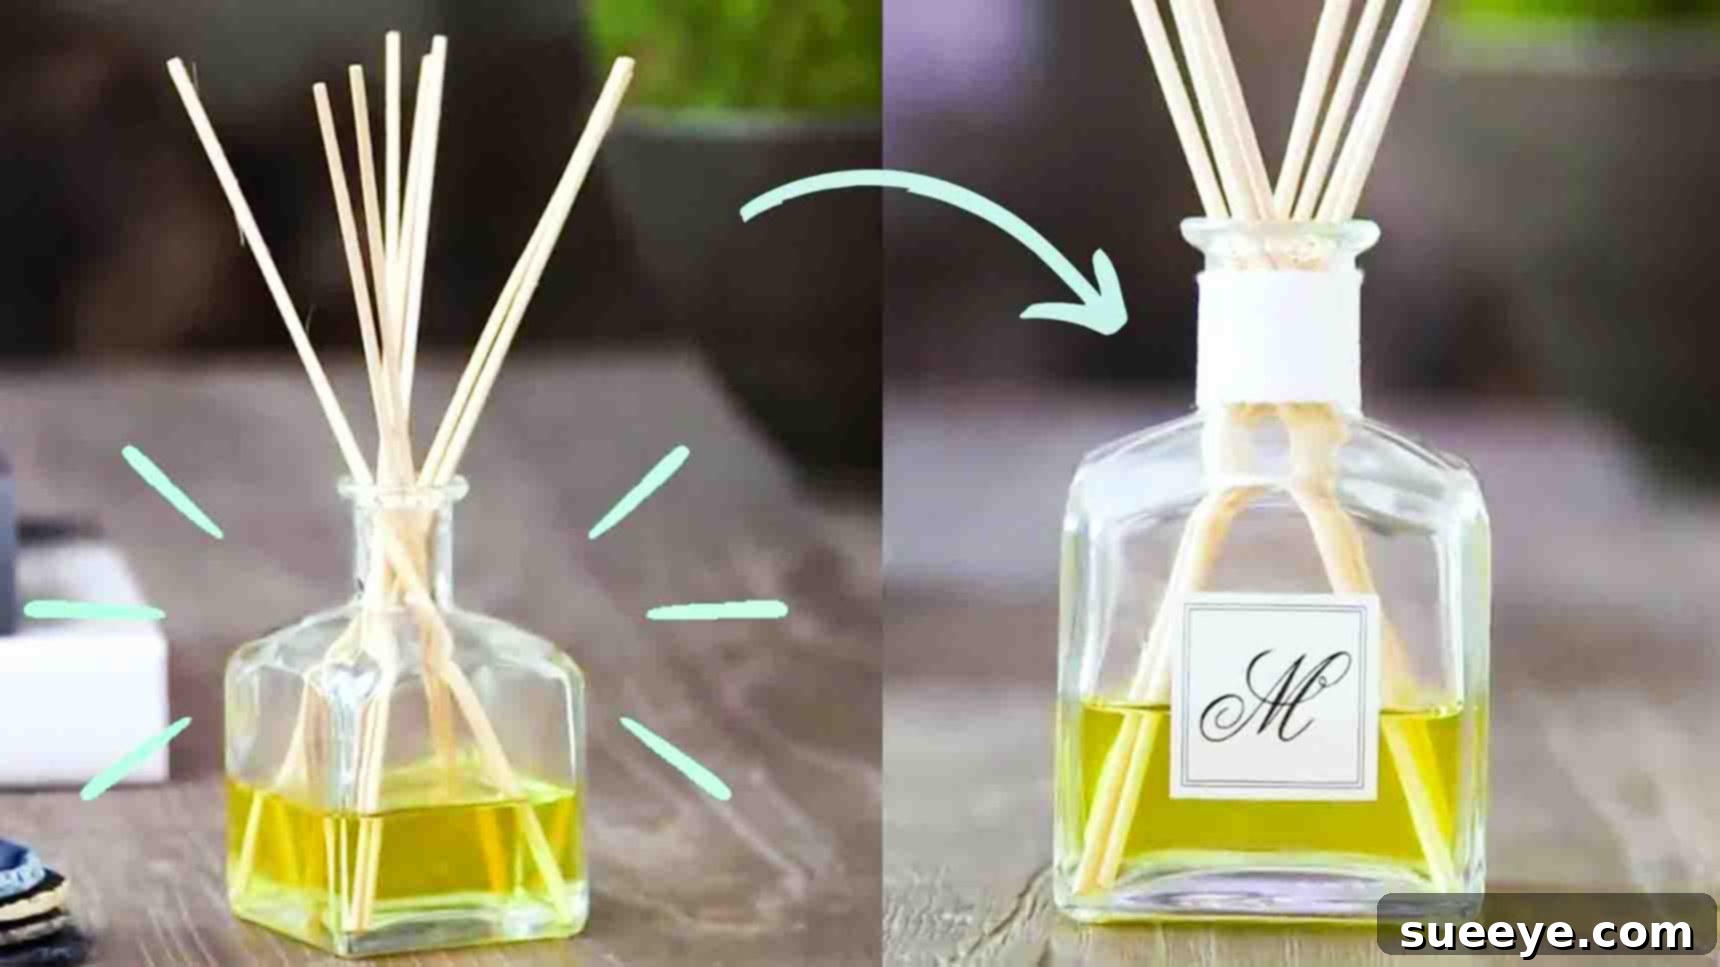
Craft Your Own Invigorating Home Scent: The Ultimate 3-Ingredient DIY Diffuser Guide
Keeping your home consistently fresh and inviting can often feel like a never-ending task, especially when dealing with the delightful chaos brought by children or pets. The quest for a pleasant ambiance often leads us down the aisle of expensive store-bought diffusers, many of which contain synthetic fragrances and questionable ingredients. But what if achieving that beautifully scented sanctuary was not only simple and affordable but also entirely natural? Thanks to an ingenious DIY homemade diffuser recipe inspired by WhatsUpMoms on YouTube, a refreshingly fragrant home is now effortlessly within reach. The best part? You only need three key ingredients to create your very own custom scent haven. It’s time to ditch those pricey, chemical-laden alternatives and embrace the power of DIY to transform your living space today.
Why Choose a Homemade Diffuser?
Opting for a homemade diffuser goes beyond just saving money; it’s about taking control of your home environment. Here’s why making your own scent diffuser is a brilliant choice:
- Cost-Effectiveness: Commercial diffusers, especially those from popular brands, can be surprisingly expensive, with ongoing costs for refills. Crafting your own significantly cuts down on these expenses, allowing you to enjoy luxurious scents for less.
- Complete Customization: Unlike pre-made options, a DIY diffuser allows you to tailor the scent profile precisely to your preferences. Want a calming lavender and chamomile blend for your bedroom? Or an energizing lemon and peppermint for your home office? The possibilities are endless.
- Natural & Chemical-Free: Many store-bought air fresheners and diffusers contain phthalates, parabens, and other synthetic chemicals that can impact indoor air quality and potentially trigger allergies or sensitivities. With a homemade version, you control every ingredient, ensuring a natural and healthier alternative.
- Eco-Friendly Approach: By reusing glass containers and selecting natural ingredients, you reduce waste and minimize your environmental footprint. It’s a small step towards a more sustainable lifestyle.
- Therapeutic Benefits: When you use high-quality essential oils, your diffuser doesn’t just make your home smell good; it can also contribute to your well-being. Different essential oils offer various therapeutic benefits, from stress relief to improved focus.
Understanding Your 3 Key Ingredients
The beauty of this DIY diffuser lies in its simplicity. With just three core components, you’re on your way to a beautifully scented home. Let’s explore each in detail:
1. The Carrier Oil: The Foundation of Your Scent
A carrier oil is the unsung hero of your diffuser. Its primary role is to dilute the concentrated essential or fragrance oils, allowing them to slowly evaporate and diffuse into the air. It also helps the scent last longer. The key is to choose a carrier oil that is light, non-viscous, and most importantly, has little to no scent of its own, so it doesn’t compete with your chosen fragrance.
- Safflower Oil: This is an excellent choice, as recommended by the original tutorial. It’s light, odorless, and readily available. Its thin consistency makes it ideal for wicking up the reed sticks efficiently.
- Sweet Almond Oil: Another fantastic option, sweet almond oil is gentle, light, and almost scent-free. It’s also widely available and a popular choice for many DIY beauty and home projects.
- Fractionated Coconut Oil: Unlike virgin coconut oil, the fractionated version remains liquid at room temperature, making it perfect for diffusers. It’s clear, odorless, and absorbs well.
- Jojoba Oil: While a bit pricier, jojoba oil is technically a liquid wax, known for its excellent stability and neutral scent. It’s a high-quality option if you’re looking for a premium carrier.
Pro Tip: Avoid thick, heavy oils like olive oil or standard vegetable oils, as they can clog your reeds and impart an unwanted aroma.
2. The Scent Powerhouse: Essential and/or Fragrance Oils
This is where the magic happens – the creation of your signature home scent. You have the flexibility to choose between pure essential oils, fragrance oils, or a harmonious blend of both.
- Essential Oils: These are highly concentrated extracts from plants, capturing their natural aroma and therapeutic properties. They are 100% natural and can offer benefits beyond just scent, such as relaxation (lavender), energy (citrus), or purification (tea tree).
- Popular Essential Oil Choices: Lavender (calming), Sweet Orange (uplifting), Peppermint (invigorating), Eucalyptus (clearing), Lemon (fresh, purifying), Frankincense (grounding), Tea Tree (cleansing).
- Blending for Complexity: For a more sophisticated scent, think about top, middle, and base notes. Top notes (like citrus) evaporate first, middle notes (like florals) form the heart of the scent, and base notes (like woods or resins) provide depth and longevity.
- Fragrance Oils: These are synthetically created scents, offering a wider array of aromas that might not exist naturally (e.g., “fresh linen,” “ocean breeze,” or gourmet food scents). While they don’t offer therapeutic benefits, they are often stronger and more affordable, making them excellent for achieving specific ambient smells.
- Considerations: If you’re sensitive to synthetic fragrances, essential oils are the better choice. Always ensure fragrance oils are “skin-safe” or “diffuser-safe” if you plan to use them in home products.
The original recipe suggests a delightful blend of lavender, sweet orange, freesia, and jasmine. This combination offers a beautiful balance of calming floral notes with a touch of uplifting citrus, perfect for creating a welcoming atmosphere.
3. The Vessel & The Diffusing Medium: Glass Container and Reed Sticks
The final components bring your diffuser to life.
- Glass Container: The ideal vessel for your diffuser mixture. Glass is non-reactive, meaning it won’t interact with or degrade your essential oils, unlike some plastics. Choose a container with a narrow opening to slow down evaporation and prevent spills. Jars, decorative bottles, or even repurposed perfume bottles work wonderfully. Its aesthetic appeal also contributes to your home decor.
- Reed Sticks: These are crucial for drawing the scented oil mixture up through capillary action and releasing the aroma into the air. High-quality rattan reeds with porous channels are most effective. Avoid bamboo skewers or thick wooden sticks, as they often lack the necessary porosity.
Crafting Your Diffuser: Step-by-Step Guide
With your ingredients gathered, let’s get hands-on and create your custom home fragrance.
Materials:
- Glass container (with a narrow opening)
- Safflower or sweet almond oil (carrier oil)
- Essential and/or fragrance oils (your chosen blend)
- Reed sticks (5-10 per diffuser, depending on container size and desired intensity)
- Small mixing jug or bowl
- Measuring cups and spoons
Step 1: Preparing Your Scent Blend
The key to a long-lasting and effective diffuser is the correct ratio of carrier oil to scent oil. A general guideline is a 1:3 ratio of essential/fragrance oil to carrier oil, or roughly 25% scent oil for a potent fragrance.
In your small mixing jug, begin by adding 3/4 cups of your chosen carrier oil (safflower or sweet almond oil are excellent, scent-neutral options). Next, it’s time to infuse it with your chosen aroma. Add approximately 1/4 cup of essential and/or fragrance oils. Feel free to experiment with the quantities and varieties to achieve your perfect scent. For a blend similar to WhatsUpMoms’ recommendation, start with a generous amount of lavender oil for its calming properties, followed by sweet orange oil to add an uplifting citrus note. Finish with a tablespoon each of freesia and jasmine for a luxurious floral depth. Give the mixture a quick but thorough stir to ensure all the oils are well combined.
Step 2: Filling Your Diffuser and Activating the Scent
Now, carefully pour your fragrant oil mixture into your chosen glass container, filling it approximately halfway up. This allows ample space for the reed sticks and prevents overflow when they absorb the liquid. If you’ve made a larger batch, you can pour the extra into other glass containers to create multiple diffusers for different rooms or to share as thoughtful gifts. Finally, gently insert your reed sticks into the container. Start with 5-7 reeds for a moderate scent throw, adding more if you desire a stronger aroma. The reeds will slowly absorb the oil and begin to diffuse the scent into your room. It may take a few hours for the reeds to fully saturate and for the aroma to permeate the space. You can also customize your glass containers with labels, ribbons, or small decorative elements to make them the perfect accent for any table or shelf. Your DIY homemade diffuser is now ready to infuse your home with delightful fragrance!
Maximizing Your Diffuser Experience
To ensure your homemade diffuser performs at its best and keeps your home smelling wonderful, consider these tips:
- Strategic Placement: Place your diffuser in an area with good air circulation but not directly in front of an open window or strong draft, which can cause the oils to evaporate too quickly. Central locations in rooms, on shelves, or side tables are ideal.
- Regular Reed Flipping: For a continuous scent boost, flip your reed sticks every few days or when you notice the scent fading. This re-saturates the exposed end of the reeds, refreshing the aroma.
- Replacing Reeds: Over time, reeds can become saturated and less effective. If flipping doesn’t help, it’s time to replace them, typically every 2-3 months.
- Refreshing the Mixture: When the oil level gets low, simply top it up with a fresh batch of your carrier and essential oil mixture. If the scent seems less potent even with new oil, it might be time to clean out the container thoroughly before refilling.
- Safety First: Always keep your diffuser out of reach of children and pets. The oils, especially essential oils, are concentrated and not intended for ingestion. Clean up any spills immediately, as essential oils can damage certain surfaces.
Customization Ideas & Seasonal Scents
One of the greatest joys of a DIY diffuser is the ability to change scents to match your mood, the season, or the specific room. Here are some inspiring ideas:
- For a Relaxing Bedroom: Lavender, Chamomile, Ylang Ylang, Sandalwood.
- For an Invigorating Workspace: Lemon, Peppermint, Rosemary, Eucalyptus.
- For a Welcoming Living Room: Bergamot, Geranium, Frankincense, Sweet Orange.
- Seasonal Blends:
- Spring: Bright florals like Rose and Jasmine, fresh citrus like Grapefruit and Lime.
- Summer: Tropical notes like Coconut (fragrance oil), refreshing Peppermint, uplifting Lemongrass.
- Autumn: Warm spices like Cinnamon and Clove, earthy notes like Cedarwood and Patchouli, sweet hints of Vanilla.
- Winter: Crisp Pine, festive Orange, comforting Myrrh, cozy Ginger.
Troubleshooting Common DIY Diffuser Issues
Even with the simplest DIYs, you might encounter a hiccup or two. Here’s how to troubleshoot common problems:
- Scent Not Strong Enough:
- Solution: Add more essential/fragrance oils to your mixture. Flip the reeds more frequently. Add more reeds (up to 10-12 for larger rooms). Ensure your reeds are porous and not clogged.
- Scent Fades Too Quickly:
- Solution: You might be using too much carrier oil or not enough scent oil. Adjust the ratio to have a higher concentration of essential/fragrance oils. Make sure the container opening isn’t too wide, causing rapid evaporation. Avoid placing it in direct sunlight or strong drafts.
- Oil Not Wicking Up Reeds:
- Solution: Your reeds might be old, saturated, or of poor quality. Replace them with fresh, porous rattan reeds. Ensure your carrier oil isn’t too thick; if it is, consider switching to a lighter oil like safflower or fractionated coconut.
Embrace the Art of Home Fragrance
Creating your own homemade diffuser is more than just a craft project; it’s an investment in your home’s ambiance and your personal well-being. This simple, three-ingredient recipe offers a sustainable, customizable, and affordable way to keep your living spaces smelling wonderfully fresh and inviting, free from the synthetic harshness of commercial products. Experiment with different essential oil blends, find your signature scent, and enjoy the therapeutic benefits of natural aromas. So, gather your materials, follow these easy steps, and start transforming your home into a fragrant sanctuary today. Your senses – and your wallet – will thank you!