
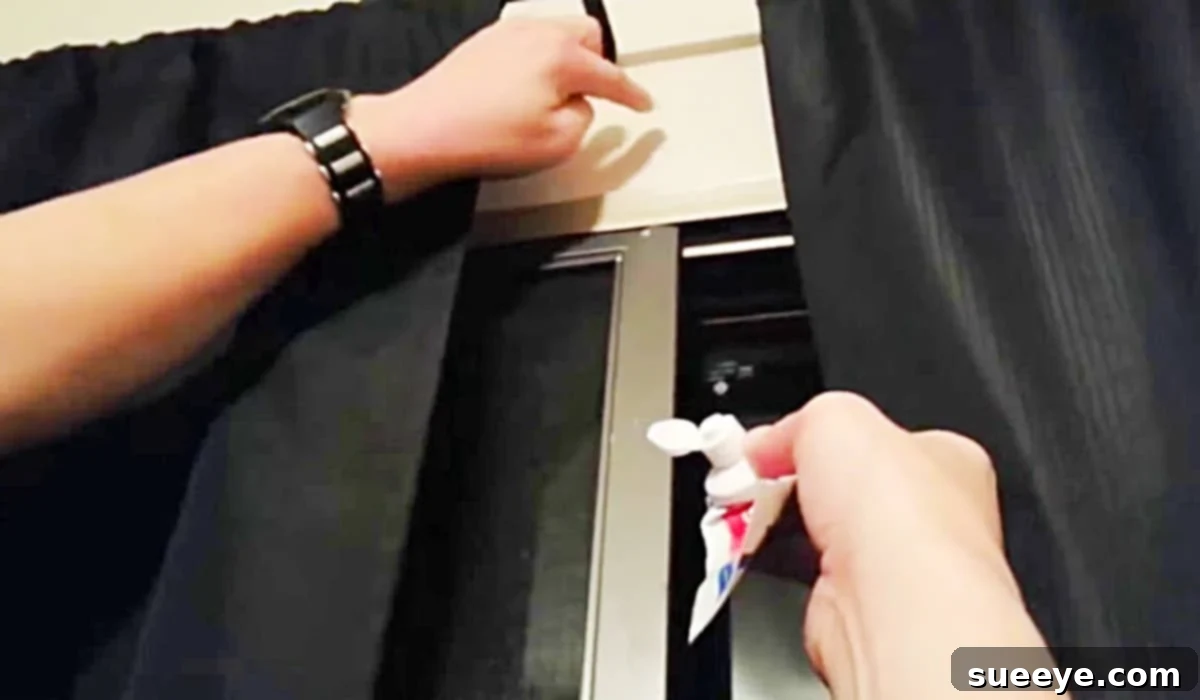
The Ultimate DIY Toothpaste Hack: Easily Fix Small Wall Holes
Are you someone who loves to personalize your living space with cherished photographs, captivating artwork, or stylish wall decor? If so, you’ve likely encountered the inevitable consequence: those pesky little holes left behind in your walls. Whether they’re from picture nails, thumbtacks, or screws, these small imperfections can be a major headache, especially if you’re renting and concerned about your security deposit. But what if there was a surprisingly simple, incredibly affordable, and remarkably effective way to make those wall blemishes vanish without a trace?
Prepare to be amazed, because a common household item—your trusty tube of toothpaste—holds the secret to a flawless wall repair! This ingenious DIY hack, which gained popularity thanks to creative minds like Clixctorm DIY on YouTube, offers a quick and easy solution for patching up minor wall damage. Say goodbye to visible holes and hello to walls that look as good as new, all without the need for professional help or expensive repair kits.
This method is not only incredibly straightforward but also renter-friendly, allowing you to restore your walls to their original condition before moving out. The key to its success lies in using the right type of toothpaste, along with a few common tools you probably already have at home. Let’s dive into how this fantastic toothpaste hack works and transform your approach to home maintenance.
Essential Materials for This Toothpaste Wall Repair Hack:
To successfully patch those small wall holes, you’ll need just a few simple items. The quality of your results often depends on choosing the right type of toothpaste and having the correct tools on hand.
- White, Pasty Toothpaste: This is the star of our show. It’s crucial to use a white, opaque, non-gel toothpaste, similar to classic Colgate or a generic equivalent. The calcium carbonate and other mild abrasives in these types of toothpaste provide the filling and drying properties needed for the repair. Avoid gel toothpastes or those with excessive coloring, as they won’t dry correctly or may leave a stain.
- A Credit Card or Putty Knife: A stiff, flat edge is essential for scraping away excess toothpaste and creating a smooth, flush surface. An old credit card, loyalty card, or a small putty knife works perfectly for this task.
- A Piece of Fine-Grit Sandpaper (150-220 grit): After the toothpaste dries, a light sanding will help you achieve a perfectly smooth and undetectable finish, blending the patched area seamlessly with the surrounding wall.
- Damp Cloth (Optional but Recommended): A slightly damp cloth can be used to wipe away any dust after sanding and to clean up any initial excess toothpaste around the hole.
Gathering these materials beforehand will ensure a smooth and efficient repair process, allowing you to tackle those wall imperfections with confidence.
Step-by-Step Directions: How to Patch Wall Holes with Toothpaste
This ingenious wall repair method, inspired by the practical tutorials from Clixctorm DIY on YouTube, is surprisingly easy and delivers impressive results for small holes. Follow these steps for a perfect patch:
Step 1: Prepare the Area
Before you begin, ensure the area around the hole is clean and free of dust or debris. A quick wipe with a dry or slightly damp cloth will suffice. This helps the toothpaste adhere properly and ensures a clean finish.
Step 2: Apply the Toothpaste
Take a small dab of your chosen white, pasty toothpaste—about the size of a pea—and apply it directly over the hole. You can use your fingertip, a small spatula, or even the corner of your credit card for this. Gently rub the toothpaste into the hole, making sure to fully fill the cavity. Apply slight pressure to push the toothpaste deep into the hole, ensuring there are no air bubbles.
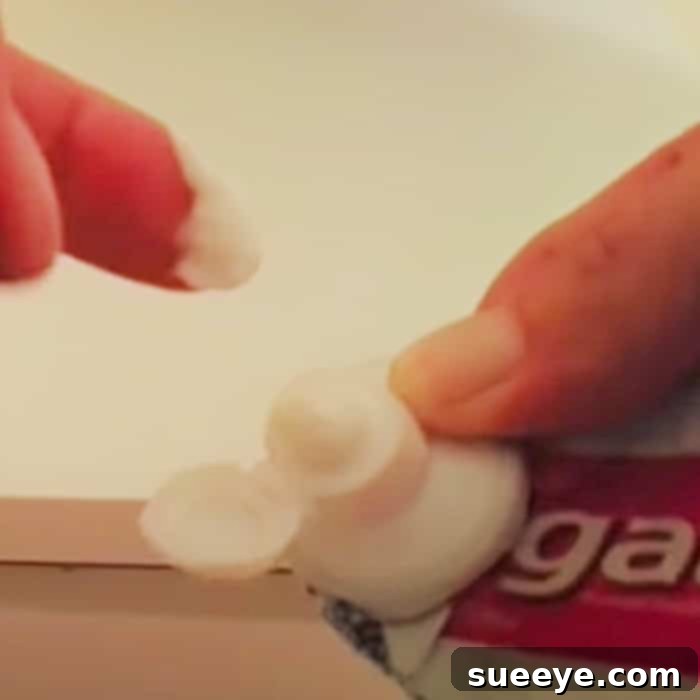
If the hole is a bit deeper, you might need to apply the toothpaste in thin layers, allowing each layer to dry slightly before adding the next. This prevents sagging and ensures a stronger, more even fill.
Step 3: Allow the Toothpaste to Dry
Once the hole is filled, the most important step is patience. Allow the toothpaste to dry completely. Depending on the size of the hole, the humidity in your room, and the thickness of the application, this can take anywhere from a few hours to overnight. A fully dry patch will feel hard to the touch and will have lost its moisture content. Rushing this step can lead to a messy finish and an ineffective repair.
Step 4: Scrape and Smooth the Surface
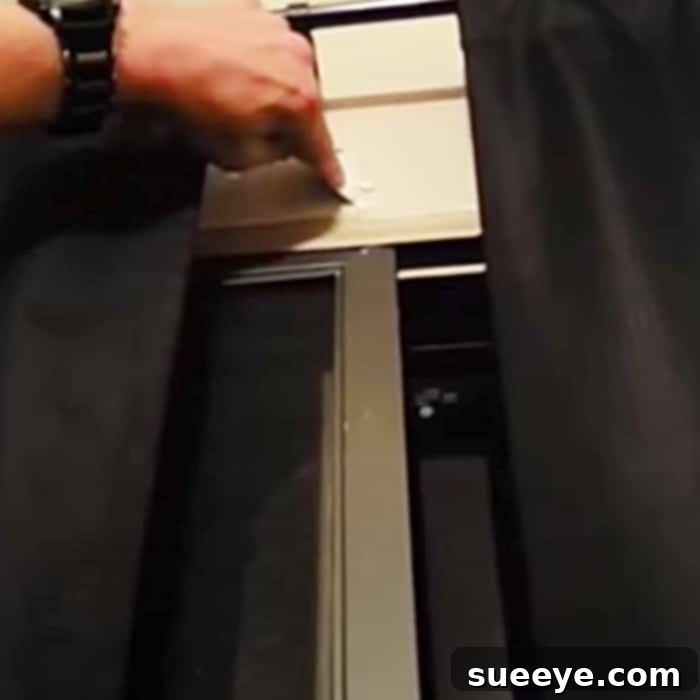
When the toothpaste is completely dry and hard, take your credit card or putty knife. Hold it at a slight angle (around 30-45 degrees) against the wall, and gently scrape away any excess toothpaste, ensuring the patched area is perfectly flush with the surrounding wall. Use light, even strokes. The goal is to create a smooth, level surface that seamlessly blends into the existing wall texture.
Step 5: Fine-Tune with Sandpaper
For an absolutely flawless finish, lightly sand the patched area with your fine-grit sandpaper (150-220 grit). Use gentle, circular motions, ensuring you don’t over-sand or create an indentation. The aim is to feather the edges of the patch and achieve a smooth texture that matches the rest of your wall. After sanding, gently wipe away any dust with a dry or slightly damp cloth.
Step 6: Optional – Prime and Paint for a Perfect Match
While toothpaste can blend surprisingly well, for a truly invisible repair, especially on colored walls or if your wall paint has aged, you might want to prime and paint the area. Apply a small amount of primer over the patch, let it dry, then carefully dab on matching wall paint. Feather the edges of the paint to blend it with the surrounding wall. This final step ensures the patch is completely undetectable.
That’s it! You’ve successfully patched a wall hole using a simple toothpaste hack. It’s an incredibly effective and satisfying DIY project.
When to Use (and When to Avoid) This Toothpaste Wall Repair Hack
While the toothpaste hack is wonderfully simple and effective, it’s important to understand its limitations. Knowing when to apply this method and when to opt for more conventional repair techniques will save you time and ensure the best results.
Ideal Scenarios for the Toothpaste Hack:
- Small Nail Holes: This is the primary use case. Holes from small picture nails, finishing nails, or thumbtacks are perfectly suited for toothpaste repair.
- Pin Pricks and Screw Marks: Tiny indentations or marks left by small screws (after removal) can also be effectively filled.
- Renter-Friendly Repairs: If you’re looking for a quick, low-cost way to get your security deposit back, this hack is ideal for addressing minor wall damage before moving out.
- Emergency Quick Fixes: Need to patch a hole before guests arrive or before painting? Toothpaste offers a fast drying and accessible solution.
When to Avoid the Toothpaste Hack:
- Large Holes or Cracks: Toothpaste is not a structural filler. For holes larger than a pencil eraser, or for any cracks, drywall joint compound or spackle will provide a more durable and appropriate repair.
- Textured Walls: Achieving a seamless repair on textured walls (like popcorn ceilings or orange peel texture) with toothpaste is extremely difficult, as it will dry smooth. You’d need specialized texture repair techniques.
- Holes from Drywall Anchors: These holes are typically too large and often irregularly shaped for toothpaste to fill effectively or permanently.
- Areas Prone to Moisture: In high-humidity areas like bathrooms, toothpaste may not dry as reliably or maintain its integrity long-term.
- Long-Term, Permanent Solutions: While effective for small fixes, toothpaste is not a permanent solution compared to traditional spackle or drywall compound, which offer better longevity and adhesion.
By understanding these guidelines, you can leverage the toothpaste hack for its strengths and avoid frustration by choosing the right repair method for the job at hand.
Pros and Cons of Using Toothpaste for Wall Repair
Like any DIY hack, using toothpaste to fix wall holes comes with its own set of advantages and disadvantages. Weighing these can help you decide if it’s the right solution for your specific needs.
Pros:
- Cost-Effective: You likely already have toothpaste at home, making this a virtually free repair method.
- Readily Available: No special trip to the hardware store is needed.
- Quick and Easy: The application process is incredibly simple, requiring minimal skill or experience.
- Fast Drying Time: For very small holes, toothpaste can dry quicker than some traditional spackles.
- Renter-Friendly: It’s a fantastic solution for tenants who need to make minor repairs without investing in expensive materials or professional help.
- Non-Toxic: Most toothpaste varieties are non-toxic, making them safer to handle than some chemical-based fillers.
Cons:
- Limited to Small Holes: It’s only effective for tiny nail holes or pin pricks.
- Not a Permanent Solution: Toothpaste is not designed for long-term structural repair and may not hold up as well as dedicated fillers over many years.
- Potential for Discoloration: Over time, if not painted over, some toothpastes might slightly yellow or change color, especially if exposed to light or certain chemicals in the air.
- Not Suitable for All Wall Types: Cannot be used on textured walls or in high-moisture environments.
- Requires White, Pasty Type: Using the wrong type (e.g., gel, colored) can lead to ineffective or unsightly results.
- Lack of Structural Integrity: It doesn’t provide the same strength or durability as spackle or joint compound.
For quick, temporary fixes of minor blemishes, the toothpaste hack is a brilliant and accessible choice. For anything more substantial or long-lasting, consider dedicated wall repair products.
Pro Tips for Achieving the Best Results with Your Toothpaste Wall Repair
While the toothpaste hack is simple, a few expert tips can elevate your repair from good to absolutely invisible:
- Always Use White, Opaque Toothpaste: This cannot be stressed enough. Gel or colored toothpastes will not dry correctly or may leave a noticeable tint. Stick to the basic white paste.
- Apply in Thin Layers for Deeper Holes: If a hole is slightly deeper, resist the urge to glob on a thick layer. Instead, apply multiple thin layers, allowing each to dry partially before adding the next. This prevents sagging and ensures even drying.
- Allow Ample Drying Time: Patience is key. Rushing the drying process will result in a soft patch that won’t sand smoothly and might crack. When in doubt, let it dry overnight.
- Use Fine-Grit Sandpaper Gently: The goal is to smooth, not to remove all the toothpaste. Use light pressure and gentle, circular motions with 150-220 grit sandpaper to avoid creating new depressions or scuffing the surrounding paint.
- Have Matching Paint on Hand: For a truly invisible repair, especially on colored walls, a small amount of matching wall paint is invaluable. Dab it carefully over the sanded patch to blend it seamlessly.
- Clean Up Excess Immediately: If you accidentally get toothpaste on the surrounding wall, wipe it off with a damp cloth before it dries to prevent additional clean-up later.
- Practice on an Inconspicuous Area: If you’re new to this hack, try it on a less visible part of your wall first to get a feel for the application and smoothing process.
- Consider Humidity: In very humid environments, toothpaste might take longer to dry. Ensure good ventilation in the room.
By following these tips, you’ll master the art of the toothpaste wall repair and keep your walls looking pristine with minimal effort.
Alternative Wall Repair Methods for Larger Issues
While the toothpaste hack is fantastic for minor blemishes, it’s essential to know when to reach for more specialized products. For larger holes or more significant damage, these alternatives offer robust solutions:
- Spackle or Joint Compound: These are the go-to products for holes larger than a nail hole but smaller than a fist. They are designed for durability, sandability, and paintability. Spackle is great for smaller repairs, while joint compound is better for larger areas or drywall seams.
- Drywall Patch Kits: For significant holes (e.g., fist-sized or larger), a drywall patch kit is necessary. These kits usually include a self-adhesive mesh patch, spackle, and a small applicator, providing a strong, lasting repair.
- Epoxy Putty: For very hard, durable repairs on non-drywall surfaces (like wood or plaster), epoxy putty can be a good option, though it’s less common for typical wall holes.
Choosing the right repair method ensures the longevity and aesthetics of your wall, so always assess the damage before starting.
Conclusion: Your New Go-To DIY Wall Fix
Who knew that a simple tube of toothpaste could be such a powerful tool in your home repair arsenal? This ingenious hack for patching small wall holes is a testament to the power of resourceful DIY. It’s incredibly easy, remarkably inexpensive, and delivers surprisingly professional-looking results for those annoying little imperfections left by nails and tacks.
Whether you’re a meticulous homeowner striving for perfection, a savvy renter aiming to secure your deposit, or just someone looking for a quick and effective fix, this toothpaste method is an invaluable trick to have up your sleeve. Remember to use white, non-gel toothpaste, allow ample drying time, and finish with a gentle sand for a truly invisible repair.
So, the next time you find a tiny hole marring your wall, don’t reach for a costly repair kit right away. Head to your bathroom cabinet, grab that tube of toothpaste, and experience the satisfaction of a flawless, stress-free wall repair. Happy patching!