
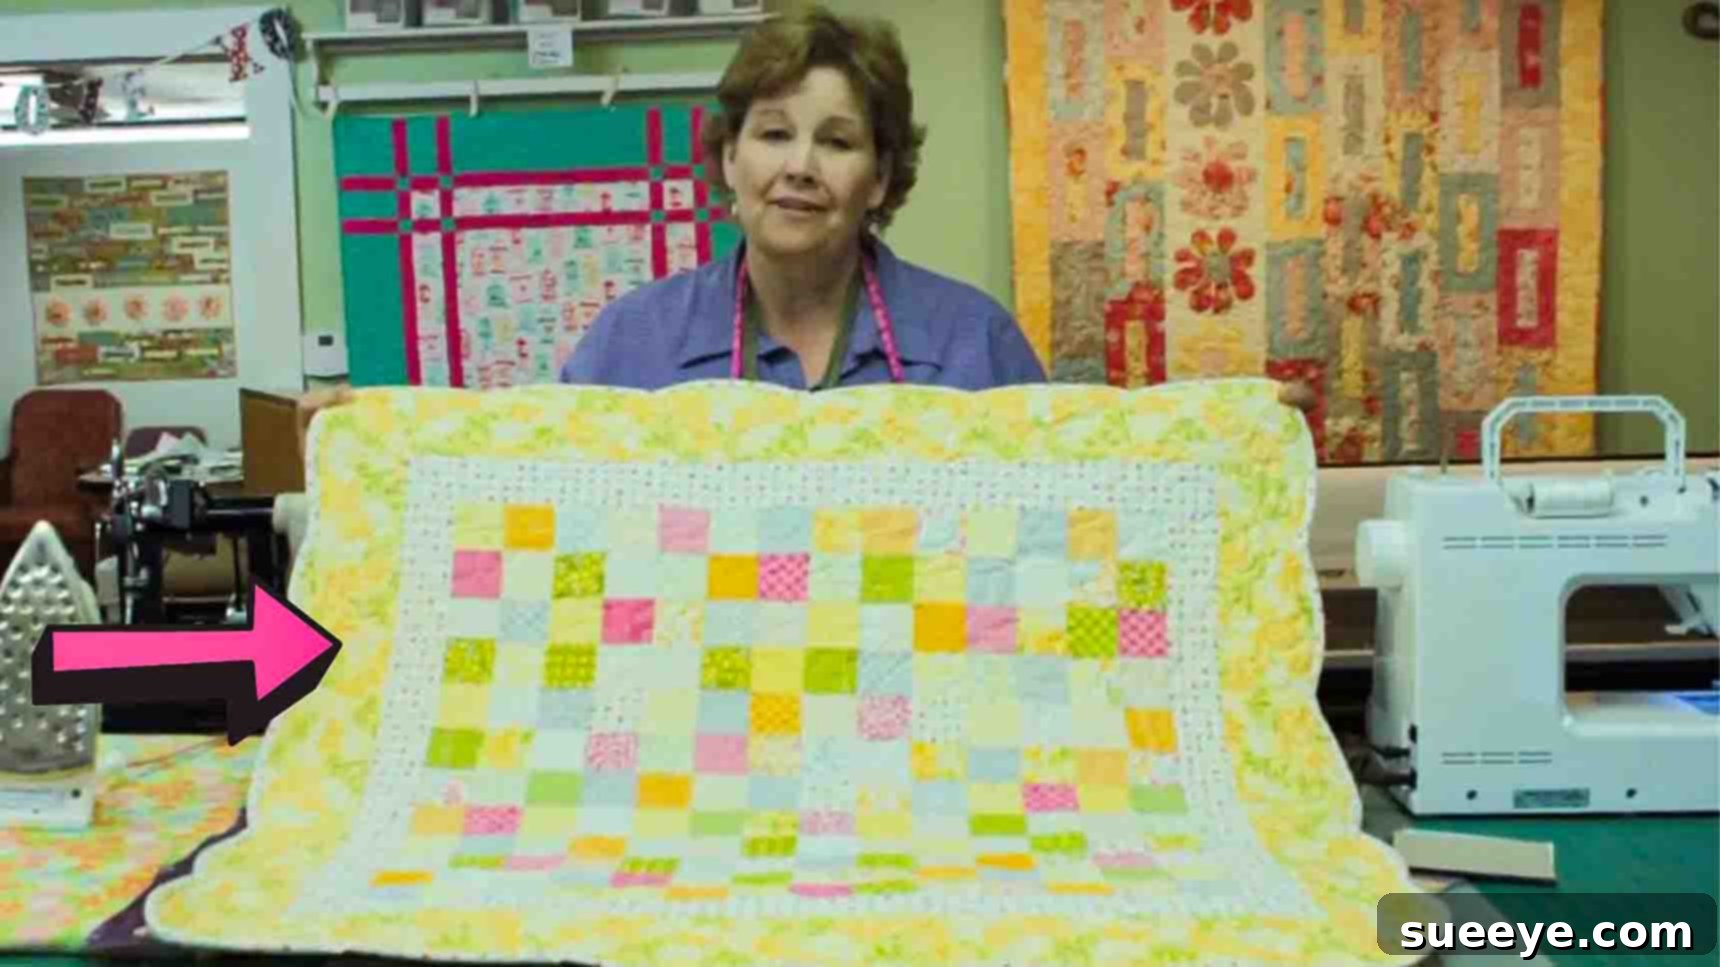
Mastering the Scrappy Four-Patch Quilt: An Easy Charm Pack Tutorial
Are you eager to create a beautiful quilt but feel intimidated by complex patterns? Look no further! The scrappy four-patch quilt block is a timeless, versatile, and incredibly satisfying project perfect for quilters of all skill levels, especially beginners. This comprehensive guide will walk you through an efficient and straightforward method to construct dozens of these charming units using a pre-cut charm pack. Not only is it a fantastic way to utilize your fabric stash and create a truly unique aesthetic, but it also introduces you to fundamental quilting techniques like chain piecing and accurate pressing.
Often hailed as a beginner’s best friend, the four-patch block is the foundation for countless quilt designs. By mastering this simple unit, you unlock a world of creative possibilities, from charming baby quilts to elaborate bedspreads. Our tutorial draws inspiration from reputable sources like Missouri Star, ensuring a clear, effective, and enjoyable quilting journey. Get ready to transform your collection of fabrics into a stunning quilt with these easy-to-follow instructions. Let’s dive into the world of scrappy four-patch quilting!
Why Embrace the Scrappy Four-Patch?
The allure of the scrappy four-patch lies in its simplicity and profound impact on a quilt’s overall aesthetic. Here’s why this particular block deserves a prime spot in every quilter’s repertoire:
- Stash Busting Champion: It’s the perfect project for using up those leftover fabric scraps and charm pack squares that have accumulated over time. Instead of letting them languish, transform them into something beautiful and functional.
- Endless Versatility: While simple in construction, four-patch units can be arranged in myriad ways to create complex-looking patterns. Combine them with solid blocks, half-square triangles, or other units to design unique layouts that are truly your own.
- Beginner-Friendly: The consistent use of a 1/4-inch seam allowance and straightforward cutting makes it an ideal starting point for new quilters to build confidence in their sewing machine skills and precision.
- Quick to Produce: Thanks to techniques like chain piecing, you can assemble many four-patch units in a relatively short amount of time, making large quilts less daunting and more achievable.
- Visually Dynamic: The “scrappy” element, achieved by mixing various fabrics, adds incredible texture, depth, and visual interest to your quilt, giving it a cozy, well-loved appearance right from the start.
- Customization at Its Best: From vibrant and playful to subtle and sophisticated, the choice of fabrics allows you to tailor your quilt to any style, recipient, or occasion.
Essential Materials for Your Scrappy Four-Patch Quilt Project
Before you begin sewing, gathering all your materials ensures a smooth and uninterrupted crafting experience. While the basic list is short, understanding the role of each tool will help you achieve professional-looking results.
- Charm Pack: A charm pack consists of 42 pre-cut 5-inch by 5-inch fabric squares, typically from a single fabric line, ensuring a cohesive look. They are perfect for this project because they eliminate the need for initial fabric cutting, saving you valuable time. If you don’t have a charm pack, you can easily cut your own 5-inch squares from your stash fabrics. Aim for a good mix of light and dark or contrasting colors to make your four-patch units pop.
- Ruler (Quilting Ruler): A clear acrylic quilting ruler, ideally at least 6 x 12 inches or 6 x 24 inches, is indispensable for accurate cutting. The transparent nature allows you to see your fabric beneath, while the grid lines help maintain straight lines and precise measurements.
- Rotary Cutter: This tool, often used in conjunction with a self-healing cutting mat (though not explicitly listed, it’s highly recommended), makes quick and precise cuts through multiple layers of fabric. A 45mm rotary cutter is a popular choice for general quilting tasks. Always use a fresh, sharp blade for clean edges.
- Sewing Machine: Any standard sewing machine capable of sewing a consistent 1/4-inch seam allowance will work. Ensure your machine is threaded correctly and has a fresh needle (a universal 80/12 or 90/14 needle is generally suitable for quilting cotton).
- Iron, for Pressing: A good quality iron is crucial for achieving flat, crisp seams. While “ironing” involves sliding the iron across the fabric, in quilting, we “press” by lifting and placing the iron down. This prevents stretching and distortion of your fabric units. A pressing mat or ironing board will complete your pressing station.
Step-by-Step Guide: Crafting Your Scrappy Four-Patch Units
This method focuses on efficient strip piecing and strategic cutting to quickly generate multiple four-patch blocks. The key to success lies in consistent seam allowances and careful pressing.
Step 1: Preparing Your Fabric Strips
The first stage involves combining your chosen fabrics into longer strip sets, which will then be cut into smaller segments.
Begin by selecting two contrasting 5-inch charm squares. The contrast between light and dark, or vibrant and subtle colors, will make your four-patch design stand out. Place these two fabric squares right sides together, ensuring all edges are perfectly aligned. Using your sewing machine, stitch a precise 1/4-inch seam allowance along one of the 5-inch edges. This means your stitch line should be exactly 1/4 inch from the raw edge of the fabric. Accuracy here is paramount for perfectly sized blocks later.
To maximize efficiency, employ the technique of chain piecing. Continue to sew together additional pairs of contrasting 5-inch squares without lifting the presser foot or clipping threads between each pair. Simply feed the next set of squares directly into the machine after completing the previous pair. This creates a long chain of sewn units. Once you have a sufficient chain, carefully snip the thread connecting each pair of squares, separating them into individual 5-inch x 9.5-inch strip sets (5 inches wide by 5 inches + 5 inches – 0.5 inches for seam allowance).
With your individual strip sets created, head to your ironing station. Carefully press the seams open. Pressing seams open helps to distribute the bulk of the fabric, leading to flatter, smoother quilt blocks. Alternatively, you can press the seams towards the darker fabric, if preferred, but for this method, open seams often yield the best results.
Now, take your pressed strip sets (each measuring approximately 5 inches by 9.5 inches) and align them on your cutting mat. Using your ruler and rotary cutter, accurately cut each strip set into 2.5-inch wide segments. For example, a 9.5-inch long strip set will yield three 2.5-inch segments (7.5 inches total) with some leftover. Each segment will be 2.5 inches wide and 5 inches long, comprising two different fabrics joined by a seam down the middle. These are the building blocks for your scrappy four-patch.
Step 2: Transforming Strips into Four-Patch Blocks
With your 2.5-inch by 5-inch segments prepared, you’re ready to assemble them into the iconic four-patch block.
Take two of your newly cut 2.5-inch by 5-inch segments. For a true “scrappy” four-patch, it’s ideal to choose two segments that either started with different fabric pairs or are rotated to create a contrasting arrangement. Lay one segment horizontally. Take the second segment and rotate it 180 degrees so that when placed next to the first, the fabrics create an alternating, checkerboard pattern. For instance, if your first segment is [Light | Dark], rotate the second segment so it effectively becomes [Dark | Light] when placed underneath.
Now, place these two segments right sides together, aligning the 5-inch raw edges carefully. Crucially, nest your seams. This means pushing the seam allowance of one segment in one direction (e.g., to the left) and the seam allowance of the other segment in the opposite direction (e.g., to the right). This interlocking of seams helps them match up perfectly, reducing bulk and ensuring your central intersection is crisp. Use a pin to secure the nested seam if needed.
Sew these two segments together along the 5-inch edge with a consistent 1/4-inch seam allowance. Again, chain piecing is highly effective here if you’re making many four-patch units. Once sewn, clip your threads and separate the units.
Finally, return to your ironing station. Carefully press the newly sewn seam open, as this further reduces bulk at the center of your four-patch block. When you open up your completed unit, you’ll reveal a perfectly formed 4.5-inch (unfinished) scrappy four-patch block! Repeat this process until you have assembled all your segments into a delightful collection of unique four-patch units, ready for your next quilting project.
Tips for Perfect Scrappy Four-Patch Quilting
Achieving consistently beautiful four-patch blocks goes beyond just following the steps. Incorporating these expert tips will elevate your quilting game:
- Fabric Selection for Visual Interest: Don’t be afraid to mix and match! The “scrappy” nature of this block thrives on variety. Experiment with different scales of prints, colors, and tones. Ensure a good balance of light and dark fabrics to create contrast and definition within each block and across your entire quilt.
- Accurate Cutting is Key: Precision in cutting directly translates to accurate piecing. Always use a sharp rotary blade and a reliable quilting ruler. When cutting your 2.5-inch segments, make sure your ruler is perfectly aligned at a 90-degree angle to the seam of your strip set.
- Consistent 1/4-inch Seam Allowance: This is perhaps the most critical element in quilting. A consistent seam allowance ensures all your blocks will be the same size and fit together perfectly. If your machine struggles, consider using a 1/4-inch presser foot or marking a guide line on your machine bed.
- Pressing, Not Ironing: Remember to lift and place your iron, rather than sliding it, to prevent distorting your fabric. For four-patch blocks, pressing seams open generally provides the flattest finish and helps reduce bulk where multiple seams meet in the center. Always press from the wrong side first, then the right side if needed, using steam if your fabric can handle it.
- The Power of Chain Piecing: As mentioned, chain piecing saves immense time and thread. It also helps to maintain a consistent rhythm, which can improve your seam accuracy. Make it a habit for all repetitive sewing tasks.
- Stay Organized: When dealing with many small units, it’s easy to get disorganized. Keep your fabric pairs grouped and your cut segments neatly stacked. Consider using project bins or trays to manage your pieces.
- Test Your Seam: Before diving into all your fabric, take two scrap pieces of fabric, sew them together with a 1/4-inch seam, and measure the resulting unit. If it’s not the correct size (e.g., two 5-inch squares sewn together should result in a 9.5-inch strip), adjust your seam allowance accordingly.
Creative Ways to Use Your Scrappy Four-Patch Blocks
Once you’ve created a pile of delightful scrappy four-patch units, the real fun begins: arranging them into a cohesive design. The possibilities are truly endless!
- Classic Checkerboard Quilt: This is the most straightforward and effective use. Simply alternate your four-patch blocks with solid or contrasting plain blocks for a timeless and elegant checkerboard pattern.
- Borders and Sashing: Use your four-patch blocks to create dynamic borders around a larger center panel or to serve as cornerstones in sashing (strips of fabric used to separate blocks) to add visual interest.
- On-Point Setting: Arrange your blocks on point (rotated 45 degrees) to create a striking diagonal layout. This requires adding setting triangles around the edges but yields a sophisticated design.
- Scrappy Backing: Don’t forget the back! A scrappy four-patch backing can be just as charming as the front, making your quilt truly reversible and a joy to behold from any angle.
- Mix with Other Blocks: Combine your four-patch units with other basic blocks like half-square triangles, nine-patches, or even larger solid squares to create more intricate and unique quilt designs.
- Smaller Projects: If you don’t want to commit to a full quilt, these versatile blocks are perfect for smaller, quick-to-finish items. Think placemats, coasters, pot holders, tote bags, cushion covers, or even a mini wall hanging. They make excellent gifts!
- Focal Point: Use a cluster of four-patch blocks as a focal point within a larger, simpler quilt design. They draw the eye and add a pop of intricate detail.
Frequently Asked Questions (FAQ) about Four-Patch Quilts
New to quilting or just looking for clarity? Here are answers to some common questions about making scrappy four-patch blocks:
Q: What exactly is a charm pack?
A: A charm pack is a collection of pre-cut 5-inch by 5-inch fabric squares. They typically come in packs of 42 squares, showcasing all the different prints from a particular fabric designer’s line. They are a convenient way to get a coordinated variety of fabrics without having to buy yardage.
Q: Can I use regular fabric scraps instead of a charm pack?
A: Absolutely! If you have fabric scraps, simply cut them into 5-inch by 5-inch squares to create your own “scrappy” charm pack. This is an excellent way to use up smaller pieces of fabric and reduce waste.
Q: How do I choose contrasting fabrics for my four-patch blocks?
A: The key is to create enough difference between the two fabrics in each pair so that the seams and the individual squares are distinct. This can be achieved through color (e.g., light blue with dark red), value (light print with dark print), or scale (small print with large print). Hold them up together to see how they look.
Q: What is chain piecing, and why is it recommended?
A: Chain piecing is a technique where you continuously sew multiple units together without cutting the thread between them. You feed one set of pieces under the needle, sew the seam, and then immediately feed the next set without stopping. It saves time by minimizing thread trimming and stopping/starting, and it can help maintain a more consistent seam allowance.
Q: Why is pressing so important in quilting? Can’t I just iron?
A: Pressing is crucial for creating flat, accurate quilt blocks. When you “iron,” you typically slide the iron, which can stretch and distort bias-cut edges of fabric, leading to wavy seams and uneven blocks. “Pressing” involves lifting and placing the iron straight down, holding it for a few seconds, then lifting again. This sets the stitches and flattens the fabric without distortion.
Q: My 1/4-inch seam isn’t always accurate. Any tips?
A: Many sewing machines have a 1/4-inch quilting foot. If yours doesn’t, you can create a guide. Measure 1/4 inch from your needle, place a piece of painter’s tape or use a magnetic seam guide along that line, and always keep the raw edge of your fabric aligned with this guide. Practice on scraps helps a lot!
Q: How do I calculate how many four-patch blocks I need for a larger quilt?
A: First, determine your desired finished quilt size. Your finished four-patch blocks will be 4.5 inches square. Divide your desired quilt width and length by 4.5 inches (and round up) to find out how many blocks you need in each row and column. Multiply those numbers together for the total. Don’t forget to account for any sashing or borders you plan to add!
Conclusion: Unlock Your Quilting Potential with Scrappy Four-Patches
Congratulations! You’ve just learned one of the most fundamental and versatile techniques in quilting: creating scrappy four-patch units. This method, popularized by its efficiency and ease, is your gateway to countless beautiful projects. By following these clear instructions and incorporating the valuable tips, you’re now equipped to turn simple charm squares into dynamic, eye-catching quilt blocks. Embrace the “scrappy” nature of this design, allowing a delightful mix of colors and patterns to tell its own unique story.
Remember, quilting is a journey of creativity and precision. With each four-patch you make, your skills will grow, and your confidence will soar. Whether you’re assembling a cozy throw, a vibrant baby quilt, or a striking wall hanging, these units will form the heart of your creation. So grab your charm pack, fire up your sewing machine, and start transforming those fabrics into a cherished heirloom. Happy quilting, and don’t forget to share your beautiful scrappy four-patch creations with the world!