
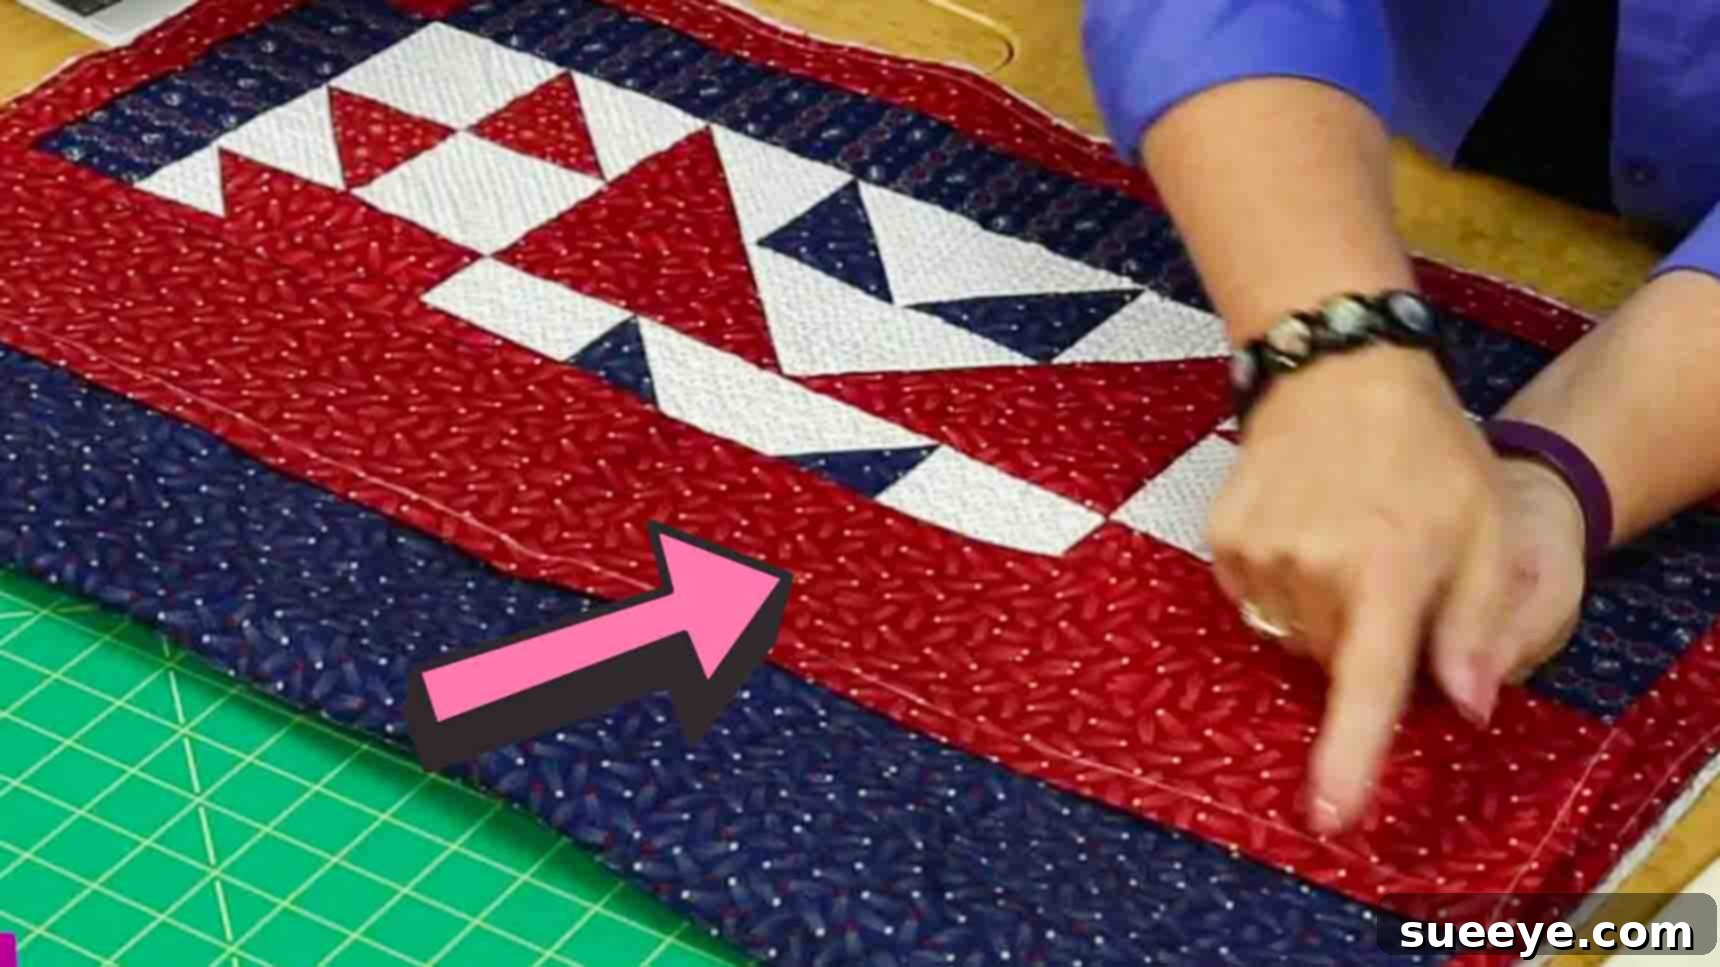
Quilts are much more than cozy blankets; they are often cherished works of art, intricate heirlooms, or stunning decorative pieces designed to be admired. Whether you’re showcasing your latest creation at a quilt show, adorning a wall in your home, or preserving a family heirloom, proper display is paramount. A well-applied hanging sleeve is the secret to ensuring your quilt hangs straight, securely, and without causing any damage or distortion over time. This essential technique provides a professional finish, distributing the quilt’s weight evenly across its top edge, preventing unsightly rolls or sagging.
If you’ve been looking for a reliable and easy method to prepare your quilt for display, you’re in the right place. This comprehensive tutorial, inspired by the expert quilters at Fons & Porter’s Love of Quilting on Youtube, will guide you through the process of applying a hanging sleeve to your project. It’s a fast, straightforward method that doesn’t require advanced quilting skills, making it accessible for both beginner and experienced quilters alike. Follow along with our detailed instructions to give your beautiful quilt the display it deserves.
Why Use a Hanging Sleeve for Your Quilt Display?
While there are various ways to display a quilt, the hanging sleeve stands out as the most recommended method for several compelling reasons, especially for wall quilts or those intended for shows:
- Optimal Preservation: A hanging sleeve distributes the weight of the quilt evenly across its entire top edge. This crucial detail prevents stress on individual points, which can occur with clips or corner loops, thus minimizing stretching, distortion, or damage to the fabric over long periods. It’s the best way to safeguard the integrity of your textile art.
- Professional Aesthetics: When properly installed, a hanging sleeve remains virtually invisible from the front, allowing your quilt’s design to be the sole focus. It creates a clean, elegant, and professional presentation, making your quilt look its absolute best whether it’s in a gallery, a competition, or your living room.
- Versatility in Display: Hanging sleeves are incredibly adaptable. They are designed to accommodate a variety of hanging rods, dowels, or even flat battens, providing flexibility in how you choose to mount your quilt. This means you can easily change your display hardware without altering the quilt itself.
- Stability and Flatness: The unique design of a quilt hanging sleeve, particularly the slight offset we’ll discuss, ensures that the quilt hangs flat against the wall without a noticeable “roll” at the top. This attention to detail contributes significantly to the visual appeal and stability of the display.
- Ease of Installation and Removal: Once the sleeve is attached, hanging and taking down your quilt becomes a simple task. This is particularly convenient for quilters who frequently rotate their displays or transport quilts to shows.
Materials for Your Quilt Hanging Sleeve Project:
Before you begin, gather these essential items to ensure a smooth and enjoyable quilting experience. Having everything ready will help you maintain your flow and achieve a flawless finish.
- Your Quilt Project: Ensure your quilt is fully pieced, quilted, and bound on at least the two side edges and the top edge. The bottom edge binding should ideally be complete as well, but crucially, the back of your binding on the top edge should not yet be stitched down. This allows for seamless integration of the hanging sleeve.
- Fabric for the Sleeve: You’ll need a piece of fabric for the sleeve itself. A lightweight cotton or muslin is usually ideal, as it adds minimal bulk and weight. Choose a color that blends well with the back of your quilt. The initial cut should be 8½ inches wide, and its length should match the width of your quilt, minus any binding on the vertical edges if the sleeve is intended to go end-to-end.
- Needle and Thread: For hand-stitching the sleeve to the quilt, select a strong, fine needle and a durable thread that matches your quilt’s backing fabric. This ensures your stitches are inconspicuous and hold securely.
- Pins: A generous supply of sharp, fine pins is crucial for accurately positioning and securing the sleeve to the quilt before stitching.
- Iron and Ironing Board: Essential for crisp folds and seams, which are vital for a professional-looking sleeve.
- Rotary Cutter, Mat, and Ruler: While not strictly listed in the original, these tools are highly recommended for precise and straight fabric cuts, making your work much easier and more accurate.
Step-by-Step Guide: Attaching a Hanging Sleeve to Your Quilt
Step 1: Preparing the Hanging Sleeve Fabric
The first step involves meticulously preparing the fabric that will become your hanging sleeve. Accuracy in this stage is key to a perfectly flat and secure display.
- Cut Your Fabric: Begin by cutting a strip of fabric 8½ inches wide. The length of this strip should be equal to the finished width of your quilt. If your quilt has binding that wraps around to the back, measure the width of the quilt excluding the side bindings if you want the sleeve to sit neatly within the quilt’s back panel.
- Fold and Press Lengthwise: Take your 8½-inch wide fabric strip and fold it in half lengthwise, so it now measures 4¼ inches wide. Press this fold sharply with a warm iron. This creates the initial structure of your sleeve.
- Finish the Short Ends (Hems): Now, focus on the two short raw ends of your folded fabric strip. To create a neat and durable hem, turn each short end under by ¼ inch towards the wrong side of the fabric and press. Then, turn it under another ¼ inch and press again. This double-fold hem encases the raw edge, preventing fraying and providing a clean finish. Once pressed, stitch along the inner folded edge on both short ends. This secures the hems and creates a tidy, finished look for the edges of your sleeve.
- Form the Sleeve Tube: With the short ends hemmed, open up the folded fabric strip. Now, fold the strip right sides together, aligning the long raw edges. Stitch along this long raw edge with a ¼-inch seam allowance. This creates a fabric tube.
- Press the Seam Allowance Open: Once stitched, carefully press the seam allowance open. This helps to reduce bulk and creates a smoother, flatter tube.
- Turn Inside Out: Finally, turn the entire fabric tube right side out. You now have a finished fabric tube with neat hems on the ends and a smooth, pressed seam running down one side. This is your completed hanging sleeve, ready for attachment.
Step 2: Attaching the Sleeve to Your Quilt for a Flat Display
This critical step ensures your quilt hangs beautifully flat against the wall, free from any top-edge “rolling” or bowing. The key is creating a subtle offset in the sleeve’s attachment.
- Address the “No Roll” Factor: To prevent your quilt from having an unsightly roll at the top when displayed, we need to make one piece of the hanging sleeve slightly longer when it’s sewn to the quilt back. This creates a gentle curve, allowing the quilt to hang perfectly straight and flat.
- Position the Sleeve with Offset: Lay your quilt face down on a flat surface. Take your prepared fabric sleeve. Position it horizontally across the top back edge of your quilt, ensuring it is centered. Now, here’s the crucial part: from the top pressed edge of the sleeve, measure about half an inch upwards. This means the top folded edge of your sleeve will sit approximately ½ inch below the top edge of your quilt’s finished binding. Carefully fold the sleeve at this ½-inch mark (towards the bottom of the quilt) and align this fold neatly with the quilt’s top binding edge.
- Secure the Top Edge: With the sleeve correctly positioned and folded to create the ½-inch offset, begin to pin it in place along the very top fold, just underneath the quilt’s binding. Ensure your pins go through the sleeve and into the quilt’s backing fabric only, not through to the front of the quilt. Using a strong needle and matching thread, begin to hand stitch this top fold of the sleeve to the quilt backing. A blind stitch or ladder stitch is ideal here, as it provides a secure hold with minimal visibility. Take small, even stitches, catching only a few threads of the backing fabric with each stitch.
- Whipstitch the Side Edges: Once the top edge is securely stitched, you may choose to loosely whipstitch the vertical side edges of the sleeve to the quilt backing. This helps to keep the sleeve flat against the quilt but ensures enough room for a rod or dowel to slide through easily. This step is optional but can contribute to a tidier finish.
- Stitch the Bottom Fold: Finally, locate the bottom fold of your hanging sleeve. Pull it gently taut (but not so taut that it distorts the quilt) and pin it securely to the quilt’s backing fabric. Again, using a blind stitch or ladder stitch, hand stitch along this bottom fold. Remember, it is vital to take your stitches just into the backing fabric and not through to the front of your quilt. The small offset created earlier means the bottom edge of the sleeve will naturally “float” slightly, allowing the hanging rod to sit comfortably within the sleeve without pulling the quilt.
Expert Tips for Displaying Your Quilt with a Hanging Sleeve
Once your hanging sleeve is perfectly attached, you’re ready to showcase your masterpiece. Here are some additional tips to ensure your quilt display is safe, secure, and stunning:
- Choose the Right Hanging Rod: Select a rod or dowel that is slightly narrower than the sleeve itself, allowing for easy insertion. For heavier quilts, opt for a sturdy wooden dowel or metal rod to prevent bowing. The rod should be strong enough to support the full weight of your quilt without sagging in the middle.
- Consider the Display Location: When choosing where to hang your quilt, be mindful of environmental factors. Avoid direct sunlight, which can fade fabrics over time. High humidity can encourage mold growth, while overly dry conditions can make fabrics brittle. A stable environment will help preserve your quilt for years to come.
- Ensure Level Hanging: Use a level when installing the hardware for your hanging rod to ensure your quilt hangs perfectly straight. Even a slight tilt can detract from the overall presentation.
- Regular Inspection: Periodically check the hanging sleeve and the quilt for any signs of stress, fraying, or dust accumulation. Gentle cleaning (e.g., light vacuuming with a screened attachment) can keep your quilt looking fresh.
- Custom Sleeve Dimensions: While 8½ inches wide is a common recommendation, you can adjust the width of your sleeve based on the size and weight of your quilt. For very large or heavy quilts, a wider sleeve might offer even better support. The key is to ensure the sleeve can comfortably accommodate your chosen hanging rod.
Beyond Wall Hangings: The Versatility of Quilt Sleeves
While often associated with wall quilts, hanging sleeves are incredibly versatile and suitable for almost any quilt intended for display rather than everyday use. This includes:
- Show Quilts: Most quilt shows require a hanging sleeve for entry, as it provides a standardized and secure method for display.
- Art Quilts: Contemporary art quilts benefit immensely from a sleeve, allowing the quilt to be presented as fine art.
- Heirloom Quilts: For antique or sentimental quilts, a hanging sleeve offers a gentle, non-damaging way to display them, safeguarding their delicate fabrics from stress.
Conclusion: A Flawless Finish for Your Treasured Quilts
Adding a hanging sleeve to your quilt is a fundamental skill for any quilter who wishes to display their work with pride and confidence. It’s a simple, yet incredibly effective technique that elevates the presentation of your quilt from a mere textile to a true piece of art. By following the detailed steps outlined in this guide, you can create a durable, discreet, and perfectly functional sleeve that ensures your quilt hangs flat, straight, and beautifully preserved for years to come.
We hope this expanded tutorial, inspired by Fons & Porter’s expertise, empowers you to tackle this project with ease. So, take out your materials, follow the directions, and prepare to showcase your magnificent quilt. Happy quilting, and happy displaying!