
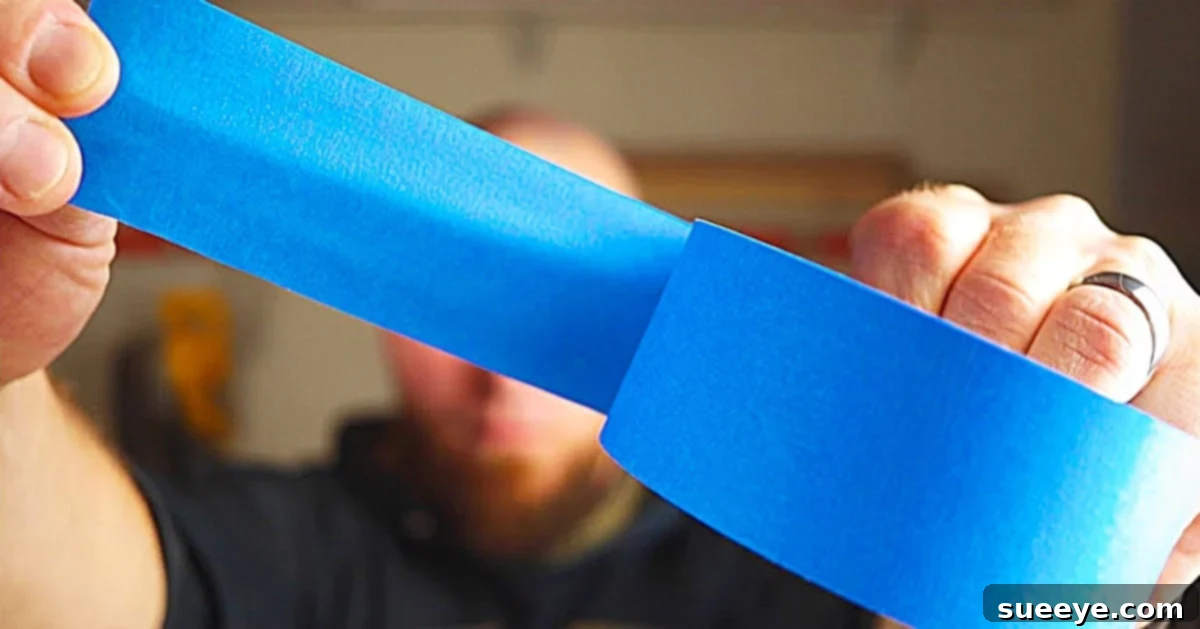
Blue painter’s tape, often overlooked as a simple masking tool, is in fact one of the most versatile and indispensable items in any woodworker’s workshop. Its low-tack adhesive and clean removal properties make it incredibly useful for a myriad of tasks beyond just painting. This humble roll of tape can significantly enhance the precision, cleanliness, and efficiency of your woodworking projects, saving you time and frustration. From securing delicate pieces to ensuring flawless finishes, the ingenious applications of painter’s tape are truly remarkable.
Inspired by clever insights from seasoned craftsmen, we’ve compiled a comprehensive guide to 13 brilliant ways you can leverage blue painter’s tape to elevate your woodworking. These tips cover everything from initial cuts to final assembly, ensuring smoother processes and professional results. Whether you’re a beginner just starting out or a seasoned pro looking for new tricks, integrating these techniques into your routine will undoubtedly improve your craft.
13 Ingenious Blue Painter’s Tape Tips For Woodworking
Materials You’ll Need:
- Blue painter’s tape (or a good quality masking tape)
- Various types of wood (for your projects)
- A saw (table saw, miter saw, jigsaw, etc.)
- Wood glue
- Drill and bits
- Sandpaper
- Finishing supplies (stain, paint, varnish)
- Other common woodworking tools
Mastering Your Projects: 13 Essential Painter’s Tape Applications
Embrace the full potential of blue painter’s tape with these practical and effective woodworking tips. Each method is designed to simplify complex tasks, improve accuracy, and protect your precious materials.
1. Preventing Splintering and Tear-Out During Cuts
One of the most common frustrations in woodworking is unsightly splintering or tear-out, especially when cutting plywood, veneered panels, or delicate hardwoods. This is particularly prevalent with cross-cuts or when using tools like jigsaws and circular saws. A simple yet incredibly effective solution is to apply a strip of painter’s tape directly over your cut line before you begin sawing. The tape acts as a barrier, holding the wood fibers firmly in place as the saw blade passes through. This technique results in significantly cleaner, sharper edges, minimizing waste and the need for extensive sanding later. Ensure the tape is pressed down firmly to maximize its protective effect, extending slightly beyond your intended cut line.
2. Securing Workpieces for Precise Drilling
Drilling can be tricky, especially on smooth or small workpieces prone to shifting. To prevent your project from slipping or spinning uncontrollably while drilling, use a strategic application of painter’s tape. Place a loop or a circle of tape, sticky side out, on the underside of your workpiece before positioning it on your drill press table or workbench. This creates a temporary, non-slip adhesion that keeps the wood firmly in place without marring the surface. This method is particularly useful for achieving accurate hole placement and ensuring safety, allowing you to focus on the drilling process itself rather than struggling to hold the material steady.
3. Crafting a Precision Glue Applicator with a Spout
Applying wood glue can sometimes be a messy affair, especially when working with intricate joinery or small surfaces that require precise application. A clever trick involves using a small square of painter’s tape to create a custom glue applicator. Simply tear off a small piece of tape, fold it into a cone shape, and secure the edges. Cut a tiny opening at the tip of the cone to create a makeshift spout. This allows for controlled delivery of glue exactly where you need it, minimizing drips, excess squeeze-out, and accidental spills onto areas that should remain glue-free. It’s perfect for dovetails, finger joints, or even delicate inlays where precision is paramount.
4. Creating Clean Glue Lines and Preventing Squeeze-Out
When gluing two pieces of wood together, excess glue (squeeze-out) can seep into the pores of the wood, making it difficult to remove cleanly and potentially affecting the absorption of stains or finishes. To combat this, apply strips of painter’s tape along the edges of your joint, parallel to the glue line, leaving just enough exposed area for the glue. After clamping, the squeeze-out will collect on the tape. Once the glue has set but is not fully cured (still slightly tacky), carefully remove the tape. This method effectively peels away the excess glue, leaving behind a perfectly clean joint that requires minimal cleanup and ensures a pristine surface for finishing.
5. Holding Small Parts During Assembly or Finishing
Working with small, fiddly parts can be challenging, whether you’re trying to glue them, sand them, or apply a finish. Painter’s tape offers an excellent temporary holding solution. For instance, you can tape small pieces to a larger scrap board, making them easier to handle and preventing them from shifting while you work. If you’re applying a finish, tape can be used to create a “handle” for tiny components, allowing you to dip or spray them without getting finish on your fingers. It’s also great for holding complex assemblies in place while the glue sets, particularly when traditional clamps are awkward or too large.
6. Acting as a Layout and Marking Aid
Accurate marking is fundamental to successful woodworking. Painter’s tape can significantly improve the clarity and precision of your layout lines. Apply tape to the area where you need to mark a cut, a drill point, or a routing path. Then, make your marks directly on the tape using a pencil, knife, or awl. The light color of the tape provides a high-contrast background, making your lines much easier to see than on bare wood. Furthermore, if you make a mistake, you can simply peel off the tape and reapply a fresh piece without damaging your workpiece, saving you from erasing or sanding away errors on the wood itself.
7. Temporary Clamping for Awkward Shapes or Light Bonds
Sometimes, traditional clamps just won’t do the trick. For oddly shaped pieces, delicate assemblies, or situations requiring only a light, temporary hold, painter’s tape can be a lifesaver. Wrap tape around small frames, box corners, or curved pieces to hold them together while the glue dries. The slight elasticity and adhesive strength of the tape provide enough pressure for many smaller gluing tasks. It’s also excellent for temporarily securing trim pieces or moldings in place before permanent fastening, allowing you to fine-tune alignment without the bulk of conventional clamps.
8. Protecting Delicate Surfaces and Edges
Protecting finished or delicate surfaces from accidental scratches, dents, or tool marks is crucial during the later stages of a project. Before routing an edge, installing hardware, or even just moving a piece around the shop, apply painter’s tape to vulnerable areas. This thin layer of protection acts as a sacrificial barrier against scrapes from clamps, jigs, or tools. It’s particularly useful when working with veneered panels, painted surfaces, or intricate carvings that are prone to damage during handling or subsequent operations.
9. Masking for Multi-Tone Finishes or Stains
Achieving crisp, clean lines when applying different colors of paint or stain is a hallmark of professional-grade work. Painter’s tape is the ultimate tool for this purpose. Apply the tape precisely along the line where you want your colors to meet. Burnish the edge of the tape firmly with your fingernail or a plastic card to create a tight seal, preventing bleed-through. Once your first coat of finish is dry to the touch, carefully remove the tape at an angle to reveal a perfectly sharp, defined line. This technique is essential for two-tone projects, decorative accents, or creating faux inlays.
10. Acting as a Dust Collection Barrier
While not a substitute for proper dust collection, painter’s tape can offer localized dust control. When making a particularly dusty cut with a circular saw or jigsaw, you can create a temporary barrier or “dam” around the cut path using tape. This can help contain sawdust to a smaller area, making cleanup easier. For specific applications like drilling into drywall or making small cuts indoors, you can even create a small pouch or pocket below the cut area with tape to catch falling debris directly, minimizing airborne dust and mess.
11. Labeling Project Parts for Organization
When working on complex projects with many similar-looking components, keeping track of each piece can be a challenge. Painter’s tape serves as an excellent temporary labeling system. Tear off small strips, write part numbers, orientations, or assembly instructions directly on them, and stick them to your wood pieces. The low-tack adhesive ensures that the labels will stay put throughout the construction process but can be easily removed without leaving residue or damaging the wood when the project is complete. This simple organizational hack saves countless hours of confusion and prevents costly mistakes.
12. Creating a Hinge for Sanding Small or Intricate Parts
Sanding small pieces by hand can be difficult and tedious. Painter’s tape can be used to create a simple “hinge” that makes the process much easier. Tape a small piece of wood to the edge of your workbench or a larger scrap piece, leaving a small gap. This allows the small piece to pivot slightly, giving you better access to all its surfaces for sanding, while keeping it securely in place. This method prevents the piece from flying away or requiring you to hold it precariously, improving both safety and sanding quality.
13. Removing Fine Dust Before Finishing
Even after thorough sanding and vacuuming, a fine layer of dust can often remain on your workpiece, which can compromise the quality of your finish. Before applying stain, paint, or varnish, give your project one final pass with painter’s tape. Gently press a piece of tape onto the wood surface and then peel it off. The adhesive will pick up any lingering dust particles, ensuring a perfectly clean surface for your finish to adhere to. This simple step can make a significant difference in achieving a smooth, flawless, and professional-looking final coat.
By incorporating these 13 ingenious uses for blue painter’s tape into your woodworking repertoire, you’ll discover a new level of precision, efficiency, and cleanliness in your workshop. This inexpensive and readily available material truly proves itself to be an indispensable ally for woodworkers of all skill levels. So grab a roll, experiment with these tips, and watch your projects transform!