
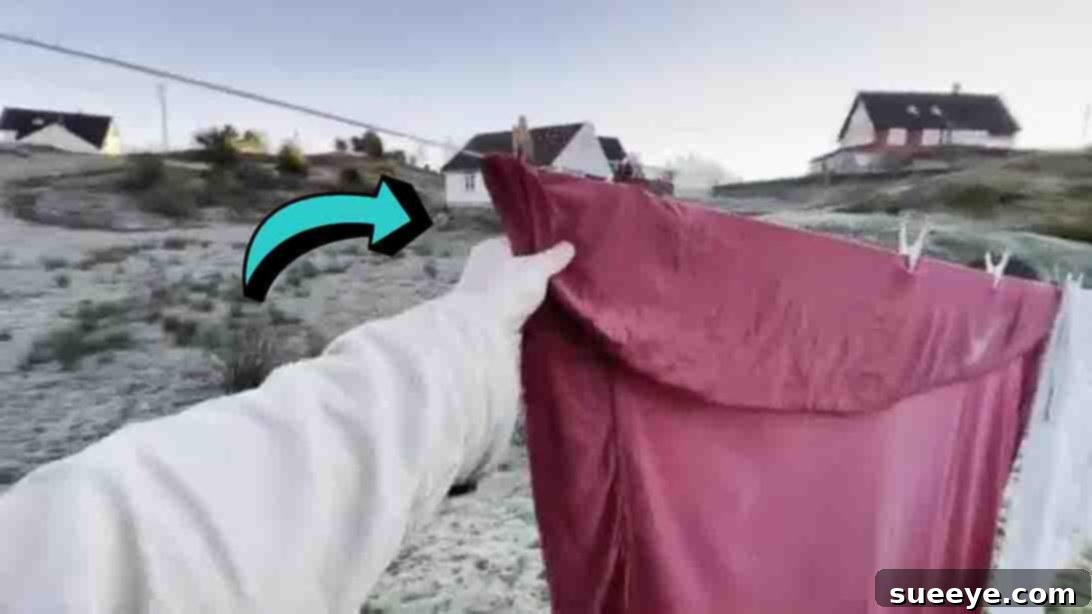
Mastering Winter Laundry: Your Ultimate Guide to Drying Clothes Outside in the Cold
The colder months often bring a unique set of challenges, and for those who cherish the fresh scent of line-dried laundry, winter can feel like a formidable adversary. Drying clothes outside when temperatures drop and the air is damp seems counterintuitive, leading many to reluctantly rely on energy-consuming indoor methods or tumble dryers. If you’ve ever found yourself staring at a perpetually damp laundry pile, wishing for a solution, you’re not alone. The struggle is real, but thankfully, there are clever techniques that allow you to continue enjoying the benefits of outdoor drying, even in the heart of winter.
I understand this dilemma firsthand. Like many, I adore the natural freshness that only outdoor drying can impart to clothes, a quality often missed when relying solely on machines. That’s why I was thrilled to discover an incredibly insightful guide from Organizing TV on YouTube. Their practical advice has completely transformed my winter laundry routine, making what once seemed impossible, now genuinely effortless. This comprehensive guide not only provides actionable steps but also helps demystify the science behind effective cold-weather drying. Prepare to revolutionize your laundry habits and embrace the crisp, clean results of outdoor drying, no matter how chilly it gets!
Why Outdoor Drying in Winter is More Possible Than You Think
Before diving into the specific steps, it’s worth understanding why outdoor drying in winter isn’t just a fantasy. While it might seem counter-intuitive, several factors can work in your favor. Low humidity, a common characteristic of cold winter air (especially on clear, crisp days), is a key ally. Dry air, even cold dry air, has a greater capacity to absorb moisture than humid air. Furthermore, wind, often present during winter, plays a crucial role by carrying away moisture-laden air from your clothes, significantly accelerating the drying process. There’s also the phenomenon of sublimation, where ice can turn directly into water vapor without first melting, allowing frozen clothes to eventually dry. This combination of factors means that with the right approach, you can still achieve beautifully dry, naturally scented laundry.
Beyond the simple act of getting clothes dry, there are significant benefits to embracing outdoor drying in winter. Firstly, it’s an incredibly energy-efficient choice, dramatically reducing your reliance on tumble dryers and lowering your utility bills. Secondly, there’s an unparalleled freshness that comes from clothes dried in the open air, a natural scent that cannot be replicated by artificial fabric softeners. Lastly, the physical act of hanging laundry can be a mindful activity, offering a small moment of connection with the outdoors, even in the colder months. Let’s explore how to harness these advantages effectively.
RELATED: How to Dry Clothes Faster in the Winter
Essential Pre-Drying Preparations for Faster Results
The journey to perfectly dry winter laundry begins even before you step outside. Optimizing your washing machine settings is the critical first step to reduce the amount of moisture your clothes carry from the start. By strategically extracting as much water as possible during the wash cycle, you significantly cut down on the time required for air drying.
Step 1: Maximize Your Washing Machine’s Spin Cycle
The single most effective pre-drying preparation you can make is to utilize your washing machine’s highest spin cycle setting. Modern washing machines are equipped with powerful centrifugal forces designed to remove excess water from your garments. A high-speed spin cycle means the drum rotates at an extremely rapid pace, pushing water out of the fabric through sheer force. This process, known as extraction, can reduce the overall moisture content in your clothes by a considerable amount, sometimes by as much as 30-50% compared to a standard spin. The less water your clothes retain after washing, the faster they will dry, especially in colder, less forgiving outdoor conditions. Always check your garment care labels to ensure they can withstand a high spin, although most everyday items are perfectly fine. This simple adjustment will dramatically shorten your outdoor drying time.
Optimizing Garment Structure for Maximum Airflow
Once your clothes have been thoroughly spun, the next step involves preparing individual garments to maximize their exposure to the drying elements – the cold, dry air and wind. This seemingly small detail can have a profound impact on how quickly and evenly your laundry dries outdoors.
Step 2: Unzip, Unbutton, and Optimize Airflow
Before you even think about hanging your clothes, take a moment to prepare each item individually. For garments with zippers, like jackets, jeans, or hoodies, make sure to completely open all zippers. Similarly, unbutton any buttons on shirts, trousers, or cuffs, and pull out any pockets that might be tucked away. The goal here is to create as much surface area as possible for the air to circulate. When zippers are closed or pockets are folded inward, they trap moisture and create dense layers that impede drying. By opening everything up, you allow cold, dry air to flow freely into and around the fabric, accelerating the evaporation process. If the clothes still feel excessively damp despite a high spin, give them a gentle but firm wring or roll them tightly in a clean towel to absorb more moisture before hanging. This extra step ensures no hidden pockets of dampness will linger, helping your clothes dry uniformly and completely.
Strategic Hanging Techniques for Efficient Winter Drying
The way you hang your clothes outdoors is just as important as how you prepare them. Thoughtful placement and proper spacing are crucial for maximizing airflow and ensuring every part of your garment gets adequate exposure to the elements, especially when dealing with colder temperatures.
Step 3: Space Your Garments Generously on the Line
This might be the most critical step when drying clothes outdoors in winter: adequate spacing. While it might be tempting to cram as many items as possible onto your clothesline, this is a significant mistake that will dramatically slow down the drying process. Each garment needs ample space around it to allow cold air to circulate freely and carry away evaporated moisture. When clothes are too close together, they create a microclimate of trapped humidity, preventing efficient drying. Aim for at least 4-6 inches (10-15 cm) between each item, or even more for thicker garments like towels or jeans. Using proper clothes pegs is also essential; they secure your clothes firmly against any winter breezes, preventing them from falling off or bunching up, which would hinder airflow. Consider hanging items like shirts and dresses on hangers directly on the line for even better air circulation, as this maintains their shape and keeps the fabric open.
Step 4: Avoid Overlapping at All Costs
Following on from the importance of spacing, it’s absolutely vital to avoid overlapping your clothes. Whether it’s a sleeve covering a trouser leg or one towel draped over another, any instance of overlapping creates a double layer of fabric. These overlapped sections will retain moisture significantly longer than single layers. This can lead to uneven drying, with some parts of the garment remaining stubbornly damp long after the rest is dry. In colder temperatures, damp spots are also more prone to freezing, further extending drying times. Always ensure each item is hung as a single, distinct layer, allowing air to reach all surfaces. This might mean doing smaller loads or having a longer clothesline, but the efficiency gained in drying time is well worth the effort. Properly hung clothes will dry faster, more evenly, and emerge fresher, reducing the risk of a musty smell from lingering dampness.
Weather Wisdom: The Key to Successful Winter Outdoor Drying
Drying clothes outdoors in winter requires a strategic approach to weather monitoring. Unlike the summer months where almost any sunny day will do, winter demands a more discerning eye for ideal conditions. Understanding the nuances of cold-weather meteorology can make all the difference between perfectly dry laundry and a frustratingly damp collection.
Step 5: Be a Weather Watcher – Plan Ahead
Successful winter outdoor drying hinges on meticulous weather planning. Before committing your freshly washed clothes to the elements, always consult a reliable weather forecast. What you’re looking for isn’t necessarily warmth, but rather low humidity, clear skies, and ideally, some wind. Days with low to zero humidity are crucial because dry air, even if cold, is far more effective at absorbing moisture from your clothes. Conversely, humid winter days, even if slightly warmer, will significantly impede drying. A good breeze or strong wind is another excellent asset, as it constantly replaces moisture-laden air around your clothes with drier air, accelerating evaporation. Aim for a forecast that predicts at least a couple of consecutive days without rain or heavy snowfall, giving your clothes ample time to dry completely. If temperatures are consistently below freezing, sunny days with a brisk wind are ideal, as the sun can aid in initial thawing and the wind helps with sublimation. Avoid hanging clothes out if fog or mist is predicted, as these conditions introduce excess moisture into the air. By becoming a diligent weather watcher, you can maximize your chances of successful and swift outdoor drying.
Advanced Tips and Troubleshooting for Winter Clothes Drying
Beyond the core steps, there are additional considerations and advanced techniques that can further enhance your winter outdoor drying experience. These tips address common challenges and help you fine-tune your approach for optimal results.
Dealing with Frozen Clothes
It’s not uncommon for clothes hung out in freezing temperatures to become stiff and frozen. Don’t panic! This is a natural part of the process. Often, the moisture in the clothes freezes first, and then, through the process of sublimation, the ice turns directly into water vapor, eventually leaving your clothes dry. If your clothes come in frozen but feel mostly dry, bring them inside and let them thaw in a well-ventilated area or near a gentle heat source (not directly on it). They will likely finish drying quickly as they warm up. The crisp, fresh feeling of clothes that have dried this way is truly invigorating.
Checking for Complete Dryness
Before bringing your clothes in, always feel them thoroughly, especially thicker seams, pockets, and waistbands. What feels dry to the touch in cold air might still retain some dampness once indoors. If they are even slightly damp, they can quickly develop a musty smell indoors. If unsure, leave them out a little longer, or bring them inside and hang them in a dry, airy spot for a final hour or two.
Optimizing for Specific Fabric Types
Thicker items like denim jeans, towels, and heavy sweaters will naturally take longer to dry. For these items, focus even more on maximum spin cycles and generous spacing. Consider hanging them in the sunniest or windiest spots. Delicate items, on the other hand, might benefit from being brought in slightly sooner to avoid potential stiffness from extreme cold, or from being hung in a more sheltered spot. Wool and other natural fibers often benefit from the fresh air but can be sensitive to prolonged exposure if not cared for properly, so always check care labels.
The Power of Wind
Never underestimate the power of a good breeze. Wind not only carries away moisture but also helps to aerate the fibers, making clothes feel softer. On a cold, windy, but dry day, clothes can often dry faster than on a warmer, still, and humid day. Position your clothesline or drying rack in a spot that catches the prevailing wind.
Consider a Covered or Sheltered Area
If you have access to a covered porch, a carport, or even an overhang, these areas can be ideal for winter drying. They protect your laundry from unexpected rain or snow while still allowing exposure to cold, dry air and wind. This offers a middle-ground solution that can be particularly effective on days when the weather is borderline.
Conclusion: Embrace the Winter Breeze for Fresher Laundry
Drying clothes outside in winter might initially seem like an arduous task, but with the right knowledge and a bit of planning, it’s entirely achievable and incredibly rewarding. By implementing the strategies shared in this guide—from maximizing your washing machine’s spin cycle to meticulously checking the weather and optimizing your hanging techniques—you can enjoy the energy savings and the unparalleled freshness that only line-dried laundry provides, even when the temperatures plummet.
The satisfaction of bringing in a basket of crisp, naturally scented clothes, knowing you’ve harnessed the elements to your advantage, is truly unique. A huge thank you to Organizing TV for sharing these invaluable insights and making winter laundry so much easier and more enjoyable. We encourage you to check out their channel for more fantastic tips and practical solutions. Don’t let the cold deter you any longer; embrace the winter breeze and transform your laundry routine!