
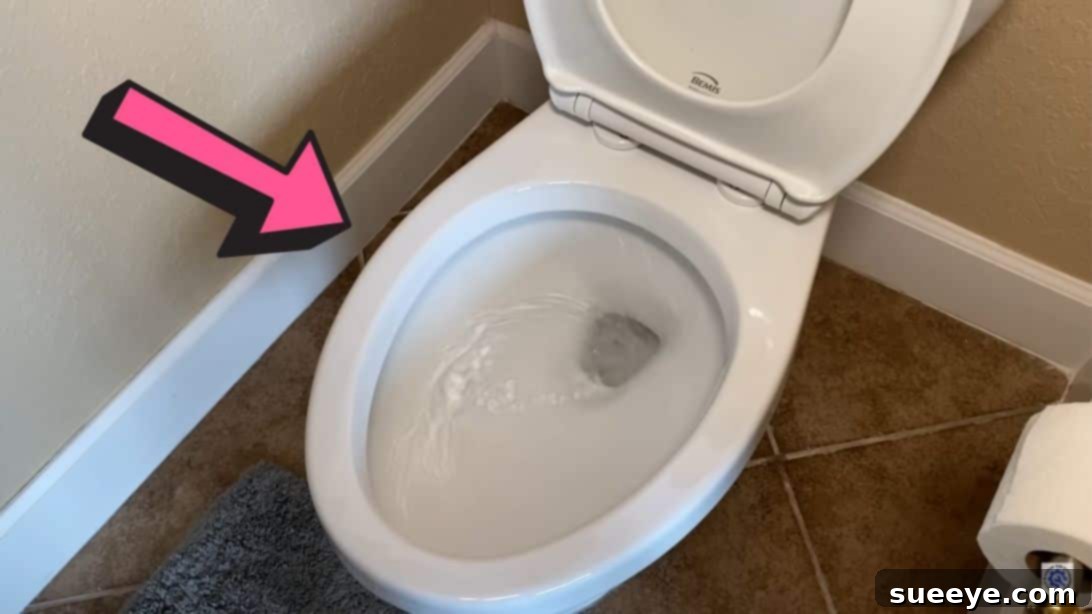
Restore Your Toilet’s Flush: The Ultimate DIY Guide to Removing Limescale and Hard Water Buildup
Is your toilet struggling with a weak, ineffective flush? If you live in an area prone to hard water, you’re likely no stranger to the frustrating issue of mineral deposits accumulating in your toilet. These stubborn calcium and lime buildups can drastically reduce your toilet’s flushing power, leading to the annoyance of multiple flushes and wasted water. The good news? You don’t need a plumber for this common problem. We’ve uncovered a remarkably simple yet incredibly effective DIY trick that will make your toilet flush like it’s brand new again. This method, inspired by the ingenious tips from Jay’s How To Channel, has proven to be a game-changer for countless homeowners. Get ready to transform your toilet’s performance with a few basic household items and a little elbow grease.
Understanding the Weak Flush Problem: The Hidden Culprit of Hard Water
A strong, efficient toilet flush relies on a precise system of water flow through small jets located underneath the rim of the toilet bowl. These jets create a powerful siphon action that clears the bowl effectively. However, when hard water is a constant presence, minerals like calcium and magnesium begin to precipitate out of the water and solidify. Over time, these minerals form hard, crusty deposits known as limescale or hard water buildup. This buildup narrows the openings of the toilet jets, restricting water flow and ultimately weakening the flush.
The severity of this problem often correlates directly with the hardness of your local water supply. Many areas in the United States and around the world have water rich in these dissolved minerals. While hard water isn’t harmful to health, it can be a nuisance for plumbing fixtures, appliances, and, as you’ve experienced, your toilet’s flushing mechanism. Beyond just a weak flush, hard water deposits can also contribute to unsightly stains and an environment conducive to bacterial growth within the rim of the toilet.
The Unbeatable Power of Vinegar: Why It’s Your Go-To Cleaner
Our solution hinges on the humble yet mighty power of white vinegar. But why is vinegar so effective against hard water deposits? The secret lies in its chemical composition. Vinegar is primarily a dilute solution of acetic acid. When acetic acid comes into contact with calcium carbonate, the main component of limescale, a chemical reaction occurs. The acid dissolves the calcium carbonate, breaking it down into soluble components that can then be easily rinsed away.
This natural, non-toxic approach is not only environmentally friendly but also much safer for your plumbing and septic system compared to harsh chemical cleaners. Unlike strong acids that can corrode pipes and seals, vinegar works gently but persistently to dissolve mineral buildup without causing damage. Its ability to penetrate and break down these stubborn deposits makes it the ideal choice for restoring your toilet’s flushing efficiency.
Essential Materials for a Powerful Toilet Flush Restoration
Before you begin, gather these simple materials. Most are likely already in your home or easily acquired from a local store:
- Duct Tape: Essential for sealing the toilet rim jets, creating a reservoir for the cleaning solution.
- Shop Vac: Crucial for thoroughly removing water from the toilet bowl and rim, ensuring the vinegar remains undiluted for maximum effectiveness.
- Garage Towel (or old rags): For drying the toilet bowl and especially the rim, preparing it for the duct tape application.
- Toilet Brush: For initial cleaning of the toilet bowl and rim.
- Soap (dish soap or toilet cleaner): To give your toilet a thorough pre-clean.
- White Vinegar: The star of our cleaning solution – a generous amount will be needed (at least a gallon is recommended for best results).
Step-by-Step Guide: How to Achieve an Unbelievable Flush
Follow these instructions carefully to ensure the best results and a toilet that flushes with renewed power.
Step 1: Diagnose the Problem – Is It a Clog or the Jets?
Before you dive into cleaning, it’s vital to confirm that your weak flush is indeed due to mineral buildup in the jets and not a deeper clog. To test this, pour a large bucket of water (approximately 1-2 gallons) rapidly into the toilet bowl. If the water drains quickly and effectively without backing up, it strongly indicates that the main drain line is clear, and the problem lies with restricted water flow from the rim jets. If the water backs up or drains very slowly, you might have a deeper clog requiring a different approach, such as a plunger or a snake.
Step 2: Thoroughly Clean Your Toilet
For the vinegar to work its magic most effectively, the toilet should be as clean as possible. Using your toilet brush and soap (or your preferred toilet bowl cleaner), scrub the entire inside of the toilet bowl. Pay particular attention to cleaning the underside of the rim where the jets are located. This pre-cleaning step removes any surface grime, bacteria, and loose debris, ensuring the vinegar can directly target the limescale buildup. Once scrubbed, rinse the bowl thoroughly with fresh water.
Step 3: Shut Off Water and Prepare for Cleaning
This step is critical for preventing dilution of the vinegar. First, locate the water supply valve behind your toilet, usually on the wall or floor, and turn it clockwise to shut off the water. Next, flush the toilet to empty as much water from the bowl as possible. With the water supply off, use your shop vac to remove any remaining water from the toilet bowl. More importantly, use the shop vac to thoroughly dry the inside of the rim and the entire bowl. The goal is to make the inside rim as super dry as possible, creating the perfect condition for the next step.
Step 4: Seal the Jets with Duct Tape
Now that the rim is dry, take your duct tape and carefully cover the entire inside perimeter of the toilet rim. Press the tape firmly against the porcelain, ensuring it creates a tight seal over all the small water jets underneath the rim. The aim is to create a watertight barrier that will trap the vinegar inside the rim’s water channel. A secure seal is essential to prevent the vinegar from leaking into the bowl prematurely, allowing it to concentrate on dissolving the mineral deposits within the jets.
Step 5: Introduce the Vinegar Solution
With the jets sealed, it’s time for the vinegar. Locate the overflow spout inside the toilet tank (it’s the tall, thin tube in the center). This spout is connected to the rim’s water channel. Carefully pour the white vinegar into this overflow spout. You’ll hear it filling the channel around the rim. Continue pouring until you can see the vinegar level rising in the tank’s overflow tube, indicating that the rim’s channel is full. Allow the vinegar to sit and work its magic for several hours, ideally 4-6 hours, or even overnight if the buildup is severe. This extended soaking time gives the acetic acid ample opportunity to break down and dissolve the stubborn limescale within the jets.
Step 6: Reapply Vinegar for Stubborn Buildup
For toilets with extremely heavy mineral deposits, a single soak might not be enough. After the initial soaking period, if you suspect the buildup is very stubborn, consider pouring additional vinegar into the overflow spout. Let it sit for a few more hours. This ensures that fresh acetic acid is continually working on any remaining limescale, maximizing the cleaning power and ensuring all deposits are thoroughly loosened or dissolved.
Step 7: The Grand Reveal – Restore Your Flush!
Once the vinegar has had sufficient time to work, carefully remove the duct tape from the rim of the toilet. As you peel it away, any loosened mineral particles might fall into the bowl. Turn the water supply valve back on by rotating it counter-clockwise. Allow the tank to refill completely. Now, it’s time for the moment of truth: flush the toilet! You should immediately notice a significant improvement in the flushing power. The water should swirl more vigorously and exit the bowl much faster, reflecting the clear, unobstructed flow from the newly cleaned jets.
Maintenance and Prevention for Lasting Performance
To keep your toilet flushing optimally and prevent future hard water buildup, consider these maintenance tips:
- Regular Vinegar Treatment: Depending on the hardness of your water, consider repeating this vinegar treatment every 3-6 months. This proactive approach will prevent significant buildup from recurring.
- Weekly Rim Cleaning: Incorporate cleaning under the rim with a toilet brush into your regular cleaning routine. This helps to dislodge new deposits before they become hardened.
- Water Softener: For homes with extremely hard water, investing in a whole-house water softener can be a long-term solution to protect all your plumbing fixtures and appliances from mineral damage.
- Pour Vinegar into Overflow: As a lighter maintenance step, occasionally pour a cup or two of vinegar into the overflow tube and let it sit for an hour before flushing, even without taping the jets.
Conclusion: A Powerful Flush, Effortlessly Achieved
Dealing with a weak toilet flush can be incredibly frustrating, but as this guide shows, the solution doesn’t have to be complicated or expensive. By understanding the root cause – hard water mineral buildup – and leveraging the simple yet powerful properties of vinegar, you can restore your toilet’s flushing power to its original efficiency. This DIY trick is not only cost-effective and environmentally friendly but also remarkably easy for anyone to accomplish. Say goodbye to the annoyance of multiple flushes and hello to a reliably powerful toilet. Enjoy the satisfaction of a perfectly flushing toilet once again!