
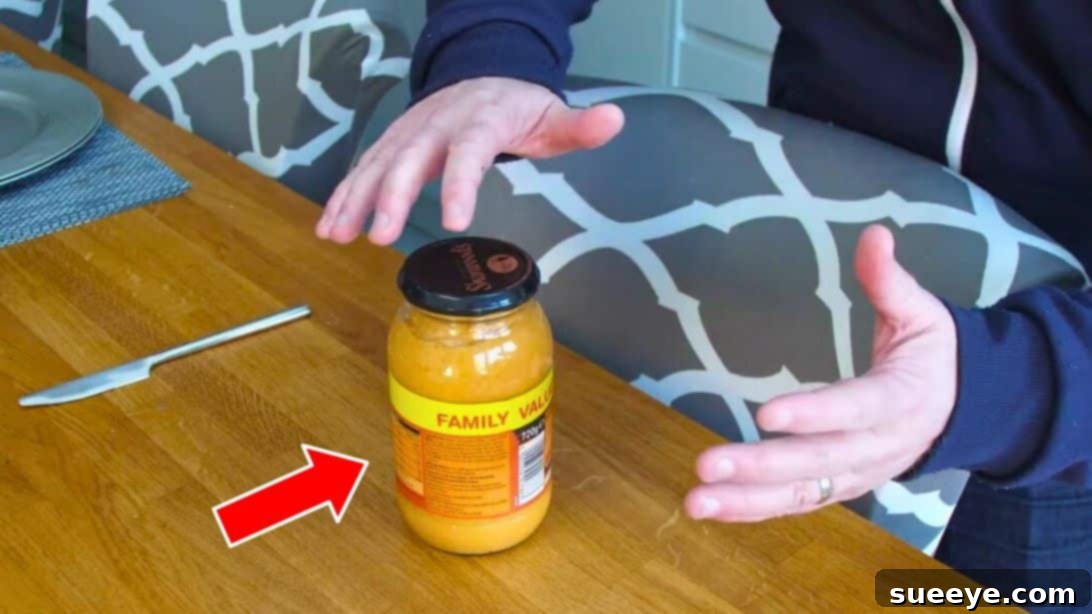
Few kitchen frustrations rival the struggle with a stubbornly tight jar lid. Whether you’re craving pickles, pasta sauce, or a refreshing jam, that unyielding seal can quickly turn a simple meal prep into a battle of wills. You twist, you turn, you apply brute force, sometimes even banging the jar against a counter – all to no avail. This common predicament isn’t just annoying; it can be downright painful and even lead to accidental spills or injuries. Many of us have our go-to tricks, like tapping the jar’s bottom or running hot water over the lid, but these methods often prove inconsistent or take too much time, especially when hunger strikes.
The reason these lids are so difficult to budge lies in a clever mechanism designed for your food’s safety and longevity: the vacuum seal. Manufacturers vacuum seal jars to ensure the contents remain fresh, prevent spoilage, and avoid leaks during transport. This process typically involves filling jars with hot food or liquid and then sealing them. As the contents cool, the air trapped between the food and the lid contracts, creating a powerful vacuum inside the jar. This pressure difference between the inside and outside of the jar is what makes the lid so incredibly secure, almost as if it’s glued on.
RELATED: Master More Kitchen Tricks: How to Open a Beer Bottle Without an Opener
While the vacuum seal is crucial for food preservation, it presents a significant challenge when it’s time to actually open the jar. This is where clever kitchen hacks come into play, offering solutions that don’t rely on sheer strength or risky maneuvers. Imagine a method so simple, so effective, that it releases that stubborn seal in mere seconds, requiring minimal effort. Such a hack exists, and it’s a game-changer for anyone who has ever wrestled with a recalcitrant jar lid.
The Genius Knife Hack: Effortless Jar Opening Explained
Among the myriad of home remedies for tight jar lids, one stands out for its speed, simplicity, and effectiveness. This ingenious technique, popularized by channels like Vivid Photo Visual, requires nothing more than a small, common kitchen utensil: a dull cutlery knife. Forget straining your muscles or risking a mess; this method targets the very core of the problem – the vacuum seal – and releases it with precision. Once you’ve learned and practiced this hack a few times, you’ll find yourself opening jars in practically a second, transforming a frustrating chore into a quick, satisfying task.
This method works by strategically introducing a tiny amount of air into the jar, thereby equalizing the pressure inside and out. It doesn’t damage the lid or the jar when done correctly, and it’s remarkably safer than using excessive force. The key is to understand where and how to apply the knife to achieve this crucial pressure release without compromising your safety or the integrity of the jar. It’s a testament to simple physics being applied practically in the kitchen, making it one of the most effective and easiest ways to open a jar without much effort.
Here’s another hack you might want to try: Streamline Your Kitchen: Genius Pouring Hack to Avoid Spilling
What You Need to Master the Jar Opening Trick
- A dull cutlery knife with a rounded top (safety first!)
The choice of knife is critical here. Avoid sharp knives at all costs, as they can slip, cause injury, or even damage the jar lid irreparably. A dull butter knife or a similar utensil with a rounded tip is ideal because it provides the necessary leverage without the danger of cutting yourself or the lid’s seal in an uncontrolled manner. This ensures that the process remains safe and efficient, allowing you to focus on releasing the vacuum rather than worrying about accidents.
How to Easily and Safely Open a Tight Jar Lid: Step-by-Step Guide
Follow these simple steps to conquer even the most stubborn jar lids with confidence and ease. Remember, precision and a gentle touch are more effective than brute force here.
Step 1: Inspect the Jar Lid for Crimp Marks
Before you begin, take a moment to carefully examine the underside edge of the jar lid where it meets the glass. You’ll notice small indentations or crimp marks along this edge. These are often manufacturing points where the lid is sealed onto the jar. Identifying these marks is crucial because they represent potential weak points or areas where you can most effectively introduce air without struggling against the thickest parts of the lid’s seal. It’s about finding the path of least resistance to break that powerful vacuum.
Step 2: Gently Apply Pressure to Break the Seal
Once you’ve located a suitable crimp mark or a similar point along the lid’s edge, position the tip of your dull cutlery knife right next to it, aiming for the small space where the lid slightly overhangs the glass. With the knife firmly in place, gently but steadily twist or turn the knife handle, using it as a lever. You’re not trying to pry the lid off forcefully at this stage. Instead, the goal is to create a tiny gap, just enough to allow a whisper of air to enter the jar. If done correctly, you’ll often hear a distinct “pop” or “hiss” sound. This sound is the audible confirmation that the vacuum seal has been broken, and the internal pressure has equalized with the outside air. The moment you hear that sound, the hardest part is over.
Step 3: Effortlessly Remove the Lid
With the vacuum seal released, the jar lid will now feel significantly looser. You should be able to twist it off with remarkable ease, often requiring no more than a gentle turn of your wrist. The days of grunting, straining, and resorting to extreme measures are officially behind you. This method not only saves your hands and wrists from discomfort but also ensures that the jar and its contents remain undisturbed and mess-free. It’s a testament to the power of understanding the problem (the vacuum) and applying a precise, simple solution.
Safety First: Important Considerations When Opening Jars
While the knife hack is incredibly effective, safety should always be your top priority. Using the wrong tool or technique can lead to injuries or damage. Here are some critical safety guidelines:
- Use a Dull Knife Only: As repeatedly emphasized, a sharp knife is a hazard. It can slip easily, causing deep cuts, or chip the glass jar. Stick to a dull butter knife or a similar utensil with a rounded edge.
- Firm Grip on the Jar: Ensure the jar is stable on a non-slip surface or held firmly with a non-slip cloth or rubber gripper. This prevents the jar from twisting or falling.
- Keep Fingers Clear: Position your non-dominant hand away from where the knife tip is applied. Always maintain a clear path for the knife.
- Gentle Leverage: The goal is a subtle pressure release, not forceful prying. Too much force can bend the lid, damage the seal for future use, or even cause the knife to slip.
- Listen for the “Pop”: The sound is your cue. Once you hear it, you know the vacuum is broken, and no further prying is necessary.
- Inspect the Lid: After opening, quickly inspect the lid for any sharp edges or deformities if you plan to reuse it. If it’s significantly bent or damaged, discard it.
Beyond the Knife: Exploring Other Effective Jar Opening Methods
While the knife hack is a stellar solution, it’s always good to have a few other tricks up your sleeve for different situations or preferences. Here are some other popular and effective methods:
The Hot Water Method
This classic technique relies on thermal expansion. Run the jar lid under hot tap water for about 30 seconds to a minute. The heat causes the metal lid to expand slightly faster than the glass jar, breaking the seal. Once expanded, the lid can often be twisted off with less effort. Be cautious of steam and hot water, and use a towel for grip if needed. This method is effective but takes a bit more time than the knife hack.
Rubber Gloves or a Damp Cloth
Sometimes, the issue isn’t the vacuum seal as much as a lack of grip. If your hands are slippery or the lid is smooth, a pair of rubber dishwashing gloves or a damp kitchen towel can provide the extra friction needed. The improved grip allows you to apply more twisting force without your hands slipping, often enough to overcome the seal or rotate the lid effectively. This is a great first step before resorting to more involved methods.
Specialized Jar Openers
For those who frequently struggle with jar lids or have limited hand strength, investing in a specialized jar opener can be a wise choice. These tools come in various designs:
- Rubber Grippers: Simple flat rubber discs or cones that enhance grip.
- Lever-Style Openers: Devices that clamp onto the lid and provide mechanical leverage to twist it open.
- Under-Cabinet Openers: Fixed devices installed under a cabinet, allowing you to wedge the lid into a V-shaped gripper and twist the jar with both hands.
These tools are designed to make jar opening effortless and are particularly beneficial for individuals with arthritis or carpal tunnel syndrome.
The Tapping Method (with caution)
Tapping the edge of the lid firmly against a countertop or using the back of a spoon to hit the lid’s rim in several spots can sometimes work. The sudden impact can slightly deform the lid or jar, momentarily breaking the vacuum seal. However, this method is less predictable, can damage the jar or lid, and carries a risk of chipping the glass if done too forcefully. It’s often seen as a last resort or an inconsistent technique compared to the knife hack.
Preventative Measures for Future Jar Opening Ease
While having effective opening hacks is great, preventing overly tight lids in the first place can save you a lot of trouble. Here are a few tips:
- Wipe Rims Clean: Before sealing, always ensure the jar’s rim and the lid’s underside are free from food residue, especially sticky substances like jam or honey, which can create a stronger bond.
- Avoid Overtightening: When closing jars, particularly those for refrigeration, tighten them securely but avoid excessive force. A snug fit is usually sufficient to prevent spills without creating an extreme vacuum.
- Proper Storage: Store jars in a cool, dry place. Extreme temperature fluctuations can sometimes affect the seal’s integrity, making it either too tight or too loose.
Conclusion: Conquering the Tight Jar Lid Once and For All
The days of battling stubborn jar lids are officially over. With the brilliant knife hack – a method that leverages simple physics to release the vacuum seal – you now possess the knowledge to open almost any jar with remarkable ease and speed. This technique, combined with a clear understanding of other effective and safe methods, empowers you to navigate your kitchen with greater confidence and less frustration.
Remember, the key to effortless jar opening lies in understanding the vacuum seal and applying the right, safe pressure to break it. By opting for a dull cutlery knife and following the precise steps outlined, you’ll not only save time and effort but also ensure a safer kitchen experience. Say goodbye to strained wrists and spilled contents, and hello to a world where opening a jar is no longer a formidable challenge, but a quick, simple action.