
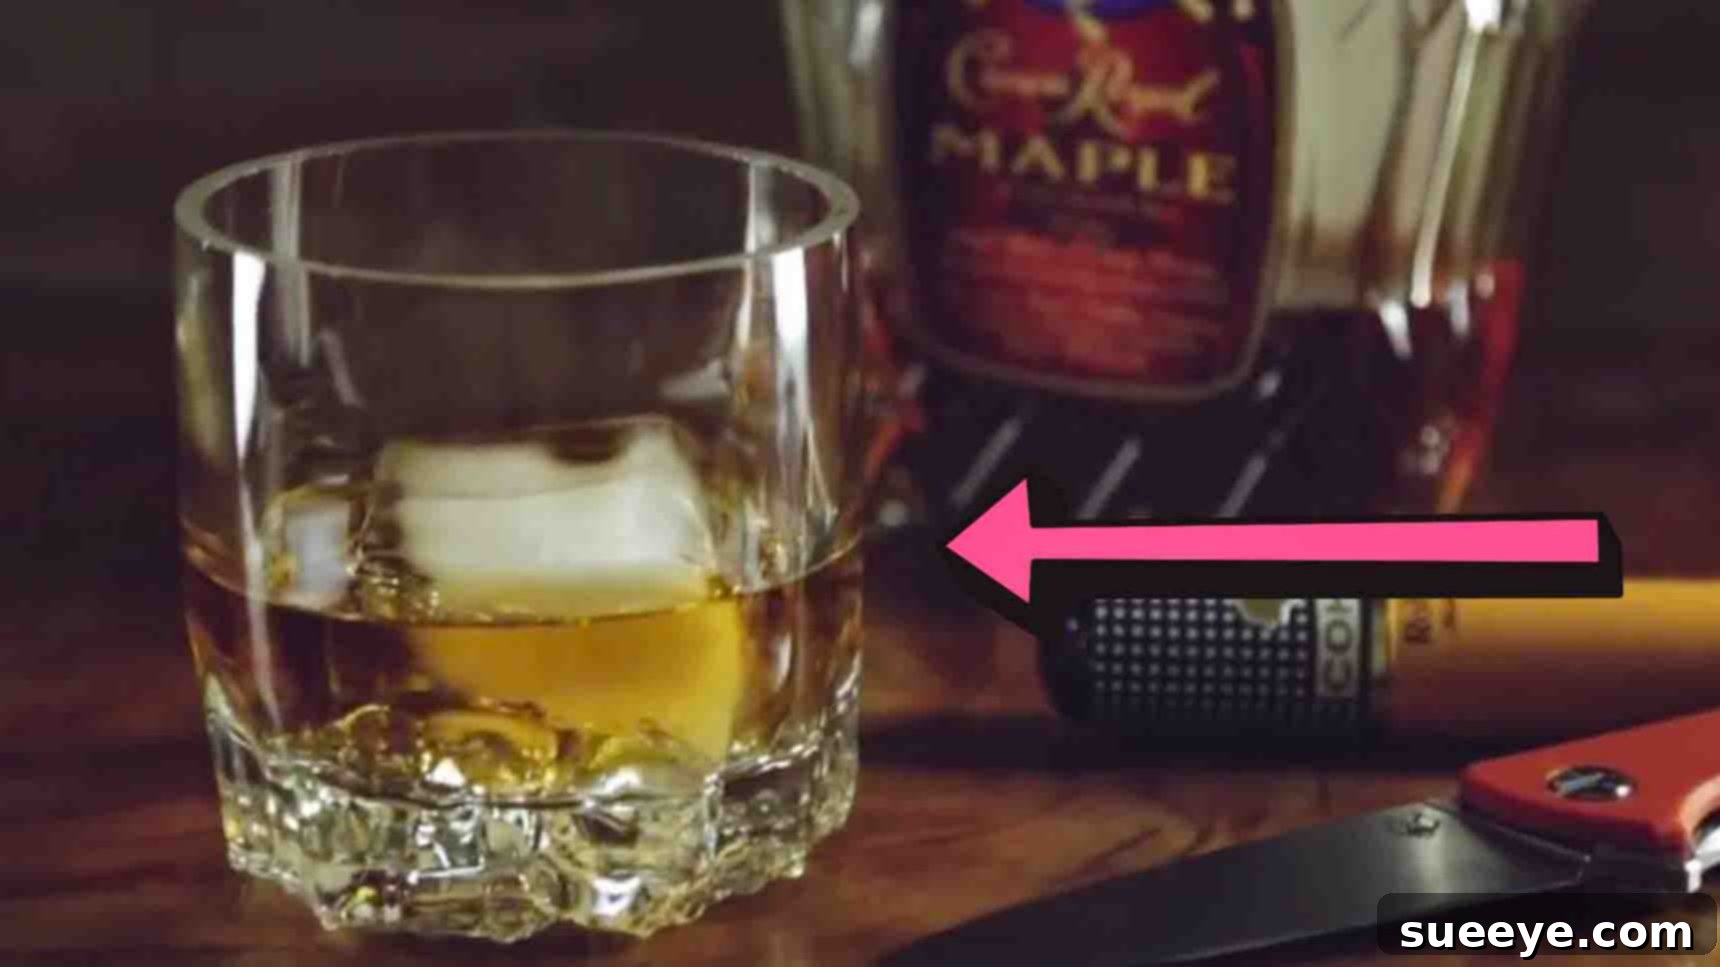
Transform Old Wine Bottles into Unique Whiskey Glasses: An Easy DIY Guide
Are you looking for a creative way to give new life to your empty wine bottles? Imagine turning those elegant glass containers into sophisticated whiskey glasses or stylish tumblers! Upcycling wine bottles isn’t just an eco-conscious choice; it’s also an incredibly rewarding DIY project that allows you to create personalized, functional pieces for your home or as thoughtful gifts. This comprehensive guide will walk you through the process of cutting wine bottles efficiently and safely, using a technique that requires minimal materials and delivers impressive results.
Inspired by the brilliant minds at Inspire To Make on Youtube, this tutorial empowers you to craft your own set of unique glassware. Prepare to be amazed by how simple it is to transform what would otherwise be considered waste into beautiful, usable items. Whether you’re a seasoned crafter or a complete beginner, our detailed, step-by-step instructions ensure a smooth and enjoyable crafting journey. Let’s dive in and create something extraordinary!
Why Upcycle Wine Bottles? The Benefits of Sustainable Crafting
Before we gather our tools, let’s briefly touch upon the numerous advantages of embarking on a wine bottle upcycling project:
- Environmental Impact: Every bottle you upcycle is one less bottle in a landfill or requiring energy-intensive recycling processes. It’s a small but significant step towards reducing waste and promoting sustainability.
- Cost-Effective: Why buy new glassware when you can create stunning pieces for free (or nearly free) from items you already have? This project is incredibly budget-friendly.
- Unique & Personalized: Store-bought glasses often lack character. Your DIY whiskey glasses will be one-of-a-kind, reflecting your personal style and craftsmanship. They make fantastic conversation starters!
- Creative Outlet: Crafting provides a wonderful way to express creativity and develop new skills. The satisfaction of seeing your finished product is immense.
- Thoughtful Gifts: Handmade gifts carry a special meaning. A set of upcycled whiskey glasses makes a truly unique and memorable present for friends and family.
Essential Materials and Tools for Your DIY Project
One of the best aspects of this DIY project is that it doesn’t require a workshop full of specialized tools. Most items are easily accessible, and some you might already own. Here’s what you’ll need:
Materials:
- Empty Wine Bottle(s): Choose bottles with a sturdy, thick glass. Darker, heavier bottles often yield the best results. Ensure they are thoroughly cleaned and all labels are removed. Soaking them in hot, soapy water usually helps peel off stubborn labels.
- Boiling Water: Essential for the thermal shock process that separates the glass cleanly.
- Cold Tap Water: Used in conjunction with boiling water to create the necessary thermal stress.
- Sandpaper (Various Grits): You’ll need an assortment, starting from coarse (e.g., 80-120 grit) to medium (e.g., 220-400 grit) and fine (e.g., 600-1000 grit or higher) to achieve a smooth, safe rim. Wet/dry sandpaper is highly recommended.
Tools:
- A Jig (or a DIY Bottle Cutter): This crucial tool helps you create a perfectly straight and consistent score line around the bottle. You can purchase commercial glass bottle cutters, or you can easily construct a simple jig yourself with some scrap wood and bolts (as often demonstrated in YouTube tutorials like the one linked). A good jig ensures accuracy and makes the scoring process much simpler.
- Glass Cutter: The heart of this operation! A standard carbide-tipped glass cutter, often used for stained glass, works perfectly. Ensure the wheel is sharp and rotates freely.
- Safety Gloves: Protect your hands from potential cuts, especially when handling freshly cut glass.
- Eye Protection: Absolutely essential. Small glass shards can fly, so always wear safety glasses to protect your eyes.
- Kettle or Pot: To boil water.
- Sink with Running Cold Water: For the thermal shock and continuous cooling.
- Masking Tape (Optional): Can be used as a guide for scoring if you don’t have a jig, though a jig is highly recommended for precision.
Step-by-Step Directions: Crafting Your Whiskey Glasses
With all your materials and tools at hand, you’re ready to begin! Remember to work slowly and methodically, prioritizing safety at every stage.
Step 1: Preparing Your Workspace and Scoring the Bottle
The first crucial step is to create a clean, stable score line around your wine bottle. This line will determine where the bottle ultimately breaks.
- Set Up Your Jig: If using a DIY jig, ensure it’s securely set up on a stable surface. Adjust the jig to the desired height for your whiskey glass. Most whiskey glasses are shorter than typical tumblers, so aim for a cut line that creates a comfortable drinking height.
- Position the Wine Bottle: Place the clean wine bottle firmly against the jig’s stopper or guide.
- Make the Score Line: With your glass cutter, apply steady, firm pressure to the bottle’s surface where you want the cut. Rotate the bottle slowly and evenly against the glass cutter. The goal is to create a single, continuous, and clear score line all the way around the bottle. You should hear a faint “scratching” sound as the cutter does its work. Do not go over the score line multiple times, as this can create microscopic fractures that lead to an uneven break. One clean pass is ideal.
- Prepare Water: Once the score line is complete, set the bottle aside. Begin boiling water in your kettle or pot, and ensure your cold tap water is running nearby and ready.
Step 2: The Thermal Shock Separation Technique
This is where the magic happens! The rapid change in temperature will cause the glass to expand and contract along the score line, leading to a clean break.
- Prepare for Thermal Shock: Ensure you are wearing safety gloves and eye protection. Have both the boiling water and running cold tap water immediately accessible.
- Apply Cold Water First: Quickly hold the scored bottle under the running cold tap water, allowing the cold water to flow over the score line for about 10-15 seconds. This pre-cools the glass.
- Pour Boiling Water: Immediately after the cold water, carefully and steadily pour the boiling water directly and evenly over the score line. Rotate the bottle slowly to ensure the hot water hits the entire circumference of the score. Continue pouring for about 15-20 seconds.
- Alternate Waters: Immediately switch back to running cold water over the score line. You might hear a faint “ping” or “snap” as the glass separates. If it doesn’t separate after a few seconds, alternate again: hot water, then cold water, continuing this cycle until the bottle cleanly breaks into two pieces. Be patient; it might take a few cycles, especially for thicker bottles.
- Handle with Care: Once separated, carefully place the two pieces down. The edges will be very sharp.
Step 3: Smoothing and Finishing the Edges
The freshly cut edges are extremely sharp and unsafe for drinking. This step is crucial for transforming your cut bottle into a functional and safe whiskey glass.
- Initial Grinding (Coarse Sandpaper): While wearing gloves and eye protection, take your coarsest grit sandpaper (e.g., 80 or 120 grit). Under a stream of cold water (wet sanding is essential to prevent glass dust and lubricate the process), gently sand the sharp edge of your new glass. Use a circular motion, or move the glass edge back and forth across the sandpaper placed on a flat surface. This step will quickly remove the most dangerous sharp points and create a slightly beveled edge. Continue until the very sharp edge is gone.
- Refining with Medium Grit: Switch to a medium-grit sandpaper (e.g., 220 or 400 grit). Continue wet sanding, focusing on smoothing out any imperfections left by the coarser grit. The edge should start to feel smoother to the touch.
- Final Polishing (Fine Grit): Progress to fine-grit sandpaper (e.g., 600, 800, or even 1000+ grit). This stage is about achieving a silky-smooth, polished finish that is safe and comfortable to drink from. The goal is to make the rim feel as smooth as a factory-made glass.
- Inspect and Clean: Once you’re satisfied with the smoothness, thoroughly rinse the glass to remove any glass dust. Run your finger carefully around the rim (still wearing gloves for the first check!) to ensure there are no remaining sharp spots. If you find any, return to sanding with the appropriate grit.
Congratulations! You’ve successfully transformed an old wine bottle into a brand-new whiskey glass.
Important Safety Tips for Glass Cutting
Working with glass, especially hot water and sharp edges, requires caution. Always keep these safety tips in mind:
- Wear Eye Protection: Always wear safety glasses or goggles. Glass can shatter or tiny shards can fly.
- Use Gloves: Heavy-duty work gloves will protect your hands from sharp edges, especially during the sanding process.
- Work in a Well-Ventilated Area: While wet sanding minimizes glass dust, it’s still good practice to work in a well-ventilated space.
- Be Careful with Boiling Water: Use oven mitts or a towel to handle hot kettles or pots. Pour boiling water slowly and carefully to avoid splashes or burns.
- Dispose of Broken Glass Safely: Wrap any broken or discarded glass pieces in newspaper or cardboard before placing them in the trash to prevent injury to yourself or waste handlers.
- Patience is Key: Rushing can lead to accidents and imperfect results. Take your time with each step.
Tips for Success and Troubleshooting
- Practice Makes Perfect: If this is your first time, consider practicing on a few scrap bottles. You’ll quickly get a feel for the right pressure when scoring and the optimal hot/cold water technique.
- Consistent Score Line: The success of the thermal shock method hinges on a single, continuous, and even score line. Any gaps or overlaps can lead to an uneven break.
- Even Thermal Shock: Ensure the hot and cold water hits the entire circumference of the score line evenly. Rotate the bottle steadily.
- Uneven Break? If the bottle doesn’t break cleanly or the edge is too jagged, it might be challenging to sand perfectly. It’s often better to discard it and try again with a new bottle and a more precise score.
- Get Creative with Designs: Once you’re comfortable with the basic technique, experiment with different types of bottles (e.g., beer, soda, other liquor bottles) or even decorate your finished glasses with glass paint or etching cream.
Frequently Asked Questions (FAQs)
- Can I use any glass bottle?
- While theoretically possible, thicker glass bottles (like wine bottles, particularly those for reds) generally work best due to their robustness and ability to withstand the thermal shock more predictably. Thinner glass bottles might be more prone to shattering irregularly.
- How long does the sanding process take?
- The sanding process can take anywhere from 10 to 30 minutes per glass, depending on the initial cut’s roughness and how smooth you want the final rim to be. Patience and consistent wet sanding are crucial.
- Is it safe to drink from these glasses?
- Absolutely! Once the rim is thoroughly sanded and polished to a smooth, non-sharp finish, it is perfectly safe to drink from. Treat them like any other glassware.
- Can I put my DIY whiskey glasses in the dishwasher?
- Yes, once fully finished and smooth, these glasses are generally dishwasher safe. They are made from glass and designed to withstand temperature changes similar to commercial glassware.
- What if my bottle doesn’t break?
- If the bottle doesn’t break after several hot/cold cycles, the score line might not be deep or consistent enough. You can try to re-score the bottle (being careful to align with the original score) or, for best results, start with a new bottle and focus on making a flawless score line.
Conclusion: Enjoy Your Handcrafted Whiskey Glass!
There you have it – a complete guide to turning an ordinary wine bottle into an extraordinary whiskey glass. This DIY project is more than just a craft; it’s a statement about sustainability, creativity, and the joy of making something with your own hands. The next time you host a gathering, you can proudly present your unique, handcrafted glassware, knowing the story behind each piece.
So, gather your materials, embrace the crafting spirit, and get ready to enjoy your favorite beverage in a glass that’s truly yours. Don’t forget to share your creations and inspire others to embark on their own upcycling adventures! Happy crafting!