
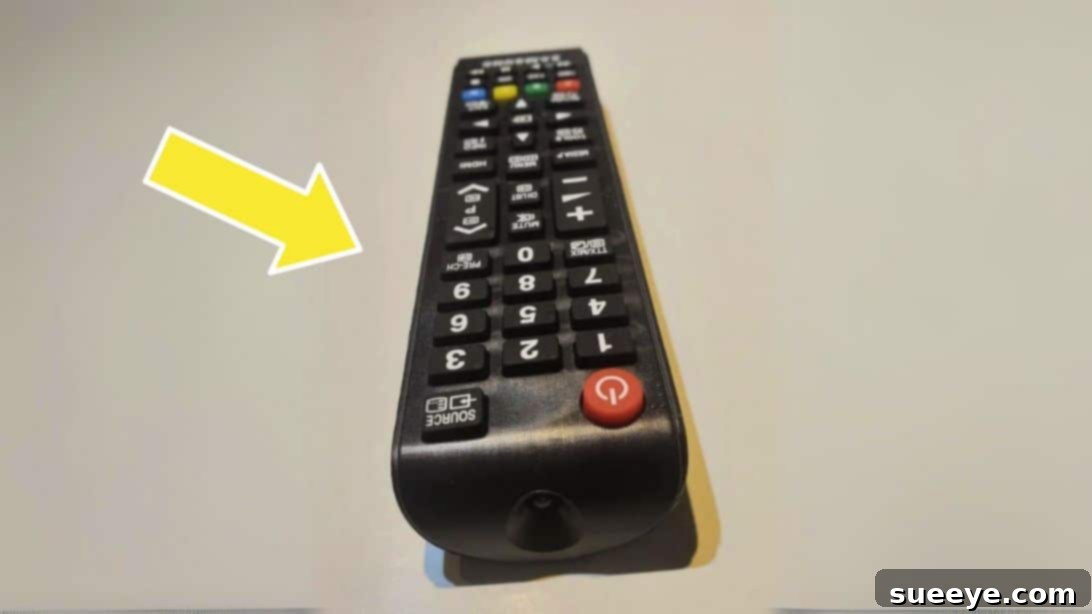
There’s nothing quite as frustrating as settling down for a relaxing evening, only to find your remote control utterly unresponsive. Before you toss it aside in despair or make an urgent trip to the store for new batteries, pause for a moment. What if we told you there are incredibly simple, effective, and often free tricks that can bring your seemingly dead remote back to life in mere seconds? You might be surprised to learn that many remote control issues stem from minor battery-related problems that are easily fixable with a bit of DIY know-how.
We’ve all been there: the dreaded blinking light, the unresponsive buttons, the feeling of utter helplessness. But fret not! We’re about to share a game-changing hack, inspired by insightful creators like Pam’s POV, that often works wonders even when you suspect your batteries are completely drained. This simple friction trick, alongside other clever battery hacks, can save you time, money, and the hassle of replacing batteries unnecessarily. Let’s delve into the magic behind these fixes and empower you to troubleshoot your remote control with confidence.
The Friction Rub Hack: Uncovering the Mystery of Dead Remotes
The primary and most astonishing hack involves a quick rub of your batteries. It sounds almost too good to be true, doesn’t it? Yet, this simple method has revived countless remote controls. The secret lies in a common, yet often overlooked, culprit: battery terminal corrosion. Over time, a thin, often invisible layer of oxidation or corrosion can develop on the metal terminals of your batteries and the contacts within your remote. This layer acts as an insulator, obstructing the flow of electricity from the battery to the remote’s circuitry, making your remote appear dead.
As one insightful Reddit user explained, the friction generated by rubbing the batteries vigorously helps to scrape away this insulating layer. This physical abrasion momentarily cleans the contact points, allowing for a better, more conductive connection between the battery and the remote’s internal components. The slight heat generated by the friction can also temporarily improve the chemical reaction within the battery, giving it a brief surge of power. While this isn’t a permanent solution for truly dead batteries, it’s an incredibly effective temporary fix that often grants you several more hours or even days of use, giving you ample time to purchase replacements.
This hack is not just a quick fix; it’s a smart diagnostic tool. If the friction rub brings your remote back to life, you know the problem was likely related to poor battery contact or minor corrosion, not a fundamental issue with the remote itself. This empowers you to address the root cause, whether it’s by properly cleaning the terminals or simply knowing that your batteries are truly on their last leg.
Step-by-Step: How to Perform the Friction Rub Hack
Ready to try this ingenious fix? It’s incredibly straightforward and requires no tools whatsoever. Follow these simple steps to revive your unresponsive remote control:
- Access the Batteries: Carefully slide open or remove the battery compartment cover on the back of your remote control. This will expose the batteries currently inside.
- The Friction Rub: Take out each battery. Using your thumb or finger, firmly rub the cylindrical body of each battery back and forth, creating friction, for about 5-10 seconds. Focus on the ends (the positive and negative terminals) where contact is made, but don’t neglect the sides either. The goal is to generate a bit of heat and physically dislodge any microscopic corrosion or film.
- Reinsert and Test: Once you’ve rubbed both batteries, place them back into the remote control, ensuring they are oriented correctly (matching the positive and negative indicators). Snap the battery cover back into place.
- Check for Functionality: Point your remote at your device and try pressing a few buttons. In many cases, you’ll find your remote springs back to life! If it stops working again after a while, simply repeat the process. This indicates your batteries are truly running low and need to be replaced soon, but you’ve bought yourself some precious time.
Beyond the Rub: Other Ingenious Battery Hacks for Your Remote
The friction rub is just one arrow in your DIY remote repair quiver. Here are a couple more clever tricks that can extend the life of your batteries and get you through an emergency:
The Battery Rotation Trick: A Few Extra Days of Power
This is a personal favorite for those moments when you’re just not ready to commit to finding new batteries. When your remote starts acting sluggish or intermittently failing, simply remove the batteries, rotate them (flip them end-for-end, or even swap their positions), and reinsert them. While it might seem counter-intuitive for perfectly cylindrical batteries, this simple act can often buy you a few extra days of remote control functionality.
Why does it work? Similar to the friction rub, rotating batteries can improve contact with the remote’s terminals, especially if there’s minor corrosion or slight manufacturing imperfections in either the battery or the remote. It can also slightly redistribute the remaining chemical charge within the battery, allowing the remote to draw on previously less-utilized areas of the battery’s energy. It’s a temporary reprieve, but a welcome one when you’re in a pinch!
The AAA to AA Conversion: An Emergency Foil Hack
Imagine this: your remote uses AA batteries, but all you have are AAA batteries. Don’t despair! You can actually use an AAA battery in a device that requires an AA battery with the help of a small piece of aluminum foil. This hack is incredibly useful in a bind, especially when you’re far from a store. All you need is a small strip of foil to bridge the gap and make up for the shorter length of the AAA battery.
The principle is simple: AA and AAA batteries both provide 1.5 volts; the difference is their physical size and capacity (AA batteries hold more charge). The foil acts as a conductor, completing the circuit where the AAA battery falls short in length. If you’ve never heard of this brilliant hack, you’re in for a treat. It’s surprisingly effective and can be a true lifesaver for all sorts of devices, not just remote controls. For a detailed visual guide on how to perform this clever trick, check out this comprehensive tutorial: How to Use AAA Batteries When You Need AA Batteries.
The Pencil Eraser/Scraping Hack: Targeted Corrosion Removal
Building on the idea of removing corrosion, another effective method involves using a pencil eraser or a gentle scraping tool. This is particularly useful if the friction rub isn’t enough, or if you visually identify clear signs of corrosion on the battery terminals. A pencil eraser can be surprisingly effective at gently abrading off minor corrosion without damaging the metal. Alternatively, a small, non-abrasive tool can carefully scrape away any buildup.
This method focuses on achieving a cleaner, more reliable electrical contact. You can learn more about similar inexpensive battery repair tricks, including the pencil method, by visiting: Inexpensive Battery Remote Control Hack Using a Pencil.
Proactive Measures: Maintaining Your Remote and Batteries
While these hacks are fantastic for emergencies, prevention is always better than cure. Taking a few proactive steps can significantly extend the life of your remote control and batteries, reducing your reliance on these quick fixes:
Cleaning Battery Corrosion on Electronics
If you notice any visible green, white, or blue crystalline buildup around your battery terminals, that’s battery corrosion, and it needs to be cleaned. Corrosion significantly hinders electrical conductivity and can eventually damage your remote. Cleaning it regularly is crucial for optimal performance and longevity.
Here’s a safe way to clean battery corrosion:
- Safety First: Always wear gloves and eye protection when dealing with battery corrosion, as it can be acidic or alkaline and irritating to the skin.
- Remove Batteries: Take out all batteries from the remote.
- Identify Type: Most household batteries (AA, AAA, C, D, 9V) are alkaline. If the corrosion is white and powdery, it’s likely alkaline leakage. For alkaline corrosion, use a cotton swab or old toothbrush dipped in a small amount of white vinegar or lemon juice. The acid in these solutions neutralizes the alkaline salts.
- Gently Scrub: Carefully scrub the corroded areas on the remote’s terminals until the residue is gone.
- Dry Thoroughly: Use a clean, dry cloth or paper towel to wipe away any moisture. Ensure the terminals are completely dry before reinserting batteries. For more detailed instructions, consider reading: Clean Battery Corrosion on Electronics.
Proper Battery Storage
Incorrect battery storage can accelerate corrosion and self-discharge. Store batteries in a cool, dry place at room temperature. Avoid extreme heat or cold, which can damage them. Keep them in their original packaging or in a dedicated battery organizer to prevent them from touching other metal objects, which can cause short circuits and leakage.
Choosing the Right Batteries
For most remote controls, standard alkaline batteries (like Duracell or Energizer) offer a good balance of cost and performance. While rechargeable batteries (NiMH) are environmentally friendly and save money in the long run, they sometimes have a slightly lower voltage (1.2V vs. 1.5V for alkaline), which can cause some devices to act erratically when the charge is low. Always refer to your remote’s manual for specific battery recommendations.
When All Else Fails: Troubleshooting Beyond Batteries
If you’ve tried all the battery hacks and cleaning tips, and your remote still refuses to cooperate, the problem might extend beyond the batteries. Here are a couple of other things to consider:
- Check the Infrared (IR) Emitter: Most remotes use an IR signal. You can check if your remote is sending a signal using your smartphone camera. Point the remote at your phone’s camera (not the selfie camera) and press a button. If you see a small light flashing on your phone screen, the remote is transmitting a signal, meaning the issue might be with the device you’re trying to control, not the remote itself.
- Physical Damage: Has the remote been dropped or exposed to liquids? Internal components or circuit boards can be damaged, leading to complete failure. Unfortunately, these issues are often harder to fix without professional help or replacing the remote.
Conclusion: Empowering Your Remote Control Experience
Dealing with a non-responsive remote control can be a minor inconvenience, but with these simple yet powerful hacks, it doesn’t have to be a major headache. From the quick friction rub that tackles insidious corrosion to the ingenious AAA-to-AA foil conversion, you now possess a toolkit of solutions that can revive your remote, extend battery life, and save you from unnecessary purchases. Remember to practice good battery maintenance and cleaning to keep your electronics running smoothly for longer.
Next time your TV remote stops working, don’t reach for your wallet immediately. Try one of these tried-and-true DIY fixes first. You’ll be amazed at how a couple of seconds and a little bit of knowledge can solve a seemingly complex problem, proving that sometimes, the simplest solutions are the most effective. Happy channel surfing!