
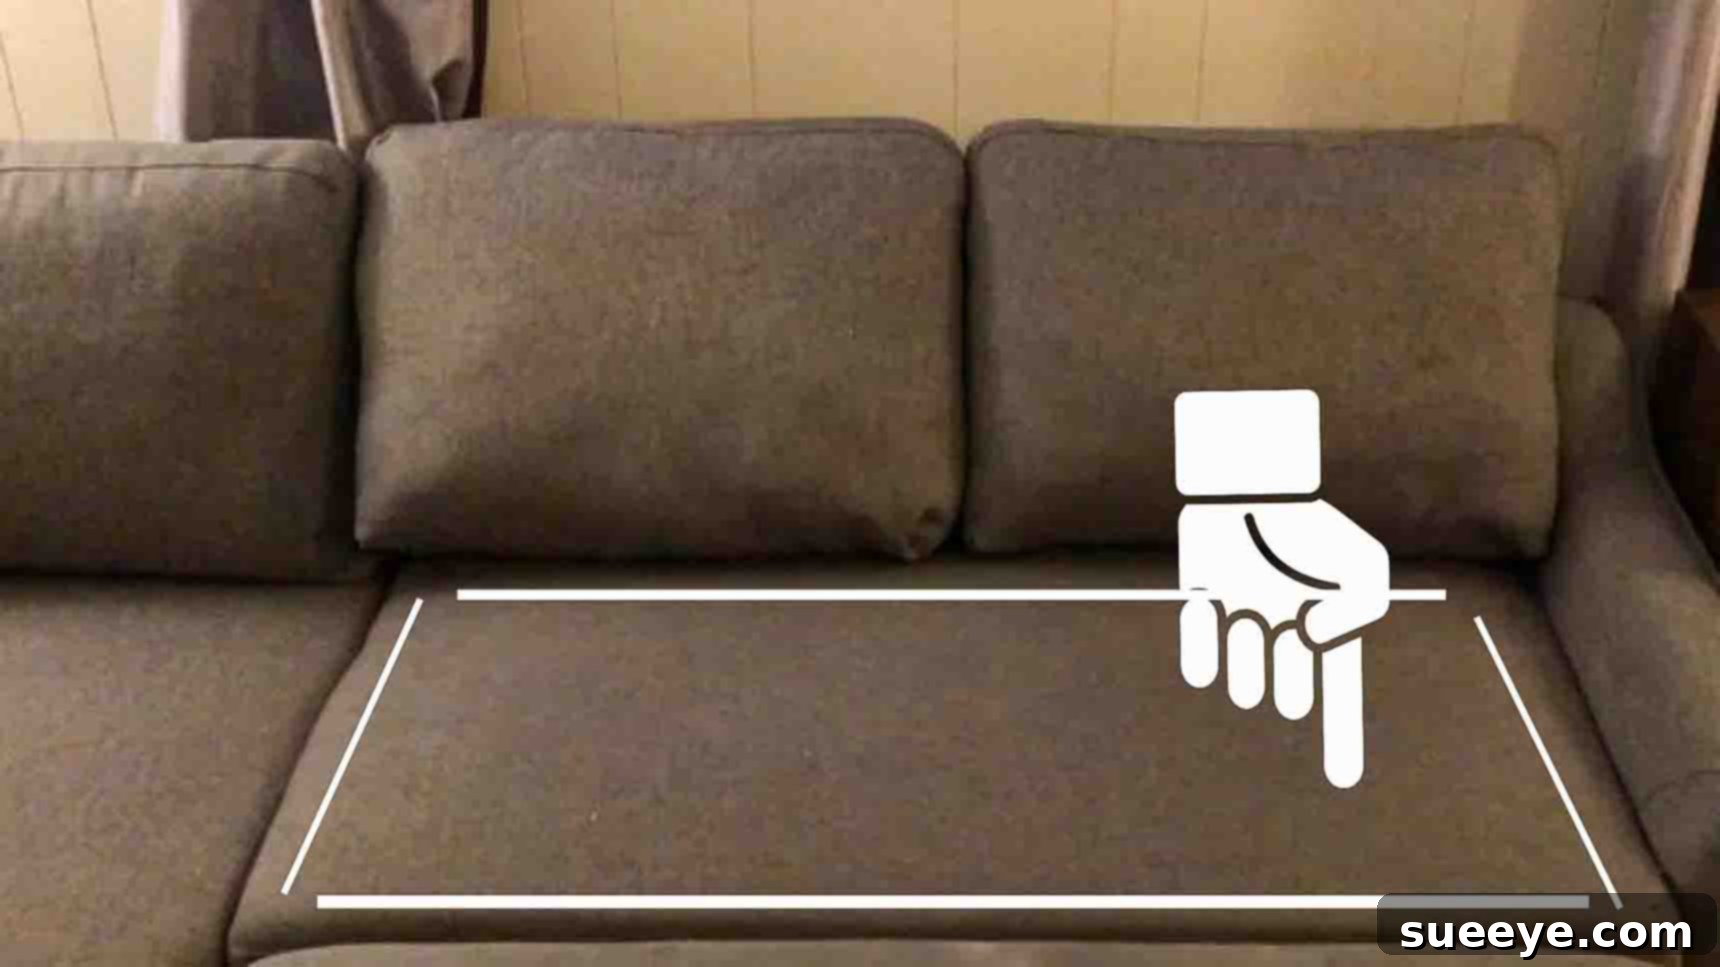
How to Fix a Sagging Couch in 3 Simple Steps: Restore Comfort and Save Money
Is your beloved couch losing its battle against gravity, sinking into an uncomfortable abyss with each passing year? A sagging sofa isn’t just an eyesore; it can lead to poor posture, discomfort, and a less inviting living space. Before you resign yourself to the expense of buying a brand-new sofa or investing in costly professional reupholstering services, consider a practical, DIY approach. Many common couch-sagging issues can be fixed with a few simple tools and a little ingenuity.
Inspired by ingenious solutions like those shared by Father and Son Fix on YouTube, we’ll guide you through a straightforward, three-step process to revitalize your sagging couch. This comprehensive guide will not only help you save hundreds, if not thousands, of dollars but also give your furniture a new lease on life, making it feel brand new again. Get ready to transform your worn-out couch into a comfortable centerpiece you can be proud of!
Why Do Couches Sag? Understanding the Root Causes of Furniture Wear
Before diving into the fixes, it’s helpful to understand why couches sag in the first place. Identifying the root cause can ensure you apply the most effective solution. Several factors contribute to a couch losing its firmness and support:
- Worn-out Springs: The internal spring system is the primary support structure. Over time, constant use can cause springs (whether coil springs or sinuous/S-springs) to stretch, bend, detach, or lose their tension. This loss of elasticity leads directly to sagging.
- Compressed Foam and Cushioning: The foam inserts and padding within your cushions and the couch’s frame naturally compress and degrade over years of use. High-density foam can resist this longer, but eventually, all foam loses its loft and supportive qualities, creating indentations and softness.
- Weakened Frame Structure: The wooden or metal frame of the couch provides the foundational support. If joints loosen, wood cracks, or connecting elements fail, the entire structure can shift, leading to uneven support and sagging.
- Broken Webbing or Slats: Some couches use webbing (strong fabric straps) or wooden slats stretched across the frame to support the cushions. If these break, stretch, or detach, the cushions will sink.
- General Wear and Tear: Simply put, consistent use, especially by multiple people or pets, puts stress on all components of the couch, accelerating the aging process and leading to eventual sagging.
By addressing these issues systematically, you can significantly improve your couch’s comfort and extend its lifespan.
Tools and Materials You’ll Need for Couch Repair
Before you begin your couch restoration project, gather the following tools and materials. Having everything on hand will make the process smoother and more efficient:
- Safety Gear: Safety gloves and safety glasses are highly recommended to protect your hands and eyes from staples, sharp edges, and dust. A dust mask can also be useful.
- Staple Remover: A dedicated staple remover is ideal, but a flathead screwdriver or pliers can also work to carefully pry staples out.
- Staple Gun and Staples: Essential for reattaching fabric linings and potentially securing new support materials.
- Vice-Grip Pliers: Crucial for tightening and shortening sagging sinuous springs.
- Utility Knife or Sharp Scissors: For cutting fabric, foam, and potentially thin wood.
- Measuring Tape: For accurate measurements of foam, fabric, and wood supports.
- Replacement Foam (Optional but Recommended): High-density upholstery foam, cut to size, if your cushions are worn out. Look for foam with a density of 1.8 lbs or higher for good durability.
- Wood for Support (Optional): Plywood or 1×2 wooden slats, cut to size, for reinforcing the underside of the couch.
- Screws and Screwdriver/Drill (Optional): If you plan to add more substantial wooden supports.
With your tools ready, let’s dive into the practical steps!
Step 1: Shorten or Tighten Any Loose or Sagging Springs
The internal spring system is the backbone of your couch’s support. When springs lose their tension or become deformed, sagging is inevitable. This step focuses on revitalizing those springs to restore firmness.
Accessing the Couch’s Underside
Begin by carefully flipping your couch over so that the bottom is exposed. This will give you full access to the spring mechanism and the protective dust cover. Most couches have a thin fabric lining stapled to the bottom frame.
Removing the Dust Cover
Using your staple remover or a flathead screwdriver, meticulously remove the staples holding this fabric lining in place. Work slowly and carefully to avoid tearing the fabric, as you will need to reattach it later. Once all staples are removed, gently peel back or completely remove the lining to reveal the internal structure of the couch, including the springs, webbing, and frame.
Inspecting and Addressing Springs
With the lining removed, take time to inspect the springs. Look for any springs that appear stretched, bent out of shape, detached from the frame, or simply lower than their counterparts. You’ll typically find two types of springs: sinuous (S-shaped) springs or coil springs. This method is particularly effective for sinuous springs.
For sinuous springs that have lost their curve and appear flattened, grab your vice-grip pliers. Position the pliers on one section of a sagging spring and carefully squeeze it to create a tighter curve. This action effectively shortens the spring, increasing its tension and lifting the sagged area. Work systematically across all sagging springs, ensuring you apply consistent pressure and create a uniform lift. The goal is to restore the original ‘S’ shape and tension. If any springs are detached, you may need to re-secure them using heavy-duty staples or specialized clips designed for upholstery springs.
Step 2: Revitalize or Replace Old or Worn Out Foam and Cushioning
Even with perfectly tensioned springs, compressed or degraded foam can make a couch feel lumpy and uncomfortable. This step addresses the foam and cushioning within your sofa, particularly in the seat cushions.
Assessing and Accessing Foam
If your couch cushions are removable, this step is relatively easy. Simply unzip the cushion covers and remove the old foam inserts. If your couch has integrated, non-removable cushions, you’ll need to carefully un-staple and peel back the upholstery fabric to access the foam underneath, similar to how you accessed the springs. Note the original layering and arrangement of the foam and any Dacron wrap.
Replacing or Reinforcing Foam
Examine the existing foam. Has it lost its density and resilience? Does it have permanent indentations? If so, it’s time for a replacement. Measure the old foam precisely (length, width, and thickness). Purchase high-density upholstery foam (typically 1.8 lbs density or higher for good support and longevity) that matches these dimensions. You can often buy large sheets and cut them to size using a utility knife or electric carving knife.
If your foam isn’t severely damaged but just a bit compressed, you might consider adding a layer of thinner foam or a Dacron wrap around the existing foam to add loft and a softer feel. This can breathe new life into slightly worn cushions without a full replacement.
Reassembly
Once the new (or reinforced) foam is in place, carefully put the fabric cover back on. If you removed fabric from the couch frame, stretch it tautly and securely re-staple it to the frame, ensuring a smooth, wrinkle-free finish. For removable cushions, zip the covers back on. You should immediately notice a significant improvement in the firmness and comfort of your couch.
Step 3: Add More Supports to Reinforce Existing Supports
Sometimes, the springs and foam aren’t enough, or the underlying structure needs an extra boost of support. This step involves adding an additional layer of reinforcement to distribute weight more evenly and prevent future sagging.
Assessing the Support Structure
With the couch still inverted and the dust cover removed, observe the existing support structure beneath the springs. This might be a grid of thin wooden slats, webbing, or simply the frame itself. Identify areas where additional rigid support would be most beneficial, typically directly under where the most significant sag occurs or where people frequently sit.
Measuring and Cutting Wood Supports
Obtain a piece of sturdy wood – plywood, thin boards (e.g., 1x2s or 1x3s), or even dense particle board can work. Measure the internal width of your couch frame where the springs are located. Cut your chosen wood piece(s) to this exact length. You might need one long piece of plywood spanning the entire width or several shorter slats, depending on the design of your couch and the extent of the sagging.
Placing and Securing Additional Supports
Position the cut wood piece(s) directly on top of the existing springs or webbing, underneath where the cushions would sit. If using multiple slats, space them out equally to provide consistent support across the sagging area. The wood acts as a bridge, distributing the weight more broadly and preventing the springs from over-compressing in specific spots. While simply placing the wood can be effective, for a more permanent solution, you can carefully secure the wood to the couch frame using screws, being mindful not to drill into any vital components or through to the top fabric. Ensure the new supports are stable and don’t shift when the couch is moved.
Reassembly and Finishing Touches
Once you’ve completed all three steps, it’s time to put everything back together. Carefully re-staple the dust cover lining to the bottom of the couch frame. Ensure it’s pulled taut and neatly secured. Double-check all your staple points for security. Then, carefully flip your couch back upright. Take a seat and test out your newly revitalized sofa! You should immediately notice a firmer, more supportive, and much more comfortable seating experience.
Preventative Measures to Extend Your Couch’s Life
Now that you’ve invested time and effort into fixing your couch, consider these preventative measures to keep it in top shape and prolong its life:
- Rotate and Flip Cushions Regularly: If your cushions are removable, make it a habit to rotate and flip them every few weeks. This helps distribute wear evenly and prevents permanent compression in one spot.
- Avoid Concentrated Weight: Discourage jumping on the couch or consistently sitting in the exact same spot. Encourage guests to sit evenly across the sofa.
- Clean Regularly: Vacuuming and spot-cleaning according to the fabric’s instructions can prevent dirt and debris from breaking down fibers and impacting the couch’s integrity.
- Use Slipcovers: A good slipcover can protect your couch from spills, pet hair, and general wear, preserving the upholstery and internal components.
- Consider Temporary Support Boards: If you notice minor sagging reoccurring, temporary support boards placed under cushions can offer an immediate, non-invasive fix.
When to Call a Professional or Consider a New Couch
While DIY repairs are incredibly effective for many common issues, there are instances where professional help or even a new couch might be the best option:
- Severe Frame Damage: If the couch frame itself is significantly broken, cracked in multiple places, or irreparable with basic tools, professional upholstery services may be needed, or it might be time for a replacement.
- Extensive Upholstery Damage: Beyond simple tears or stains, if the entire fabric is degraded, dry-rotted, or requires complex re-upholstering, the cost can quickly outweigh the value of the existing couch.
- Integrated, Complex Designs: Some modern furniture has highly integrated designs that are difficult to access and repair without specialized tools and knowledge.
- Cost-Benefit Analysis: Always weigh the cost of materials and your time against the value of the couch and the potential cost of a new one. If repairs become too extensive or expensive, investing in a new, high-quality piece might be more economical in the long run.
Conclusion: Reclaim Your Comfort and Save!
A sagging couch doesn’t have to be a permanent fixture in your home. By following these three simple, yet effective, steps—tightening springs, replacing foam, and adding structural support—you can dramatically improve the comfort and longevity of your furniture. This DIY approach not only saves you a significant amount of money but also provides immense satisfaction in revitalizing a beloved piece of furniture.
Don’t let a weary sofa diminish the comfort of your living space. Take inspiration from valuable resources like the Father and Son Fix tutorial, roll up your sleeves, and embark on this rewarding home improvement project. Share your success stories and newfound comfort with friends and family; they might just be looking for the same solution! Happy fixing!