
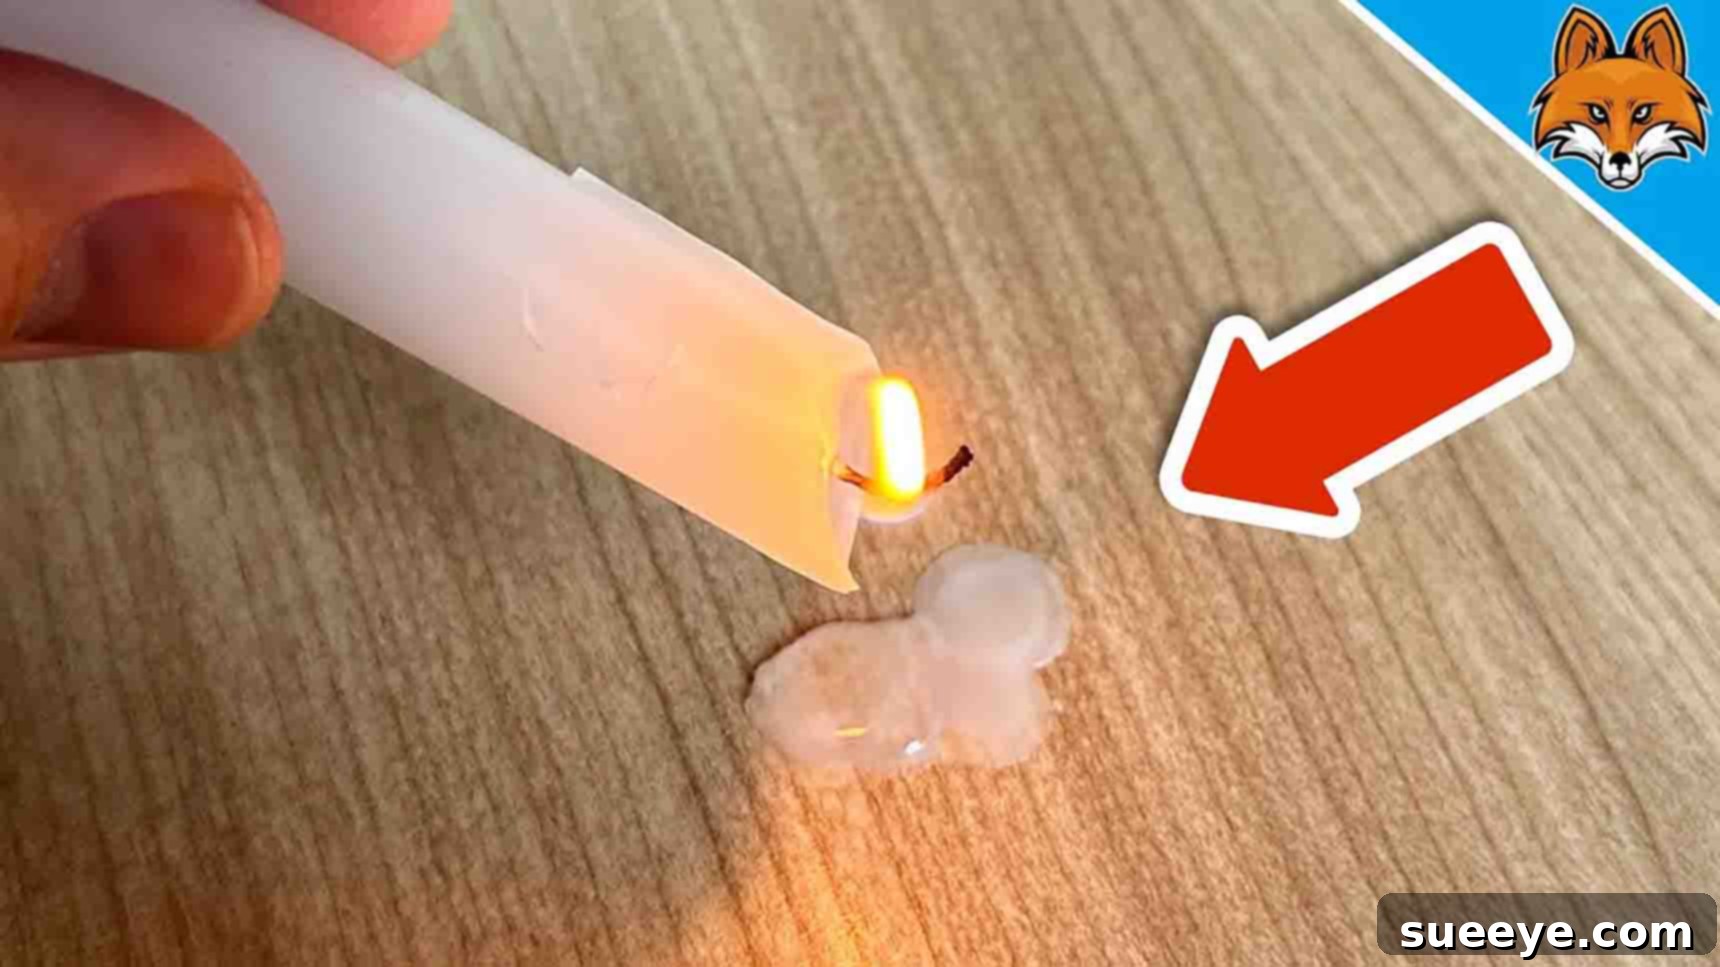
How To Remove Candle Wax From Furniture Easily and Safely
Candles bring warmth, ambiance, and a delightful aroma to any home. However, the serene atmosphere can quickly turn to frustration when molten wax accidentally spills onto your cherished furniture. Those stubborn wax stains can seem impossible to remove without damaging the surface underneath. But don’t despair! You don’t need expensive chemicals or specialized tools to tackle this common household mishap. We’re here to share a surprisingly simple yet incredibly effective method that utilizes everyday items to restore your furniture to its pristine condition.
This ingenious technique, championed by experts like Smart Fox on YouTube, has revolutionized how homeowners approach wax removal. Forget aggressive scraping or potentially harmful solvents. This method is gentle, quick, and remarkably efficient, making it suitable for a variety of furniture types. Get ready to discover the secret to effortlessly lifting candle wax from your tables, dressers, and other surfaces, leaving them spotless and undamaged. Our comprehensive guide will walk you through each step, ensuring you achieve perfect results every time.
Understanding the Challenge of Candle Wax Stains
Candle wax, once hardened, adheres stubbornly to surfaces. Its waxy, oily composition can embed itself into wood grains or fabric fibers, making conventional cleaning methods ineffective. Many people resort to scraping, which can scratch delicate finishes, or using harsh chemical removers that might discolour or strip protective layers from furniture. The key to successful wax removal lies in understanding its physical properties – specifically, how it reacts to temperature changes. Our featured method leverages this principle to soften the wax gently, allowing for its clean and easy detachment.
The Smart Fox Method: Your Go-To Solution for Wax Removal
This technique stands out for its simplicity and the minimal materials required. You’ll likely have everything you need already in your home, making it an immediate solution for unexpected spills. The core idea is to reintroduce heat to the hardened wax in a controlled manner, allowing it to soften and transfer cleanly onto an absorbent material. This prevents any damage to your furniture’s surface while effectively lifting the entire wax stain.
Materials You Will Need:
- Paper Towel: Opt for a good quality, absorbent paper towel. Its primary role is to absorb the softened wax without tearing or leaving lint behind. Kitchen rolls are usually ideal.
- Hot Water: The hotter, the better, but ensure it’s safe to handle. You don’t need boiling water, just water hot enough to effectively warm the wax. A kettle or hot tap water will suffice.
Step-by-Step Directions for Effortless Wax Removal:
Before you begin, ensure the candle wax is completely hardened. Attempting to remove semi-liquid wax can spread the stain and make the process more challenging. Patience at this initial stage will pay off immensely.
Step 1: Preparation and Paper Towel Placement
Once the wax has solidified, grab a sheet of paper towel. Carefully place it directly over the hardened wax stain. The paper towel acts as a protective layer for your furniture and, more importantly, as the medium that will absorb the softened wax. Ensure the paper towel completely covers the entire wax spill, extending slightly beyond its edges.
Now, gently pour a small amount of hot water directly onto the paper towel, precisely over the area where the wax stain lies underneath. You don’t need to drench the paper towel; a modest amount is sufficient to transfer heat to the wax below. The goal is to warm the wax, not to soak your furniture.
Step 2: Applying Pressure and Activating the Heat
With the hot water applied, immediately press down firmly on the paper towel directly over the wax stain using your fingers or the palm of your hand. Exercise caution, as the water will still be hot at this point. The combination of heat from the water and the gentle pressure will begin to work its magic. The heat will cause the hardened wax to soften and liquefy slightly, while the pressure helps to transfer this molten wax from the furniture surface directly onto the absorbent paper towel.
Maintain this pressure for a few moments, allowing the heat to penetrate and the wax to absorb. You should feel the wax beneath the paper towel soften. This crucial step is where the wax releases its grip on the furniture. The paper towel acts like a magnet, drawing the softened wax away from the surface. After a short duration, you can gently lift the paper towel. You’ll notice the wax has now transferred from your furniture onto the paper towel.
Step 3: Inspection and Final Wiping
Once the paper towel is removed, inspect the area carefully. Most of the wax should be gone. For any remaining residue, especially if it’s a larger or older stain, you can repeat the process with a fresh piece of paper towel and hot water. Small, faint smudges of wax can often be buffed away with a clean, dry, soft cloth. For wooden furniture, a gentle wipe with a wood cleaner or polish can help restore its sheen and remove any lingering marks.
Why This Method Is So Effective: The Science Behind It
This hot water and paper towel method is effective due to a few key principles:
- Thermal Softening: Candle wax has a relatively low melting point. The hot water transfers heat to the hardened wax, causing it to soften and lose its solid structure.
- Adhesion Release: As the wax softens, its adhesive bond with the furniture surface weakens.
- Capillary Action/Absorption: The paper towel, being highly absorbent, acts like a sponge. When the wax becomes molten, it’s drawn into the fibers of the paper towel through capillary action, pulling it away from the furniture.
- Controlled Heat: Unlike direct heat sources like hair dryers or irons, the hot water method provides a more controlled and localized heat application, minimizing the risk of heat damage to sensitive furniture finishes.
Important Considerations and Safety Tips
While this method is generally safe, a few precautions will ensure the best outcome and protect your furniture and yourself.
Test on an Inconspicuous Area
Always perform a patch test on a hidden part of your furniture first, especially if you’re unsure about its finish or material. This helps ensure that the hot water won’t cause discoloration, swelling, or any adverse reactions.
Furniture Types and Specific Advice
- Finished Wood Furniture: This method works beautifully on most finished wood surfaces. The quick application of hot water is unlikely to damage a sealed finish. After removing the wax, wipe the area dry immediately and apply a wood polish or conditioner to restore shine and protect the surface.
- Unfinished or Raw Wood: Exercise more caution. While the method can still work, use less water and ensure immediate drying to prevent water marks or swelling.
- Laminate or Veneer Furniture: Generally safe, but avoid excessive water that could seep into seams and cause swelling or delamination.
- Glass or Metal: These non-porous surfaces are very forgiving. The method works perfectly, and any remaining residue can be easily polished away.
- Upholstery/Fabric: For fabric, this method might be slightly modified. Instead of pouring hot water directly, you might dampen a cloth with hot water, place it over the paper towel (which is over the wax), and iron it gently on a low setting. The heat will melt the wax, and the paper towel will absorb it. Always check the fabric care label first.
Avoid Harsh Chemicals and Scraping
Resist the urge to use abrasive cleaners, strong chemical solvents, or sharp objects like knives or razor blades. These can easily scratch, dull, or even strip the finish from your furniture, causing irreversible damage far worse than the original wax stain.
Handle Hot Water with Care
Always be mindful of the temperature of the water. Use gloves if necessary, and avoid direct skin contact to prevent burns.
Alternative and Complementary Wax Removal Methods
While the hot water and paper towel method is highly effective, sometimes a slightly different approach or a combination of methods might be necessary, especially for very old, thick, or deeply embedded wax stains, or for specific material types.
The Ice Pack Method (for Hardened Wax)
Paradoxically, cooling wax can also make it easier to remove, particularly from fabrics. Place an ice pack or a bag of ice (wrapped in a cloth to prevent condensation) directly over the wax stain until the wax becomes brittle. Once thoroughly chilled and hardened, you can often gently chip away larger pieces of wax with a credit card or dull knife. This method is excellent for fabric and porous surfaces where heat might spread the wax further.
The Hair Dryer Method (for Softening)
A hair dryer set on a low to medium heat can be used to soften wax. Hold the dryer a few inches away from the stain, moving it constantly to prevent overheating one spot. As the wax softens, blot it up immediately with a clean, soft cloth or paper towel. This method is effective for lighter stains and on surfaces that can tolerate gentle heat. Be cautious on delicate finishes.
The Ironing Method (for Fabric/Upholstery)
For fabric items like upholstery, carpets, or clothing, the ironing method is a classic. Place several layers of paper towels or a brown paper bag over the dried wax stain. Set an iron to a low, non-steam setting. Gently press the iron over the paper. The heat will melt the wax, and the paper will absorb it. Replace the paper as it becomes saturated with wax, and repeat until the stain is gone. Always test on an inconspicuous area first to ensure the fabric can withstand the heat.
Preventative Measures: Avoiding Future Wax Stains
The best way to deal with candle wax stains is to prevent them from happening in the first place. A few simple habits can save you a lot of cleaning effort.
- Use Candle Holders and Trays: Always place candles in sturdy holders or on decorative trays that can catch any drips. These not only protect your furniture but also add to the aesthetic appeal.
- Choose Dripless Candles: When purchasing candles, look for those labeled “dripless.” While not entirely foolproof, they are designed to minimize wax runoff.
- Trim Wicks: Regularly trim candle wicks to about 1/4 inch before lighting. Longer wicks can produce larger flames, leading to more melting wax and a higher likelihood of drips.
- Avoid Drafty Areas: Place candles away from open windows, vents, or high-traffic areas where drafts can cause the flame to flicker and melt wax unevenly, increasing the chance of spills.
- Maintain a Level Surface: Ensure your candles are on a flat, stable surface where they won’t wobble or tip over.
When to Call a Professional
For extremely valuable antiques, delicate finishes, or very extensive wax damage, it might be best to consult a professional furniture restorer or cleaner. They have specialized tools and knowledge to safely remove stubborn stains without causing further harm.
Conclusion: Effortless Wax Removal at Your Fingertips
Removing candle wax from furniture doesn’t have to be a dreaded chore. With the simple hot water and paper towel method, as demonstrated by Smart Fox, you have a powerful, safe, and cost-effective solution right at your fingertips. By following these clear steps and keeping our preventative tips in mind, you can enjoy the comforting glow of candles without the stress of potential spills. Embrace these easy furniture cleaning hacks and keep your home looking its best, free from the worry of unsightly wax stains. Your furniture will thank you!