
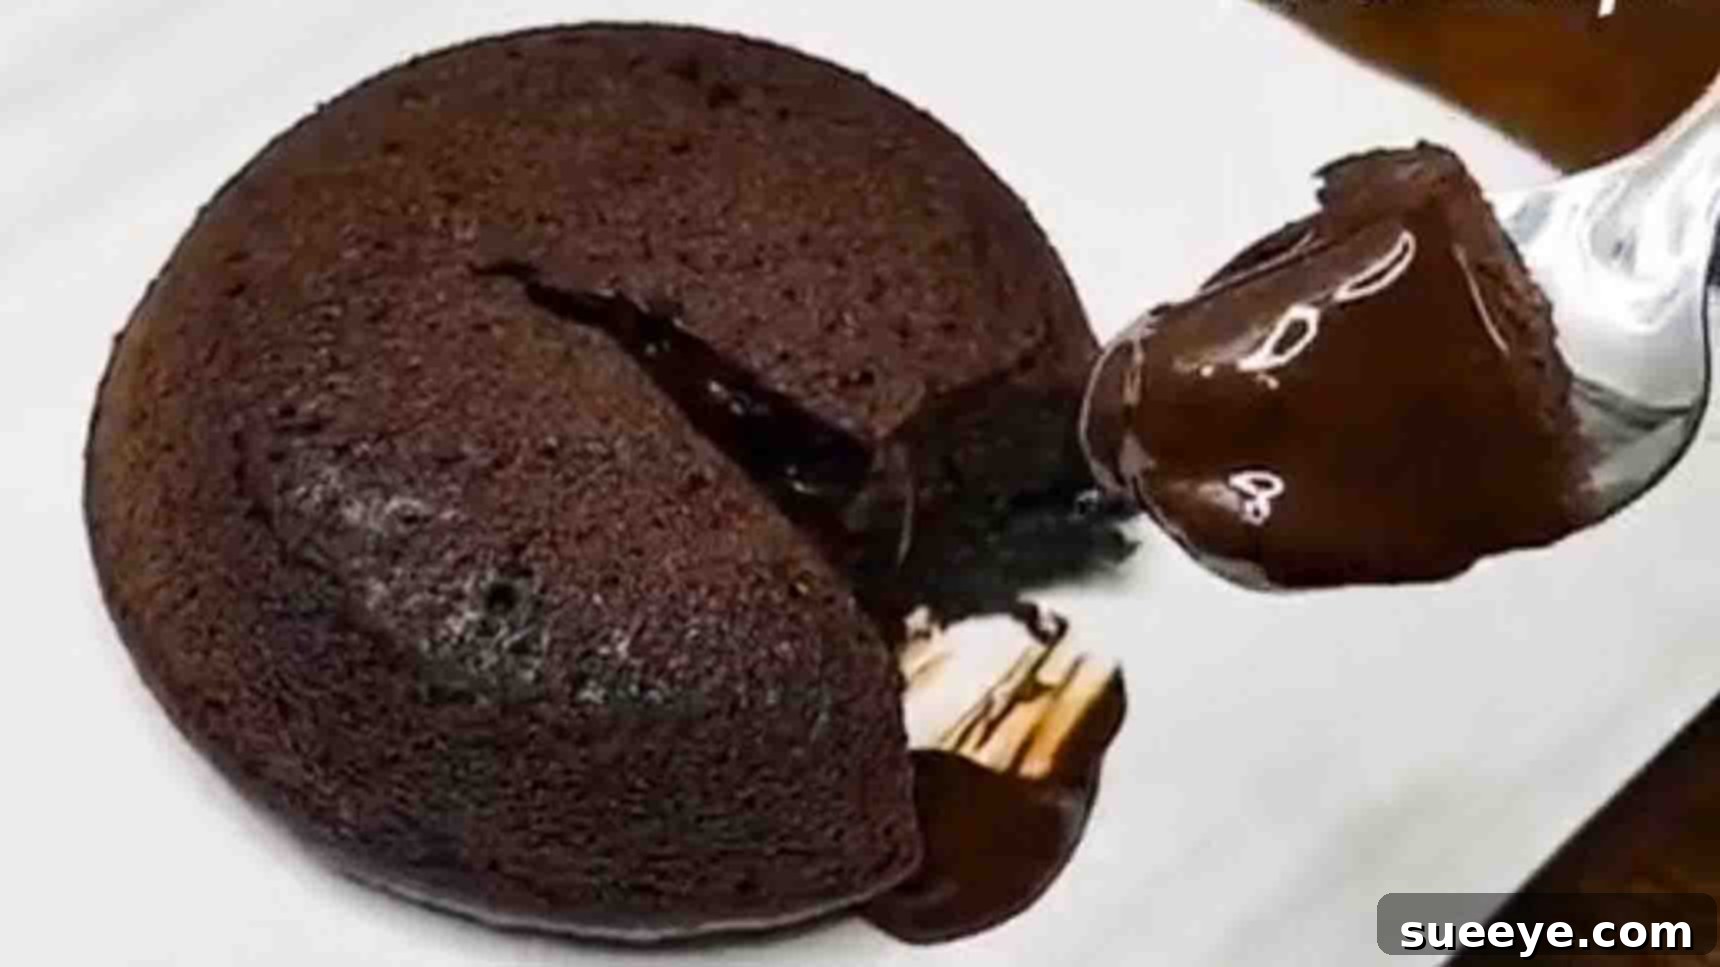
Easy 4-Ingredient Choco Lava Cake: Your Go-To No-Oven Dessert
Imagine this: unexpected guests are at your door, or perhaps a sudden, undeniable chocolate craving strikes. What do you do? Panic? No way! With this incredibly simple and outrageously delicious 4-ingredient choco lava cake recipe, you’re always just minutes away from a warm, gooey, chocolatey delight. Inspired by the genius of Anisha Recipe on YouTube, this dessert is a game-changer. It requires no oven, minimal effort, and uses ingredients you likely already have in your pantry. Get ready to impress everyone, including yourself, with this super quick, super easy, and absolutely irresistible chocolate lava cake!
The beauty of this recipe lies in its sheer simplicity and speed. Forget complicated baking techniques or long lists of specialty ingredients. We’re talking about just four core items that magically transform into a rich, molten-centered cake. Whether you’re a seasoned baker or a complete novice in the kitchen, this recipe is designed for foolproof success. My family absolutely adores this dessert, requesting it regularly, and I have no doubt it will become a cherished favorite in your household too. Let’s dive into the magic and discover how to whip up this amazing treat in no time!
Why This Choco Lava Cake Is a Must-Try
Before we get to the how-to, let’s explore why this particular choco lava cake stands out and deserves a spot in your recipe repertoire:
- Unbelievably Simple: With only four ingredients, the preparation is straightforward, making it perfect for beginners or busy individuals.
- No Oven Required: This is a huge advantage! Whether you live in a small apartment without an oven, want to avoid heating up your kitchen, or simply prefer stovetop cooking, this recipe has you covered.
- Lightning Fast: From start to finish, you can have a warm, ready-to-serve lava cake in under 30 minutes, ideal for last-minute dessert needs.
- Budget-Friendly: The ingredients are common and affordable, making this a delicious treat that won’t break the bank.
- Kid-Friendly Fun: It’s a fantastic recipe to make with kids, teaching them simple cooking steps and rewarding them with a delightful dessert.
- Irresistibly Delicious: The combination of crushed chocolate biscuits forming the cake base and a molten chocolate center is pure bliss. It’s rich, decadent, and perfectly satisfying.
- Versatile: Easy to customize with various toppings or even different types of chocolate for the ‘lava’.
This dessert isn’t just a recipe; it’s a solution for those times when you need a show-stopping treat with minimal fuss. It proves that culinary magic doesn’t always require an elaborate setup.
Gather Your Simple Ingredients
The beauty of this recipe starts with its minimal ingredient list. You’ll be amazed at how these four humble items come together to create such a luxurious dessert. Make sure you have these on hand before you begin:
- 4 packs of Oreo biscuits (approximately 14-16 biscuits): These form the chocolatey base of our cake. They’re not just for flavor; their texture is crucial for the batter.
- 1/2 tsp baking powder: This is our leavening agent, giving the cake its light and fluffy texture, even without an oven.
- 1/2 cup milk: The liquid component that brings everything together into a smooth, pourable batter. Any type of milk (dairy or non-dairy) will work.
- 2 tbsp dark chocolate, divided: This is the star of the show – the molten “lava” center! Using a good quality dark chocolate will enhance the richness. You’ll want to cut this into a few smaller pieces suitable for embedding in the batter.
That’s it! Just four items, readily available in most kitchens. Let’s get cooking!
Step-by-Step Directions to Chocolatey Bliss
Follow these simple instructions to create your perfect choco lava cake. The process is divided into two main steps: preparing the batter and cooking it to molten perfection.
Step 1: Preparing Your Oreo Batter and Setting Up the Lava
The first stage involves transforming the Oreos into a velvety batter and preparing the chocolate core.
- Crush the Oreos: Begin by placing all four packs of Oreo biscuits (including the cream filling!) into a food processor. Pulse them until they are finely crumbled. The goal is a uniform, flour-like consistency without large chunks. If you don’t have a food processor, you can place the biscuits in a Ziploc bag, seal it, and crush them with a rolling pin or the bottom of a heavy pan until they reach a fine consistency. This might take a little more effort but yields the same result.
- Combine with Leavening and Liquid: Once your Oreos are finely crushed, transfer them to a mixing bowl if they aren’t already there. Add 1/2 teaspoon of baking powder and 1/2 cup of milk.
- Blend to a Smooth Batter: Use your food processor again (if you used one), or an electric mixer, or even just a whisk, to blend these ingredients together for about 30 seconds. You want a smooth, consistent batter with no dry spots or large lumps. The consistency should be thick but pourable. Avoid over-blending, as this can affect the final texture.
- Prepare Your Cooking Bowl: Take a small, heat-safe bowl (like a ramekin or a small steel bowl). Lightly grease the inside with a tiny bit of oil or butter. This step is crucial to ensure your lava cake doesn’t stick and comes out easily after cooking.
- Assemble the Cake: Carefully transfer about half of your Oreo batter into the greased bowl, spreading it evenly at the bottom. Now, take a piece (or a few smaller pieces) of your dark chocolate and gently insert it into the very center of the batter. Make sure the chocolate piece is fully submerged and centered. Then, pour the remaining batter over the chocolate, completely covering it. Gently tap the bowl on the counter a couple of times to release any air bubbles and ensure the top is smooth.
Step 2: Cooking Your Lava Cake to Perfection (Stovetop or Oven)
Now comes the exciting part: cooking your cake until it’s perfectly set on the outside and wonderfully molten on the inside.
- Prepare Your Stovetop Steamer: Find a large pan with a lid. Place a small metal stand or a trivet at the bottom of the pan. This will elevate your cake bowl, preventing it from touching the direct heat and allowing it to steam evenly. Add about 1-2 inches of water to the pan, ensuring it doesn’t reach the top of your stand.
- Preheat the Setup: Cover the large pan with its lid and preheat it on low heat for about five minutes. This creates a hot, steamy environment, crucial for even cooking.
- Place the Cake to Cook: After five minutes, carefully remove the lid. Place a heat-resistant plate on top of the stand, then gently place your bowl with the chocolate batter onto the plate. This extra plate ensures the cake cooks gently without direct contact with the steam or stand.
- Steam Cook: Place the lid back on the large pan, making sure it seals well to trap the steam. Cook on low heat for approximately 15 to 20 minutes. The cooking time can vary slightly depending on your stove and the size of your bowl. You’ll know it’s done when the edges of the cake look set and firm, but the very center still has a slight wobble. Avoid peeking too often, as this releases steam and can prolong cooking time.
- Oven Alternative (if preferred): If you prefer baking, you can also bake this lava cake in a preheated oven. Set your oven to 350°F (175°C) and bake for 12-15 minutes, or until the edges are set and the center is still soft and gooey.
- Serving Your Masterpiece: Once cooked, carefully remove the bowl from the pan (it will be hot!). Let it cool for just a minute or two. Then, carefully invert the cake onto a serving plate. The greased bowl should release it easily.
Serve immediately, while it’s still warm and the chocolate center is perfectly molten. The aroma alone is enough to get mouths watering!
Tips for a Perfect Choco Lava Cake Every Time
While this recipe is incredibly forgiving, a few tips can help you achieve perfection:
- Don’t Overcook: This is the golden rule for lava cakes! Overcooking will result in a fully baked cake with no molten center. Keep an eye on the clock and trust the process – a slight wobble in the center is exactly what you want.
- Quality Chocolate Matters: For the ‘lava’ center, choose a good quality dark chocolate that you enjoy eating on its own. It will make a significant difference in the flavor and consistency of your molten core.
- Grease Your Bowl Well: A thoroughly greased bowl ensures easy release and a beautifully presented cake. Use oil or butter, and make sure it coats all inside surfaces.
- Experiment with Chocolate Types: While dark chocolate is classic, feel free to try milk chocolate, white chocolate, or even a square of caramel-filled chocolate for an extra surprise inside.
- Serving Suggestions: Elevate your lava cake with a scoop of vanilla ice cream, a dollop of whipped cream, a dusting of cocoa powder, fresh berries, or a drizzle of chocolate syrup.
- Adjust for Different Cookware: Cooking times can vary slightly. If using a thicker ceramic ramekin, it might take a minute or two longer than a thinner metal bowl.
Frequently Asked Questions (FAQ)
Can I use other biscuits instead of Oreos?
While Oreos provide a unique chocolatey base and creaminess, you can experiment with other chocolate-flavored cream biscuits. However, the exact texture and sweetness might vary, so adjust milk quantities slightly if the batter seems too thick or thin.
Can I make this in a microwave?
Yes, absolutely! For an even quicker method, you can microwave your lava cake. Place the prepared bowl in the microwave and cook on high for approximately 60-90 seconds. Microwave ovens vary greatly, so start with 60 seconds and add 10-second increments until the edges are set and the center is just slightly wobbly. Be careful not to overcook!
How do I store leftover lava cake?
Lava cakes are best enjoyed immediately when warm and fresh, as the ‘lava’ hardens as it cools. If you have leftovers, cover them tightly and store them at room temperature for up to a day, or in the refrigerator for 2-3 days. To reheat, microwave for 15-30 seconds or warm gently in a pan with a lid until heated through.
Can I make this recipe vegan or gluten-free?
Yes, with simple substitutions! For a vegan version, use plant-based milk (almond, soy, oat) and ensure your dark chocolate is dairy-free. Many Oreo-style biscuits are accidentally vegan in some regions, but check the labels. For a gluten-free version, use gluten-free chocolate cream sandwich cookies and ensure your baking powder is gluten-free. The rest of the ingredients are typically naturally GF/vegan.
What size bowl should I use?
A small, individual-sized, heat-safe bowl or ramekin (typically 4-6 ounce capacity) is ideal for a single serving. This recipe is designed for individual portions, allowing each person to enjoy their own perfect lava cake.
Conclusion: Your New Favorite Dessert Awaits!
There you have it – a phenomenal 4-ingredient choco lava cake recipe that redefines ease and deliciousness. This no-oven marvel is perfect for every occasion, from a spontaneous treat to an emergency dessert for unexpected company. It’s proof that you don’t need a pantry full of ingredients or hours in the kitchen to create something truly magical and memorable.
So, the next time you’re in the mood for something sweet, warm, and deeply satisfying, reach for those Oreos and give this recipe a try. You’ll be astonished at how quickly and effortlessly you can whip up this restaurant-quality dessert right in your own kitchen. Don’t forget to watch the original video by Anisha Recipe on YouTube for visual guidance and inspiration. Happy baking (or rather, happy stovetop cooking)! Enjoy every molten bite!