
How to Clean Your Microwave Naturally with Vinegar and Water
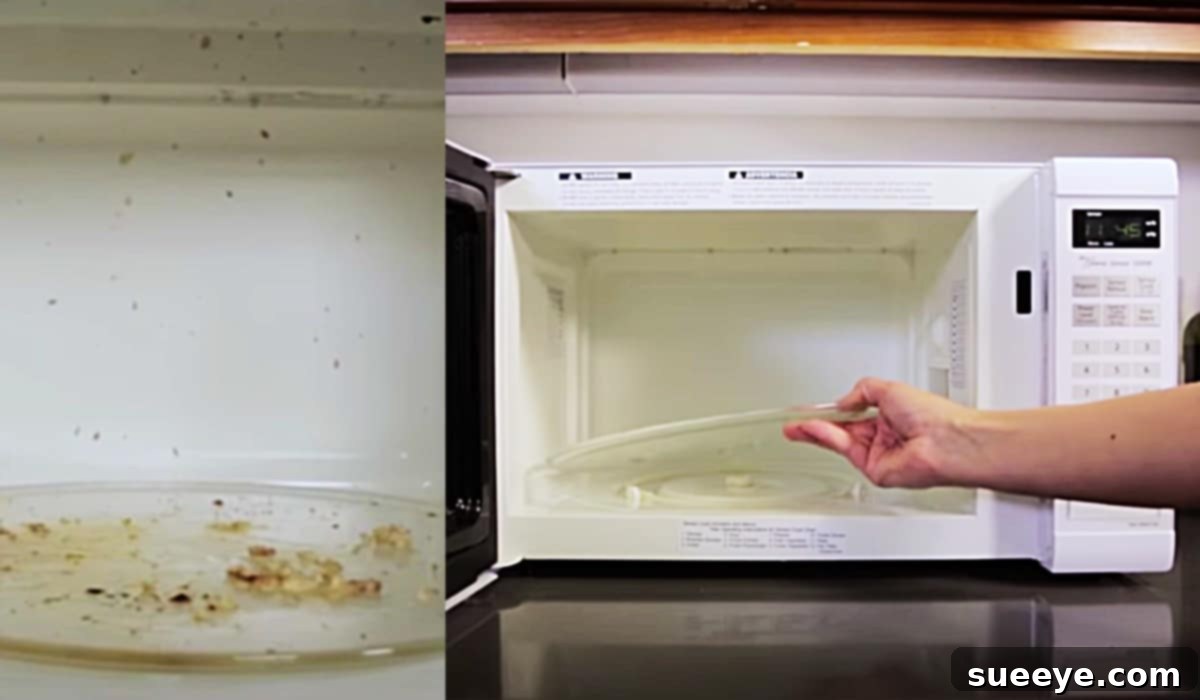
The microwave oven is an indispensable kitchen appliance, a true workhorse for heating leftovers, popping popcorn, and quickly preparing meals. Yet, despite its utility, it often becomes one of the grimiest spots in our homes. From explosive pasta sauce splatters to baked-on food particles, microwaves seem to attract a level of stubborn dirt that can be baffling. The thought of scrubbing away at dried-on mess can be daunting, often leading us to postpone this crucial cleaning task. But what if there was an incredibly simple, natural, and highly effective method that could restore your microwave’s sparkle with minimal effort and no harsh chemicals? You’re in luck!
We’ve discovered an amazing, chemical-free technique that leverages the power of everyday kitchen staples: vinegar and water. This ingenious method, showcased in a helpful video tutorial by CNET on YouTube, promises a deep clean that’s both effortless and environmentally friendly. Say goodbye to noxious fumes and endless scrubbing; prepare to be amazed by how easily your microwave can transform from grungy to glistening.
The Ubiquitous Mess: Why Microwaves Get So Dirty
Before diving into the solution, it’s worth considering why microwaves seem to accumulate so much mess. The enclosed environment combined with high-speed cooking creates a perfect storm for food particles to erupt, splatter, and adhere to internal surfaces. Heat from cooking can bake these splatters onto the walls, ceiling, and floor of the appliance, making them incredibly difficult to remove once dry. Furthermore, residual food odors can linger, creating an unpleasant aroma every time you open the door. Over time, these layers of grime not only look unsightly but can also become unhygienic, making a thorough cleaning absolutely essential.
Embrace Natural Cleaning: Benefits of a Chemical-Free Approach
When it comes to cleaning appliances that come into direct contact with food, opting for natural methods offers numerous advantages. Traditional chemical cleaners can leave behind residues, emit strong fumes, and may pose health risks, especially in poorly ventilated areas. A natural approach, like using vinegar and water, bypasses these concerns entirely:
- Food-Safe: Vinegar is a food-grade ingredient, meaning you won’t have to worry about harmful chemicals contaminating your food or surfaces.
- Eco-Friendly: It’s biodegradable and doesn’t contribute to water pollution, making it a sustainable choice for your home.
- Cost-Effective: White vinegar is incredibly inexpensive and readily available, offering a powerful cleaning solution without breaking the bank.
- No Harsh Fumes: While vinegar has a distinct smell, it dissipates quickly and doesn’t contain the respiratory irritants often found in commercial cleaners.
- Effective Disinfectant: Acetic acid in vinegar has natural antibacterial properties, helping to sanitize surfaces without harsh chemicals.
Your Simple & Effective Natural Microwave Cleaning Solution
This method is so straightforward, you’ll wonder why you ever bothered with anything else. It relies on the power of steam and the natural acidity of vinegar to loosen even the most stubborn, baked-on food particles. Here’s everything you need to get started:
What You’ll Need:
- 1 cup of white vinegar
- 1 cup of water
- 1 heat-safe glass bowl (microwave-safe)
- A clean sponge or microfibre cloth
- Optional: A slice of lemon for an extra fresh scent
Step-by-Step Guide to a Sparkling Microwave:
Follow these simple instructions to effortlessly transform your grimy microwave into a spotless appliance:
Step 1: Prepare Your Microwave
Before you begin, remove the microwave’s turntable and any rollers or supports. This will allow the steam to circulate more freely and give you better access to clean these components separately. Set them aside for now.
Step 2: Create the Cleaning Solution
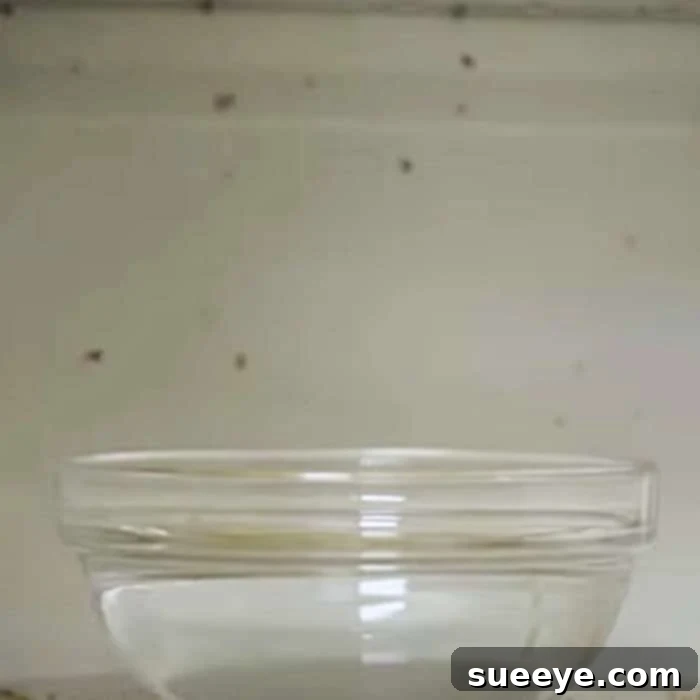
In your heat-safe glass bowl, combine one cup of white vinegar with one cup of water. If you wish to add a fresh citrus scent, feel free to drop in a few lemon slices or a tablespoon of lemon juice into the mixture. The lemon adds a pleasant aroma and can further aid in cutting through grease.
Step 3: Heat and Steam
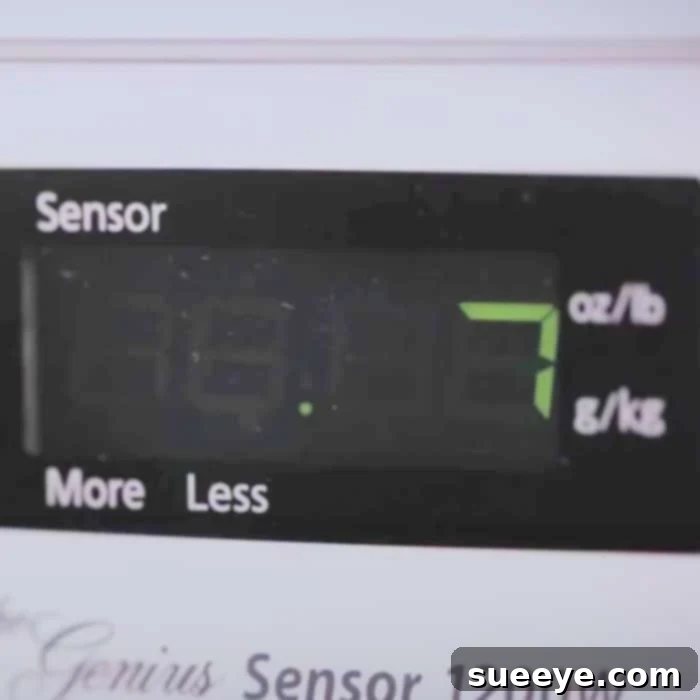
Place the bowl containing the vinegar and water mixture inside your microwave oven. Close the door and set the microwave to run on high power for approximately 7 minutes. During this time, the solution will come to a rolling boil, producing a significant amount of steam. This steam will fill the microwave cavity, softening and loosening all the dried-on food particles and grime that have accumulated on the interior surfaces.
Step 4: Let it Rest and Work its Magic
Once the 7 minutes of heating are complete, resist the urge to immediately open the microwave door. Instead, allow the bowl to sit undisturbed inside the closed microwave for an additional 2 to 5 minutes. This crucial resting period allows the steam to continue permeating the dried food splatters, making them incredibly easy to wipe away. The vinegar-infused steam will coat every nook and cranny, ensuring a thorough loosening of all dirt and grease.
Step 5: Wipe Away the Grime
Carefully open the microwave door and remove the hot bowl. Be cautious as the bowl and its contents will be very hot. Using a clean sponge or a soft microfibre cloth, begin wiping down all the interior surfaces of the microwave. You’ll be amazed at how effortlessly the grime, food splatters, and grease wipe away. The steam will have done most of the hard work for you, dissolving tough spots into a manageable mess. For particularly stubborn spots, a gentle scrub with the warm, wet sponge should suffice.
Step 6: Clean the Turntable and Exterior
While the interior is drying, take the opportunity to clean the removed turntable and its support ring. You can wash these in your sink with warm, soapy water or even place them in the dishwasher if they are dishwasher-safe. Don’t forget to wipe down the exterior of your microwave, including the control panel and door handle, with a damp cloth. A final wipe with a dry cloth will remove any streaks and leave all surfaces sparkling.
Step 7: Final Dry Wipe and Reassemble
Once you’ve wiped all interior surfaces clean and removed all loosened debris, give the inside a final wipe with a dry cloth to ensure no moisture is left behind. Replace the cleaned turntable and rollers. Stand back and admire your sparkling, fresh-smelling microwave! It truly is that easy to have a pristine appliance.
The Science Behind the Sparkle: Why Vinegar and Steam Work Wonders
This natural cleaning method isn’t magic; it’s pure science at play. The combination of heat, steam, and vinegar creates a powerful cleaning synergy:
- Steam Power: Heating the water to boiling point generates a significant amount of steam. This hot, moist air penetrates the dried-on food particles, rehydrating and softening them. Think of it like taking a hot shower to loosen dirt on your skin – the same principle applies to baked-on grime in your microwave.
- Vinegar’s Acidity: White vinegar contains acetic acid, a mild acid that is incredibly effective at breaking down grease, dissolving mineral deposits (like hard water stains), and acting as a natural disinfectant. When this acidic vapor circulates with the steam, it cuts through sticky residues and neutralizes odors, leaving a fresh, clean scent.
- Lifting Action: As the grime softens and dissolves, it loses its adhesion to the microwave’s surfaces. This makes it incredibly easy to simply wipe away with a cloth, eliminating the need for strenuous scrubbing.
Beyond the Basics: Advanced Tips for a Pristine Microwave
While the basic vinegar and water method is highly effective, sometimes you encounter extra stubborn challenges. Here are a few advanced tips to ensure your microwave is always in top condition:
Tackling Stubborn Stains and Odors
- Repeat the Process: For microwaves that haven’t seen a good clean in a while, or for exceptionally tough, baked-on stains, don’t hesitate to repeat the steaming process. Sometimes a second round of steam is all it takes to loosen the most tenacious grime.
- Add More Lemon: If lingering odors are an issue, increasing the amount of lemon slices or lemon juice in your vinegar solution can boost its deodorizing power. The fresh citrus scent is excellent for neutralizing unpleasant smells.
- Baking Soda Paste for Tough Spots: For any remaining ultra-stubborn spots that refuse to budge, create a thick paste using baking soda and a small amount of water. Apply this paste directly to the stain, let it sit for 5-10 minutes, and then gently scrub with a damp sponge. Baking soda is a mild abrasive that can help lift tough stains without scratching surfaces.
Don’t Forget the Details: Exterior and Turntable Care
A truly clean microwave isn’t just spotless on the inside. Extend your cleaning efforts to these often-overlooked areas:
- Exterior Surfaces: Wipe down the top, sides, and front of your microwave with a damp cloth. For stainless steel finishes, use a microfibre cloth and wipe with the grain to prevent streaks.
- Control Panel: Gently wipe the control panel and buttons. If your panel is prone to fingerprints, a glass cleaner (applied to a cloth, not sprayed directly) can work wonders, or a simple damp cloth followed by a dry one.
- Door Seals and Edges: Food particles and grime can accumulate in the rubber seals and edges around the microwave door. Use a damp cloth or even a cotton swab for tight crevices to ensure these areas are clean and hygienic.
- Turntable and Ring: As mentioned, these parts should be washed thoroughly. For sticky residues, a good soak in warm, soapy water before scrubbing can make a big difference.
Preventative Measures: Keeping Your Microwave Cleaner, Longer
The best way to deal with a dirty microwave is to prevent it from getting too dirty in the first place! Incorporating these simple habits into your routine can significantly reduce the frequency of deep cleaning:
- Cover Your Food: This is the golden rule! Always use a microwave-safe cover, plastic wrap, or a paper towel to cover food while heating. This simple step prevents splatters and keeps food contained.
- Wipe Spills Immediately: As soon as you notice a spill or splatter, wipe it up. Fresh spills are much easier to clean than dried, baked-on ones. A quick wipe with a damp paper towel can save you a lot of effort later.
- Regular Light Cleaning: Incorporate a quick wipe-down of the interior after a few uses, even if it looks relatively clean. This prevents grime from building up and becoming a major chore.
Safety First: Important Considerations
While this method is simple and safe, always keep these points in mind:
- Hot Bowl: The bowl of water and vinegar will be extremely hot after microwaving. Use oven mitts or a towel to carefully remove it from the microwave.
- Unplugging: For thorough cleaning of the exterior or when dealing with electrical components, it’s always safest to unplug the microwave from the power outlet.
- Ventilation: While vinegar fumes are natural, ensuring good ventilation by opening a window can make the process more comfortable.
This natural cleaning method is a game-changer for anyone tired of scrubbing or resorting to harsh chemicals. It’s incredibly effective, remarkably easy, and uses ingredients you likely already have in your pantry. By following these simple steps, you can quickly and effortlessly achieve a sparkling clean, fresh-smelling microwave. Give this method a try and experience the satisfaction of a truly clean kitchen appliance – naturally!