
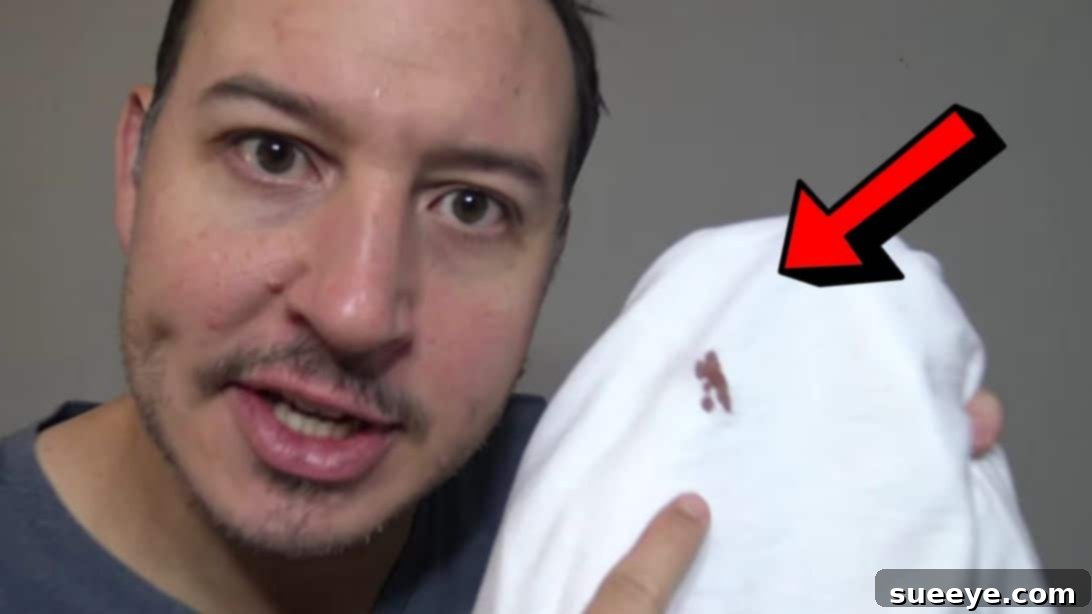
Few things are as frustrating as discovering a fresh (or worse, dried!) blood stain on your favorite shirt, bedding, or upholstery. That distinct red mark can feel permanent, especially on light-colored fabrics, leaving you to wonder if the item is ruined forever. The good news is, blood stains are often treatable, and you don’t necessarily need a cabinet full of specialized cleaning products to tackle them. The key lies in understanding the science behind the stain and applying the right technique promptly. This comprehensive guide will equip you with effective, easy-to-follow methods using common household items, ensuring your garments can be saved.
The urgency of addressing blood stains cannot be overstated. The longer a blood stain sits on fabric, the more time the proteins in the blood have to bond with the fibers, making removal significantly more challenging. Think of it like cooking an egg – once heated, the proteins irreversibly change. Similarly, heat (like from a washing machine with hot water or a dryer) can ‘set’ a blood stain, making it incredibly difficult, if not impossible, to remove later. Therefore, swift action and the correct approach are your best allies.
In this guide, we’ll delve into powerful, yet simple, methods to eliminate blood stains using just a couple of readily available household products: hydrogen peroxide and Windex. These techniques are surprisingly effective and can save you from the stress of a seemingly permanent mark. You’ll also learn crucial tips, such as the importance of using cold water, and how to approach even stubborn, dried blood stains. Get ready to transform your laundry routine and restore your stained items with confidence!
Why Blood Stains Are So Stubborn and The Importance of Cold Water
Blood is primarily composed of water, red blood cells, white blood cells, platelets, and plasma, which contains various proteins. It’s these proteins, particularly hemoglobin, that are responsible for the blood’s red color and its notorious staining power. When blood comes into contact with fabric, these proteins begin to coagulate and bind to the fibers. If introduced to heat, these proteins “cook” or denature, essentially baking the stain into the fabric, making it much harder to lift.
This is why the cardinal rule of blood stain removal is always to use cold water. Cold water helps to break down the blood proteins without causing them to set. Hot water, on the other hand, will cause the proteins to coagulate rapidly, effectively making the stain a permanent fixture. So, whether you’re rinsing, blotting, or pre-soaking, remember: cold water is your best friend when battling blood stains.
Essential Tools for Effective Blood Stain Removal:
Before you begin, gather these simple items. You likely already have most of them around your home, proving that effective stain removal doesn’t require a specialty kit.
- Hydrogen Peroxide (3% solution): A common antiseptic and mild bleaching agent, excellent for oxidizing organic stains.
- Windex (or any ammonia-based glass cleaner): Its ammonia content can help break down protein-based stains.
- A dedicated cleaning toothbrush: Not one you use for your teeth! A soft-bristled brush helps work the cleaning solution into fabric fibers without causing damage.
- Plenty of paper towels or clean white cloths: For blotting and absorbing the stain as it lifts.
- Cold water: Absolutely critical for rinsing and pre-treatment.
- Optional: Laundry detergent, enzyme stain remover (for extra stubborn stains), rubber gloves (for sensitive skin).
Method 1: The Power of Hydrogen Peroxide for Blood Stains
Hydrogen peroxide is a fantastic oxidizing agent that works wonders on organic stains like blood. When it comes into contact with blood, it reacts with the enzymes, causing a fizzing action that helps lift the stain from the fabric. This method is generally safe for most white and colorfast fabrics, but it’s always wise to test it on an inconspicuous area first, especially on darker or delicate items.
Step-by-Step Guide for Hydrogen Peroxide Treatment:
Step 1: Prepare the Stained Area
Begin by placing a clean piece of paper towel or a white cloth directly underneath the stained portion of the fabric. This acts as a barrier, preventing the stain from transferring to other parts of the garment or your work surface, and also helps to absorb the released blood. Ensure the fabric is stretched taut but not overly strained over the paper towel.
Step 2: Apply Hydrogen Peroxide and Initiate the Reaction
Carefully saturate the blood stain with a 3% hydrogen peroxide solution. You should almost immediately observe a fizzing or bubbling action. This effervescence is a sign that the hydrogen peroxide is reacting with the blood’s enzymes, effectively breaking down the stain and lifting it away from the fabric fibers. Once the fizzing starts, take your dedicated cleaning toothbrush and gently scrub the stained area. Work the hydrogen peroxide deep into the fabric, using small, circular motions. This mechanical action, combined with the chemical reaction, helps to dislodge the stubborn blood particles.
Step 3: Blot and Allow to Penetrate
After scrubbing, grab another fresh piece of paper towel and gently blot the stain. You’ll notice the paper towel absorbing the blood and the hydrogen peroxide solution. Continue blotting until you’ve lifted as much of the stain as possible. Now, allow the remaining hydrogen peroxide to sit on the stain for approximately 10 to 15 minutes. This gives the solution ample time to continue breaking down any residual blood proteins. For particularly tough or slightly older stains, you might extend this waiting period slightly.
Step 4: Rinse and Repeat if Necessary
Once the waiting time has passed, rinse the treated area thoroughly with plenty of cold water. Observe the fabric closely. If there’s still a faint outline or residue of the stain, don’t despair! Simply repeat the entire process: reapply hydrogen peroxide, scrub gently with the toothbrush, blot, let it sit, and rinse again with cold water. Persistence is key, and often, multiple applications will be required for complete stain eradication. Continue this cycle until the stain is entirely gone.
Method 2: Windex – A Surprising Solution for Blood Stains
While often associated with streak-free windows, Windex (or any similar ammonia-based glass cleaner) can be an unexpectedly effective weapon against blood stains. The ammonia in these cleaners acts as an alkaline agent, which can help to break down the protein bonds in blood, making it easier to lift from fabric. This method is particularly useful for fresh stains and can be a great alternative if hydrogen peroxide isn’t immediately available or if you’re concerned about its mild bleaching effect on certain colored fabrics (though testing is always recommended).
Step-by-Step Guide for Windex Treatment:
Step 1: Spray and Scrub the Stain
Position the stained garment on a clean, flat surface. Take your Windex spray bottle and generously spray the blood stain directly. Ensure the entire stained area is thoroughly saturated with the cleaner. Once applied, grab your cleaning toothbrush and immediately begin scrubbing the stain. Use firm but gentle motions, working the Windex into the fabric fibers. The goal is to agitate the stain and allow the ammonia to penetrate and break down the blood proteins.
Step 2: Dab and Transfer the Stain
After a good scrub, take several fresh paper towels or clean white cloths. Begin dabbing the treated area. As you dab, you should observe the blood stain transferring from the fabric onto the paper towel. This is an indicator that the Windex is working to lift the stain. Continue dabbing and replacing the paper towels with clean ones until no more blood transfers to the towel. Avoid rubbing, as this can spread the stain; instead, focus on blotting and lifting.
Step 3: Rinse Thoroughly with Cold Water
Once you’ve blotted out as much of the stain as possible, rinse the entire area under a stream of cold water. Make sure to rinse thoroughly to remove all traces of the Windex from the fabric. Just like with hydrogen peroxide, if any residue of the stain remains after rinsing, you can repeat the Windex application, scrubbing, and dabbing process until the garment is completely clean. Always finish with a cold water rinse.
Crucial Tips for Successful Blood Stain Removal:
- Act Fast: This cannot be stressed enough. Fresh blood is significantly easier to remove than dried blood. The sooner you treat the stain, the higher your chances of complete removal.
- Always Use Cold Water: Repeat after us: NEVER hot water! Hot water cooks the proteins in the blood, permanently setting the stain into the fabric.
- Test in an Inconspicuous Area: Before applying any cleaning solution to a visible stain, especially on colored or delicate fabrics, always test it on a hidden seam or hem. This helps ensure the product won’t cause discoloration or damage.
- Don’t Rub, Blot: Rubbing a stain can spread it further and push the blood deeper into the fabric fibers. Instead, gently blot the stain with clean paper towels or cloths, working from the outside edge of the stain towards the center to avoid spreading.
- Avoid Drying Stained Items: Never put a blood-stained item in a clothes dryer until you are absolutely certain the stain is completely gone. The heat from the dryer will permanently set any remaining traces of blood, making future removal almost impossible.
- Consider Fabric Type: While hydrogen peroxide and Windex are generally safe for many common fabrics like cotton and polyester, exercise caution on delicate materials like silk, wool, or rayon. For these, professional dry cleaning or a very mild enzyme cleaner might be a safer bet.
Tackling Dried Blood Stains: When You Can’t Act Fast
So, you’ve found a dried blood stain that you didn’t catch in time. Don’t lose hope! While more challenging, dried blood stains can often still be removed with a bit more effort and patience.
- Scrape Off Excess: Gently scrape off any dried, crusted blood with a dull knife or the edge of a credit card. Be careful not to damage the fabric fibers.
- Pre-Soak in Cold Water: Submerge the stained area (or the entire garment if necessary) in a basin of cold water for several hours, or even overnight. This helps to rehydrate and loosen the dried blood. You can add a tablespoon of salt to the water, as salt can help break down protein bonds.
- Apply Cleaning Solution: After pre-soaking, gently wring out the excess water. Then, proceed with either the hydrogen peroxide or Windex method as described above. You may need to let the solution sit for a longer period (e.g., 20-30 minutes for hydrogen peroxide) and repeat the scrubbing and rinsing steps multiple times.
- Enzyme Cleaner (Optional, for stubborn cases): For very old or stubborn dried blood stains, an enzyme-based stain remover can be incredibly effective. Enzyme cleaners are formulated to break down protein-based stains. Follow the product instructions carefully.
How to Remove Blood Stains from Clothes: Video Tutorial
Sometimes, seeing a technique in action can make all the difference. For a visual demonstration of these effective blood stain removal methods, consider watching this helpful video tutorial by Clean With Confidence on YouTube. This video provides a clear, step-by-step walkthrough that complements the instructions provided here, making it even easier to achieve spotless results. It’s a great resource to ensure you’re performing each step correctly and confidently.
RELATED: 10 Unexpected Cleaning Hacks With Shaving Cream
Final Thoughts on Blood Stain Removal
Dealing with blood stains can be daunting, but with the right knowledge and tools, you can successfully restore your garments. Remember, the golden rule is always to act quickly and use cold water. Hydrogen peroxide and Windex are powerful allies in your fight against these stubborn marks, offering effective solutions that are both accessible and easy to use. By following the detailed steps and tips outlined in this guide, you’ll be well-equipped to tackle both fresh and dried blood stains, saving your clothes and maintaining their pristine condition.
Don’t let a blood stain spell the end for your favorite item of clothing. Embrace these simple yet effective cleaning hacks, and you’ll be amazed at how easily you can make those unsightly marks disappear, leaving your fabrics looking fresh and clean once more. Keep these methods in mind for any future laundry emergencies!
*All images in this article are credited to Clean With Confidence via YouTube. We highly recommend visiting their channel and subscribing for more invaluable cleaning tips and tricks!