
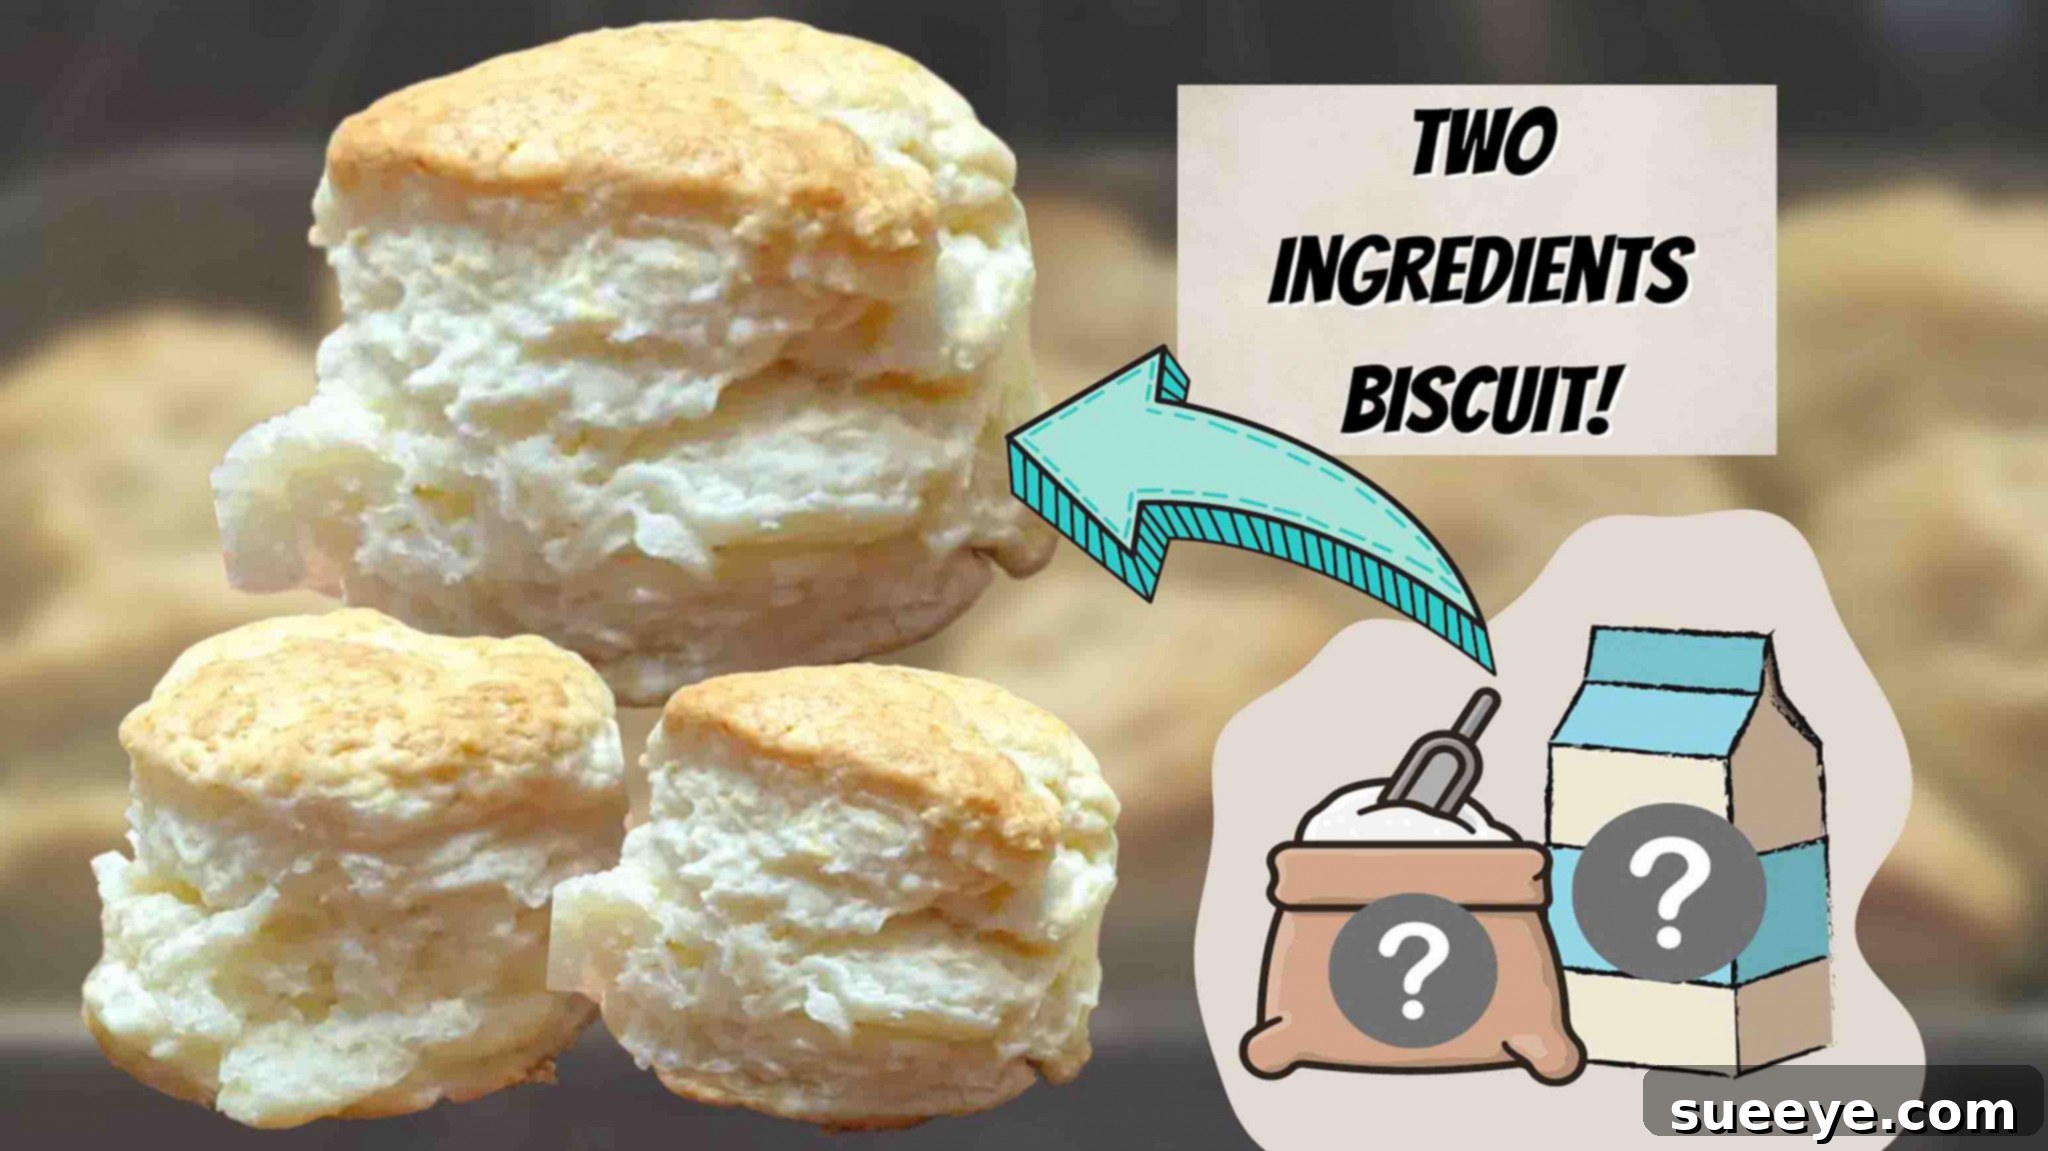
Master the Easiest Two-Ingredient Biscuits: Fluffy, Flaky & Fast!
Imagine biting into a warm, golden-brown biscuit that’s incredibly moist, wonderfully flaky, and unbelievably fluffy. What if we told you that culinary dream requires just two simple ingredients? Yes, you read that right! Thanks to the genius insights from Collard Valley Cooks on YouTube, achieving biscuit perfection has never been easier. This groundbreaking recipe takes the complexity out of baking, delivering exceptional results every single time.
Forget the endless ingredient lists, the complicated techniques, and the fear of failure often associated with homemade biscuits. This revolutionary two-ingredient method simplifies the process to an art form, making it accessible to even the most novice bakers. Whether you’re preparing a quick breakfast, a delightful side for dinner, or a comforting treat, these biscuits are guaranteed to impress your family and friends. Not only are they incredibly delicious, but they’re also remarkably quick and utterly hassle-free to make, proving that sometimes, less truly is more in the kitchen.
Join us as we dive into the simplicity and magic of these heavy whipping cream and self-rising flour biscuits. Get ready to transform your perception of baking and create a staple recipe you’ll return to again and again. Your journey to homemade biscuit bliss starts now!
The Miraculous Two Ingredients: What You’ll Need
The beauty of this recipe lies in its minimalist approach. You literally need only two items to create biscuit magic:
- Heavy Whipping Cream: This is the secret weapon! Heavy whipping cream, also known as heavy cream, boasts a higher fat content (typically 36-40%) compared to regular whipping cream. This abundant fat is crucial for creating tender, rich, and moist biscuits, eliminating the need for separate butter or shortening. The fat coats the flour particles, preventing excessive gluten development, which could lead to tough biscuits. It also provides the necessary liquid for the dough.
- Self-Rising Flour: The other half of our dynamic duo. Self-rising flour is a pre-mixed flour that already contains baking powder and salt. This means you don’t need to measure out separate leavening agents or seasoning, streamlining the process significantly. The baking powder ensures your biscuits rise beautifully, becoming light and fluffy, while the salt enhances their flavor. Using self-rising flour guarantees consistent results and saves precious time.
Precise Quantities for Perfect Biscuits
While the recipe is incredibly forgiving, these measurements will give you the best starting point:
- 2 cups Self-Rising Flour
- 1 ½ cups Heavy Whipping Cream (ensure it’s cold for optimal results)
These quantities are generally perfect for a standard batch, yielding around 8-12 biscuits depending on their size. For a larger crowd, simply double the recipe!
Step-by-Step Guide to Biscuit Perfection
Step 1: Mixing the Dough and Preparing to Bake
The journey to your perfect biscuits begins with effortless preparation. Gather your two star ingredients: heavy whipping cream (remember, the higher fat content is key!) and self-rising flour. Precision isn’t strictly necessary, but good habits lead to great results.
- Combine Ingredients: Measure 2 cups of self-rising flour and pour it into a medium-sized mixing bowl. Next, carefully add 1 ½ cups of cold heavy whipping cream to the flour.
- Gentle Mixing is Key: Begin mixing the flour and cream together. You can use a wooden spoon, a sturdy spatula, or even your hands. The goal is to mix thoroughly until the ingredients are just combined. Avoid overmixing at all costs! Overworking the dough develops gluten, which can lead to tough, chewy biscuits instead of light, flaky ones. The consistency of your mixture should be sticky and shaggy, not perfectly smooth. There might still be some dry flour spots, which is perfectly fine.
- Prepare Your Baking Pan: Lightly grease a baking pan using cooking spray or a thin layer of butter. This prevents the biscuits from sticking and helps them achieve a beautiful golden crust.
- Choose Your Shaping Method: You have two fantastic options for shaping your biscuits, depending on your preference for aesthetics and texture:
- Rustic Drop Biscuits: For an effortlessly charming, rustic look, simply pinch off a small amount of the sticky dough. Gently roll it between your floured hands just enough to form a rough ball or disc. Place these dough balls directly into your greased pan. This method produces softer edges and requires minimal handling.
- Classic Cut Biscuits: For more uniform, traditionally shaped biscuits with defined layers, lightly flour your clean countertop. Turn the remaining dough out onto the floured surface. Gently pat the dough down with your hands or use a rolling pin to achieve a thickness of about ½ to ¾ inch. Using a biscuit cutter (or even an upside-down drinking glass), press straight down to cut out your biscuits. Important: Do not twist the cutter, as twisting can seal the edges and prevent a proper rise. Rework any dough scraps only once or twice to avoid tough biscuits. Arrange the cut biscuits in your greased pan, placing them relatively close together. This proximity helps them rise taller and creates soft sides.
- The Creamy Touch (Optional but Recommended): For an extra golden-brown top and a slightly richer crust, you can lightly brush the tops of your shaped biscuits with a little extra heavy whipping cream before baking. Alternatively, as suggested in some traditional recipes, you can put a bit of whipping cream in your hands and gently pat the tops of the biscuits once they’re in the pan. This adds an additional layer of fat and moisture, contributing to a beautiful finish.
Step 2: Baking to Golden Perfection
Once your biscuits are shaped and nestled in the pan, it’s time for the oven to do its magic. High heat is key for a quick rise and a beautifully golden crust.
- Preheat Your Oven: Ensure your oven is fully preheated to 450 degrees Fahrenheit (230 degrees Celsius). A hot oven helps the biscuits rise rapidly, creating that desirable fluffy texture.
- Bake the Biscuits: Carefully place your pan of biscuits into the preheated oven. Bake them for approximately 18 to 22 minutes. The exact baking time can vary slightly depending on your oven and the size of your biscuits.
- Check for Doneness: Keep an eye on your biscuits. They are ready when they have risen significantly and turned a beautiful golden brown on top and around the edges. If you’re unsure, you can gently tap one; it should sound hollow.
- Cool and Serve: Once baked to perfection, pull the biscuits out of the oven. Transfer them immediately to a wire rack to cool slightly, or directly to a plate if you can’t wait! Serving them warm is highly recommended.
The Science of Simplicity: Why These Two-Ingredient Biscuits are a Game Changer
Understanding the magic behind this recipe makes it even more appealing. It’s not just a shortcut; it’s smart baking:
- Fat for Flakiness and Tenderness: Heavy whipping cream is essentially liquid fat. When it’s mixed with flour, the fat coats the gluten strands, preventing them from forming long, tough networks. This results in an incredibly tender crumb and delicate layers that characterize a truly flaky biscuit. The high-fat content also contributes to a rich, buttery flavor without adding butter separately.
- Leavening Power: Self-rising flour is formulated with precisely the right amount of baking powder (for rise) and salt (for flavor). The baking powder reacts with the heat in the oven, producing carbon dioxide gas bubbles that get trapped in the dough, causing the biscuits to puff up and become light and airy.
- Minimal Handling, Maximum Results: Because the heavy cream provides all the necessary fat and liquid, and the flour contains the leavening, the dough requires minimal handling. Less handling means less gluten development, which directly translates to a softer, more tender biscuit. It eliminates the need for cutting in cold butter, which is often the trickiest part of traditional biscuit making.
Tips for Perfect Two-Ingredient Biscuits Every Time
Even with such a simple recipe, a few insider tips can elevate your biscuits from great to absolutely extraordinary:
- Keep Ingredients Cold: Just like with traditional biscuits, cold heavy whipping cream is ideal. Cold fat creates steam in the oven, contributing to a flakier texture.
- Do Not Overmix: This cannot be stressed enough! Mix the dough until just combined. A sticky, shaggy dough is your friend. Overmixing develops gluten, leading to tough biscuits.
- Use Good Quality Self-Rising Flour: The quality of your flour matters. If your self-rising flour has been sitting in the pantry for ages, the leavening agents might be less effective.
- Don’t Twist the Cutter: When using a biscuit cutter, press straight down and lift. Twisting the cutter can seal the edges of the biscuit, preventing it from rising to its full potential.
- Bake Biscuits Close Together: Placing biscuits relatively close together in the pan encourages them to rise taller and helps keep their sides soft.
- Hot Oven is Crucial: Ensure your oven is fully preheated to 450°F (230°C). The initial blast of high heat is what makes the biscuits puff up quickly and creates that beautiful crust.
- Adjust Cream as Needed: Humidity and flour brands can vary. If your dough seems too dry, add another tablespoon or two of cream. If it’s too wet, sprinkle in a bit more flour. It should be sticky but manageable.
Serving Suggestions & Delightful Variations
These two-ingredient biscuits are incredibly versatile. Here are some ideas to enjoy them:
- Classic Southern Style: Slather them with a generous pat of butter, homemade jam, or a drizzle of honey. Perfect with a cup of coffee!
- Savory Indulgence: Serve alongside a hearty sausage gravy for a quintessential breakfast or brunch. They’re also fantastic with chili, stew, or fried chicken.
- Sweet Treats: Split them open and add fresh berries and whipped cream for a simple strawberry shortcake alternative.
- Flavor Variations:
- Cheesy Biscuits: Gently fold in ½ cup of shredded cheddar cheese (or your favorite cheese) into the dough before shaping.
- Herbed Biscuits: Add a tablespoon of finely chopped fresh chives, rosemary, or dried Italian herbs to the flour mixture.
- Garlic & Herb: Incorporate garlic powder and dried parsley for a savory dinner roll.
- Sweet Cinnamon: Sprinkle a touch of cinnamon sugar on top before baking for a sweet morning treat.
Mama’s Two-Ingredient Biscuit Recipe: Frequently Asked Questions
Can I use regular whipping cream instead of heavy whipping cream?
While you theoretically *could*, it’s highly recommended to stick to heavy whipping cream. Regular whipping cream has a lower fat content (around 30-35%), which might result in less tender and less rich biscuits. The higher fat in heavy cream is crucial for the texture and flavor of this particular recipe, as it acts as both the fat and liquid component.
What if I don’t have self-rising flour? Can I make my own?
Absolutely! You can easily make your own self-rising flour substitute. For every 1 cup of all-purpose flour, add 1 ½ teaspoons of baking powder and ¼ teaspoon of fine salt. So, for this recipe, you would use 2 cups of all-purpose flour, 3 teaspoons (1 tablespoon) of baking powder, and ½ teaspoon of salt. Sift them together thoroughly before using to ensure even distribution of the leavening agents.
Can I make the biscuit dough ahead of time?
It’s best to bake these biscuits immediately after mixing. The leavening agents in the self-rising flour begin to activate once wet, and waiting too long can result in less rise. However, if you absolutely must prepare ahead, you can store the unbaked, shaped biscuits in the refrigerator for up to 30 minutes, or even freeze them. If freezing, bake from frozen, adding a few extra minutes to the baking time.
How do I store leftover biscuits?
Leftover biscuits are best stored in an airtight container at room temperature for 1-2 days. For longer storage, you can refrigerate them for up to 5 days. To reheat, a quick zap in the microwave (15-30 seconds) or a few minutes in a toaster oven at 350°F (175°C) will bring them back to life.
Can I freeze the baked biscuits?
Yes! Baked biscuits freeze beautifully. Once completely cooled, place them in a freezer-safe bag or container, separating layers with parchment paper. They can be frozen for up to 2-3 months. To reheat, thaw them overnight in the refrigerator, then warm them in a toaster oven or regular oven at 350°F (175°C) until heated through and crisp.
Unlock Your Inner Biscuit Maker Today!
This “Mama’s Two-Ingredient Biscuit Recipe” isn’t just a recipe; it’s an invitation to rediscover the joy of baking with unparalleled ease. Gone are the days of complex instructions and multiple ingredients. With just heavy whipping cream and self-rising flour, you can consistently produce biscuits that are moist, flaky, and wonderfully fluffy – every single time.
Whether you’re a seasoned baker looking for a reliable shortcut or a complete beginner eager to create something delicious from scratch, this recipe is your golden ticket. So, gather your two simple ingredients, follow these straightforward steps, and prepare to delight your taste buds with the easiest, most delicious homemade biscuits you’ve ever made. Don’t wait – embrace the simplicity and enjoy the delicious results today!