
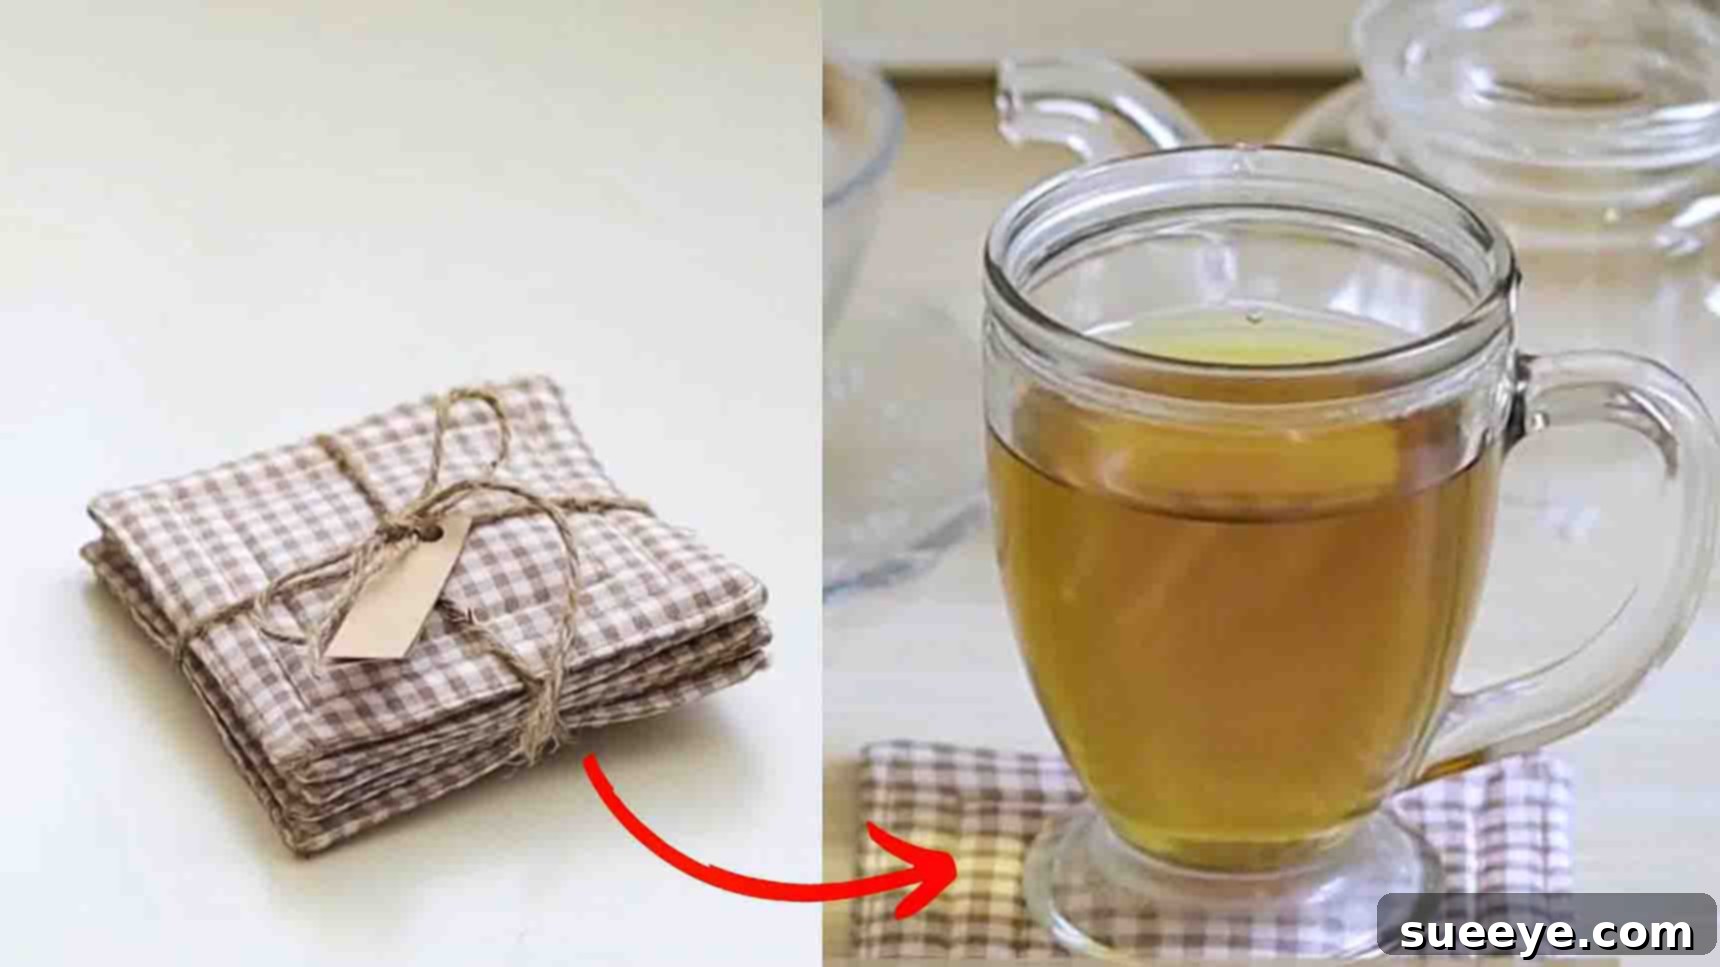
Welcome to the wonderful world of DIY crafting, where creativity meets sustainability! If you’re looking for an incredibly simple, quick, and rewarding project, then these DIY fabric coasters, inspired by the fantastic tutorial from Byhening on YouTube, are exactly what you need. This project is a brilliant way to breathe new life into your overlooked fabric scraps, transforming them into functional and beautiful pieces for your home. Not only is it perfect for absolute beginners in sewing, but it also offers a fantastic opportunity to create thoughtful, personalized gifts for friends and family without breaking the bank or spending hours on intricate designs. Imagine the delight on a loved one’s face when they receive a handmade gift, crafted with care and a personal touch. The best part? You can whip up a set of these charming coasters in under ten minutes each, making them ideal for last-minute gifts or a spontaneous crafting session. They are quick, easy, and undeniably pretty, adding a touch of bespoke elegance to any coffee table or desk. Let’s dive into how you can create these stylish and practical fabric coasters with minimal effort and maximum satisfaction.
Handmade fabric coasters are more than just functional items; they are a statement of your personal style and a commitment to sustainable living. By repurposing fabric scraps, you’re not only decluttering your craft stash but also contributing to a more eco-friendly lifestyle. This tutorial is designed to be as straightforward as possible, guiding you through each step with clear, concise instructions. Whether you’re a seasoned crafter or just picking up a needle and thread for the first time, you’ll find this project incredibly accessible and enjoyable. The simplicity of the design allows for endless customization possibilities, enabling you to experiment with various fabric patterns, textures, and colors to match any home decor theme. Get ready to transform your fabric remnants into charming coasters that protect your surfaces while adding a cozy, personalized accent to your space. Let’s gather our materials and embark on this delightful crafting journey!
Essential Materials for Your DIY Fabric Coasters
Before you begin your creative endeavor, it’s crucial to gather all the necessary materials. The beauty of this project lies in its simplicity and the minimal supplies required, many of which you might already have lying around your home or craft room. Here’s a detailed list of what you’ll need, along with some helpful tips for choosing the best options to ensure your coasters turn out perfectly.
- Fabric Scraps: This is where the magic happens! Look for cotton or linen fabric scraps that are at least 12×12 cm (approximately 5×5 inches) per coaster. Cotton is highly recommended due to its durability, absorbency, and ease of sewing. Feel free to mix and match patterns and colors to create unique, eye-catching designs. Consider using complementary colors or contrasting patterns for a truly personalized touch. Ensure your fabric is clean and ironed for precise cutting and sewing.
- Cotton Batting (3 mm thickness): Also known as wadding or interlining, cotton batting provides the necessary structure, absorbency, and insulation for your coasters. The 3 mm thickness is ideal as it offers enough body without making the coaster too bulky. You can find cotton batting at most fabric or craft stores. If you don’t have batting, a thick flannel or even multiple layers of regular cotton fabric could serve as an alternative, though batting will provide the best results.
- Sharp Scissors: A good pair of fabric scissors is essential for clean, straight cuts. Using dedicated fabric scissors helps maintain their sharpness and prevents fraying. Alternatively, a rotary cutter with a self-healing mat can make cutting multiple layers or precise squares much quicker and easier.
- Ruler: A clear acrylic ruler with grid lines is incredibly helpful for accurate measuring and marking. Precision in cutting is key to achieving professional-looking coasters.
- Fabric Pen or Chalk: You’ll need a tool to mark your cutting lines on the fabric. A disappearing ink fabric pen, tailor’s chalk, or even a regular pencil (on the wrong side of the fabric) will work perfectly.
- Pins: Sewing pins are indispensable for holding your fabric layers securely in place while you sew, preventing slippage and ensuring a neat finish.
- Sewing Machine (with appropriate thread): While it’s possible to hand-sew these coasters, a sewing machine will make the process much faster and result in stronger, more uniform stitches. Choose a good quality polyester thread that matches or complements your fabric colors.
- Iron and Ironing Board: Pressing your fabric at various stages is crucial for crisp seams and a professional appearance. Don’t skip this step!
- Point Turner or Chopstick (optional but recommended): This tool helps in pushing out the corners of your coaster after turning it right side out, creating perfectly sharp and defined edges.
Having all these items ready before you start will ensure a smooth and enjoyable crafting experience, allowing you to focus on the creative process rather than scrambling for supplies.
Step-by-Step Instructions: Crafting Your Fabric Coasters
Now that you have all your materials, let’s get down to the exciting part: bringing your fabric coasters to life! Follow these detailed instructions carefully to ensure your coasters are not only beautiful but also durable and well-made. Remember, precision in measuring and careful stitching are key to a professional finish.
Step 1: Preparing Your Fabric and Initial Sewing
The foundation of a great coaster lies in accurate cutting and proper layering. This step focuses on preparing your fabric pieces and performing the initial stitch that forms the coaster’s shape.
- Measure and Cut Your Fabric: Begin by taking your chosen fabric scraps. Using your ruler and fabric pen or chalk, mark a perfect square of 12 x 12 cm (approximately 4.7 x 4.7 inches) on the wrong side of your fabric. This measurement is crucial as it already includes a 1 cm (approx. 0.4 inch) seam allowance on all four sides. Carefully cut out two identical fabric squares following these marks. For best results, use sharp fabric scissors or a rotary cutter for cleaner, straighter edges. If you wish to make a set of coasters, repeat this process for each desired coaster, experimenting with different fabric scraps for variety.
- Cut the Cotton Batting: Next, place one of your cut fabric squares on top of your cotton batting. Align the edges neatly. Using the fabric square as a guide, cut a piece of batting that is the same size. You’ll need one piece of batting for each coaster. The batting will provide absorbency and structure, making your coaster functional and sturdy.
- Layer the Coaster Components: Take your two fabric squares and place them right sides together. This means the printed or “good” sides of the fabric should be facing each other. Then, place the cotton batting directly underneath one of these fabric squares, so the batting is on the very bottom layer. This creates a sandwich: fabric (right side up) / fabric (right side down) / batting. Secure all three layers together using several pins, placing them around the edges to prevent any shifting during sewing.
- Sew the Perimeter: Using your sewing machine, stitch around the outer edge of your layered fabric and batting, maintaining a precise 1 cm (approx. 0.4 inch) seam allowance from the raw edge. Start by backstitching at the beginning and end of your seam for added security. It’s important to leave an opening of approximately 5 cm (about 2 inches) along one side. This opening is essential for turning the fabric right side out later. When you reach each corner, lift the presser foot (with the needle still down in the fabric), pivot the fabric 90 degrees, and then continue sewing. Remember to backstitch again at the end of your seam where you lift off the fabric, securing the opening.
- Trim and Turn: Once stitched, carefully trim the excess cotton batting and fabric close to your seam line, especially at the corners. To reduce bulk and ensure crisp corners when turned, snip the corners diagonally, being careful not to cut through your stitches. Now, gently turn the entire coaster assembly right side out through the 5 cm opening you left. Take your time with this step to avoid stressing the seams.
Step 2: Finishing Your Coaster with a Professional Touch
This final step brings everything together, giving your coaster a neat, finished look and adding durability.
- Shape the Corners and Press: After turning your coaster right side out, use a point turner, a chopstick, or even the blunt end of your scissors to gently push out all four corners. This will help create sharp, well-defined corners. Once the corners are nice and crisp, take your coaster to the ironing board and give it a good press. Flatten all the seams and ensure the fabric lies smoothly. Pay special attention to the opening you left; fold the raw edges of the fabric inwards by 1 cm, so they align with the rest of the seam, creating a neat fold. Pin this opening closed.
- Topstitch for Durability and Finish: With your coaster neatly pressed and the opening pinned closed, it’s time for the final stitching. Take your coaster back to the sewing machine. You will sew a straight stitch approximately 2 mm (or about 1/8 inch) from the outside lines, all along the perimeter of the square. This topstitch serves several purposes: it securely closes the opening, adds a professional and decorative finish, and helps to flatten the edges, giving your coaster a crisp, durable structure. Start and end with a backstitch for reinforcement. You can choose a thread color that matches your fabric for a subtle look or a contrasting color for an added design element.
- Final Pressing: Once the topstitching is complete, give your finished coaster one last press with a hot iron. This will set the stitches, remove any wrinkles, and give your handmade coaster a polished and professional appearance.
Congratulations! Your beautiful, handmade fabric coaster is now complete. You’ve successfully transformed simple fabric scraps into a functional and stylish home accessory. This process can be repeated to create a full set of matching or coordinating coasters, perfect for gifting or enhancing your own home decor.
Why Choose Easy DIY Fabric Coasters?
Beyond the simple satisfaction of creating something with your own hands, embarking on a DIY fabric coaster project offers a multitude of benefits, making it an incredibly popular and rewarding craft for people of all skill levels.
Embrace Sustainability and Reduce Waste
One of the most significant advantages of this project is its eco-friendly nature. Every crafter knows the struggle of accumulating small pieces of fabric that are too beautiful to throw away but too small for larger projects. These fabric coasters provide the perfect solution, allowing you to upcycle those precious scraps and prevent them from ending up in a landfill. It’s a small step towards a more sustainable lifestyle, transforming potential waste into useful and charming household items. By choosing to make your own coasters, you’re not only being kind to the planet but also showcasing your creativity in a responsible way.
Unleash Your Creativity and Personal Style
The design possibilities for fabric coasters are virtually limitless. With an endless array of fabric patterns, textures, and colors available, you can truly let your imagination run wild. Whether you prefer vibrant and bold prints, subtle pastels, or sophisticated neutrals, you can tailor your coasters to perfectly match your existing home decor or to add a pop of contrasting color. This personalization factor makes each coaster unique and a true reflection of your individual taste. You can mix and match different fabrics within a set, create themed coasters for holidays, or even incorporate embroidery or appliqué for an extra special touch.
The Perfect Personalized Gift
In a world saturated with mass-produced items, a handmade gift stands out as something truly special and heartfelt. Fabric coasters make excellent gifts for almost any occasion – birthdays, housewarmings, holidays, or just because. The time and effort you invest in creating them convey a deeper level of care and thoughtfulness than a store-bought item ever could. You can customize them to suit the recipient’s personality or home decor, making the gift even more meaningful. Imagine giving a set of coasters featuring fabrics that evoke cherished memories or match their favorite colors – it’s a gift that speaks volumes.
Budget-Friendly Crafting
Since this project primarily utilizes fabric scraps and common sewing supplies, it’s an incredibly economical craft. You can create a beautiful and functional item without needing to purchase expensive materials. This makes it an ideal project for those on a budget, students, or anyone looking to maximize their existing craft supplies. The cost-effectiveness doesn’t compromise on quality or aesthetics; the resulting coasters are both durable and stylish.
A Fantastic Project for Beginners
For those new to sewing, the thought of tackling complex projects can be intimidating. Fabric coasters, however, are a perfect entry point into the world of sewing. They involve basic straight-line stitching and simple construction techniques, helping beginners build confidence and familiarity with their sewing machine. The small size of the project means it’s quick to complete, providing instant gratification and encouragement to take on more advanced crafts in the future. It’s also a great way to practice essential sewing skills like cutting accurately, maintaining a seam allowance, and turning corners neatly.
Enhance Your Home Decor
Beyond their practical use, fabric coasters are a wonderful way to add a touch of charm and personality to your living spaces. They protect your furniture from unsightly rings and spills, but they also serve as small decorative accents. A set of carefully crafted coasters can tie together a room’s color scheme, introduce a new texture, or simply add a cozy, handmade feel to your coffee table, side tables, or dining area. They are functional art pieces that elevate the everyday.
Tips for Crafting Flawless Fabric Coasters
To ensure your DIY fabric coasters turn out perfectly every time, consider these helpful tips:
- Pre-Wash Your Fabrics: Always pre-wash and iron your fabric scraps before cutting. This prevents potential shrinkage after your coasters are made and ensures all fabrics behave uniformly.
- Press, Press, Press: Ironing is your best friend in sewing. Pressing after each major step (after cutting, after initial stitching, after turning, and after topstitching) makes a significant difference in the crispness and professional finish of your coasters.
- Use a Walking Foot (Optional): If you find your fabric layers shifting while sewing, especially with the batting, a walking foot attachment for your sewing machine can be incredibly helpful. It feeds all layers of fabric through the machine evenly.
- Experiment with Batting: While cotton batting is recommended, you can experiment with fusible fleece or even a thin layer of cork for added stiffness and water resistance. Adjust thickness as needed.
- Consider Decorative Stitches: Once you’re comfortable with the basic construction, try adding decorative stitches or quilting lines across the surface of the coaster before the final topstitch. This adds texture and visual interest.
- Precision Cutting Tools: Invest in a good rotary cutter, a self-healing mat, and an acrylic ruler. These tools will dramatically improve the accuracy and speed of your cutting.
- Good Quality Thread: Use a good quality polyester all-purpose thread. It’s strong and less prone to breaking, ensuring your coasters last longer.
Care and Maintenance for Your Fabric Coasters
Proper care will ensure your handmade fabric coasters remain beautiful and functional for years to come.
- Washing: Most cotton fabric coasters can be machine washed on a gentle cycle with cold water. It’s often best to wash them with similar colors to prevent any color bleeding, especially with new fabrics.
- Drying: Tumble dry on low heat or, preferably, air dry flat to maintain their shape. High heat can sometimes cause further shrinkage or distortion. Once dry, a quick iron will help them regain their crispness.
- Spot Cleaning: For minor spills, spot clean with a damp cloth and mild soap.
The journey of creating these easy DIY fabric coasters is not just about making a functional item; it’s about embracing creativity, practicing sustainability, and adding a heartfelt touch to your home or gifts. With this detailed tutorial, you have all the knowledge and tips required to craft a stunning collection of coasters. So, raid your fabric stash, set up your sewing machine, and get ready to enjoy the delightful process of turning simple scraps into beautiful, lasting treasures. Happy sewing!