
Effortless Microwave Cleaning and Deodorizing: The Natural Vinegar & Lemon Method
Is your microwave looking a bit worse for wear? Frequent use of this essential kitchen appliance inevitably leads to a build-up of food splatter, stubborn grease, and lingering odors. Beyond being an unsightly mess, this can become a breeding ground for bacteria, potentially affecting the taste of your food and even posing a hygiene risk. Fortunately, maintaining a spotless and fresh microwave doesn’t require harsh chemicals or strenuous scrubbing. You can effectively clean and deodorize your microwave using only two powerful, natural ingredients: white vinegar and fresh lemon.
White vinegar, with its high concentration of acetic acid, is a remarkable natural degreaser and disinfectant. It effortlessly cuts through grime, eliminates germs, and leaves surfaces sparkling clean. Lemon, on the other hand, boasts acidic substances like citric acid that are not only antibacterial but also incredibly effective at removing microorganisms and neutralizing unpleasant smells, leaving behind a crisp, clean scent. Combined, these ingredients offer a potent, eco-friendly, and cost-effective solution for a pristine microwave. This comprehensive guide will walk you through a simple yet highly effective technique to restore your microwave’s cleanliness and freshness, ensuring it’s ready for your next culinary adventure. For a visual demonstration, you can also refer to the video tutorial by Natural Cures on YouTube.
Why Choose Natural Cleaning Solutions for Your Microwave?
Opting for natural cleaners like vinegar and lemon offers numerous advantages over conventional chemical-based products. Firstly, they are significantly safer for your health and the environment. Chemical cleaners often contain harsh fumes and abrasive agents that can be irritating to the respiratory system and skin, and their residues can sometimes linger on surfaces. With vinegar and lemon, you eliminate these concerns, making your kitchen a healthier space. Secondly, natural ingredients are readily available, inexpensive, and incredibly versatile, allowing you to clean a variety of surfaces without stocking up on multiple specialized products. Lastly, they are highly effective. The natural acids in vinegar and lemon are powerful degreasers, disinfectants, and odor neutralizers, proving that you don’t need harsh chemicals to achieve a sparkling clean and fresh microwave.
Essential Materials for a Sparkling Microwave:
- White Vinegar: Your primary degreaser and disinfectant, thanks to its acetic acid content.
- Lemon: The natural deodorizer and antibacterial agent, providing a fresh scent and germ-fighting power.
- Water: Essential for creating steam, which loosens grime and helps distribute cleaning agents.
- Dish Soap: For manual washing of removable parts like the turntable and cleaning the microwave’s exterior.
- Sponge: Ideal for scrubbing and applying soap without scratching surfaces.
- Microfiber Towel: Perfect for streak-free drying and polishing all surfaces of your microwave.
- Glass Bowl: A microwave-safe container necessary for holding the cleaning and deodorizing solutions.
- Paper Towel or Clean Cloth: For easily wiping away loosened grime and splatters from the interior.
Step-by-Step Directions for a Pristine Microwave:
Step 1: Disinfect and Clean – Banishing Grease and Grime
Before you begin any cleaning, safety should always be your top priority. Always ensure your microwave is unplugged from the outlet. This crucial step prevents any risk of electric shock and provides peace of mind as you work. Once unplugged, you’re ready to tackle the mess.
Grab a small, microwave-safe glass bowl and fill it with approximately one cup (250ml) of water. To this, add a generous tablespoon of white vinegar. Give the mixture a light stir to combine the ingredients evenly. This simple yet powerful solution is about to become your secret weapon against baked-on food and grease.
Carefully place the glass bowl with the vinegar-water mixture inside your microwave. Set the microwave to run on a high setting for about 5 minutes. As the mixture heats, the water will boil, creating a powerful steam infused with acetic acid from the vinegar. This steam will permeate every nook and cranny of the microwave’s interior, effectively loosening dried food particles, dissolving grease, and beginning the disinfection process. Once the microwave beeps or the cycle completes, do not immediately open the door. Instead, allow the bowl to remain inside for an additional 3 to 5 minutes. This extended waiting period allows the steam to continue working its magic, further softening stubborn dirt and maximizing the cleaning action.
After the waiting period, carefully remove the hot bowl (use oven mitts if necessary). You’ll notice condensation and perhaps some loosened grime inside. Now, arm yourself with a clean paper towel or a soft, damp cloth. Gently wipe down all the interior surfaces of your microwave. You’ll be amazed at how easily the softened food splatters and grease come away, leaving a noticeably cleaner surface. For any exceptionally stubborn spots, a little extra elbow grease or a second pass with a damp cloth should do the trick.
Don’t forget the turntable! This removable glass plate often bears the brunt of spills and splatters. It’s vital to allow the turntable to cool down completely before handling it. Exposing hot glass to cold water can cause thermal shock, leading to cracks or breakage. Once cool, remove the turntable and wash it thoroughly in your kitchen sink using warm water, a few drops of dish soap, and a sponge. Scrub away any stuck-on food and grease. Rinse it well and dry it completely with a clean microfiber towel to prevent water spots before placing it back inside the microwave.
Finally, turn your attention to the exterior. Even if you don’t see immediate grime, the outside of your microwave can collect dust, fingerprints, and splashes. Dampen a soft towel with a small amount of water and a few drops of mild dish soap. Gently wipe down the outer casing, paying close attention to the door handle, control panel, and any vents. This step ensures a completely clean appliance, both inside and out. Finish by wiping with a clean, damp cloth to remove any soap residue, then dry with a microfiber towel for a polished look.
Step 2: Deodorize – Eliminating Lingering Odors
Once your microwave is thoroughly cleaned and sparkling, the next crucial step is to banish any lingering food odors. Even after cleaning, stubborn smells from popcorn, burnt food, or strong spices can persist. This is where the power of fresh lemon comes into play, offering a natural and refreshing solution.
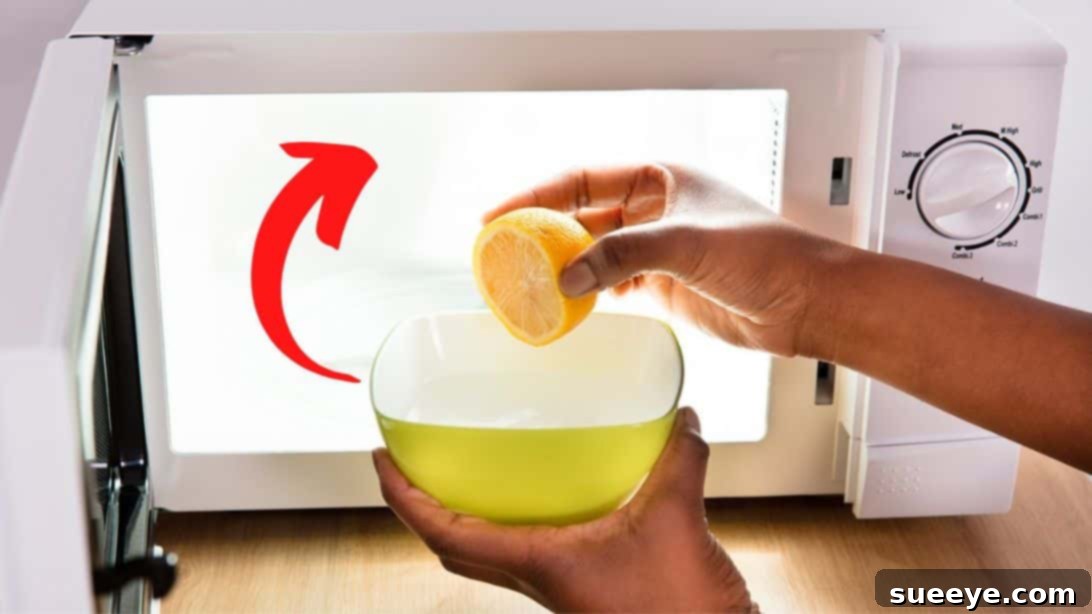
Take a fresh lemon and cut it in half. Squeeze the juice from both halves into a small mixing bowl. To the lemon juice, add approximately 17 ounces (about 2 cups or 500ml) of water. Stir the mixture gently to ensure the lemon juice is well dispersed. For an extra boost of natural fragrance and deodorizing power, you can also add the leftover lemon peels, or even a few citrus peels from oranges or limes, to the water mixture. For a warmer, spiced scent, consider adding a few cloves or a cinnamon stick. These additions will not only help neutralize odors but will also leave a pleasant aroma.
Place this lemon-infused water mixture inside the microwave. Set the microwave to run on a high setting for about 2 minutes. As with the vinegar step, the water will heat and release a fragrant steam, carrying the natural acids and essential oils from the lemon throughout the microwave’s interior. This steam will work to break down odor-causing molecules, replacing them with a fresh, clean scent. Once the cycle finishes, allow the bowl to remain inside the microwave for a few more minutes, perhaps 5 to 10 minutes. This allows the lemon-scented steam to fully circulate and permeate the appliance, maximizing its odor-eliminating effects.
Carefully remove the bowl (it will still be hot). Finally, use a clean, soft towel to wipe the microwave’s interior dry. This ensures no moisture is left behind and helps to further spread the fresh lemon scent. After these steps, your microwave will not only be visibly clean but also smell wonderfully fresh and inviting, ready for its next use without transferring unwanted odors to your food.
Tips for Maintaining a Clean and Fresh Microwave:
- Regular Wiping: After each use, especially after heating messy foods, quickly wipe down the interior with a damp cloth. This prevents food from drying and hardening, making deeper cleans much easier.
- Cover Food: Always use a microwave-safe cover or plate to prevent splatters when heating food. This is the simplest way to reduce mess and keep your microwave cleaner longer.
- Weekly Maintenance: Aim to perform the vinegar steaming method at least once a week, or more frequently if your microwave sees heavy use. Consistent cleaning prevents a build-up of tough grime.
- Deep Clean Quarterly: Every few months, consider a more thorough deep clean, ensuring you reach every corner, vent, and crevice, perhaps even checking the door seal for hidden grime.
- Airing Out: Occasionally leave the microwave door slightly ajar after use to allow any residual moisture or odors to dissipate naturally, preventing mildew and stale smells.
Troubleshooting and Advanced Cleaning Tips:
Even with regular cleaning, some messes can be exceptionally stubborn. For heavily crusted-on food, consider increasing the steaming time slightly during Step 1 to 7-8 minutes. You can also add an extra tablespoon of vinegar to the water for a stronger cleaning solution. After steaming, if you encounter particularly tough spots, a paste made from baking soda and a little water can be gently applied and left for a few minutes before scrubbing. Baking soda is an excellent mild abrasive and odor absorber, making it a powerful natural helper. Always ensure you rinse thoroughly after using baking soda to remove any residue.
For persistent odors that even lemon struggles with, a small bowl of activated charcoal or ground coffee left inside the microwave overnight (with the door closed) can work wonders to absorb lingering smells. These porous materials naturally trap odor molecules. Remember to replace these natural absorbents regularly for maximum effectiveness, typically every few weeks.
The Benefits of a Consistently Clean Microwave:
Beyond aesthetics, keeping your microwave consistently clean offers several significant benefits. A clean microwave ensures a more hygienic cooking environment, reducing the risk of bacterial growth and food contamination. This directly contributes to safer food preparation for you and your family. Furthermore, a clean interior allows microwave energy to distribute more efficiently, leading to more even cooking and heating of your food. Splattered food absorbs microwave energy, creating hot spots and potentially reducing the appliance’s efficiency. Regular cleaning also helps extend the lifespan of your appliance by preventing corrosive build-up on interior surfaces, which can degrade components over time. Finally, a fresh-smelling microwave enhances your overall kitchen experience, making meal preparation more pleasant for everyone, eliminating unpleasant odors that can permeate your home.
Conclusion: Embrace Natural Cleanliness
Cleaning and deodorizing your microwave doesn’t have to be a chore filled with harsh chemicals and elbow grease. By harnessing the natural power of white vinegar and fresh lemon, you can effortlessly maintain a sparkling clean, hygienically safe, and wonderfully fresh-smelling appliance. This simple, two-step method is not only effective and eco-friendly but also contributes to a healthier kitchen environment and prolongs the life of your microwave. Make these natural cleaning hacks a regular part of your kitchen routine, and enjoy the satisfaction of a pristine microwave every day. Your food (and your nose) will thank you!
*All image credit belongs to Natural Cures via YouTube. Follow and subscribe to their channel for more!