
Mastering Flawless Makeup: Your Ultimate Guide to a Polished Look
Achieving a flawless makeup look doesn’t require a team of professional artists or endless hours in front of the mirror. With the right techniques and a few clever tricks, anyone can master the art of enhancing their natural beauty. It’s a journey of self-discovery, learning what truly flatters your unique features, and understanding how to apply products for a beautiful, natural finish. Many of us spend years experimenting, but the good news is that you can shortcut that learning curve with proven strategies that transform your morning routine into an efficient and enjoyable ritual.
Once you unlock these secrets, you’ll be amazed at how effectively makeup can accentuate your best attributes and subtly minimize areas you prefer to keep less prominent. This comprehensive guide will walk you through foundational principles, essential application methods, and game-changing beauty hacks to elevate your makeup game, making it simpler, faster, and more impactful than ever before.
The Foundation of Flawless Makeup: Understanding Your Unique Features
Before diving into specific products or trends, the first step towards truly beautiful makeup is understanding your own canvas: your face. Recognizing your face shape, skin tone, and undertones is paramount to selecting the right colors and applying them in a way that harmonizes with your individual structure. This foundational knowledge ensures that your makeup looks custom-tailored, enhancing your features rather than masking them.
Decoding Your Face Shape for Optimal Application
Different face shapes — oval, round, square, heart, long, and diamond — each have unique characteristics that can be beautifully highlighted or softly contoured. For instance, someone with a round face might benefit from strategic contouring to add definition, while an oval face, often considered the ‘ideal’ for balance, can be enhanced with minimal adjustments. Understanding your shape helps you place blush, bronzer, and highlight precisely, creating a symmetrical and lifted appearance. It’s not about changing your face, but rather playing with light and shadow to bring out its inherent beauty.
Embracing Your Skin Tone and Undertones
Selecting the correct foundation, concealer, and even eyeshadow shades hinges on knowing your skin tone (fair, light, medium, tan, deep) and, crucially, your undertones (cool, warm, or neutral). Wearing the wrong undertone can make your complexion look ashy, sallow, or overly orange. A warm undertone typically suits golden or peach-toned foundations, while cool undertones often look best with pink or red-based shades. Neutral undertones offer more flexibility. This knowledge extends beyond foundation; it guides your choices in blush, lipstick, and even your overall color palette, ensuring every product you apply complements your natural complexion perfectly.
Essential Makeup Techniques for a Polished Look
With a better understanding of your features, we can now explore the techniques that build a flawless makeup application. Each step plays a vital role in creating a cohesive and stunning final look, from prepping your skin to defining your eyes and lips.
Prepping Your Canvas: The Secret to Long-Lasting Makeup
No masterpiece can be painted on a poor canvas. Similarly, effective makeup application begins with properly prepped skin. A good skincare routine is non-negotiable: cleanse, tone, and moisturize daily. Before applying makeup, a primer can make a world of difference. Primers create a smooth base, blur imperfections, minimize pores, and significantly extend the wear time of your foundation. Choosing a primer suited to your skin type (hydrating for dry skin, mattifying for oily skin, color-correcting for uneven tone) is key.
Mastering Your Base: Foundation and Concealer
Your foundation and concealer are the backbone of your makeup look, providing an even skin tone and covering any imperfections. The goal is to achieve a second-skin effect, not a mask. Apply foundation sparingly, focusing on areas that need the most coverage, and blend meticulously into your jawline and neck to avoid a harsh line. Concealer should be used strategically to brighten under-eyes, cover blemishes, and neutralize redness. A light hand and proper blending with a brush, sponge, or even your fingertips will ensure a natural, radiant finish that enhances your complexion without looking heavy.
Defining Your Eyes: A World of Possibilities
The eyes are often considered the windows to the soul, and makeup can dramatically enhance their expressiveness. From subtle definition to dramatic smoky eyes, eyeshadow, eyeliner, and mascara play crucial roles. However, achieving precision, especially with eyeshadow, can be challenging, leading to frustration and messy fallout. This is where clever tricks come into play.
Eyeshadow Application: The Art of Blending and Precision
Creating a beautiful eyeshadow look involves more than just applying color; it’s about blending, layering, and precise placement. A common challenge is achieving sharp lines, especially for winged looks or cut creases, and dealing with eyeshadow particles that fall onto your cheekbones during application. This “fallout” can smudge your carefully applied foundation and concealer, making your under-eye area look dark and tired, often resembling a bruise. Cleaning it up can be difficult and time-consuming, sometimes ruining the entire base. This struggle is real for many, and it often deters people from experimenting with bolder eye looks.
The Game-Changing Eyeshadow Tape Trick: Achieving Crisp Lines and No Fallout
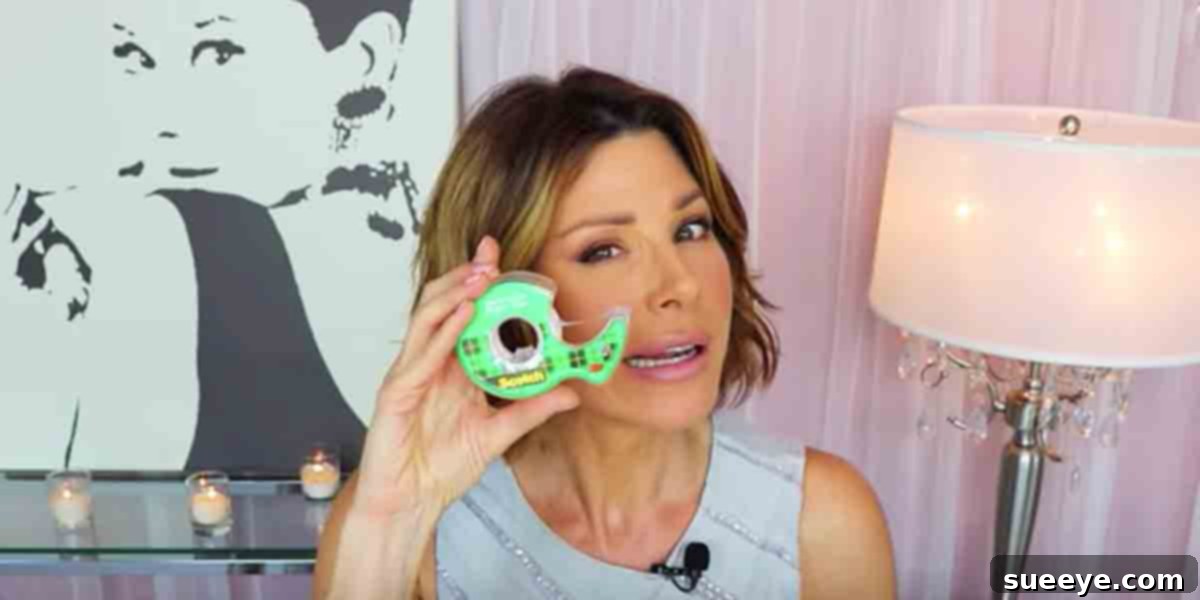
Imagine being able to achieve perfectly crisp eyeshadow lines and prevent any fallout from ruining your base, all while saving precious time. This is where the simple yet revolutionary eyeshadow tape trick comes in. It’s a hack that many beauty enthusiasts, including prominent figures like Dominique Sachse, have popularized for its effectiveness and simplicity. This method not only perfects your eyeshadow application but also streamlines your entire routine, eliminating the dreaded clean-up process.
Why Use Tape for Eyeshadow? The Unrivaled Benefits
- Crisp, Sharp Lines: Tape acts as a stencil, allowing you to create incredibly sharp edges for eyeshadow, especially beneficial for winged looks or creating defined outer V shapes.
- Zero Fallout: Any eyeshadow particles that fall during application adhere directly to the tape, not your skin. When you remove the tape, your under-eye area remains pristine.
- Effortless Symmetry: Placing tape at a consistent angle on both eyes helps ensure symmetrical application, making your eye makeup look balanced and professional.
- Time-Saving: Eliminating the need to clean up messy fallout saves significant time and effort, preventing frustration and potential re-application of foundation or concealer.
- Professional Finish: The precision achieved with tape gives your eye makeup a polished, high-end look that’s hard to replicate freehand.
Step-by-Step Guide to the Eyeshadow Tape Trick
- Choose the Right Tape: Opt for low-tack tape such as medical tape (often used for sensitive skin), painter’s tape (the delicate surface variety), or even specialized beauty tape. Avoid strong adhesives like Scotch tape, as they can irritate sensitive skin around the eyes. If your tape feels too sticky, gently press it against the back of your hand a few times to reduce its adhesion before applying it to your face.
- Prepare Your Eyes: Apply an eyeshadow primer to your eyelids to ensure longevity and vibrant color payoff. This also helps eyeshadow adhere better.
- Position the Tape: Take a small piece of tape, about 1-2 inches long. Carefully place it along your lower lash line, extending upwards towards the tail of your eyebrow. The angle you choose will dictate the angle of your winged eyeshadow or eyeliner. For a lifted look, aim for an angle that follows your lower lash line’s natural upward curve. Ensure the tape is firmly but gently pressed down to prevent any color bleeding underneath.
- Apply Your Eyeshadow: With the tape in place, proceed with your eyeshadow application as usual. Feel free to be bold with darker shades or intricate designs, knowing that any excess will land on the tape. Concentrate your darker colors along the tape’s edge to build your desired intensity and shape. Don’t be afraid to press firmly with your brush to pack on color; the tape will catch any fallout.
- Blend Thoroughly: Blend your eyeshadow colors above the tape line into your crease and outer corner. The tape provides a sharp boundary, making it easier to create a smooth gradient without worrying about blurring the edge.
- Remove the Tape: Once you’re satisfied with your eyeshadow application and blending, gently peel off the tape, pulling it downwards and away from your eye. You’ll be left with a perfectly crisp, clean line and a completely fallout-free under-eye area.
- Finish Your Look: You can now proceed with applying eyeliner (using the crisp line as a guide for your wing), mascara, and any other final touches to your eye makeup, knowing your base remains immaculate.
Tips for Success with the Tape Trick
- Test on Hand First: Always test the tape’s stickiness on the back of your hand before applying it to your delicate eye area.
- Angle is Key: Experiment with different tape angles to find what best suits your eye shape and the desired look.
- Gentle Removal: Always remove the tape slowly and gently to avoid tugging on the skin.
- Clean Edge: If any tiny residue from the tape remains, a cotton swab with a drop of micellar water can easily clean it.
Brows That Frame Your Face
Well-groomed eyebrows can dramatically frame your face and enhance your entire makeup look. Whether you prefer a natural, feathery brow or a more defined, sculpted arch, the key is to work with your natural shape. Use a brow pencil, powder, or pomade to fill in sparse areas, extend the tail, and define the arch. Always brush your brow hairs into place with a spoolie for a polished finish, and consider a brow gel to keep them set all day.
Adding Color and Dimension: Blush, Contour, and Highlight
Once your base and eyes are perfected, it’s time to add life and dimension back to your face. Blush brings a healthy flush of color, making you look fresh and vibrant. Apply it to the apples of your cheeks and blend upwards towards your temples. Contour, used sparingly, can sculpt and define your cheekbones, jawline, and nose. Highlight, applied to the high points of your face (cheekbones, brow bone, bridge of nose, cupid’s bow), catches the light and creates a luminous, youthful glow. The trick with all three is to blend, blend, blend, ensuring seamless transitions and a natural radiance.
Perfecting Your Pout: Lip Liner and Lipstick
Completing your look with perfectly applied lipstick can tie everything together. Start with a lip liner that matches your natural lip color or your chosen lipstick shade. Lining your lips helps prevent feathering, defines your shape, and provides a base for longer-lasting color. Fill in with your favorite lipstick or gloss, opting for shades that complement your skin tone and the overall intensity of your eye makeup.
Beyond the Basics: Time-Saving Hacks and Smart Strategies
While the tape trick is a stellar example of a time-saving hack, there are other strategies you can employ to make your beauty routine more efficient without compromising on quality.
- Multipurpose Products: Invest in products that can serve multiple functions. A cream blush can double as a lip tint, and an eyeshadow can often be used as an eyeliner when applied with a damp brush. This reduces clutter and speeds up your application process.
- Organizing Your Makeup: A tidy makeup collection is an efficient one. Keep your most-used products easily accessible, and regularly declutter expired or unused items. When you can quickly find what you need, your routine flows much smoother.
- Batch Application: If you’re doing a full face, consider applying similar textures together. For example, apply all cream products (primer, cream blush, liquid highlighter) before moving on to powders. This often allows for better blending and a more cohesive finish.
- Focus on One Feature: On days when you’re short on time, choose one feature to highlight – either your eyes or your lips. A bold lip with minimal eye makeup or a dramatic eye with a nude lip can still create a stunning, complete look.
The Power of Practice and Patience
Mastering makeup, like any skill, requires practice and patience. Don’t be discouraged if your first attempts aren’t perfect. Every application is an opportunity to learn more about your face, your products, and your preferences. Watch tutorials, experiment with different techniques, and most importantly, have fun with it! The goal is to feel confident and beautiful in your own skin, using makeup as a tool for enhancement, not transformation.
Conclusion: Embrace Your Beauty Journey
The journey to achieving a fabulous makeup look is an exciting one, full of discovery and self-expression. You don’t need to be a professional to look polished and put-together; you just need the right knowledge and a few clever tricks up your sleeve. By understanding your unique features, mastering essential application techniques, and incorporating smart hacks like the eyeshadow tape trick, you can effortlessly create stunning looks that highlight your best features and reflect your personal style. Embrace your daily makeup routine as a moment of self-care and creativity. With these tips, you’ll not only save time but also gain the confidence that comes with knowing you can achieve a flawless, natural, and beautiful look every single day.