
Transform Your Old Paint Cans: Unlock Creative Potential with DIY Upcycling Projects
Have you ever looked at a stack of old paint cans in your garage and wondered what to do with them? It’s a common dilemma for many DIY enthusiasts and homeowners. While they might seem like mere clutter, these forgotten containers hold incredible potential for transformation. With a little creativity and effort, you can turn them into stunning, functional, and eco-friendly additions to your home or garden. This guide will inspire you to embark on exciting DIY paint can projects, saving them from the landfill and giving them a brand new purpose.
Why Embrace Paint Can Upcycling? The Benefits of Repurposing
The concept of taking something old and giving it a new life is incredibly rewarding, both personally and environmentally. Upcycling old paint cans offers a multitude of benefits:
- Environmental Sustainability: By repurposing instead of discarding, you reduce waste and lessen your environmental footprint. It’s a fantastic way to contribute to a greener planet.
- Cost-Effective Decor: Why buy new decor or storage solutions when you can create unique pieces for free (or very little cost) using materials you already own?
- Unique & Personalized Style: Mass-produced items can lack character. Your upcycled creations will be one-of-a-kind, reflecting your personal style and adding a distinctive touch to your living space.
- Sense of Accomplishment: There’s immense satisfaction in creating something beautiful and functional with your own hands. Completing a DIY project offers a rewarding feeling of achievement.
- Declutter Your Space: Finally, a productive way to deal with those accumulating paint cans! Turn them into useful items and free up valuable storage space in your garage or shed.
Unleashing Creativity: Inspiration from Debi’s Design Gallery & Beyond
The world of DIY is constantly evolving, with clever minds always discovering new ways to repurpose everyday items. It was truly an “uncanny” idea when I first stumbled upon the concept of transforming old paint cans. I’m always amazed by the ingenuity people demonstrate!
A particular source of inspiration comes from Debi with Debi’s Design Gallery. Her tutorials are always packed with cool, innovative ideas that spark immediate creative interest. Watching her work is always a treat, as she brings such a unique perspective to crafting and home decor. Her projects often ignite that spark of “I can do that!” in anyone.
Beyond Debi’s fantastic work, I once saw a captivating project on Pinterest where an individual created an impressive wall hanging using a collection of old paint cans. Instead of using traditional paint can lids, they opted for round wooden disks, giving the piece a distinct and artistic flair. The cans were elegantly hung by chains, all attached to a piece of wood at the top, forming a striking visual display. This particular approach showcased the versatility of paint cans as a medium for artistic expression, especially when you have a good number of them available.
Project Spotlight: Crafting a Stylish Paint Can Wall Organizer or Decorative Art Piece
Inspired by these imaginative ideas, let’s dive into a comprehensive DIY project that transforms your forgotten paint cans into either a practical wall organizer or a captivating decorative art installation. This project is perfect for adding character to a craft room, office, kitchen, or even a covered outdoor space as a unique planter.
Materials You Will Need:
- A collection of old, empty paint cans (various sizes can add visual interest)
- Wire brush or sandpaper (for rust removal and surface prep)
- Dish soap and water
- Protective gloves and safety glasses
- Drill with appropriate metal drilling bits (if adding hanging hardware)
- Spray primer (metal-specific recommended)
- Spray paint or craft paint (acrylic, chalk paint, or multi-surface paint work well)
- Clear protective sealant (spray or brush-on, suitable for indoor/outdoor use)
- Measuring tape or ruler
- Pencil or marker
- Optional: Chains, rope, or strong twine (for hanging)
- Optional: S-hooks, D-rings, or eye hooks (for attaching cans to chains/board)
- Optional: A sturdy piece of wood (for the top hanging bar or backing board)
- Optional: Small wooden disks or decorative lids (as seen in the Pinterest inspiration)
- Optional: Stencils, decorative paper, fabric scraps, or embellishments
Step-by-Step Guide to Your Paint Can Masterpiece:
- Prepare Your Paint Cans:
- Ensure all paint cans are completely empty. Use a scraper to remove any dried paint residue.
- Thoroughly wash each can, inside and out, with warm soapy water to remove dust, grime, and any remaining paint particles. Rinse well and allow them to dry completely.
- Inspect for rust. If present, use a wire brush or sandpaper to vigorously scrub away all rust. A smooth, clean surface is crucial for paint adhesion.
- Carefully check for any sharp edges, especially around the rim where the lid was removed. Gently file them down with sandpaper or a metal file to prevent injury.
- Pre-Drill Holes (If Hanging):
- If you plan to hang your cans individually or attach them to a hanging frame, you’ll need to drill holes.
- Mark two equidistant spots near the top rim of each can (typically 1/2 to 1 inch below the rim).
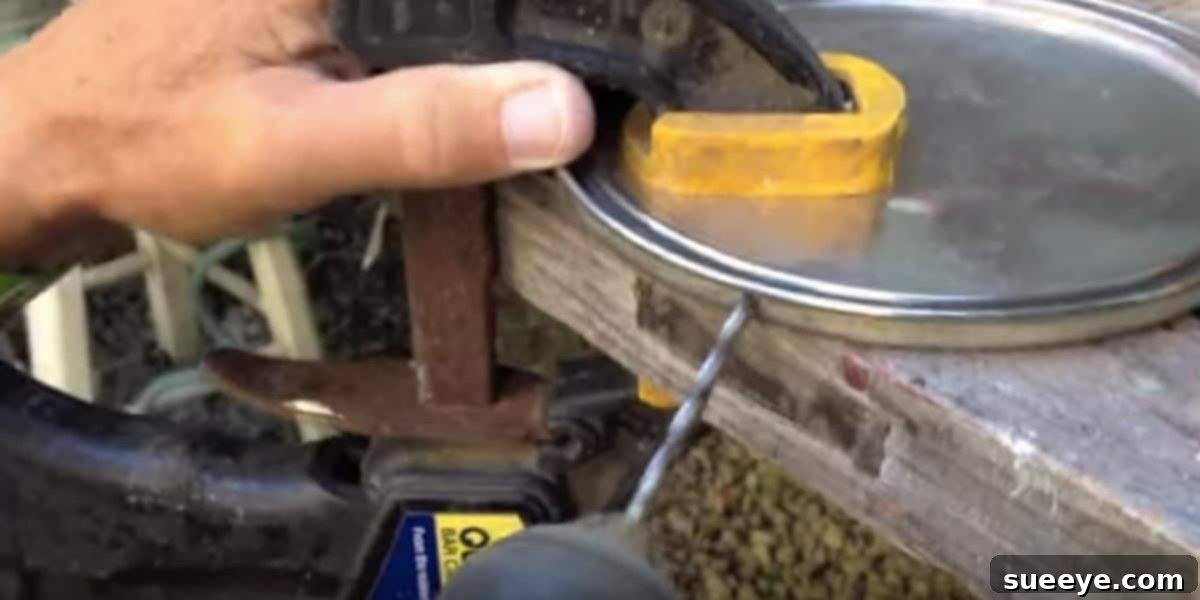
- Wearing safety glasses, use a drill with a metal-specific bit to carefully drill through these marked spots. Start with a small pilot hole if needed, then widen.
- If attaching to a wooden board, you might only need holes for securing them from the back or bottom, depending on your design.
- Prime the Cans:
- In a well-ventilated area (or outdoors), lay down a drop cloth.
- Apply a thin, even coat of metal-specific spray primer to the exterior of each can. Primer helps the paint adhere better and provides a uniform base, preventing rust from bleeding through later.
- Allow the primer to dry completely according to the manufacturer’s instructions.
- Paint Your Cans:
- Once the primer is dry, apply your chosen spray paint or craft paint. For spray paint, apply several light, even coats rather than one thick coat to prevent drips.
- If using brush-on craft paint, apply thin layers for smooth coverage. You might need 2-3 coats for opaque results.
- Experiment with colors! You can use a monochromatic scheme for a cohesive look or a vibrant mix of colors for a playful touch. Consider distressing techniques or stenciling for added character.
- Allow each coat to dry thoroughly before applying the next.
- Add Decorative Touches (Optional):
- This is where your creativity truly shines! You can stencil designs, add decoupage with decorative paper, attach fabric scraps, or glue on small embellishments.
- If recreating the Pinterest idea, you could paint or decorate round wooden disks and attach them to the bottom or inside of the cans for a unique visual element.
- Apply a Protective Sealant:
- Once all paint and decorations are dry, apply a clear protective sealant. This step is crucial for durability, especially if the cans will be used outdoors or in high-moisture areas (like a bathroom or kitchen).
- A spray sealant offers an even finish. Apply 2-3 thin coats, allowing each to dry.
- Assemble Your Wall Art/Organizer:
- For a hanging piece (like the Pinterest example): Measure and cut your chains or rope to desired lengths. Attach one end of each chain/rope to the holes you drilled in the cans using S-hooks or jump rings. Attach the other ends to a sturdy wooden bar or backing board. Secure the wooden bar to the wall using appropriate hardware.
- For individual wall-mounted organizers: Use strong picture wire through the pre-drilled holes, or attach D-rings to the back of the cans (if using a backing) for hanging on wall hooks.
- For a mounted display on a board: Securely attach the painted cans to a decorative wooden board using screws from the back (drilling through the cans and into the board) or strong adhesive, creating a multi-tiered display.
Beyond the Wall: Other Creative Paint Can Upcycling Ideas
The possibilities don’t end with wall decor! Your upcycled paint cans can serve many other functions:
- Desk Organizers: Keep pens, pencils, scissors, and other office supplies neatly organized.
- Herb Garden Planters: Drill drainage holes in the bottom, paint them, and use them to grow small herbs or succulents on a windowsill or patio.
- Craft Supply Storage: Categorize and store beads, buttons, paintbrushes, yarn, or other crafting essentials.
- Decorative Lanterns or Vases: Punch decorative holes in the cans and place LED candles inside for ambient lighting, or use them as rustic vases for dried flowers.
- Kid’s Room Storage: Brightly painted cans can hold crayons, small toys, or building blocks.
Tips for Success and Longevity of Your DIY Paint Can Projects
- Safety First: Always wear gloves and safety glasses when handling metal cans, especially during cleaning and drilling. Ensure good ventilation when using spray paints and sealants.
- Thorough Cleaning is Key: Any residual paint or grime will prevent new paint from adhering properly. Don’t skip this crucial step.
- Patience with Drying Times: Rushing the drying process between coats can lead to a sticky finish, peeling paint, or a less durable product.
- Experiment with Finishes: Beyond solid colors, consider matte, satin, or gloss finishes. You can also try distressing techniques for a vintage look, or use specialty paints like metallic or glitter spray paints.
- Consider Usage: If your cans will be used outdoors or for planting, ensure your primer, paint, and sealant are suitable for exterior use and offer adequate weather protection.
- Where to Find Cans: Besides your own garage, ask friends, family, or neighbors if they have empty cans. Sometimes local paint stores or construction sites might also have empties they’re willing to give away.
Embrace the Upcycling Journey
There’s immense satisfaction in transforming something destined for the trash into a valuable, beautiful, and functional item. This journey of DIY paint can projects not only benefits your home with unique decor and storage solutions but also offers a mindful approach to consumption and waste. It just goes to show you that keeping certain items sometimes truly pays off, especially when you can give them a new life!
So, now that you have all the inspiration and instructions needed, grab those old paint cans accumulating in your garage. Watch tutorials, get creative, and get busy making your own dynamite DIY creations. Share your projects and inspire others to join the sustainable crafting movement!