
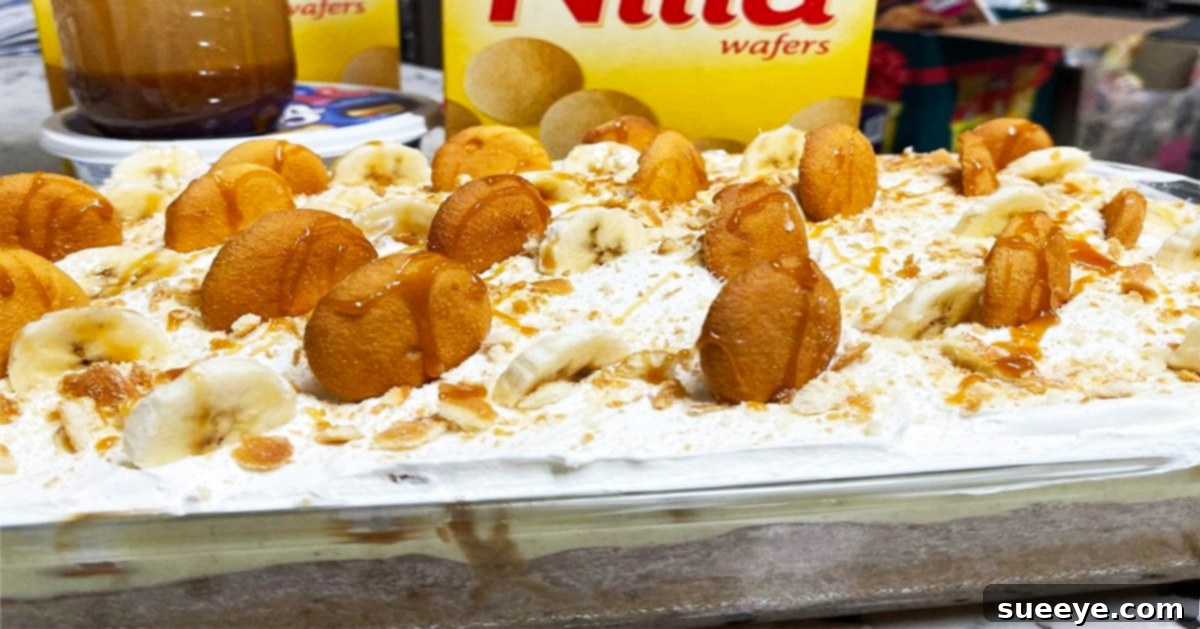
Ultimate Easy Banana Pudding Cake Recipe: A Decadent Twist on a Classic Dessert
Are you a fan of classic banana pudding but craving something with a little more substance, a delightful cake-like texture, and an irresistible combination of flavors? Look no further! This Easy Banana Pudding Cake recipe offers the best of both worlds, blending the comforting sweetness of a moist yellow cake with the creamy indulgence of banana pudding, all topped with crunchy vanilla wafers. It’s an innovative dessert concept that’s incredibly simple to prepare, making it perfect for busy bakers or anyone seeking a show-stopping treat without the fuss.
Inspired by the fantastic tutorial from happilyeverafter99 on YouTube, this recipe leverages the convenience of a boxed cake mix and instant pudding. This smart approach significantly cuts down on prep time without compromising on taste or quality. If you love bananas and appreciate desserts that are both effortless and delicious, this banana pudding cake is an absolute must-try. It’s a wonderful way to transform ripe bananas into something truly extraordinary, promising a dessert experience that is both familiar and excitingly new.
This dessert truly captures the essence of classic banana pudding – the rich banana flavor, the creamy texture, and the hint of vanilla wafer crunch – but elevates it into a more robust, satisfying cake. It’s ideal for gatherings, potlucks, or simply as a special treat for your family. Get ready to bake a cake that will impress everyone with its incredible flavor and surprisingly easy preparation!
Essential Ingredients for Your Easy Banana Pudding Cake
One of the many beauties of this banana pudding cake is its reliance on readily available and simple ingredients. You likely have most of these staples in your pantry already, making this a spontaneous dessert option when a craving strikes. Here’s what you’ll need to create this delightful treat:
- Classic Yellow Cake Mix: Choose your favorite brand of yellow cake mix. This serves as the foundation for our moist and flavorful cake. Make sure to check the box for its specific requirements, which typically include eggs, vegetable oil, and water or milk.
- Ingredients for the Cake Mix:
- Eggs: Usually 3 large eggs, to provide structure and richness to the cake.
- Vegetable Oil: Typically ½ cup, for moisture and tender crumb.
- Water or Milk: Generally 1 cup, as specified on the cake mix box, to create the batter consistency.
- Bananas: You’ll need several ripe bananas for layering and infusing that authentic banana flavor. Look for bananas that are yellow with a few brown spots, indicating peak sweetness and perfect ripeness for this recipe. About 3-4 medium-sized bananas are usually sufficient.
- Instant Banana Cream Pudding Mix: Two (3.4 oz) boxes of instant banana cream pudding. This is the heart of the pudding layer, providing that signature creamy texture and intense banana flavor. Make sure it’s “instant” and not “cook and serve.”
- Cold Milk: Typically 3 cups for preparing the instant pudding, as per package directions. Whole milk or 2% milk will yield the creamiest result.
- Whipped Topping: One large container (e.g., 8 oz or 12 oz) of frozen whipped topping, thawed. This adds a light, airy, and creamy finish to the cake, perfectly complementing the rich pudding and moist cake layers.
- Vanilla Wafers: A box of classic vanilla wafers. These are essential for both layering within the cake and garnishing the top, adding a delightful crunch and iconic flavor to every bite.
Gathering these simple ingredients is the first step towards creating a truly memorable dessert that combines ease with extraordinary taste. Each component plays a vital role in building the layers of flavor and texture that make this banana pudding cake so special.
Step-by-Step Directions: Crafting Your Delicious Banana Pudding Cake
Preparing this banana pudding cake is surprisingly straightforward, thanks to the clever use of convenience ingredients. Follow these detailed steps to create a dessert that will have everyone asking for the recipe. For a visual guide and additional tips, we highly recommend watching happilyeverafter99’s full tutorial on YouTube.
Part 1: Baking the Perfect Yellow Cake Base
- Preheat Your Oven and Prepare Your Pan: Begin by preheating your oven to 350 degrees F (175 degrees C). This ensures the oven is at the correct temperature for even baking. Next, prepare a 9×13 inch baking dish (or a similar size) by generously spraying it with a nonstick cooking spray. You can also lightly grease it with butter or shortening and dust it with flour to prevent sticking.
- Prepare the Boxed Cake Mix: In a large mixing bowl, combine the yellow cake mix with the required ingredients as specified on the back of the box – typically eggs, vegetable oil, and water or milk. Using an electric mixer on medium speed, beat the mixture for about 2-3 minutes until smooth and well combined. Ensure there are no dry pockets of cake mix remaining. Avoid overmixing, as this can lead to a tough cake.
- Bake the Cake: Carefully pour the prepared cake batter into your greased and floured baking dish, spreading it evenly. Place the pan in the preheated oven and bake according to the instructions on your cake mix box. Baking times can vary, but typically range from 28-35 minutes for a 9×13 inch pan. The cake is done when a wooden toothpick inserted into the center comes out clean.
- Cool the Cake: Once baked, remove the cake from the oven and let it cool completely on a wire rack. This step is crucial. Attempting to add the pudding to a warm cake will cause the pudding to melt and not set properly, resulting in a soggy texture. Allow at least 45 minutes to an hour for the cake to cool thoroughly.
Part 2: Preparing the Creamy Banana Pudding Layers
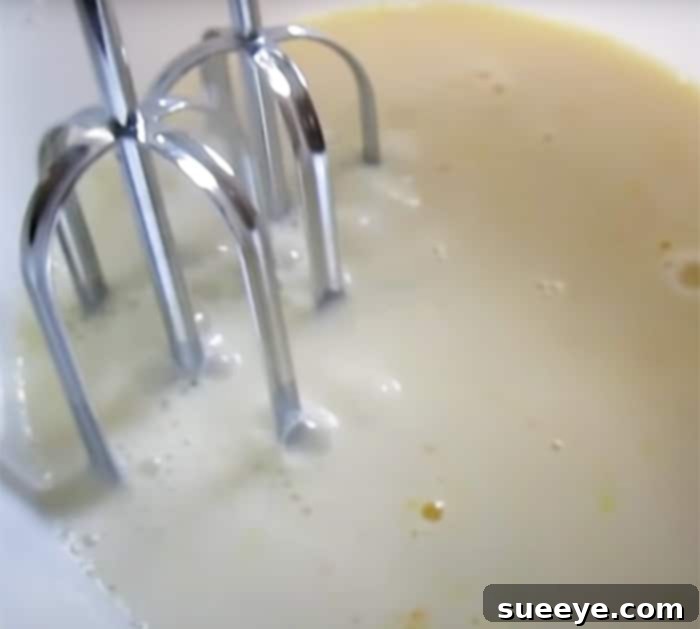
- Prepare the Instant Pudding: While the cake is cooling, it’s time to make the delicious banana cream pudding. In a separate large bowl, combine the two packages of instant banana cream pudding mix with the cold milk (typically 3 cups). Whisk vigorously for 2-3 minutes, or until the mixture thickens. The pudding will become quite firm as it sits. If you want a slightly looser consistency for pouring, you can reduce the milk by a tablespoon or two, but generally, following package directions is best.
- Chill the Pudding (Optional but Recommended): For best results, cover the pudding mixture and place it in the refrigerator for about 5-10 minutes. This allows it to set a bit more and become perfectly scoopable for the next step.
Part 3: Assembling Your Banana Pudding Cake Masterpiece
- Create Holes in the Cake: Once the cake is completely cooled, use the handle of a wooden spoon, the tines of a fork, or even a chopstick to poke numerous small holes evenly across the entire surface of the cake. These holes are essential as they will allow the prepared banana pudding to seep into the cake, infusing it with flavor and moisture, creating an incredibly rich and tender texture. Aim for holes about an inch apart.
- Pour and Spread the Pudding: Take your thickened banana cream pudding mixture and carefully pour it over the poked cake. Using an offset spatula or the back of a spoon, gently spread the pudding evenly across the top, making sure it seeps down into all the holes. The goal is to create a generous, consistent layer of pudding that will marry with the cake.
- Chill for Setting: Place the entire cake, now topped with pudding, into the refrigerator. Let it chill for at least 30 minutes to 1 hour. This crucial step allows the pudding to fully set and the flavors to meld beautifully, ensuring a firm yet creamy texture when served.
- Prepare the Bananas and Wafers: While the cake is chilling, slice your ripe bananas into even, medium-thick rounds. Also, get your vanilla wafers ready.
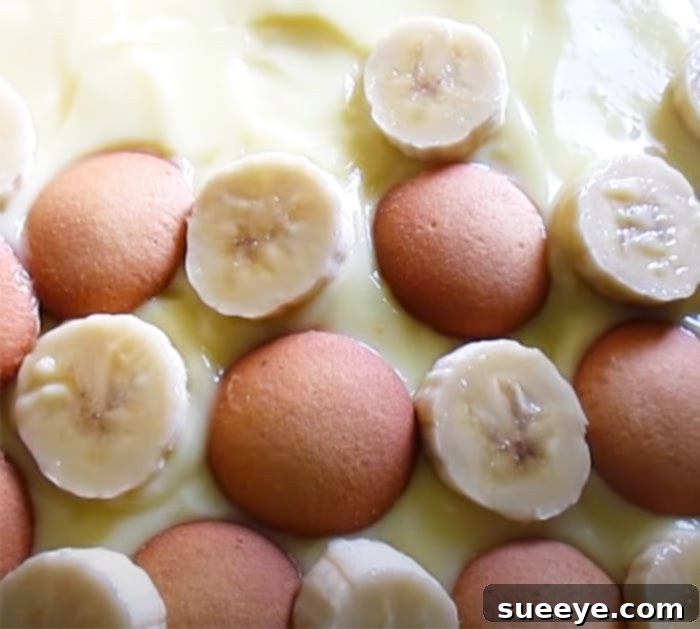
- Layer with Wafers and Bananas: Once the cake is sufficiently chilled and the pudding has set, arrange a layer of vanilla wafers over the pudding. You can place them whole or break them into pieces for a more rustic look. Follow this with a layer of sliced bananas, neatly overlapping them for an appealing presentation. Continue with another layer of wafers and bananas if you wish, creating a beautiful and flavorful topping.
- Add the Whipped Topping: Gently spread the thawed whipped topping over the layers of bananas and wafers. You can create decorative swirls with an offset spatula or simply smooth it out for an elegant finish. If desired, garnish with a few extra vanilla wafers or fresh banana slices right before serving for added visual appeal.
Why You’ll Love This Easy Banana Pudding Cake
This banana pudding cake is more than just a dessert; it’s a celebration of flavor and convenience. Here are a few reasons why this recipe will quickly become a cherished favorite in your kitchen:
- Effortless Preparation: Using a boxed cake mix and instant pudding drastically simplifies the baking process. This means less time in the kitchen and more time enjoying your delicious creation. It’s perfect for novice bakers and seasoned pros alike who appreciate a shortcut without sacrificing taste.
- Incredible Flavor Combination: The moist, tender yellow cake serves as the perfect canvas for the rich, creamy banana pudding. The fresh banana slices add natural sweetness and a soft texture, while the vanilla wafers introduce a delightful crunch and classic flavor that ties everything together.
- Perfect for Ripe Bananas: This recipe is an excellent solution for using up those ripe bananas sitting on your counter. Instead of just making banana bread, you can transform them into a decadent and impressive cake.
- Crowd-Pleasing Dessert: Whether you’re hosting a dinner party, attending a potluck, or simply looking for a delightful family treat, this banana pudding cake is guaranteed to be a hit. Its familiar flavors and appealing presentation make it universally loved.
- Inexpensive and Accessible: Made with common, affordable ingredients, this cake offers incredible value. You don’t need exotic or costly components to create a gourmet-tasting dessert.
Tips for Success and Storage
To ensure your banana pudding cake turns out perfectly every time, keep these helpful tips in mind:
- Don’t Rush the Cooling: As mentioned, it’s vital for the cake to be completely cool before adding the pudding. A warm cake will melt the pudding, leading to a soggy and less appealing result.
- Choosing Bananas: For the best flavor, use bananas that are ripe (yellow with some brown spots), but not overly mushy. Overly soft bananas might break down too much.
- Chill Thoroughly: The chilling time after adding the pudding is crucial for allowing the pudding to set and for its flavors to fully meld with the cake. Don’t skip this step!
- Homemade Whipped Cream Option: While thawed whipped topping is convenient, you can certainly use freshly made whipped cream for an even richer taste. Simply whip heavy cream with a little powdered sugar and vanilla extract until stiff peaks form.
- Storage: This banana pudding cake must be stored in the refrigerator due to its fresh banana and dairy components. Cover it tightly with plastic wrap or aluminum foil. It will stay fresh and delicious for 3-4 days. Note that the bananas may brown slightly over time, but the taste will still be wonderful. For best appearance, add the fresh banana slices and final wafer garnish just before serving if possible.
Overall, this easy banana pudding cake provides a fantastic and simple way to enjoy the classic flavors of banana pudding in an exciting new format. It’s an inexpensive, quick, and incredibly satisfying dessert that proves you don’t need to spend hours in the kitchen to create something truly special. Get ready to indulge in a slice of pure banana bliss!