
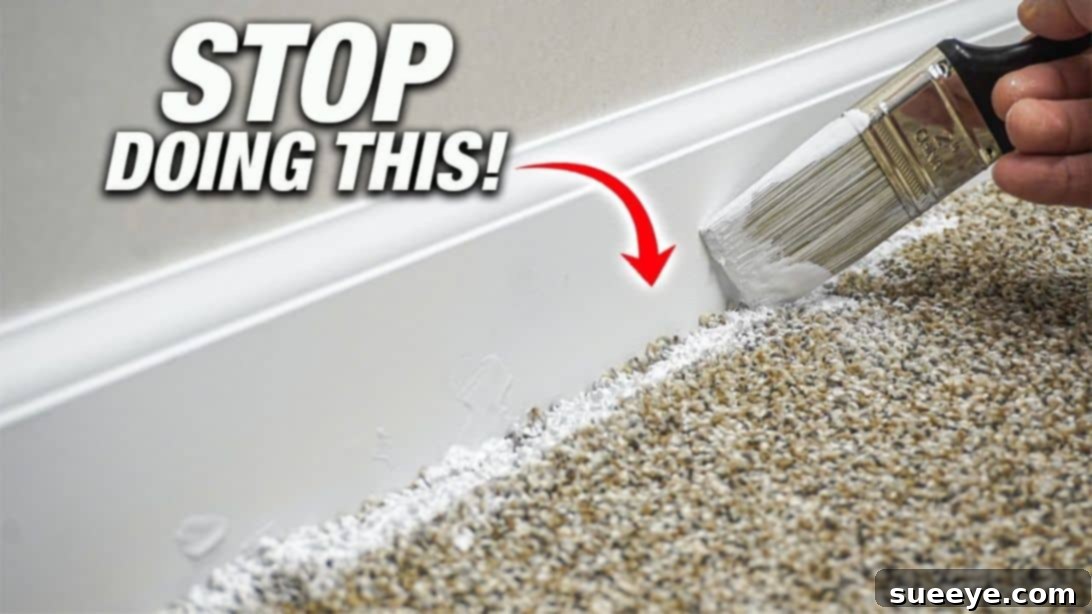
Mastering the Art of Painting Baseboards Over Carpet: A Guide to Flawless Edges
Embarking on a home refresh project, I recently set out to transform the look of our living space by repainting the baseboards. What initially seemed like a straightforward task quickly presented a common DIY dilemma: how to achieve a perfectly clean paint line when baseboards sit flush against a carpeted floor. The thought of accidental drips or stray brushstrokes permanently marring our carpet was a significant concern. I explored various methods, from using a shield to freehand painting, but none offered the foolproof precision I was after.
Fortunately, the vast resource of online tutorials led me to a brilliant, simple technique demonstrated by Fix This House on YouTube. This method completely demystified the process, enabling me to achieve crisp, professional-looking baseboards without a single drop of paint on the carpet. If you’ve ever faced this painting predicament, prepare to discover the ultimate solution for flawlessly painted baseboards, even when they meet plush carpeting.
Why Painting Baseboards Over Carpet is Tricky
Painting baseboards is often seen as a relatively simple home improvement task, but when carpet is involved, the challenge escalates considerably. The plush fibers of carpet can easily wick up paint, creating unsightly stains that are difficult, if not impossible, to remove without professional cleaning or even replacement. Furthermore, the uneven and soft texture of carpet makes it incredibly hard to maintain a steady hand for precise ‘cutting in’ or to secure traditional painter’s tape effectively along the baseboard’s lower edge. This frequently leads to frustrating touch-ups, compromised aesthetics, and the potential for damaging your flooring, making a smart, strategic approach absolutely essential for anyone undertaking this specific project.
Essential Materials for a Professional Baseboard Finish
To ensure a smooth and successful baseboard painting experience, gather these essential tools and materials. Having everything ready before you start will streamline the process, enhance safety, and help you achieve the best possible results with minimal fuss.
- Putty Knife or Drywall Knife: This versatile tool is indispensable for gently tucking carpet fibers out of the way and for precisely applying and securing the lower edge of your painter’s tape. A more flexible blade often offers better control for this delicate task.
- Masking Tape or Painter’s Tape: Choose a high-quality tape specifically designed for painting. Look for one that adheres well to surfaces to prevent bleed-through but also removes cleanly without damaging existing finishes.
- Frog Tape: Known for its unique PaintBlock® Technology, Frog Tape is particularly useful for creating exceptionally sharp lines on walls. Its super-absorbent polymer reacts with paint to form a micro-barrier, sealing the tape’s edge against bleed.
- Scissors: A sharp pair of scissors will be needed for cutting tape cleanly and efficiently to your desired lengths, ensuring neat application.
- High-Quality Paint: Select a durable, washable paint suitable for trim and baseboards. Semi-gloss or satin finishes are popular choices as they are easy to clean and provide a subtle sheen that enhances the trim. Consider a paint + primer in one for added convenience and coverage.
- Paintbrush: Invest in a good quality angled paintbrush, typically 2 to 3 inches wide. An angled brush provides greater control, making it ideal for cutting in precise lines along edges and achieving smooth, even coverage on your baseboards.
- Drop Cloths (Optional but Recommended): While the technique focuses on protecting the carpet right at the baseboard, a wider drop cloth can protect the rest of your carpet from accidental spills or splatters.
- Wood Filler or Spackle (if needed): For addressing any dings, nail holes, or cracks in your baseboards before painting.
- Fine-Grit Sandpaper (if needed): To smooth out any repairs or rough spots, ensuring a perfectly even surface for paint application.
- Damp Cloth: For cleaning the baseboards before painting and for wiping up any immediate paint mishaps.
Step-by-Step Guide: How to Paint Baseboards Over Carpet Neatly
1. Preparation is Key: Clearing the Way for Flawless Lines
The foundation of any neat baseboard painting job over carpet lies in meticulous preparation. Your first task is to create an effective barrier between the baseboard and the carpet. Begin by carefully locating the seam where your baseboard meets the carpeted floor. Using your putty knife or drywall knife, gently but firmly push down the carpet fibers. The goal here is to tuck them inward and underneath the baseboard as much as possible, effectively creating a small, temporary channel or gap. This action pulls the carpet away from the direct painting zone.
Once a clear channel has been established, take your masking tape or painter’s tape and carefully lay it along the baseboard. Position the tape approximately 1/8 inch up from the very bottom edge of the baseboard. This slight offset is crucial for ensuring the tape can be tucked effectively without being directly under the main paint line you wish to create. At this initial stage, do not press the tape down firmly. Instead, re-engage your putty or drywall knife and use it to lightly but precisely push the lower edge of the tape inside and underneath the baseboard, securing it against the subfloor beneath the carpet. This creates a protective, tucked-away edge that will prevent any paint from reaching the carpet fibers.
2. Securing Your Surfaces: Advanced Taping Techniques
With the bottom edge of the baseboard meticulously taped and protected, it’s time to reinforce this barrier and prepare the upper edge. Once you’ve successfully tucked the tape underneath the baseboard along its entire length, go over the entire taped seam one more time with your putty knife. This time, apply a bit more pressure, sliding the knife back and forth along the taped edge. This firm action helps to create a secure adhesion of the tape to the subfloor and ensures it won’t shift or move during the painting process, thereby creating an impenetrable shield for your carpet.
Next, shift your focus to the upper edge of the baseboard where it meets the wall. For this section, Fix This House specifically highlights the use of Frog Tape, which is highly recommended due to its unique PaintBlock® Technology. This technology seals the edges of the tape to prevent paint bleed, which is critical for creating exceptionally sharp and clean lines. Carefully lay the Frog Tape precisely where the wall and baseboard meet, ensuring it creates a crisp, straight boundary. Gently press the tape down with your fingers to ensure good adhesion along its entire length. A crucial tip here: avoid pressing too hard, especially if you have textured walls or if your wall paint is not fully cured. Applying excessive pressure can cause the existing wall paint to tear away with the tape upon removal, which would ruin your otherwise clean finish. A light, firm pressure is usually sufficient to activate the tape’s sealant properties without risking damage.
3. Pre-Paint Perfection: Addressing Imperfections
Before you even think about opening a paint can, take a moment to thoroughly inspect your baseboards for any imperfections. This is the ideal time to address minor repairs that can significantly enhance the final outcome and ensure a professional-looking finish. Look for small dings, nail holes, minor cracks, or any areas where the baseboard might have slightly separated from the wall. Use a high-quality wood filler or spackle to fill these gaps and holes. Apply the filler evenly, ensuring it sits perfectly flush with the baseboard surface. Allow the filler to dry completely according to the manufacturer’s instructions.
Once the filler is dry, use fine-grit sandpaper (around 120-180 grit is typically sufficient) to smoothly sand the repaired areas. The goal is to create a seamless, perfectly even surface that will blend flawlessly once painted. After sanding, meticulously clean the entire baseboard surface. Use a damp cloth to wipe away all dust, dirt, and sanding residue. A clean, smooth, and dry surface is absolutely essential for proper paint adhesion and for achieving a truly professional, long-lasting finish.
4. The Art of Painting: Applying Your Chosen Color
Now for the satisfying part: applying the paint. With your baseboards meticulously prepared, taped, and clean, you’re ready to transform their look. Begin by thoroughly stirring your paint to ensure an even consistency and uniform color. Dip your paintbrush, being careful not to overload it with paint; a good rule of thumb is to load about one-third of the bristles and tap off any excess on the inside edge of the can. This prevents drips and allows for greater control.
Start painting your baseboard with smooth, even strokes, working in manageable sections. Pay close attention to achieving full coverage without applying the paint too thickly, which can lead to unsightly drips, runs, or an uneven finish. For the best results and durability, most baseboard projects require two thin, even coats of paint. Always allow the first coat to dry completely before applying the second. Refer to your paint can’s instructions for recommended drying times between coats, as this can vary significantly based on humidity levels, temperature, and the specific type of paint you are using.
5. The Reveal: Carefully Unveiling Your Crisp Lines
The moment of truth arrives when the paint is dry enough to handle. While the paint is still slightly pliable but not wet (often referred to as ‘tacky dry’), or immediately after the final coat has dried to the touch, it’s time to remove the tape. It is crucial not to wait until the paint is fully cured and hardened, as this significantly increases the risk of the paint peeling or tearing along with the tape, especially on the top edge.
For the bottom tape that you tucked under the carpet, carefully use your putty knife to push down on the carpet right at the base of the baseboard. This action helps to break the bond between the paint and the tape, allowing for a cleaner separation. Then, slowly and steadily, pull the tape out at a 45-degree angle. For the Frog Tape on the upper edge, pull it off gently and consistently at a similar angle. If you encounter any resistance or observe the paint starting to tear, try pulling the tape back on itself (at a sharper angle) rather than straight out. The slow, deliberate removal is the key to revealing those perfectly crisp, professional lines you worked so hard to achieve. Step back and admire your flawlessly painted baseboards!
Pro Tips for a Flawless Baseboard Painting Project
Achieving truly professional results when painting baseboards, especially over carpet, often comes down to mastering a few insider tricks. Incorporate these pro tips into your next project for an even smoother finish and less stress:
- Ventilation is Key: Always ensure good ventilation in your work area. Open windows and use fans to help with drying times and to dissipate paint fumes, which improves both comfort and safety.
- Multiple Thin Coats Over One Thick Coat: Resist the urge to apply a single heavy coat of paint. Thin coats dry more evenly, adhere better, and are far less likely to drip or show unsightly brush marks. Two or even three thin coats will always look superior to one thick, gloopy one.
- Check for Compatibility: If you’re painting over existing paint, ensure your new paint is compatible. A light sanding and application of a suitable primer might be necessary if you’re switching paint types (e.g., from an oil-based to a water-based product).
- Proper Brush Loading: Don’t overload your paintbrush. Dip just the tip (about 1/3 of the bristles) into the paint and gently tap off excess on the inside edge of the can. This prevents drips and allows for greater control and precision.
- Work in Sections: Instead of trying to paint an entire wall’s baseboard at once, work in smaller, manageable sections. This allows you to maintain a wet edge, which helps prevent lap marks, and gives you time to correct any errors before the paint dries.
- Keep a Damp Cloth Handy: Accidents happen, no matter how careful you are. Have a damp cloth or a wet sponge nearby to immediately wipe away any accidental drips or smudges on the wall, carpet, or floor before the paint has a chance to dry and set.
- Clean Your Brushes Promptly: As soon as you finish painting, clean your brushes thoroughly according to the paint type (water for latex, mineral spirits for oil-based). Proper cleaning extends the life of your tools and ensures they are ready for your next project.
- Consider a Paint Edger Tool (for the top line): While this technique focuses heavily on tape, some DIYers find a paint edger tool helpful for the top line against the wall, especially if they struggle with freehand cutting in or prefer an alternative to tape.
Common Mistakes to Avoid When Painting Baseboards
Even with the best intentions and techniques, certain missteps can derail your painting project. Being aware of these common errors can help you sidestep frustration, save time, and ultimately achieve a professional and lasting finish:
- Skipping Preparation: Failing to clean, fill, and sand baseboards thoroughly before painting will result in a finish that highlights imperfections rather than hides them. Dirt, dust, and uneven surfaces will show through the paint.
- Rushing the Taping Process: Improperly applied tape, or tape that isn’t pressed down firmly (where applicable), will inevitably lead to paint bleed underneath, resulting in fuzzy, uneven lines that undermine the professional look.
- Overloading the Paintbrush: A paintbrush heavy with excess paint is a recipe for drips, runs, and a messy finish. It also makes precise cutting in much harder and can lead to uneven application.
- Painting on a Dirty Surface: Paint won’t adhere properly to dusty, greasy, or dirty surfaces. This can lead to premature peeling, chipping, or an uneven, mottled look over time.
- Ignoring Drying Times: Applying a second coat of paint or removing tape before the previous coat is sufficiently dry can lead to smudges, an uneven texture, or even cause the paint to tear away.
- Pulling Tape Too Late: Waiting until paint is fully cured and hardened before removing tape can cause the paint film to bond with the tape, resulting in peeling, jagged edges, or chunks of paint coming off the baseboard or wall.
- Not Protecting the Floor Adequately: Even with meticulously tucked tape, failing to put down drop cloths in the general work area can lead to accidental splashes or drips on the carpet further away from the baseboard, creating additional cleanup challenges.
- Using Low-Quality Tools: Cheap brushes can shed bristles into your paint, leaving an undesirable texture. Low-quality tape might not adhere well or could leave sticky residue. Investing in decent tools pays off in the final result.
The Transformative Power of Beautiful Baseboards
While often overlooked or considered a minor detail, well-maintained and freshly painted baseboards play a surprisingly significant role in the overall aesthetic and feel of a room. Investing the time and effort into this DIY project yields numerous benefits that extend beyond just a fresh coat of paint:
- Enhanced Aesthetics: Crisp, clean baseboards create a refined, finished look that ties the entire room together. They provide a visual boundary that makes walls appear taller and spaces more polished and intentionally designed.
- Increased Home Value: Attention to detail, like neatly painted and well-maintained trim, signals a well-cared-for home to potential buyers. Such small improvements can significantly contribute to a property’s perceived value and curb appeal.
- Protection for Walls: Baseboards serve as a crucial protective barrier, shielding the lower portion of your walls from everyday wear and tear, such as scuffs, bumps from furniture, and vacuum cleaner marks. A fresh coat of durable paint enhances this protection, making them easier to clean.
- Refreshed Ambiance: A new color or simply a fresh coat of bright white paint on your baseboards can dramatically brighten a room. This simple change can make a space feel cleaner, larger, and far more inviting without the need for a full wall repaint.
- Personalized Style: Painting baseboards allows you to introduce accent colors that complement your decor or maintain a cohesive color scheme throughout your home. This subtle detail can significantly reflect your personal style and enhance your home’s unique character.
Painting baseboards over carpet no longer needs to be a daunting task filled with the dread of potential carpet damage. With this clever technique, a little patience, and the right tools, you can achieve results that look like they were done by a professional, all without risking your precious carpet. This simple hack, inspired by the innovative minds at Fix This House, truly transforms a challenging DIY project into an enjoyable and incredibly rewarding one. So, gather your materials, follow these detailed steps, and get ready to enjoy perfectly painted baseboards that elevate the beauty and finish of your home. Happy painting!
*All image credit belongs to Fix This House via YouTube. Follow and subscribe to their channel for more inspiring DIY solutions!