
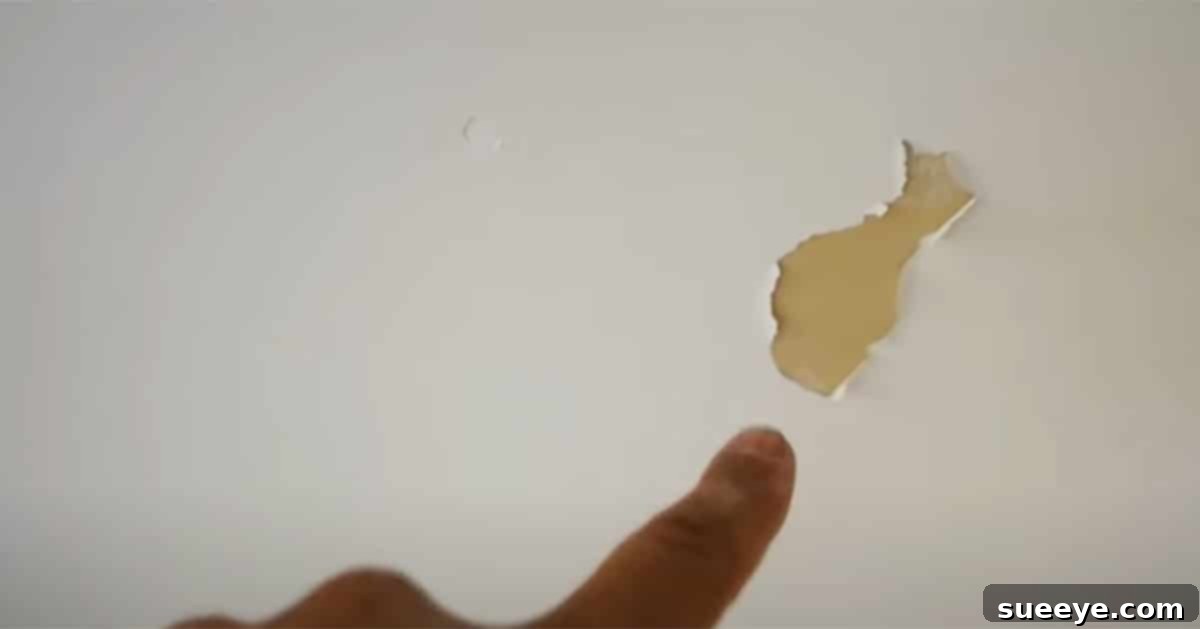
Expert Guide: How to Fix Peeling Ceiling Paint Like a Pro (DIY Tutorial)
Finding a spot in your bathroom or kitchen ceiling where the paint is peeling or flaking off can be incredibly frustrating. Not only does it detract from the aesthetics of your home, but it can also make the room feel neglected. While this common problem might seem daunting, it’s actually an issue you can tackle effectively with a bit of DIY know-how. This comprehensive guide will walk you through an easy, step-by-step process to repair your ceiling, making it look brand new. By following these instructions, you’ll not only achieve a professional-quality finish but also save a significant amount of money that you would otherwise spend hiring a contractor.
Whether you own your home or are renting, knowing how to fix peeling paint is an invaluable skill. For homeowners, it maintains property value and keeps your living space looking its best. For renters, addressing ceiling or wall mishaps yourself can prevent unwanted charges from your landlord upon moving out. The techniques outlined here, inspired by practical tips shared by experts like Billshowto on YouTube, focus on simplicity and effectiveness, ensuring a lasting repair.
Why Does Ceiling Paint Peel? Understanding the Root Cause
Before diving into the repair process, it’s helpful to understand why ceiling paint peels in the first place. This knowledge can help prevent future occurrences. The most common culprits include:
- Moisture Issues: This is especially prevalent in bathrooms and kitchens. High humidity from showers, baths, or cooking can cause paint to lose adhesion to the surface beneath it. Leaky pipes or roof leaks are also significant contributors.
- Poor Surface Preparation: If the original surface wasn’t properly cleaned, sanded, or primed before painting, the paint won’t adhere well and will eventually begin to peel. Dust, grease, or previous loose paint can all hinder adhesion.
- Incompatible Paint Layers: Sometimes, applying a new type of paint over an existing one that isn’t compatible can cause adhesion problems. For instance, oil-based paint over latex without proper primer can lead to issues.
- Old Age/Wear and Tear: Over time, paint simply degrades. Exposure to environmental factors, temperature fluctuations, and natural aging can cause it to become brittle and peel.
- Low-Quality Paint or Primer: Using cheap paint or skipping primer altogether can significantly reduce the longevity and durability of your ceiling finish.
Identifying and addressing the underlying cause, especially moisture, is crucial for a successful and lasting repair. Ensure any leaks are fixed and consider improving ventilation in high-humidity areas.
Essential Materials for a Flawless Ceiling Repair
Gathering all your tools and materials before you start will make the repair process much smoother and more efficient. Here’s what you’ll need:
- Scraper Tool: A sturdy putty knife or paint scraper for removing loose material.
- 120 Grit Sandpaper: For smoothing rough edges and preparing the surface. You might also want finer grit (e.g., 220) for the final smoothing of the compound.
- Dry Compound (Spackle or Joint Compound): A powdered or pre-mixed filler designed for patching walls and ceilings. Choose a lightweight, easy-to-sand variety.
- Heat Gun or Hairdryer: Optional, but highly recommended for speeding up the drying process of the compound and primer.
- Rag or Towel: For cleaning dust and debris.
- 4-in-1 Primer (or Quality Stain-Blocking Primer): Essential for promoting adhesion, sealing the patched area, and preventing stains from bleeding through.
- Paintbrush and/or Small Roller: A good quality angled paintbrush for feathering and a small roller for larger patches will ensure a smooth finish.
- Ceiling Paint: Match your existing ceiling paint in color and finish (flat finish is typical for ceilings).
- Drop Cloths or Old Sheets: To protect your floor and furniture from paint and debris.
- Safety Glasses and Dust Mask: Always wear appropriate personal protective equipment, especially when scraping and sanding.
Step-by-Step Guide: Repairing Peeling Ceiling Paint
Follow these detailed steps to transform your peeling ceiling into a pristine surface once again.
Step 1: Prepare Your Workspace and Gather Tools
Begin by clearing the area beneath the damaged ceiling patch. Move any furniture out of the way or cover it with plastic sheeting. Lay down drop cloths or old newspapers to protect your floors from falling debris and paint splatters. Ensure the room is well-ventilated; open windows or use a fan. Put on your safety glasses and dust mask before starting any work.
Step 2: Carefully Scrape Away Loose Paint
Using your scraper tool, gently begin to remove all loose or flaking paint from the affected area. Position your knife flat against the ceiling and scrape in various directions, working outwards from the center of the damage. The goal is to remove every piece of paint that is not firmly adhered. Continue scraping until no more paint flakes off, and you reach a solid, stable edge around the damaged area. Be thorough but careful not to gouge the ceiling surface.
Step 3: Smooth the Edges with Sandpaper
Once all the loose paint is removed, the edges of the repaired patch might still be a bit rough or uneven. Take your 120-grit sandpaper and gently sand these edges. The aim is to “feather” the edges, creating a smooth transition between the damaged area and the intact ceiling paint. This step is crucial for achieving an undetectable repair. Feel the surface with your hand to ensure it’s as smooth as possible, with no abrupt changes in height.
Step 4: Clean the Area Thoroughly
After scraping and sanding, there will undoubtedly be dust and fine paint particles on your ceiling. Use a damp rag or towel to carefully wipe down the entire patched area and its surroundings. Ensure all dust and debris are completely removed, as any remaining particles can compromise the adhesion of the new compound and primer. Allow the surface to dry completely before proceeding.
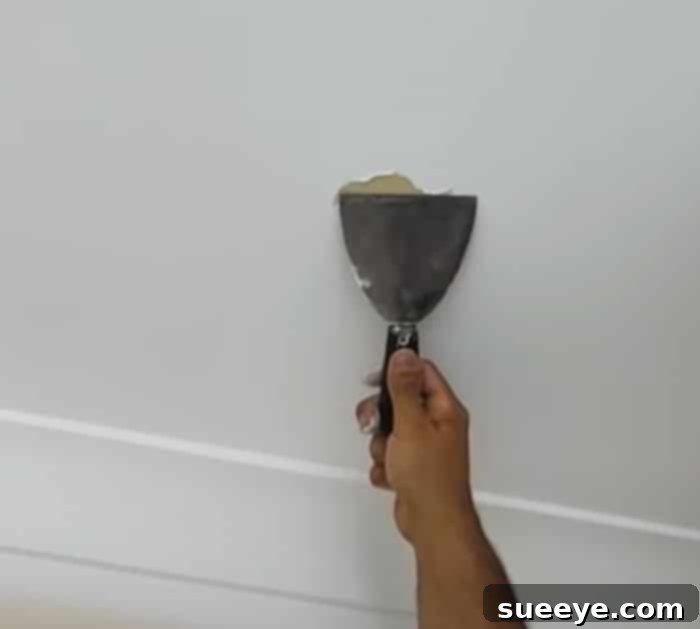
Step 5: Apply Dry Compound for a Smooth Surface
Now it’s time to fill in the divot left by the removed paint. If you’re using powdered joint compound, mix it according to the manufacturer’s instructions to a smooth, creamy consistency. For pre-mixed compound, stir it well. Using your putty knife, apply a thin, even layer of compound over the patched area. Press firmly to ensure good adhesion and to fill any imperfections. Feather the edges of the compound into the surrounding ceiling, minimizing any noticeable ridges. For deeper patches, it’s better to apply several thin coats, allowing each coat to dry completely before applying the next, rather than one thick layer. This prevents cracking and shrinking. Use your heat gun or hairdryer on a low setting to significantly speed up the drying process between coats.
Step 6: Sand the Compound and Clean Again
Once the compound is completely dry and hard (it should turn white if it was initially grey), use your 120-grit sandpaper (or finer, like 220-grit, for a smoother finish) to gently sand the patched area. Work in circular motions, feathering the edges until the patch is perfectly smooth and flush with the surrounding ceiling. Run your hand over the surface to check for any imperfections or bumps. If you find any, apply another thin layer of compound, let it dry, and sand again. Once satisfied, wipe off all sanding dust with a clean, damp rag. This step is crucial for an invisible repair.
Step 7: Prime the Repaired Area
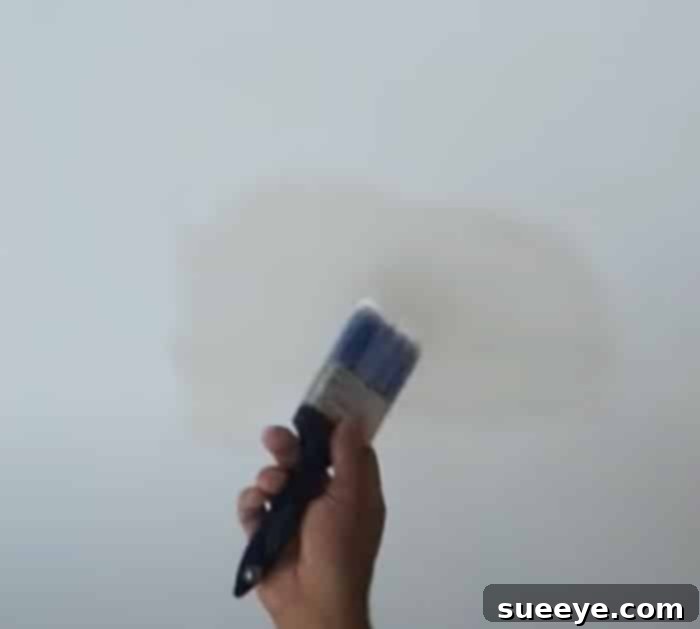
Priming is a non-negotiable step. It ensures superior adhesion for your new paint, seals the compound, and prevents any underlying stains or repaired patches from showing through. Use a good quality 4-in-1 primer or a dedicated stain-blocking primer. Apply a thin, even coat of primer to the patched area using your paintbrush or a small roller. Extend the primer slightly beyond the edges of the compound to ensure a smooth transition. Feather the edges of the primer to avoid visible brush or roller marks. Allow the primer to dry completely according to the manufacturer’s instructions. Again, a hairdryer can accelerate this process.
Step 8: Apply the Final Ceiling Paint Coats
With the primer dry, you’re ready for the final paint. Stir your ceiling paint thoroughly. Apply the first coat of ceiling paint over the primed area, feathering the edges into the existing ceiling paint. For the most seamless finish, it’s often best to paint the entire ceiling section (e.g., the whole wall-to-wall area if it’s a small bathroom) rather than just the patch, especially if your existing paint is old or faded. Allow the first coat to dry completely. Most repairs will require at least two coats of ceiling paint to achieve a uniform color and finish. Apply the second coat, ensuring even coverage. Once both coats are dry, you should have a perfectly smooth, unblemished ceiling.
Preventing Future Ceiling Paint Peeling
Now that you’ve successfully repaired your ceiling, taking a few preventative measures can save you from future headaches. Preventing moisture buildup is paramount, especially in humid environments like bathrooms and kitchens.
- Ensure Adequate Ventilation: Always use exhaust fans during and after showers or cooking. If you don’t have an exhaust fan, consider installing one, or at least open a window to allow steam to escape.
- Fix Leaks Promptly: Address any roof leaks, pipe leaks, or overflowing tubs immediately. Water damage is a primary cause of paint peeling.
- Use Quality Materials: Invest in high-quality paint and primer designed for humid environments if you’re painting a bathroom or kitchen ceiling. Moisture-resistant paints can make a significant difference.
- Proper Surface Preparation: Remember the importance of cleaning, sanding, and priming thoroughly before any painting project. A clean, smooth, primed surface provides the best adhesion.
- Allow Proper Drying Time: Never rush between coats of primer or paint. Allow ample time for each layer to dry completely, even if it means waiting longer than you’d like.
Achieve a Flawless Finish with DIY Ceiling Repair
Fixing peeling ceiling paint might seem like a daunting task at first, but with the right tools, materials, and a clear step-by-step guide, it’s a perfectly achievable DIY project. This lifehack is incredibly useful and handy, offering a cost-effective solution to a common household problem. By following these detailed instructions, you can restore your ceiling to its original pristine condition, enhancing the overall look and feel of your home.
The satisfaction of completing such a repair yourself is immense, and the skills you gain will be valuable for future home improvement projects. Remember to be patient, especially with drying times, and always prioritize safety. With a little effort, you can achieve a professional-looking, durable repair that stands the test of time, saving you money and boosting your confidence as a capable homeowner or renter.