
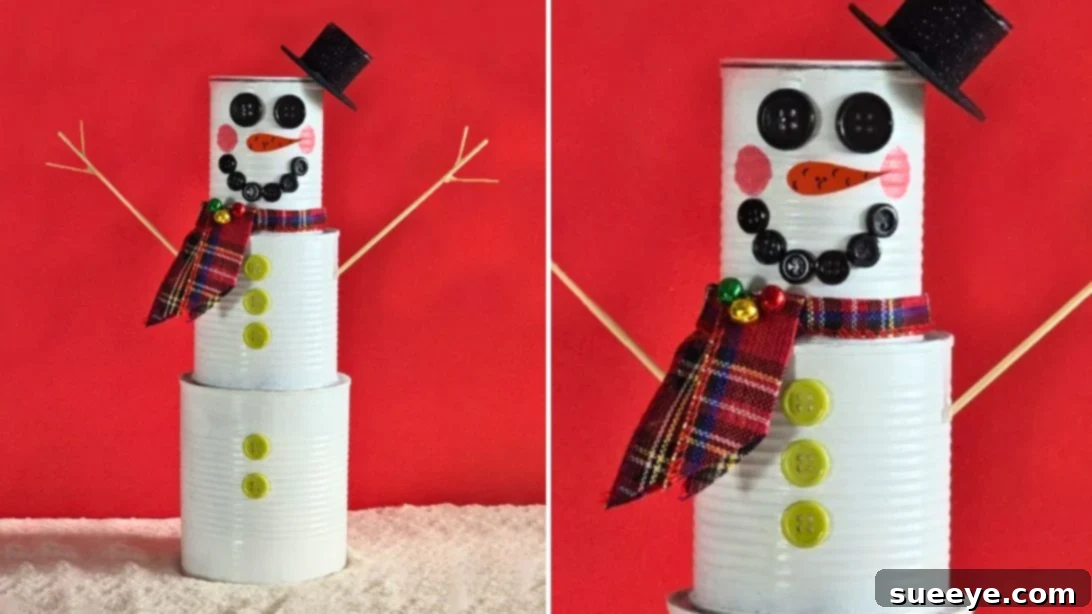
DIY Tin Can Snowman: A Festive and Fun Craft Project
As the winter season approaches, the desire to create festive and joyful decorations for our homes intensifies. One of the most beloved symbols of winter, especially around Christmas, is the snowman. The image of a snowman evokes feelings of warmth, nostalgia, and the simple pleasures of childhood. While building a snowman outdoors is a classic winter activity, it’s not always possible for everyone, especially those who live in warmer climates or areas without sufficient snowfall. However, the joy of having a snowman doesn’t have to be limited by geographical constraints. Thanks to the abundance of creative DIY ideas available today, you can easily bring the magic of a snowman into your home using simple, everyday materials. This article will guide you through creating a charming and unique tin can snowman, a project that is not only fun and engaging but also environmentally friendly.
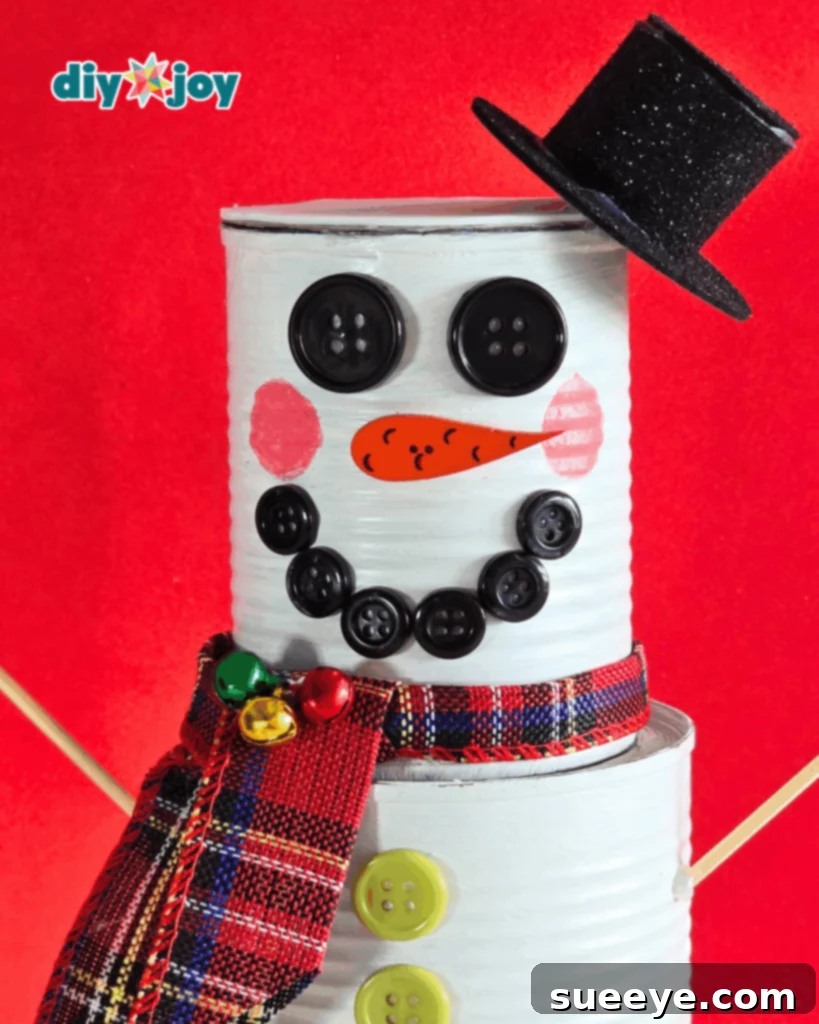
One of the most appealing aspects of this DIY project is its budget-friendly nature. Instead of purchasing expensive decorations from the store, you can transform ordinary tin cans into a delightful holiday decoration. This craft is perfect for beginners and experienced crafters alike, providing a wonderful opportunity to turn what would otherwise be considered trash into a treasured keepsake. Upcycling tin cans into a snowman is not only a creative way to reduce waste but also a fantastic activity to do with family and friends. It encourages creativity, collaboration, and the creation of something beautiful and unique for the Christmas season.
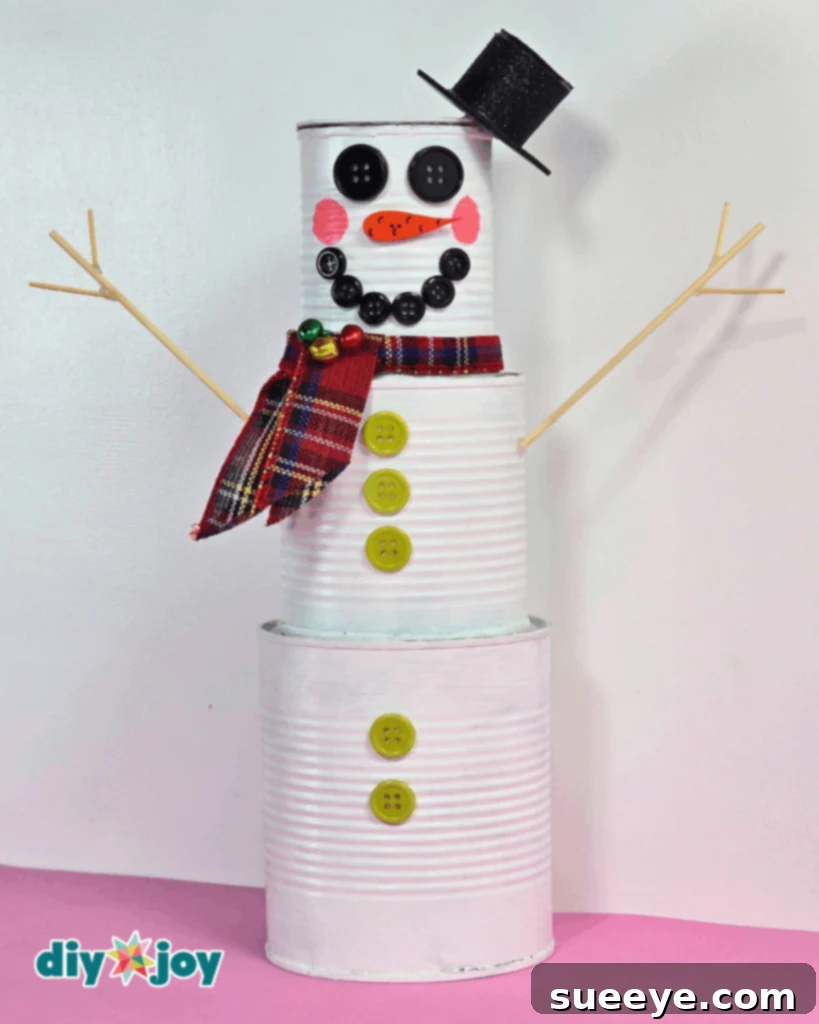
How to Make a Tin Can Snowman: A Step-by-Step Guide
Creating your own tin can snowman is a simple and rewarding process. Follow these easy steps to bring this festive decoration to life:
Step 1: Preparing and Painting the Cans
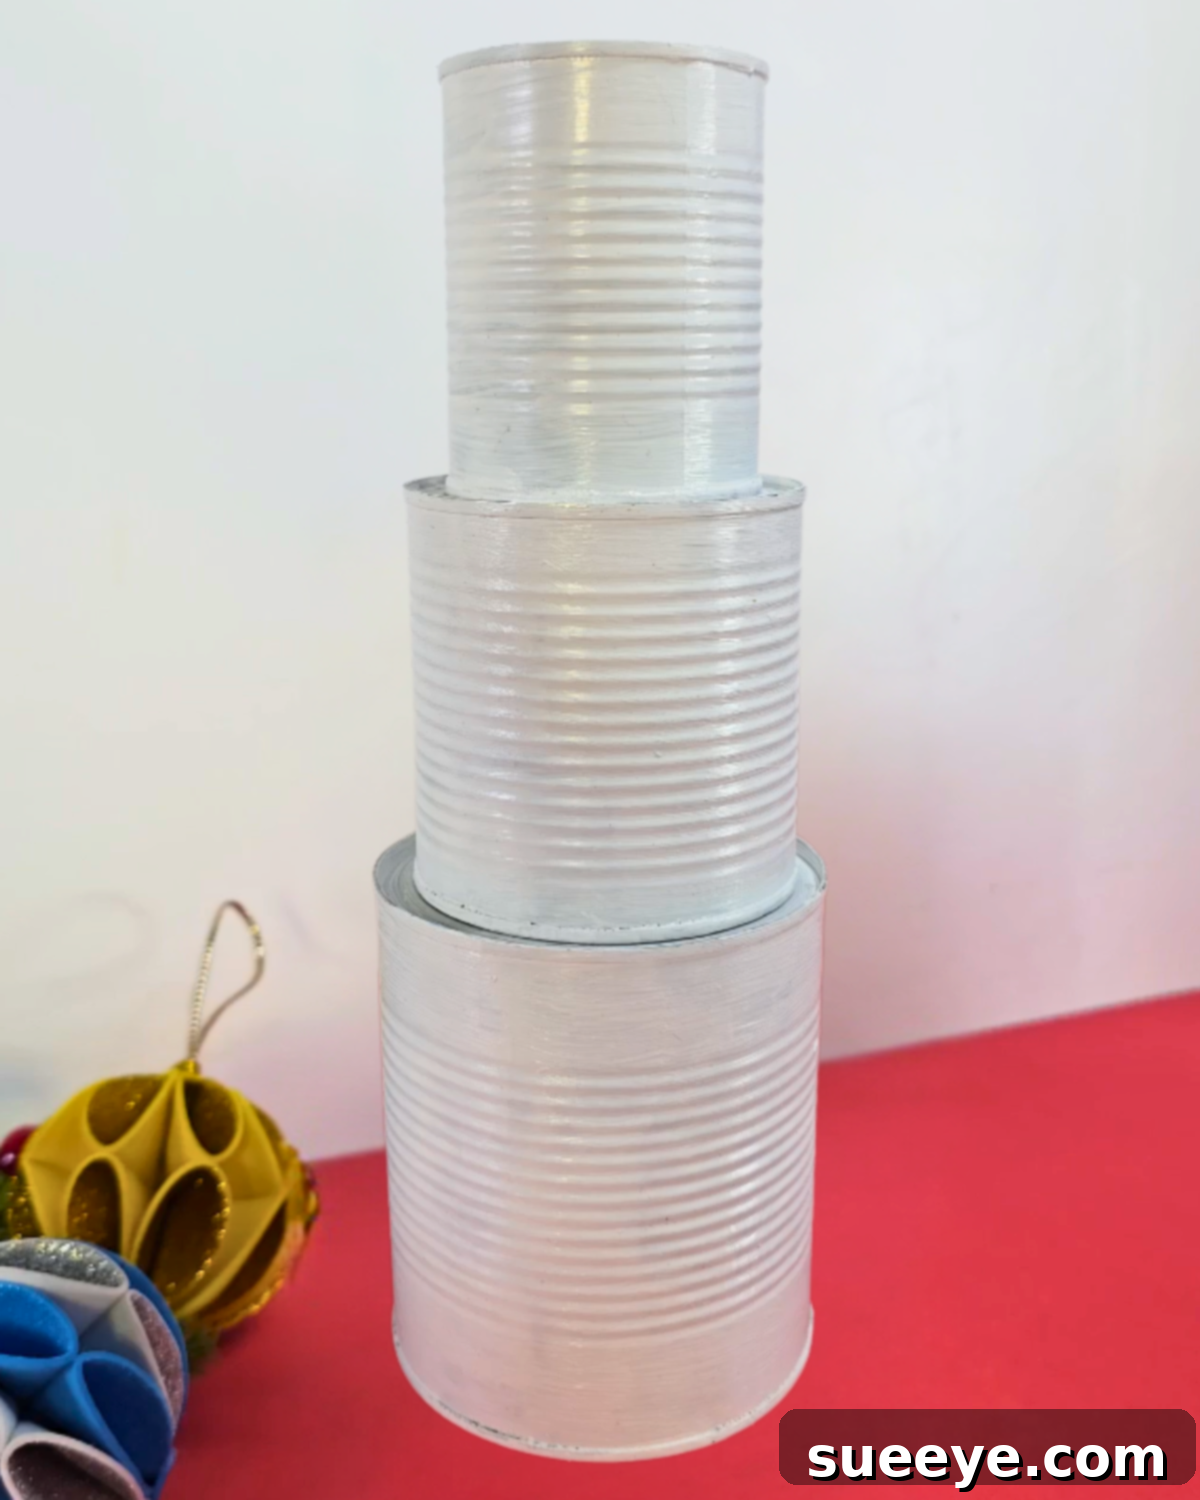
Begin by gathering three tin cans of varying sizes. This will create the snowman’s body with a distinct top, middle, and bottom section. Ensure the cans are clean and free of any sharp edges. Apply a coat of white acrylic paint to each can, using a primer paint beforehand for better adhesion and coverage. Allow the paint to dry completely before applying a second coat if necessary. This will ensure a smooth and even finish. Once the cans are fully dried, stack them from largest to smallest to form the snowman’s body, giving you a visual representation of the final product.
Step 2: Crafting the Arms and Scarf
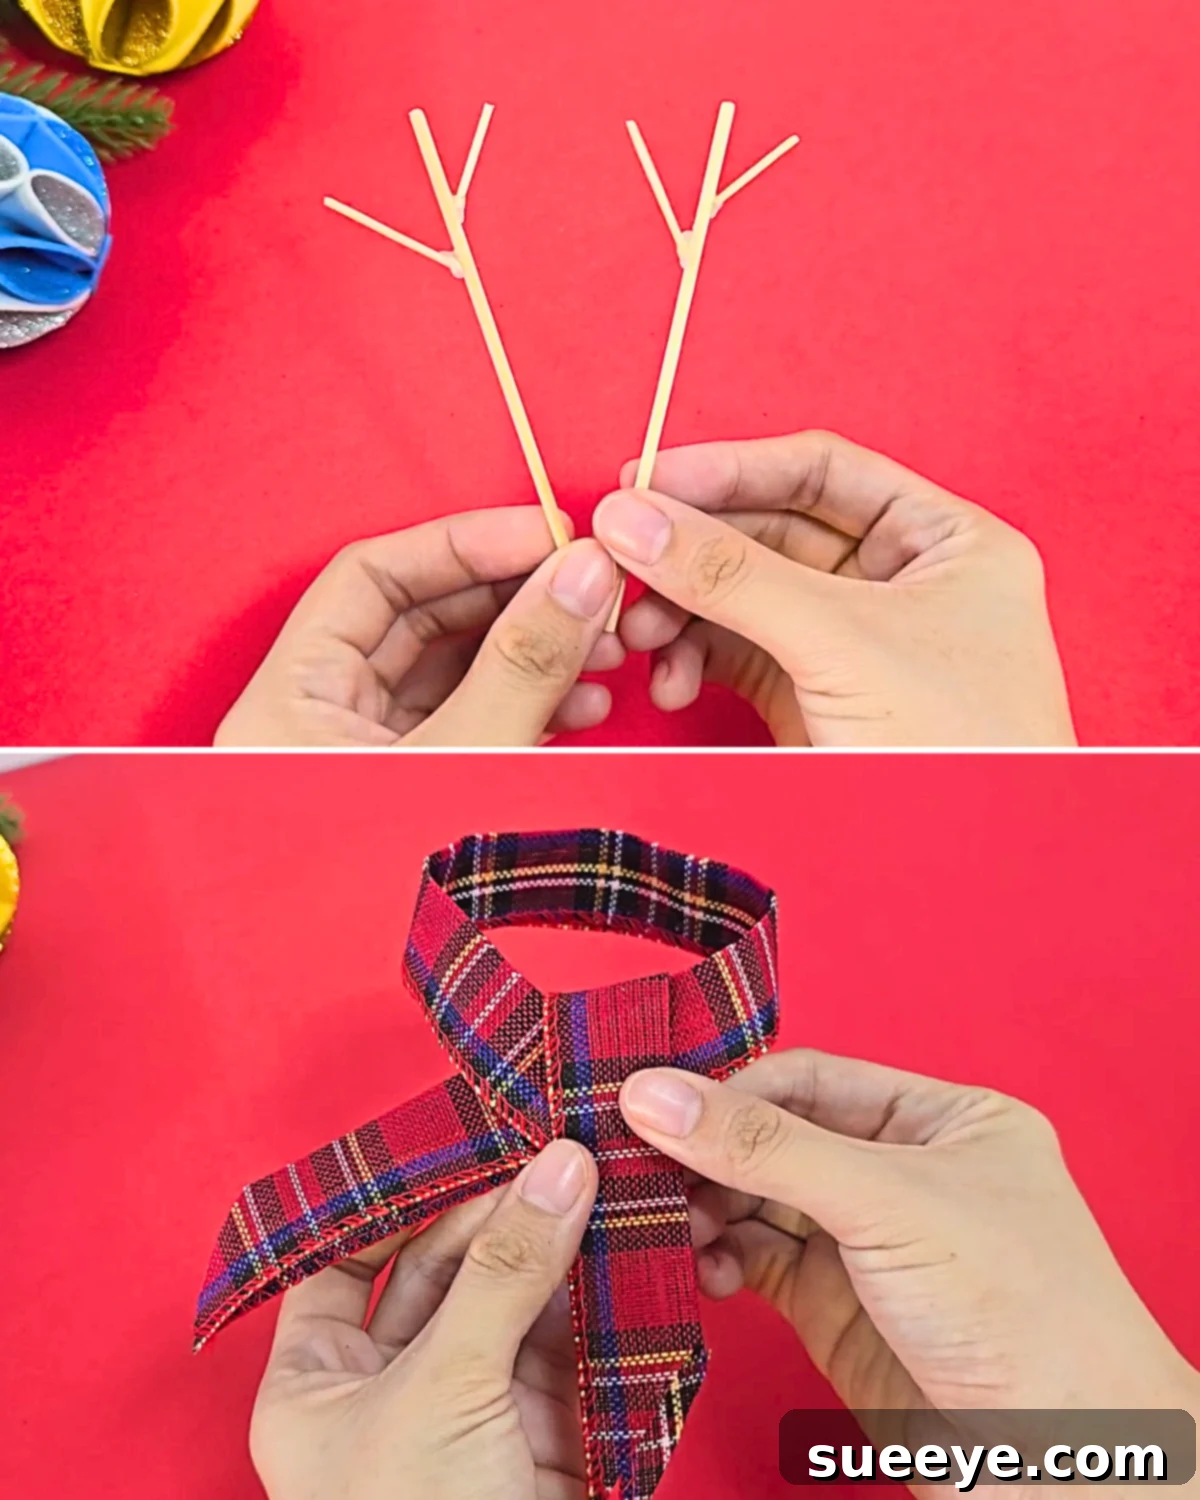
To create the snowman’s arms, you’ll need wooden skewers and toothpicks. Trim the pointed ends off the skewer and toothpick for safety. Attach the toothpick pieces to the skewer at different positions using glue or hot glue to create the appearance of branches. This will give the snowman’s arms a more realistic and whimsical look. For the scarf, cut a length of festive ribbon, preferably in a color that complements your overall holiday decor. Shape the ribbon into a simple bow or tie it in a knot to create a cozy scarf for your snowman.
Step 3: Constructing the Hat
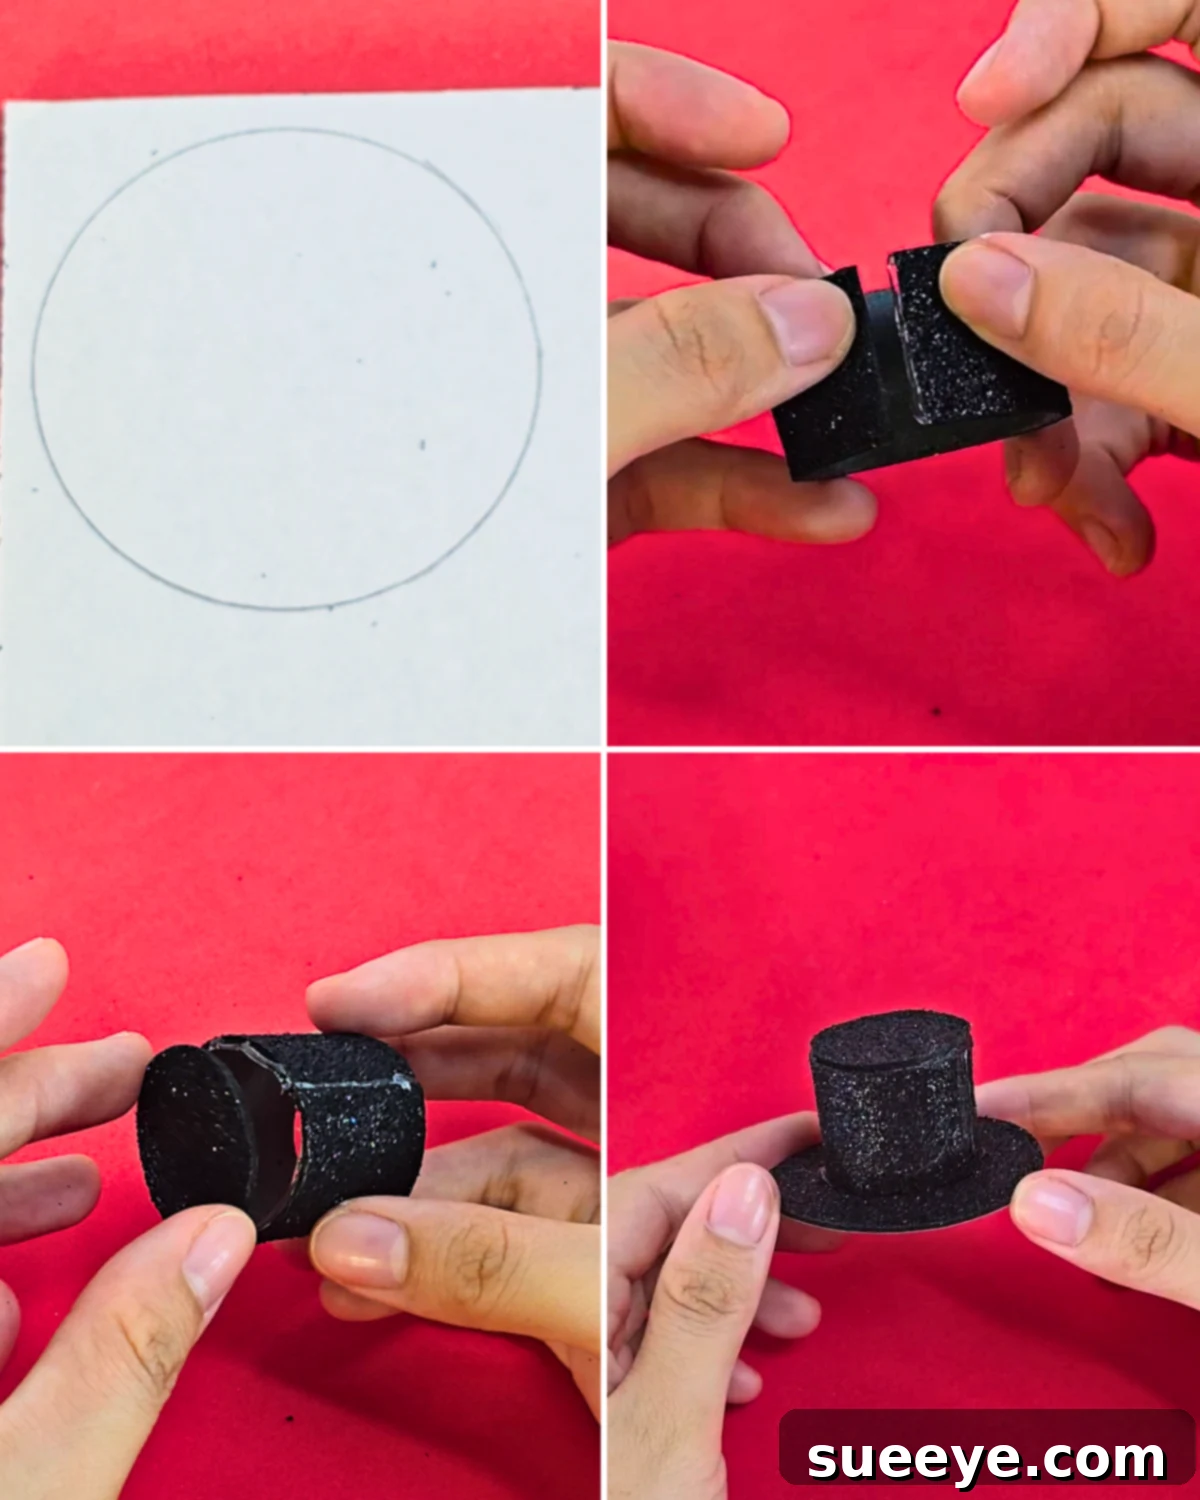
The hat is an essential accessory for any snowman, and this tin can snowman is no exception. Use glitter foam to create a charming and sparkly hat. Trace two circles on the glitter foam – one small for the top of the hat and one larger for the brim. Cut a straight strip of glitter foam, then gently curve it and join the ends to form a cylinder. Attach the small circle to the top of the cylinder and the larger circle to the bottom to complete the hat. The glitter foam adds a touch of sparkle and festive flair to the snowman’s appearance.
Step 4: Assembling the Details: Scarf, Buttons, and Face
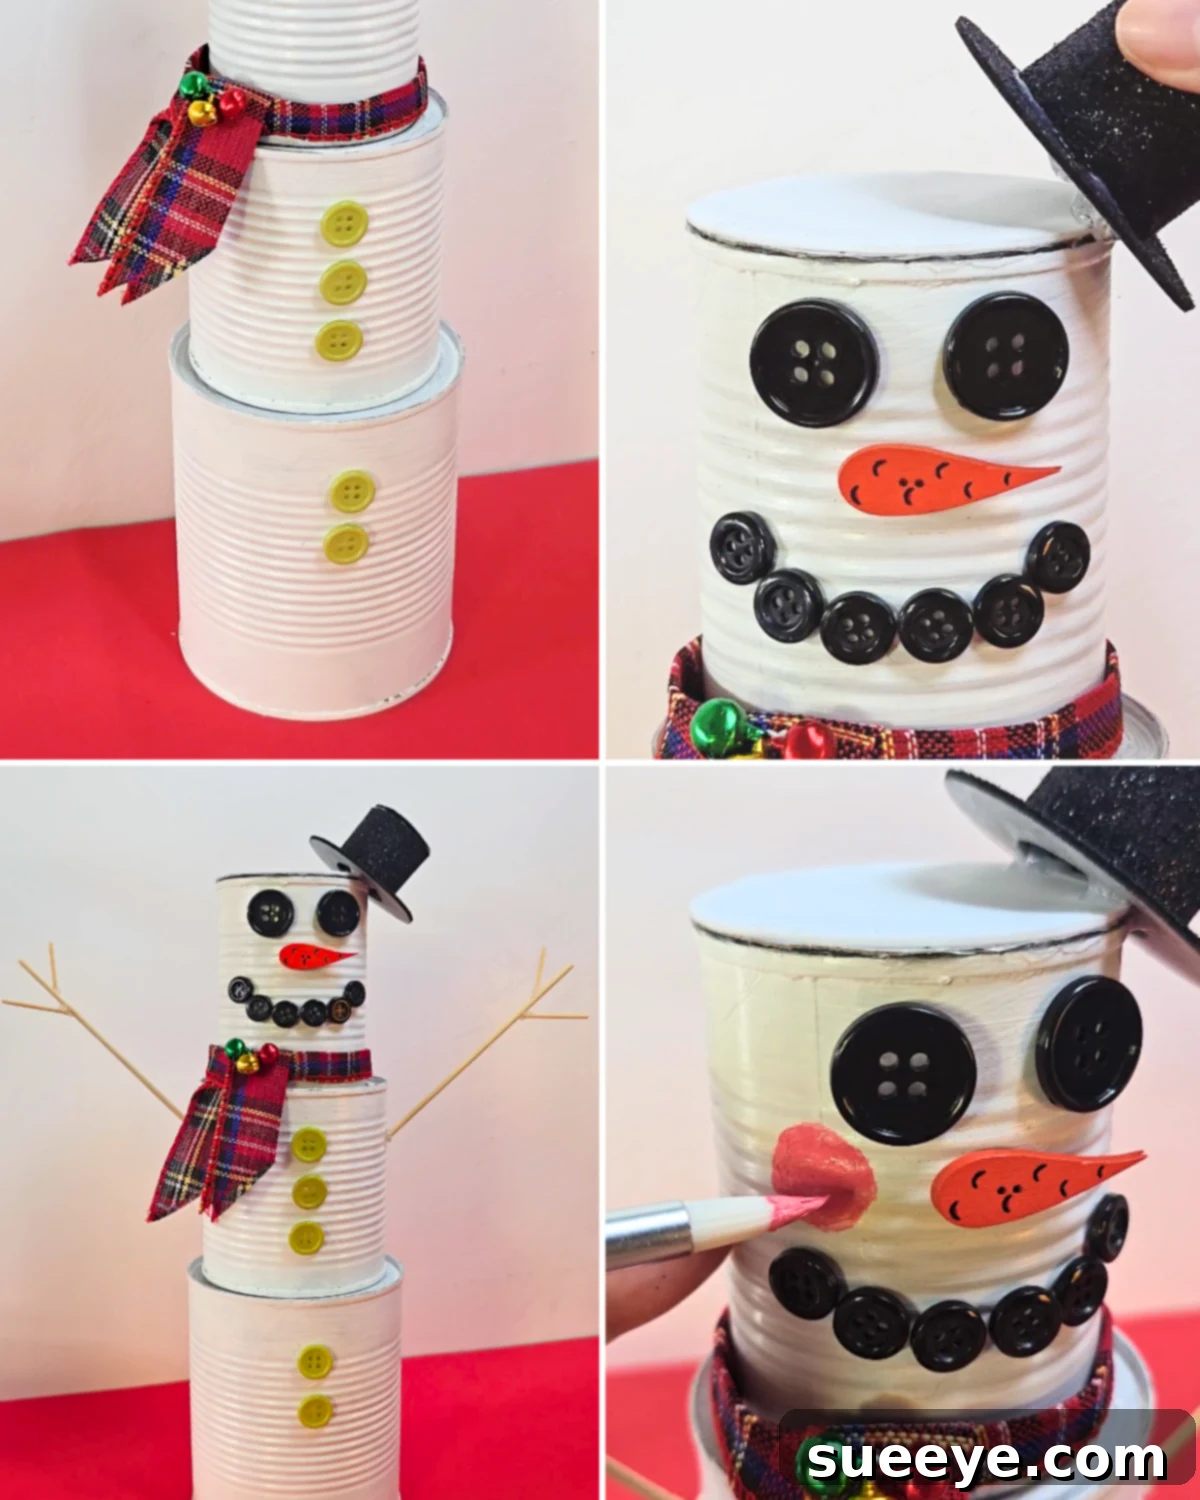
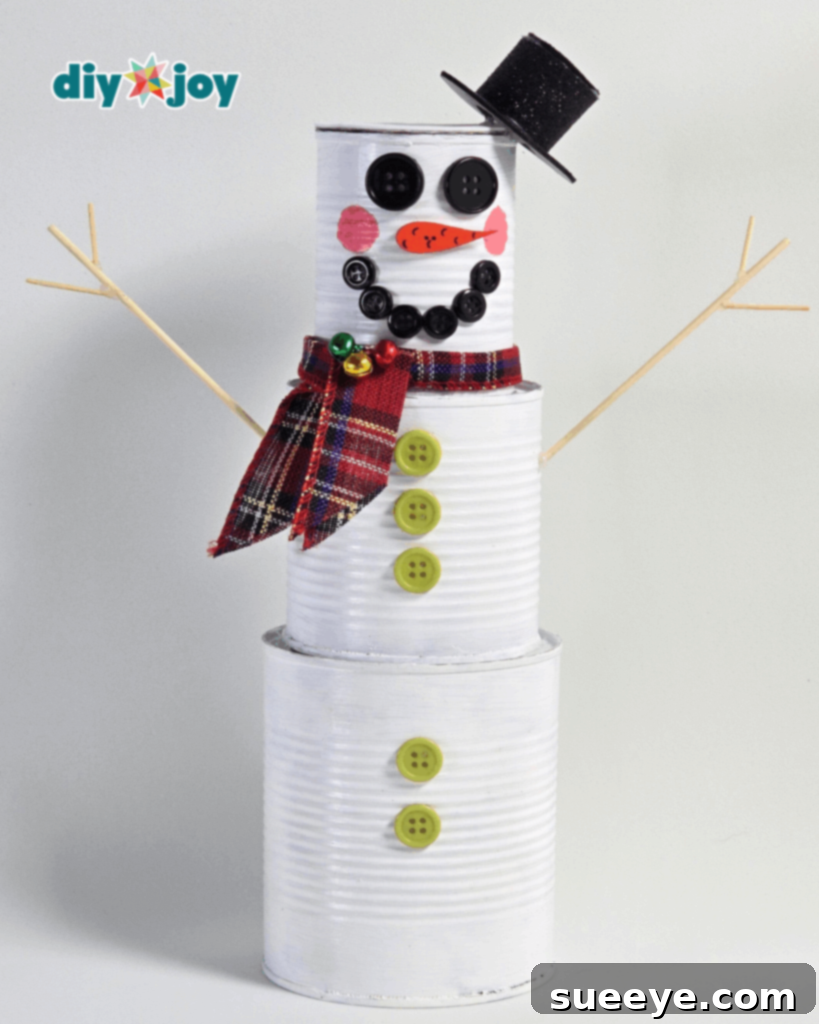
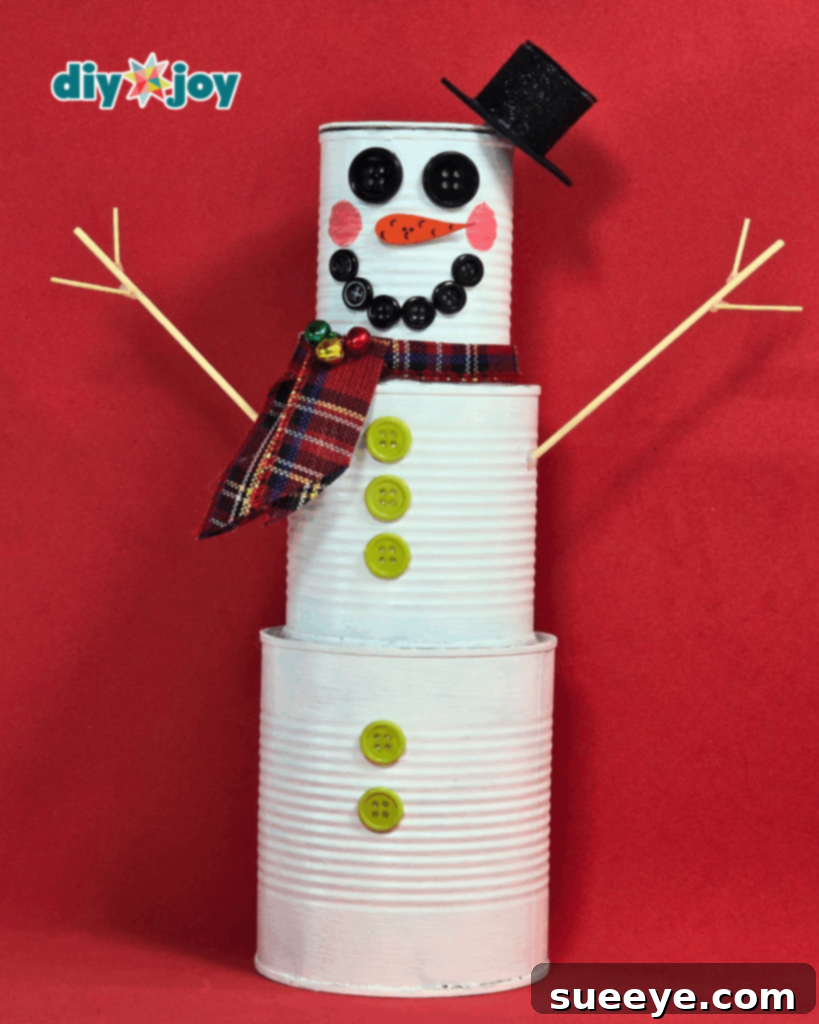
Now comes the fun part: adding the details that bring your tin can snowman to life. Wrap the ribbon scarf around the “neck” of the snowman, between the top and middle cans. Secure it with glue or a pin to keep it in place. Glue two light green buttons onto the largest can for the lower body, and then add three buttons to the middle can. The buttons add a touch of color and personality to the snowman’s body.
For the face, glue two large buttons for the eyes, carefully placing them to create a friendly and inviting expression. Place the carrot button just below the eyes to serve as the nose. Arrange the small black buttons in a curve to form the mouth, giving the snowman a cheerful smile. Set the mini hat on top of the smallest can and glue it in place, ensuring it sits securely on the snowman’s head.
Attach the arms on both sides of the snowman, using hot glue to secure them in place. For an extra touch of detail, paint two small pink circles on the cheeks to create a blush effect, adding warmth and charm to the snowman’s face.
Materials You’ll Need:
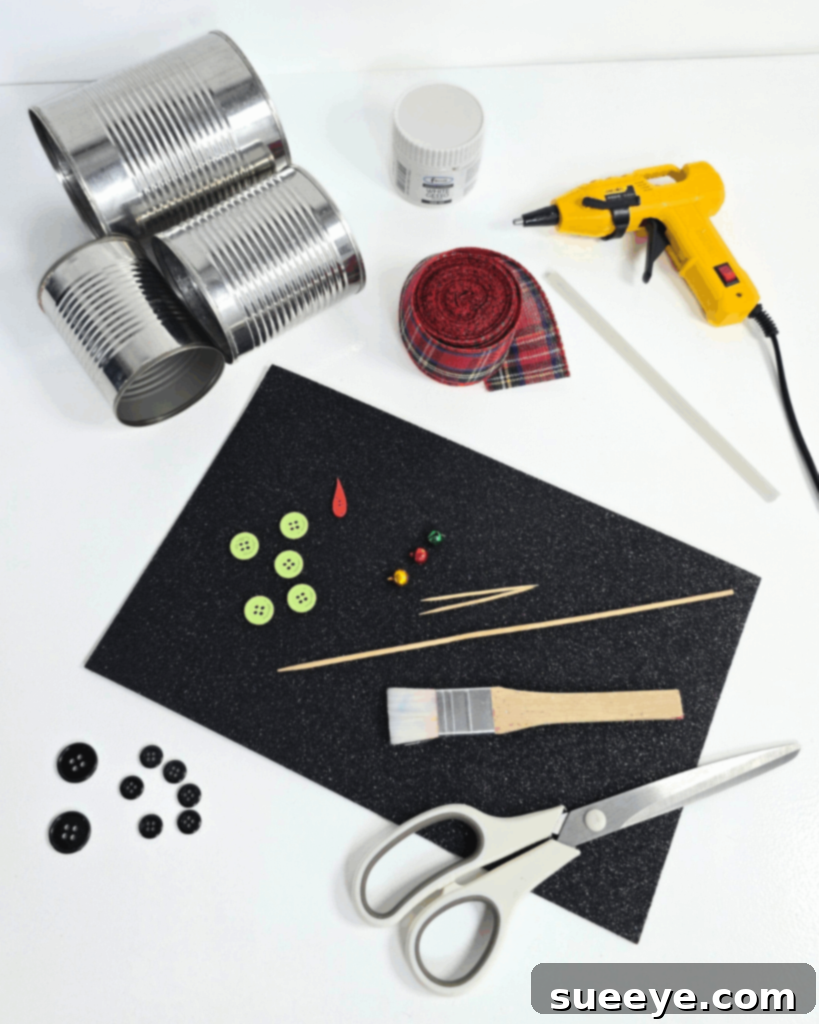
- Tin Cans (small, medium, and large sizes)
- White Acrylic Paint and Primer Paint
- Paintbrush
- Red Plaid Ribbon
- Skewers and Toothpicks
- Small Black Buttons
- Large Black Buttons
- Green Buttons
- Bells (optional)
- Scissors
- Glitter Foam (black)
- Hot Glue Gun and Glue Sticks
- Carrot Button
Why Make This Tin Can Snowman?
This DIY Tin Can Snowman is incredibly easy to put together, even if you’re not very experienced with crafting. The materials are simple, the steps are straightforward, and the final result is so adorable you’ll be surprised by how little effort it takes.
What makes this project even better is how customizable it is. You can paint the cans in any style, add scarves, buttons, hats, or extra embellishments to match your holiday theme. Whether your decorations are traditional, rustic, colorful, or modern, these tin can snowmen fit right in.
In conclusion, if you’re searching for an easy and enjoyable Christmas DIY project that’s perfect for the whole family, this tin can snowman deserves a prominent place on your holiday crafting agenda. It brings cheer, sparks creativity, and adds a touch of handmade magic to your home – all without the need for a single snowflake. This project is not just about creating a decoration; it’s about creating memories, fostering creativity, and enjoying the simple pleasures of the holiday season.
More Fun DIY Projects
Looking for more creative inspiration? Check out these viral DIY projects:
For more creative ideas, visit our official website and follow us on social media!