
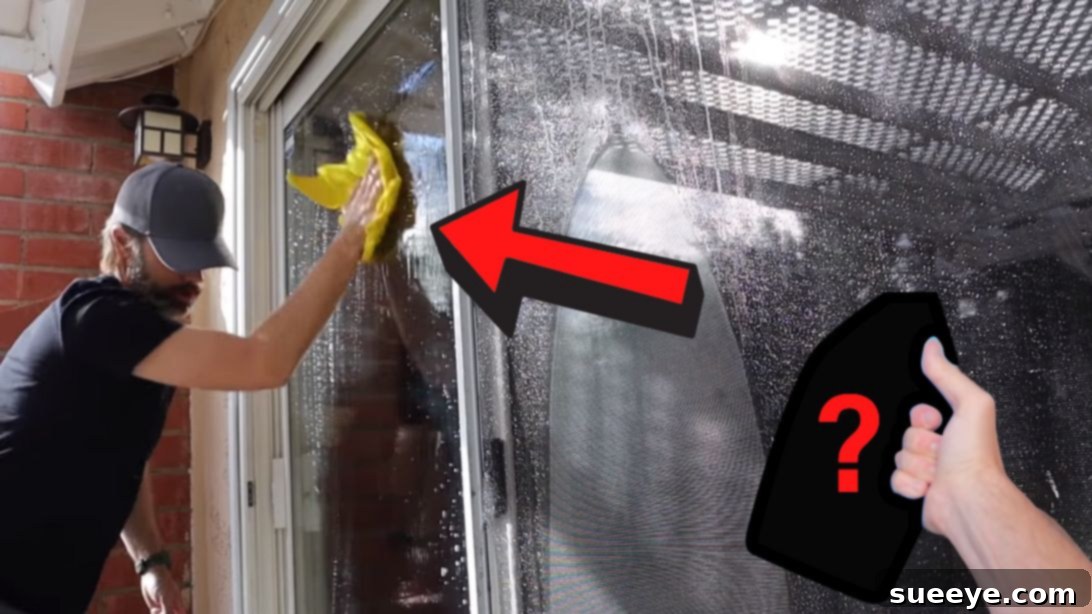
Achieve Crystal Clear, Streak-Free Windows: A Professional DIY Guide
There’s nothing quite like the brilliance of perfectly clean windows, allowing natural light to flood your home and offering an unobstructed view of the world outside. Yet, achieving that coveted streak-free shine can often feel like an elusive goal. Many commercial window cleaning products promise dazzling results but frequently leave behind frustrating streaks and smudges, turning a simple chore into a challenging endeavor. For years, I struggled with this very problem, trying various methods and products, only to be met with disappointing, streaky outcomes. It felt like an impossible task to replicate the pristine clarity that professional window cleaners effortlessly achieve.
My quest for sparkling windows took a fortunate turn when I discovered an incredibly effective tutorial by DoItYourselfDad on YouTube, titled ‘How to Get Streak Free Windows Easily’. This guide demystified the process, revealing the surprisingly simple techniques and materials the pros use to clean windows flawlessly. What made this discovery even better was realizing that all the necessary supplies were likely already on hand, making it an immediate and cost-effective solution. I eagerly put the method to the test, and to my absolute delight, it delivered astonishing results. My windows were truly streak-free, gleaming with a clarity I hadn’t thought possible for a DIY approach. This game-changing technique is not only remarkably easy to implement but also incredibly budget-friendly, empowering me to maintain impeccably clean windows regularly without any hassle or significant expense. I am confident that this guide will transform your window cleaning experience as it did mine. Let’s get your windows sparkling!
Essential Materials for Streak-Free Window Cleaning
Gathering the right tools is the first step towards achieving professional-grade window clarity. You’ll be surprised at how simple and accessible these items are, proving that effective cleaning doesn’t require expensive specialty products. Each material plays a crucial role in preventing streaks and ensuring a brilliant finish.
- Dawn Dish Soap: Not just for dishes, a small amount of concentrated dish soap is excellent for cutting through grease, grime, and environmental residue on glass surfaces. Its gentle yet powerful cleaning action is key to dissolving stubborn dirt without leaving a film.
- Squeegee: This is the professional’s secret weapon. A high-quality squeegee, ideally with a sharp rubber blade, is essential for efficiently removing water and soap solution from the glass without leaving streaks. Choose one that feels comfortable to handle and is appropriate for the size of your windows.
- Bucket: A standard bucket will suffice for mixing your cleaning solution. Its size should be practical for dipping your cleaning cloth and fitting your squeegee blade.
- Water: Plain tap water is all you need. While some advocate for distilled water, for most residential cleaning, tap water works perfectly fine when combined with the right technique.
- Microfiber Cloth (or Lint-Free Cloth): You’ll need several of these. Microfiber cloths are superior for their absorbency and their ability to pick up dirt and water without leaving lint or streaks. They are perfect for wiping squeegee blades, drying edges, and polishing any minor spots.
Having these materials ready before you begin will streamline the cleaning process and contribute significantly to your success in achieving those coveted streak-free results.
Step-by-Step Instructions for Flawless Window Cleaning
Follow these detailed steps carefully to transform your windows from dull to dazzling. The key to streak-free results lies in preparation, the right solution consistency, and a systematic squeegee technique.
Step 1: Prepare Your Optimal Cleaning Solution
Begin by filling your bucket with clean water. Add just a few drops of Dawn dish soap. The amount is crucial here – you’re not aiming for a bucket full of sudsy bubbles. Excessive foam can leave residue, which leads to streaks. Instead, you want a very light, slightly soapy water solution. Stir the water gently to mix the soap thoroughly, ensuring there’s just enough soap to break down dirt and grease without creating copious amounts of foam. The goal is to create a slippery solution that allows the squeegee to glide smoothly across the glass and lift away grime effectively.
Step 2: Initial Window Preparation and Pre-Wetting
If your windows or glass doors have screens, it’s often easiest to start by tackling the section where the screen allows for minimal interference or can be easily moved. Before applying your soapy solution, it’s beneficial to pre-wet the glass surface with a hose. This initial rinse helps to dislodge loose dirt, dust, and pollen, preventing them from being smeared around later. Pre-wetting also prepares the glass to better receive the cleaning solution, ensuring an even application. For larger windows or glass doors, give the entire surface a good spray, allowing the water to run down and carry away surface debris.
Step 3: Thoroughly Wash the Glass Surface
Take your microfiber cloth or rag and dip it into your prepared soapy water solution. Wring out any excess, so it’s damp but not dripping profusely. Now, thoroughly go over the entire glass window, applying the soapy cloth from top to bottom and side to side. You should see a slight, thin layer of suds forming – this indicates good coverage. Pay close attention to corners, edges, and any areas where dirt tends to accumulate. If you encounter stubborn spots, such as dried-on insect residue, bird droppings, or fingerprints, apply a bit more pressure and scrub gently with the cloth until they are loosened or removed. The goal is to ensure every inch of the glass is coated with the cleaning solution, allowing the soap to break down all the grime.
Step 4: Master the Squeegee Technique for Streak-Free Results
This is where the magic happens. Grab your squeegee and ensure its rubber blade is clean and free of nicks. Start at the very top edge of the glass window, pressing the squeegee firmly against the surface with even pressure. Make a clean, horizontal stroke across the top, then angle the squeegee slightly downwards as you pull it across. As you complete one stroke, overlap the previous stroke by about an inch as you move down the window. This overlapping technique ensures no gaps are left behind, which are common culprits for streaks. Maintain consistent, firm pressure and a steady speed. After each full stroke, wipe the squeegee blade clean with a dry microfiber cloth to remove any accumulated dirt and water. This prevents transferring grime back onto the clean glass. Continue this process, working your way down the window, always overlapping, until you reach the bottom. For smaller panes, you might prefer a top-to-bottom vertical stroke, again, ensuring consistent overlap and wiping the blade frequently. As you finish each section, use a dry, clean microfiber cloth to quickly wipe away any drips along the edges or bottom of the window frame. If you’re working with screens, gently tap dry the screen itself to remove any residual water before carefully pulling it back into place over the freshly cleaned window. Repeat the entire process for the other side of the screen or any adjacent windows, ensuring the same meticulous attention to detail.
Advanced Tips for Impeccable Window Cleaning
Beyond the basic steps, these additional insights can help you maintain your windows in pristine condition and troubleshoot common issues, ensuring your efforts always result in a brilliant, streak-free shine.
Optimal Cleaning Conditions
Timing is everything when it comes to window cleaning. Avoid cleaning windows on hot, sunny days or in direct sunlight. The heat will cause the cleaning solution to dry too quickly on the glass, leaving behind streaks and water spots before you even have a chance to squeegee. Overcast days or early mornings/late afternoons are ideal, as they provide cooler temperatures and indirect light, allowing the solution to stay wet longer and giving you ample time to work.
Importance of High-Quality Tools
While the method is simple, the quality of your tools significantly impacts the outcome. Invest in a good professional-grade squeegee. The rubber blade should be sharp, flexible, and free of nicks or tears. A worn blade is a primary cause of streaks. Replace your squeegee blade regularly, typically every few months, especially if you clean frequently. Similarly, always use clean, lint-free microfiber cloths. Dirty cloths will only redistribute grime, and linty cloths will leave fibers on your impeccably clean glass.
Tackling Stubborn Stains and Hard Water Spots
For windows with heavy buildup, such as dried paint splatters or hard water spots, a simple soap and water solution might not be enough. For hard water spots, a mixture of equal parts white vinegar and water can be very effective. Spray it on, let it sit for a few minutes to break down mineral deposits, then scrub and proceed with your regular soap and squeegee method. For paint or other stubborn residue, a plastic scraper or a razor blade (used very carefully and at a shallow angle) can gently remove spots without scratching the glass. Always test on an inconspicuous area first.
Safety First for High Windows
When cleaning exterior windows, particularly those on upper floors, prioritize safety. Use a sturdy ladder, ensuring it’s placed on level ground and is rated for your weight. Have someone spot you if possible. For very high windows, consider using an extension pole with a squeegee attachment, or for extreme cases, it might be best to call a professional. Never overreach or stand on unstable surfaces.
Preventing Future Buildup
Regular maintenance is key. Cleaning your windows every few months, or more frequently if you live in a dusty or high-traffic area, prevents heavy buildup of dirt and grime. This makes each cleaning session quicker and easier. You can also explore protective coatings or sealants designed for glass that repel water and dirt, making future cleanings even more efficient.
Troubleshooting Common Issues
- Persistent Streaks:
- Blade Issues: Check your squeegee blade. Is it clean, sharp, and free of nicks? A damaged blade is the number one cause of streaks.
- Dirty Solution/Cloth: Are you using clean water and a clean microfiber cloth?
- Too Much Soap: Too much soap can leave a film. Try diluting your solution further.
- Uneven Pressure: Ensure consistent pressure across the entire squeegee stroke.
- Improper Overlap: Make sure you are overlapping your strokes adequately.
- Water Spots:
- Drying Too Fast: Avoid cleaning in direct sunlight.
- Hard Water: If you have very hard water, consider using distilled water for the final rinse or incorporating a vinegar solution.
- Dirty Blade: Wipe your squeegee blade after every stroke.
By integrating these advanced tips into your routine, you’ll not only achieve dazzlingly clean windows but also extend their clarity and minimize the effort required for future maintenance. Your home will feel brighter, and your views will be crystal clear, all thanks to a few simple, professional techniques.
Achieving truly streak-free, crystal-clear windows no longer needs to be a frustrating chore or an expensive professional service. With this simple yet highly effective DIY method, utilizing readily available materials like Dawn dish soap, a good squeegee, and a microfiber cloth, you can replicate professional results right in your own home. The key lies in the careful preparation of your cleaning solution, a systematic approach to washing, and mastering the squeegee technique – consistent pressure, proper overlap, and frequent blade wiping are your allies against streaks. From preparing the perfect mild solution to employing advanced tips for stubborn stains and optimizing cleaning conditions, every step contributes to a brilliant finish. Embrace these techniques, and you’ll find yourself enjoying brighter rooms, unobstructed views, and the deep satisfaction of flawlessly clean windows, effortlessly and affordably. Happy cleaning!