
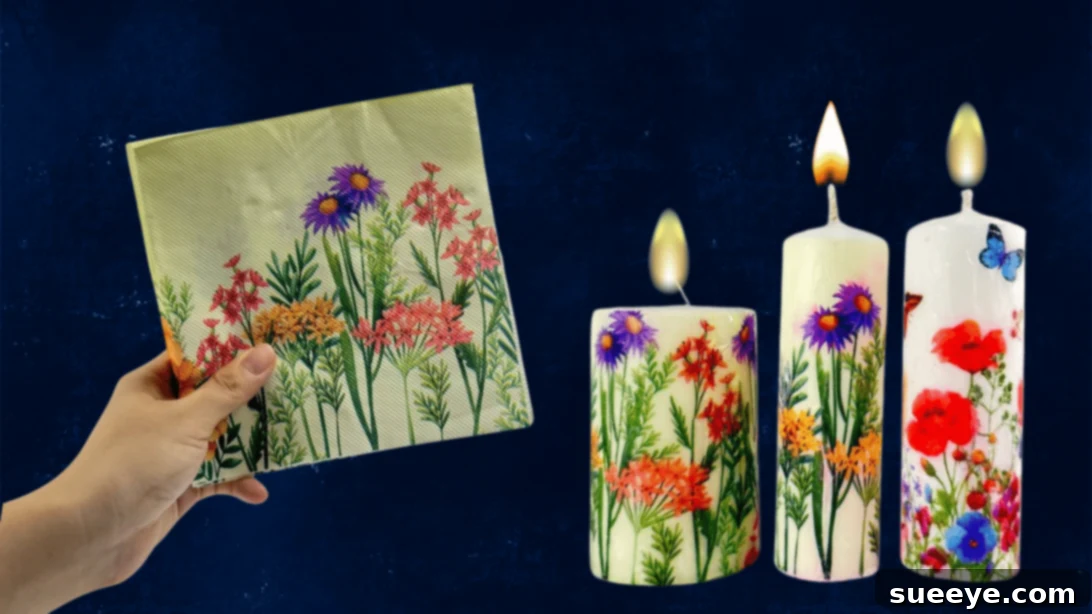
Have you ever looked at a simple, unadorned candle and felt it was missing that special touch? Perhaps you’ve been searching for a unique, heartfelt handmade gift idea that truly stands out, or maybe you just want to add a personalized flair to your home decor without breaking the bank. Whatever your motivation, the world of DIY decorated candles offers endless possibilities. While crafting candles from scratch can be a rewarding but time-consuming endeavor, there’s a brilliantly simple, cost-effective, and quick method to achieve stunning results: napkin decoupage on candles.
This clever technique allows you to transform ordinary pillar or votive candles into exquisite decorative pieces using nothing more than a few common household items. Forget the mess of paint or the stickiness of traditional glue; with napkin decoupage, you’ll achieve a smooth, integrated finish that looks professionally done. Whether you’re preparing for holiday festivities, crafting thoughtful gifts for friends and family, or simply aiming to refresh your living space, this easy DIY hack is a game-changer. In this comprehensive guide, we’ll walk you through everything you need to know to successfully wrap a candle with decorative napkin paper, ensuring beautiful results every time. Get ready to unleash your creativity and bring a unique glow to your home!
The Art of Napkin Decoupage on Candles: Why It’s Your Next Favorite DIY
Napkin decoupage is an incredibly satisfying and accessible craft. Unlike more complex candle-making projects that involve melting wax, wicks, and fragrances, this method focuses purely on decoration. It’s an ideal choice for crafters of all skill levels, from absolute beginners to seasoned DIY enthusiasts looking for a quick and impactful project. The beauty of this technique lies in its simplicity and the stunning visual impact it delivers. By fusing a delicate napkin design directly onto the candle’s surface, you create a seamless, integrated look that appears as though the pattern was always part of the candle itself.
One of the biggest advantages of decorating candles with napkins is the sheer variety of designs available. From elegant floral patterns and whimsical holiday motifs to modern geometric prints and intricate artistic illustrations, decorative napkins come in an endless array of styles. This allows for immense personalization, ensuring that each candle you create is truly unique. Imagine crafting a set of festive candles for Christmas, charming floral ones for a spring centerpiece, or personalized gifts adorned with designs that reflect the recipient’s interests. The possibilities are limitless, making this an incredibly versatile craft for any occasion or decor theme.
What You’ll Need for Your Napkin Decoupage Candles
Before you dive into the fun part, gather all your materials. Ensuring you have everything at hand will make the process smooth and enjoyable. Here’s a detailed look at the essentials for your personalized napkin paper candles:
- Decorative Napkin Paper: Choose a high-quality, typically 3-ply paper napkin with a design you love. The thinner the top printed layer, the better it will fuse. Look for crisp, clear images.
- Wax Paper: This is crucial for protecting your iron and helping the design fuse evenly without direct contact. Standard kitchen wax paper works perfectly.
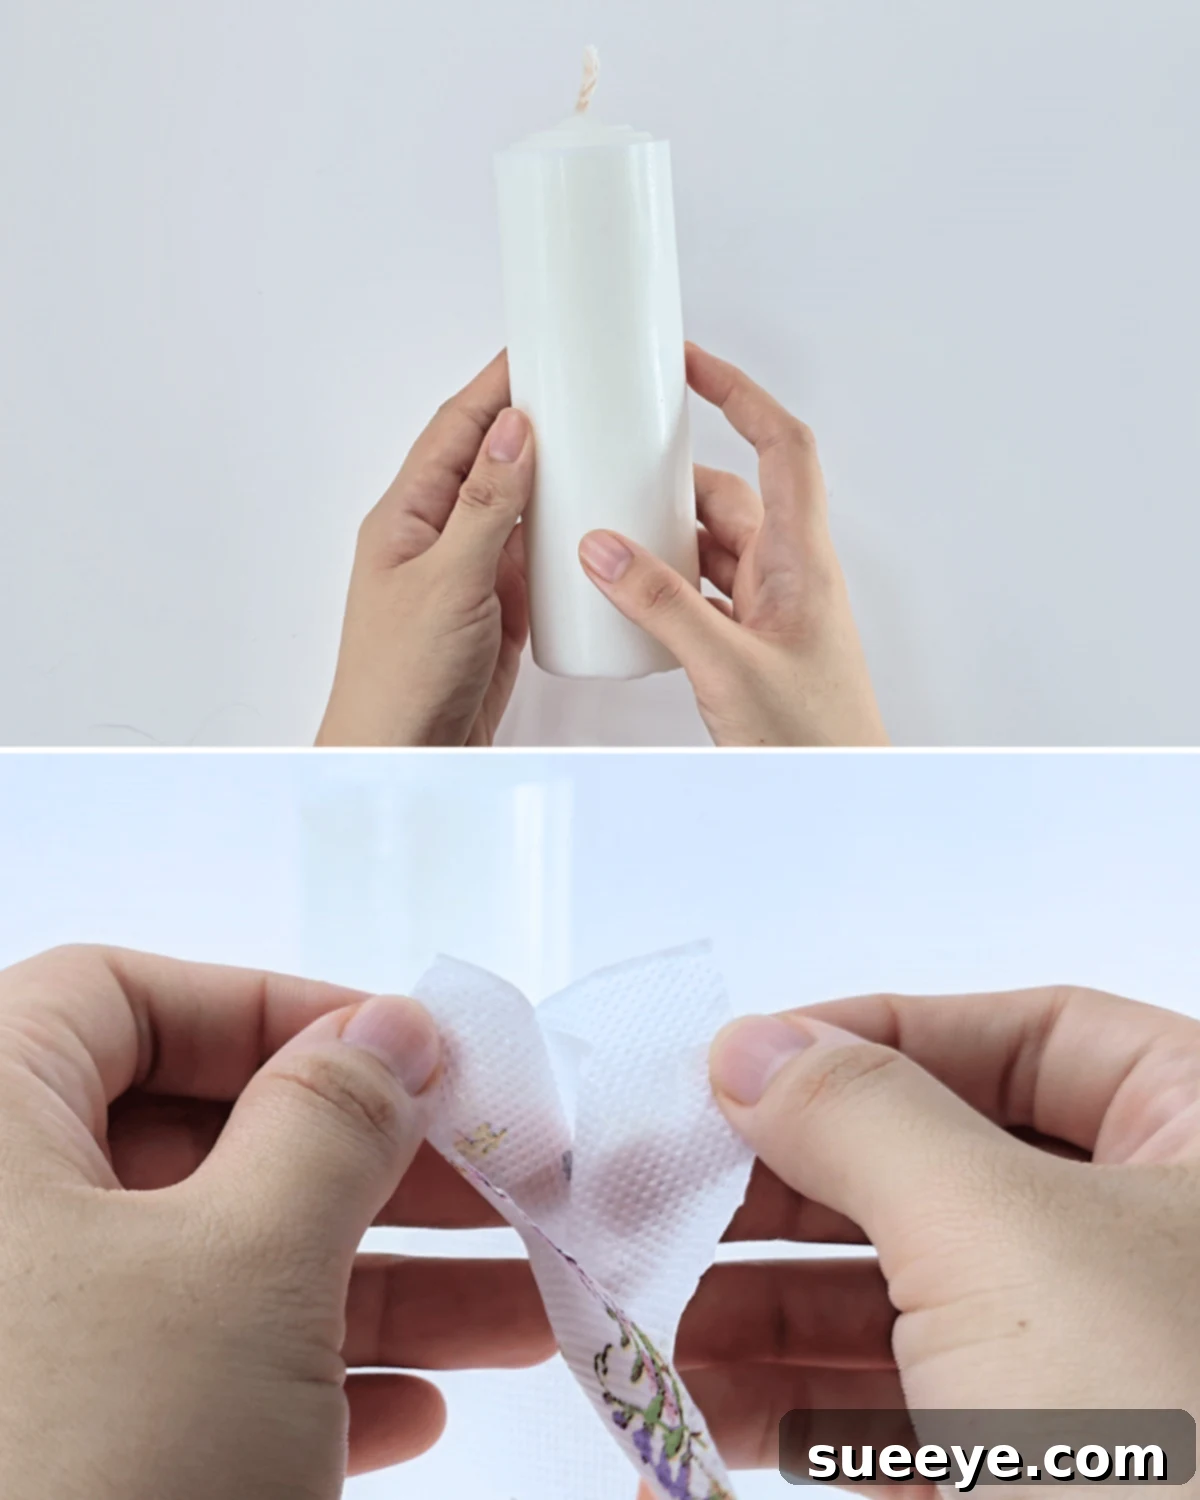
- Plain Candle: Pillar or votive candles with smooth, untextured surfaces are ideal. White or light-colored candles will allow the napkin design to show through most vibrantly.
- Sharp Scissors: For precise cutting of your napkin design.
- Pencil: Useful for marking or tracing outlines if needed.
- Iron: A regular clothes iron (without steam) is your main tool for fusing the napkin. Alternatively, a heat gun or even a hairdryer on a hot setting can work, but an iron provides more even heat.
- Tape (Optional): A small piece of removable tape can help hold the napkin in place temporarily while you position the wax paper, especially for larger candles.
How to Wrap Candles with Napkin Paper: A Step-by-Step Decoupage Guide
Follow these simple steps to transform your plain candles into works of art. This step-by-step guide to decorating candles with napkin paper is designed for success, even for beginners.
-
Step 1: Prepare Your Materials and Napkin

Start by ensuring your candle is clean and free of dust or oils; a quick wipe with a damp cloth and then drying it thoroughly will suffice. Next, take your chosen decorative napkin. Most napkins are 2-ply or 3-ply. Carefully separate the layers until you are left with only the very top, printed layer. This delicate, thin layer is what you will use for your decoupage project. Discard the plain backing layers as they are not needed.
-
Step 2: Cut and Position the Napkin Design
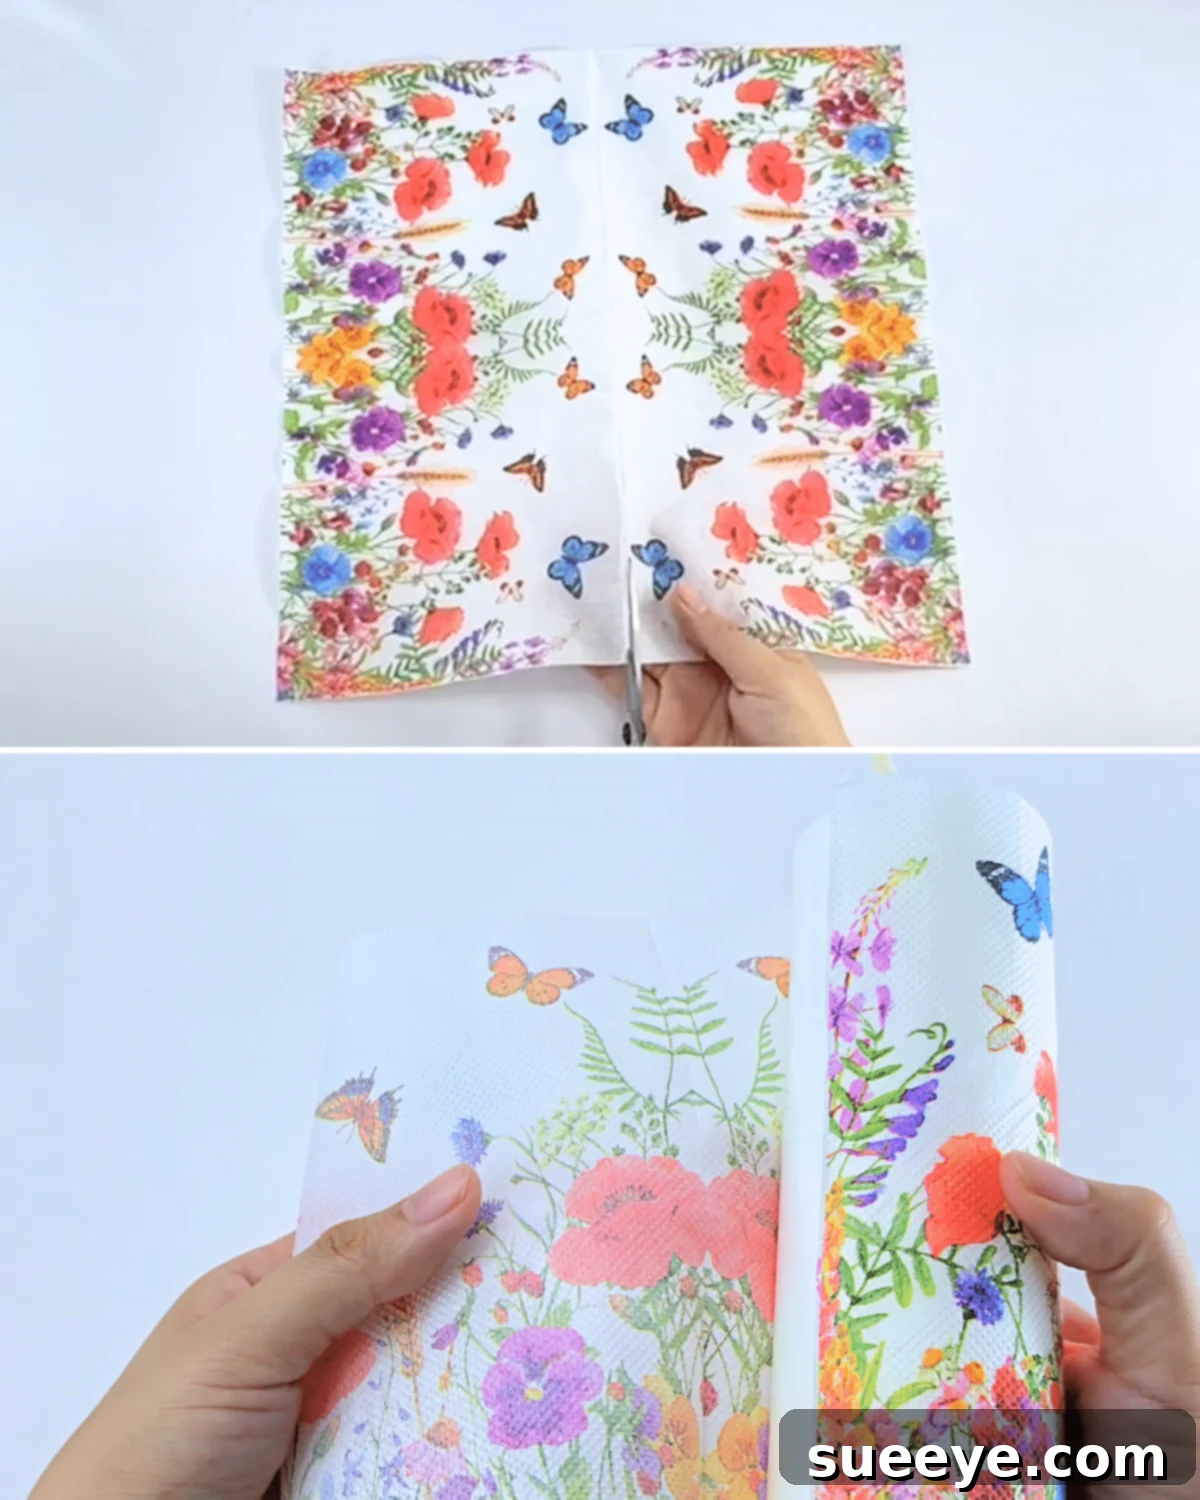
Now, carefully cut out the specific design or section of the napkin you wish to apply to your candle. You can choose to wrap the entire candle for a full coverage look or cut out individual elements to create a collage or focal point. Measure your candle and the napkin piece to ensure it covers the desired area without too much overlap. Gently place the cut napkin piece onto the candle, smoothing it out with your fingers to remove any initial wrinkles. If you’re doing a full wrap, ensure the ends meet neatly.
-
Step 3: Cover the Candle with Wax Paper
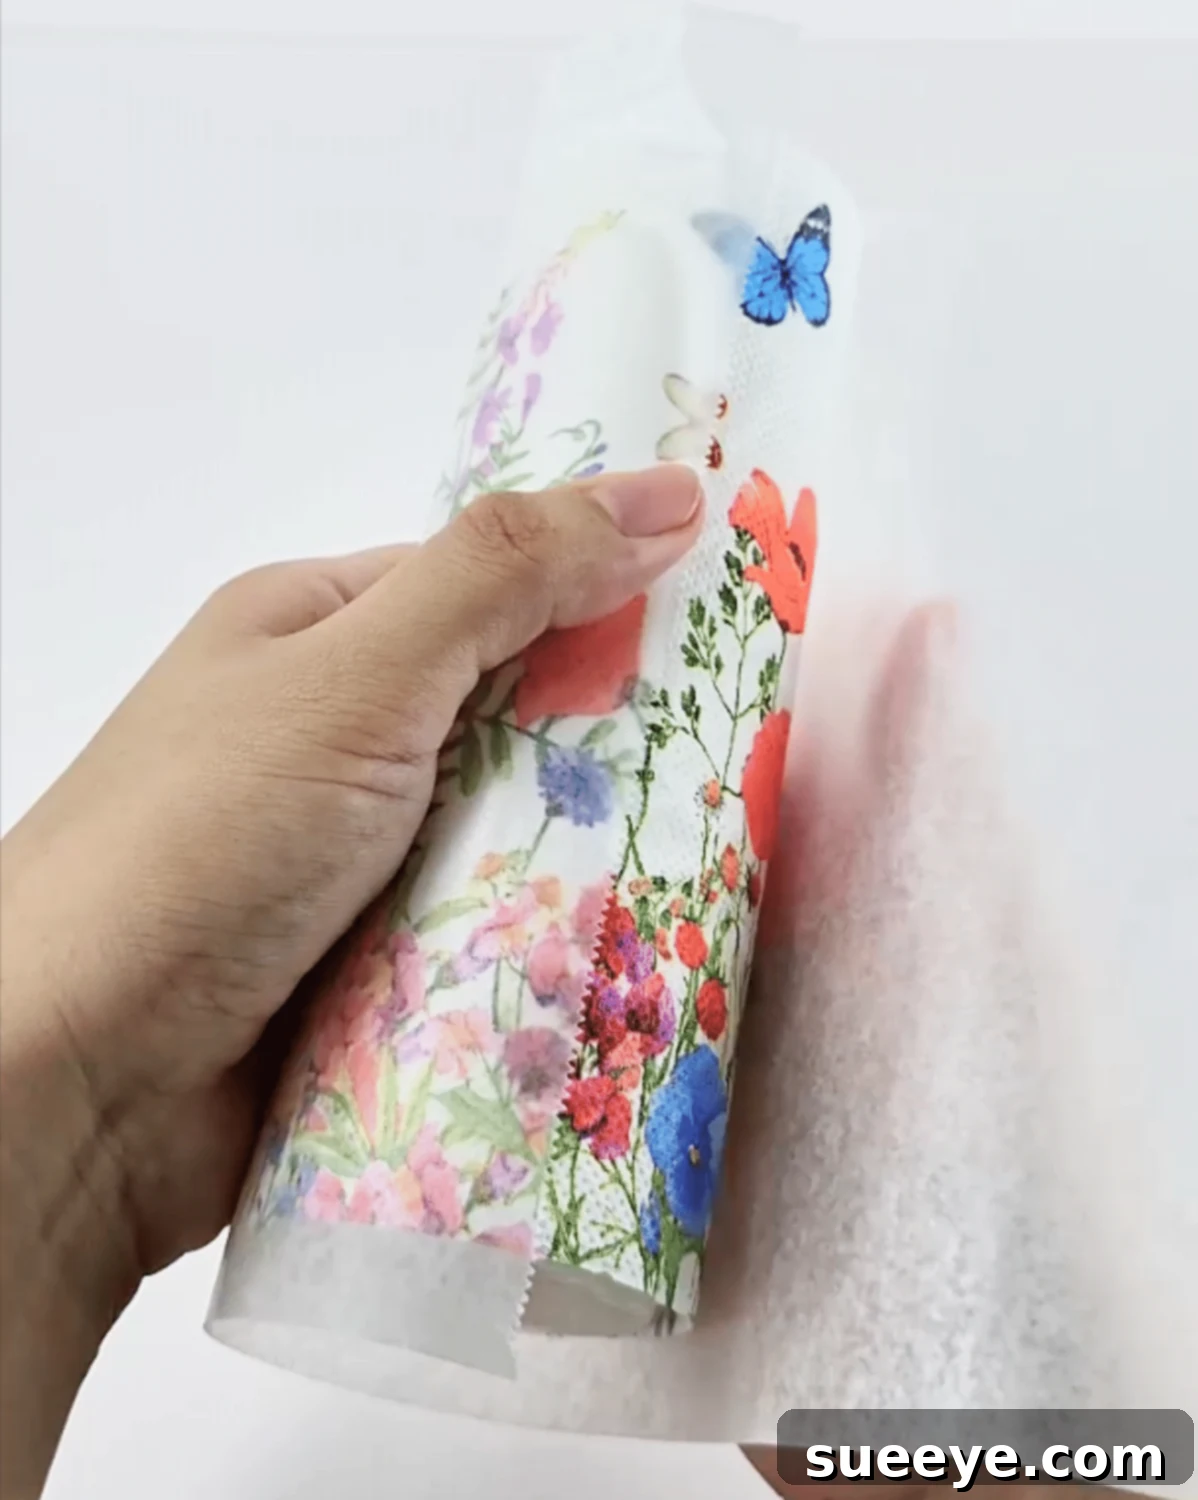
Once your napkin design is perfectly positioned on the candle, carefully wrap a piece of wax paper around the entire candle, covering the napkin layer. The wax paper acts as a protective barrier, preventing the napkin from burning and allowing the candle wax to melt slightly and fuse with the napkin. This step is crucial for achieving that smooth, integrated finish and will protect your iron from coming into direct contact with the melting wax or ink.
-
Step 4: Iron to Fuse the Napkin Design
Set your iron to a low to medium heat setting, ensuring the steam function is OFF. Begin gently pressing the warm iron over the wax paper, moving it slowly and evenly across the entire surface where the napkin is underneath. As the candle wax heats up, it will slightly melt, seep through the delicate napkin paper, and fuse the design to the candle. You’ll notice the napkin becoming translucent and appearing “wet” or integrated into the candle. Continue ironing until the entire design is fused. Once satisfied, carefully peel off the wax paper. If any areas appear unfused or have slight wrinkles, you can place the wax paper back over them and iron again until smooth. Be careful not to hold the iron in one spot for too long to avoid excessive melting or damage to the candle.
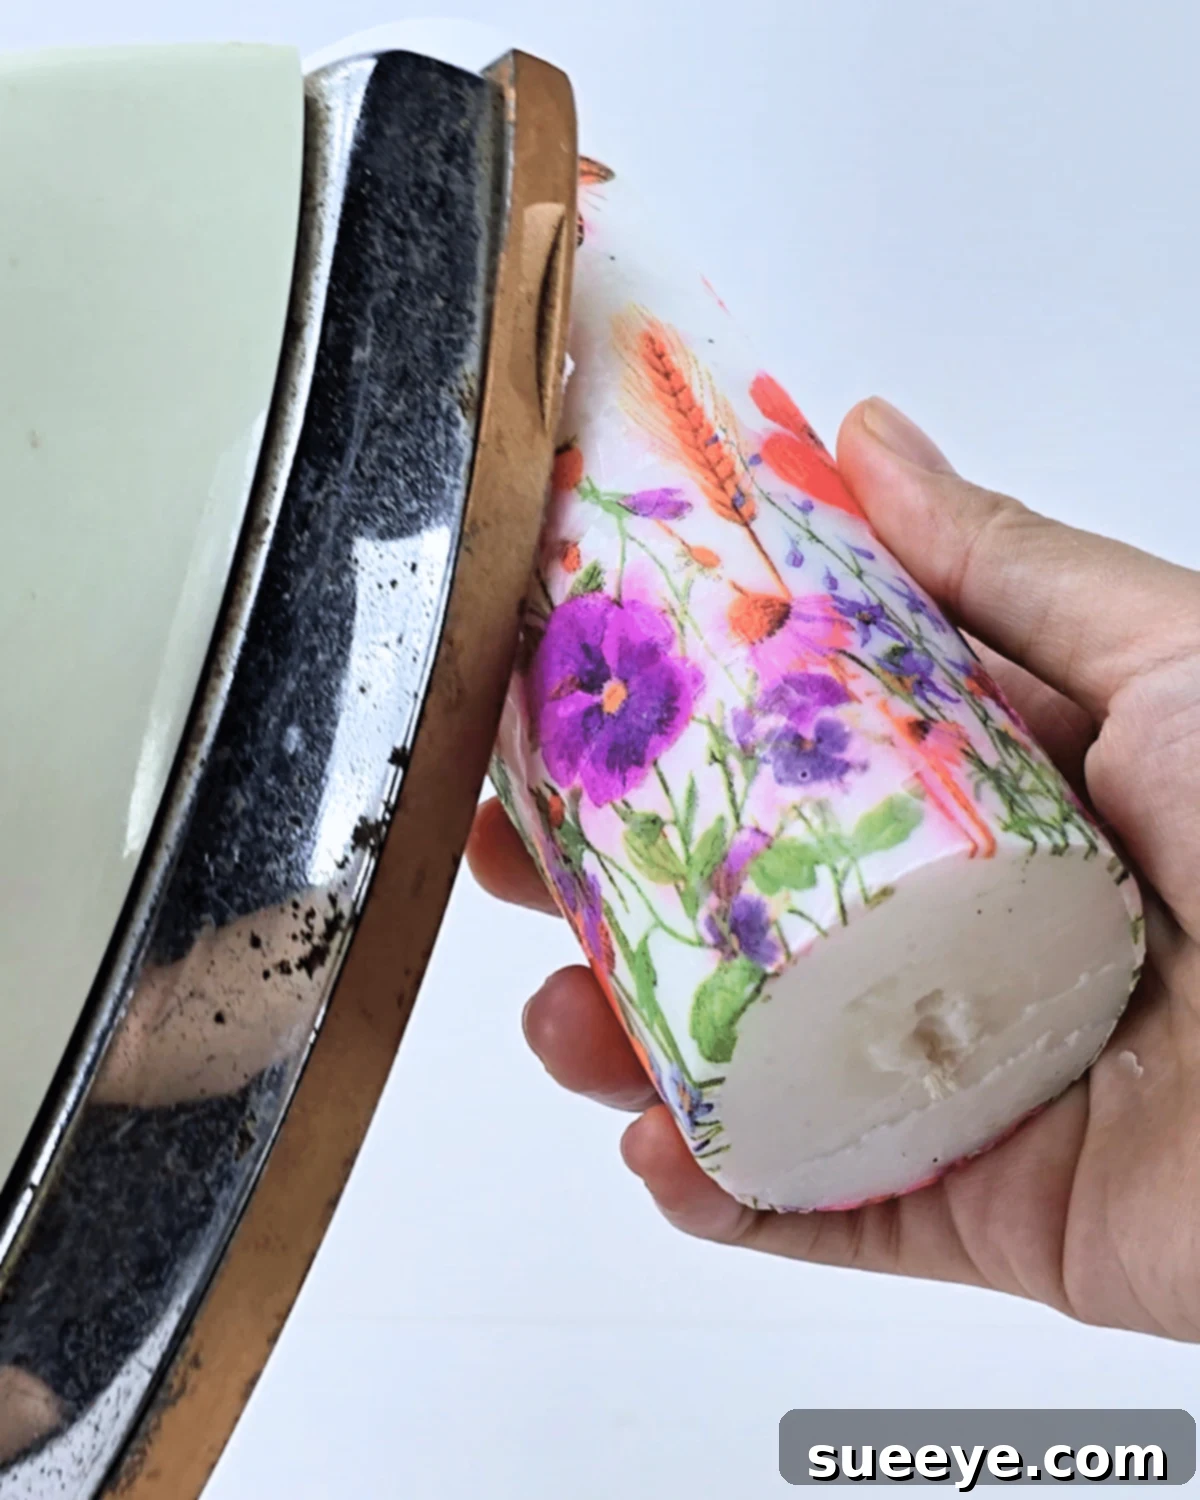

How to Level Up Your Napkin Decoupage Candles
Once your napkin decoupage candle is complete, consider adding extra embellishments to truly make it a showstopper. You can wrap a decorative cord, ribbon, or twine around the base or top for a rustic or elegant touch. Small charms or beads can be glued on for added sparkle. For a truly unique and long-lasting piece, consider this clever trick: light your newly decorated candle just enough for the top to melt and create a small crater or dent in the center. Once this happens, extinguish the flame, allow the wax to cool, and then place a battery-operated or LED candle within this hollowed-out space. This ingenious method allows you to preserve the beautiful napkin design indefinitely while still enjoying the warm glow of a “lit” candle. It’s perfect for gifts or cherished decorative pieces, ensuring your artistic efforts last for years to come.
Creative Uses and Gifting Ideas for Your Decoupaged Candles
The versatility of napkin decoupage candles makes them suitable for a myriad of uses. They are truly the perfect canvas for personalization. Here are some ideas to inspire you:
- Personalized Gifts: These handmade candles make incredibly thoughtful and unique gifts for birthdays, anniversaries, Mother’s Day, teacher appreciation, or housewarming presents. Tailor the napkin design to the recipient’s favorite colors, hobbies, or aesthetic.
- Seasonal & Holiday Decor: Easily transform your home for any season or holiday. Use pumpkin-themed napkins for fall, festive Santa or snowflake patterns for Christmas, pastel florals for spring, or vibrant tropical prints for summer.
- Wedding & Event Favors: Create small decoupaged votives as memorable favors for weddings, bridal showers, or baby showers. They can be customized to match the event’s theme and color scheme.
- Home Accents: Elevate your everyday home decor. Place decoupaged pillar candles on mantelpieces, bookshelves, coffee tables, or in bathroom settings to add a touch of elegance and warmth. They work wonderfully as centerpieces for dining tables or as decorative elements on sideboards.
- Themed Parties: Design candles to complement the theme of your next party. Whether it’s a rustic-themed gathering, a glamorous soirée, or a cozy book club meeting, your custom candles will enhance the ambiance.
Other Fun Crafts to Try
Explore More DIY Projects!
Seasonal
DIY Honeycomb Paper Christmas Tree Ornament
Crafts
3D Origami Christmas Tree Tutorial
Sewing Ideas
Easy Christmas Sweater Embroidery Hack
Seasonal
DIY Christmas Tree With Pipe Cleaners
Easy DIY Napkin Paper Candle: Your Next Creative Project
As you can see, transforming a plain candle into a beautiful, personalized decorative item with napkin decoupage is incredibly simple and rewarding. This budget-friendly craft offers a fantastic way to express your creativity, customize your home decor, and create truly unique handmade gifts for any occasion. With just a few basic materials and the clear steps outlined in this guide, you’re well on your way to becoming a decoupage master.
So, why wait? Grab your favorite decorative napkins, a plain candle, and your iron, and embark on this delightful DIY journey. The satisfaction of creating something beautiful with your own hands is truly unparalleled, and the stunning results will undoubtedly brighten your space or bring a smile to a loved one’s face. Experiment with different designs, colors, and embellishments to discover your signature style. Happy crafting!
*If you love this craft and want to discover more creative projects, be sure to visit our official website for endless inspiration, follow our Facebook page for daily updates, and subscribe to our YouTube channel for detailed video tutorials and crafting tips!