
How To De-Ice Car Windows Without Scratching: A Comprehensive Guide
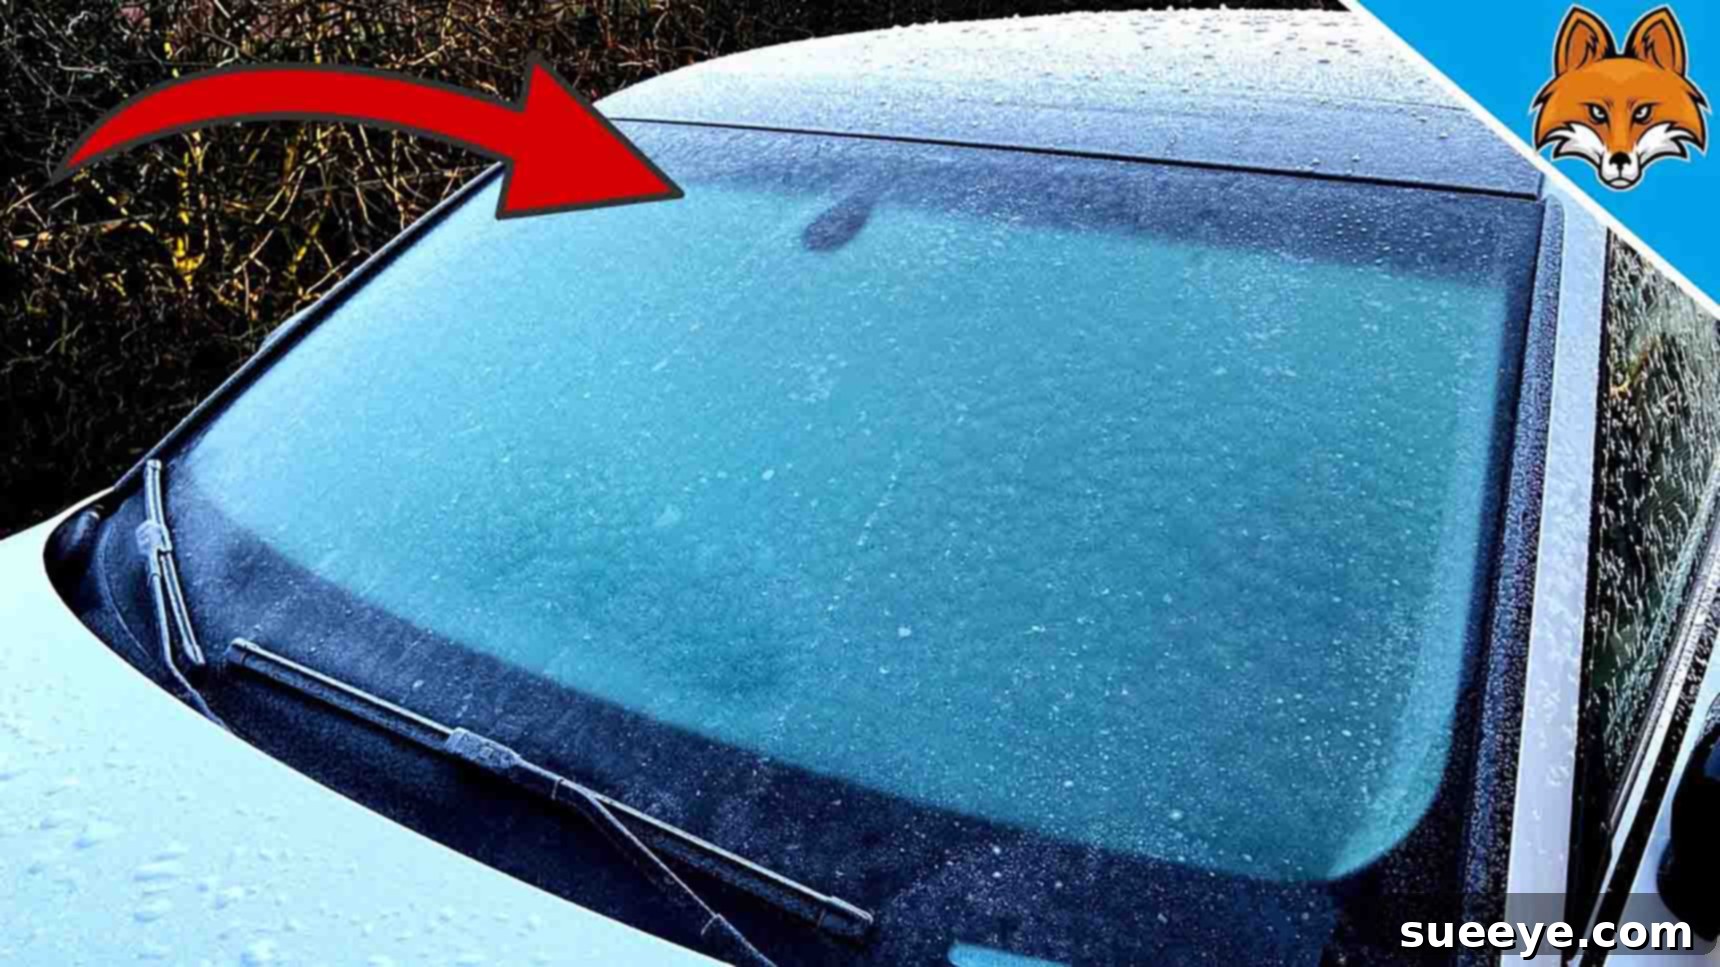
The winter season, with its crisp air and picturesque snowfalls, can be truly magical. Yet, for many drivers, this charm quickly fades when confronted with an iced-over windshield. The daily battle against frozen car windows often leads to frustrating delays and, even worse, scratches that mar visibility and diminish your vehicle’s appearance. Traditional methods like aggressive scraping or, shockingly, pouring hot water, can cause irreparable damage to your car’s glass and wiper blades. But what if there was a simple, effective, and completely scratch-free way to clear your view?
Fortunately, you don’t have to resort to risky tactics or spend a fortune on commercial de-icing sprays. Thanks to ingenious tips, such as those shared by Smart Fox on YouTube, preparing your car for the cold mornings can be quick, easy, and gentle on your vehicle. This guide will walk you through a powerful homemade de-icing solution that requires just two common ingredients, ensuring your windshield is clear without a single scratch. Say goodbye to frosted frustrations and hello to clear, damage-free views!
The Perils of Traditional De-Icing Methods
Before diving into our recommended solution, it’s crucial to understand why many common de-icing practices are detrimental. Often, in a rush, drivers grab the nearest scraper or, worse, make impulsive decisions that can lead to costly repairs and compromised safety.
The Problem with Scraping
- Scratching Your Windshield: Even plastic scrapers, especially if they have worn edges or if there’s grit trapped between the scraper and the glass, can leave tiny abrasions. Over time, these micro-scratches accumulate, making your windshield hazy, especially when driving into direct sunlight or headlights at night. This significantly reduces visibility and can be a major safety hazard.
- Damaging Wiper Blades and Seals: Aggressive scraping around the base of the windshield can easily tear or warp rubber wiper blades. Furthermore, the rubber seals around your windshield can be damaged, leading to potential leaks and wind noise.
- Time and Effort: Vigorous scraping is physically demanding and time-consuming, especially when dealing with thick layers of ice. It’s a chore that few look forward to.
Why Hot Water is a Dangerous Myth
- Thermal Shock: This is perhaps the most dangerous and damaging method. Pouring hot or boiling water onto a freezing cold windshield can cause a sudden and drastic temperature change. Glass, like any material, expands and contracts with temperature fluctuations. An abrupt change can lead to thermal shock, causing the windshield to crack or even shatter instantly. This is not only incredibly dangerous but also results in an expensive replacement.
- Re-freezing: If the water isn’t hot enough, or if the ambient temperature is extremely low, it can quickly re-freeze, turning your windshield into an even thicker sheet of ice. This leaves you in a worse situation than when you started.
Understanding these risks highlights the importance of adopting a safer, more effective de-icing strategy. Our homemade solution offers a perfect blend of efficiency, cost-effectiveness, and vehicle protection.
The Smart Fox Solution: A Gentle and Effective Approach
Harnessing the power of chemistry, the Smart Fox method offers a brilliant alternative to traditional, damaging de-icing techniques. This DIY solution doesn’t rely on brute force; instead, it uses a simple mixture that actively melts the ice, making it effortless to wipe away without any risk of scratches. It’s a game-changer for anyone who dreads icy mornings.
Homemade De-Icer: Materials You’ll Need
The beauty of this method lies in its simplicity and the accessibility of its components. You likely already have these items, or they are readily available at any local store.
- Spray Bottle: Choose a sturdy spray bottle with a reliable trigger mechanism. A fine mist setting is ideal for even coverage, ensuring the solution reaches all parts of the icy surface effectively. A larger bottle (e.g., 500ml or 750ml) will be convenient for making enough solution to last several days or even weeks of winter mornings.
- Water: Regular tap water will suffice. Water acts as a diluent, helping to spread the active ingredient and ensuring the mixture is balanced for optimal performance.
- Engine Coolant (or Antifreeze): This is the key ingredient. Automotive antifreeze is designed to lower the freezing point of water, preventing the engine from freezing in cold temperatures. When mixed with water and applied to ice, it works in a similar way, effectively melting the ice by lowering its freezing point below the ambient temperature. Most standard automotive antifreezes contain either ethylene glycol or propylene glycol as their active ingredient. Both work for de-icing.
Important Safety Note on Antifreeze:
While highly effective, antifreeze, particularly ethylene glycol-based varieties, is highly toxic to humans and animals. It has a sweet taste that can attract pets, making accidental ingestion a serious hazard. Always handle antifreeze with care, wear gloves, mix it in a well-ventilated area, and store the solution and raw antifreeze in clearly labeled containers, out of reach of children and pets. Propylene glycol-based antifreezes are less toxic but still require caution.
Step-by-Step Guide: Crafting and Applying Your De-Icer
Follow these instructions carefully to create and apply your homemade de-icing solution for maximum effectiveness and safety.
Step 1: Preparing the Solution
In your chosen spray bottle, combine one part water with two parts engine coolant (antifreeze). For example, if you’re using a 300ml spray bottle, you would add 100ml of water and 200ml of antifreeze. This 1:2 ratio is crucial for the solution’s efficacy, providing a strong enough concentration to melt ice quickly without being overly wasteful of antifreeze. Secure the lid tightly on the spray bottle and shake it vigorously for about 30 seconds to ensure the water and antifreeze are thoroughly mixed. A well-mixed solution guarantees consistent performance.
Step 2: Application to Your Windshield
Once your solution is ready, head to your car. Liberally spray the mixture directly onto your icy windshield. Make sure to cover the entire frosted surface evenly. Don’t be shy with the spray; the more contact the solution has with the ice, the faster it will work its magic. You can also spray a small amount on your side mirrors and even your car’s side windows if they are covered in ice.
Step 3: The Waiting Game
After application, observe the ice. Within a few seconds, you should notice the ice beginning to liquefy and separate from the glass. This is the antifreeze actively working to lower the freezing point of the water in the ice, causing it to melt. Resist the urge to start wiping immediately. Give the solution adequate time, typically 30 seconds to a minute, to fully penetrate and melt the ice layer. For very thick ice, you might need to apply a second, lighter spray and wait a bit longer.
Step 4: Wiping Away the Remnants
Once the ice has visibly turned into liquid, activate your car’s windshield wipers. They should effortlessly clear away the melted ice and solution, leaving you with a perfectly clear, scratch-free windshield. If there are any stubborn spots, a quick re-spray and another wipe will usually do the trick. You might also use a soft cloth or a squeegee designed for car windows to wipe down the side mirrors and other windows.
Why This Method Stands Out
The homemade antifreeze de-icer isn’t just another trick; it’s a superior solution for several compelling reasons:
- Prevents Scratches: By melting the ice rather than scraping it, this method completely eliminates the risk of scratching your precious windshield or damaging wiper blades and seals.
- Cost-Effective: Antifreeze and water are inexpensive, making this DIY solution significantly cheaper than repeatedly buying commercial de-icing sprays. A single bottle of antifreeze can last you an entire winter season.
- Quick and Efficient: The chemical reaction is fast, allowing you to get on the road much quicker than waiting for your car’s defroster to work or laboriously scraping.
- Minimal Effort: No more strenuous scraping in freezing temperatures. A simple spray and wipe is all it takes, saving you energy and discomfort on cold mornings.
- Enhanced Safety: A perfectly clear windshield free of scratches ensures optimal visibility, which is paramount for safe winter driving.
Beyond the Spray: Preventative Measures for Icy Windows
While our homemade de-icer is incredibly effective, prevention is always better than cure. Incorporating these habits can further reduce the time and effort required to prepare your car on frosty mornings.
Car Covers or Windshield Covers
The most straightforward way to prevent ice formation is to physically block it. A dedicated windshield cover or even a large sheet of cardboard placed over your windshield and secured with your wiper blades overnight will prevent ice from forming directly on the glass. Remove it in the morning, and you’re good to go.
Overnight Spray Application
If you know a heavy frost or ice storm is coming, consider a light spray of your homemade de-icer or a solution of rubbing alcohol and water (1:2 ratio) on your windshield the night before. This can significantly reduce the amount of ice that forms, or at least make it much easier to remove in the morning.
Parking Smart
Whenever possible, park your car in a garage or under a carport. If outdoor parking is your only option, try to position your vehicle to face east. The morning sun, even weak winter rays, can help pre-warm your windshield and reduce ice formation. Parking close to a building or under a tree (mind falling debris, though) can also offer some shelter from extreme cold.
Utilize Your Car’s Defroster Proactively
Modern cars have excellent defroster systems. Start your car a few minutes before you plan to leave and turn the defroster on full blast. While this uses fuel, it’s a reliable way to gradually warm the glass and melt the ice from the inside out, reducing the need for manual intervention.
Important Safety and Environmental Considerations
While effective, using antifreeze requires adherence to specific safety protocols.
Antifreeze Toxicity
As previously mentioned, antifreeze is poisonous. Always store your homemade solution and the original antifreeze container in a secure location, out of reach of children and pets. Clean up any spills immediately and thoroughly. If ingestion is suspected, seek immediate medical or veterinary attention.
Proper Disposal
Never pour used or leftover antifreeze solutions down drains or onto the ground. It is an environmental pollutant. Many auto parts stores and local waste management facilities offer antifreeze recycling services. Dispose of it responsibly according to local regulations.
Ensure Full Visibility
Before driving, always ensure your entire windshield, all windows, and mirrors are completely clear of ice and fog. Driving with obstructed visibility is extremely dangerous and illegal in many places. Take the extra minute to ensure your view is unobstructed.
Wiper Blade Care
In freezing conditions, lift your wiper blades off the windshield overnight if possible, or place small blocks of wood or cork underneath them. This prevents them from freezing to the glass and becoming damaged when you try to use them. Replace worn-out wiper blades annually to ensure they can effectively clear water and slush without streaking.
Conclusion
Battling icy car windows doesn’t have to be a frustrating or damaging experience. By adopting this simple, two-ingredient homemade de-icing solution, you can quickly and effortlessly clear your windshield without fear of scratches or expensive repairs. This method not only saves you time and money but also contributes to safer winter driving by ensuring crystal-clear visibility. Embrace the cold season with confidence, knowing you have a reliable, scratch-free solution at your fingertips. Try it out this winter and experience the difference!