
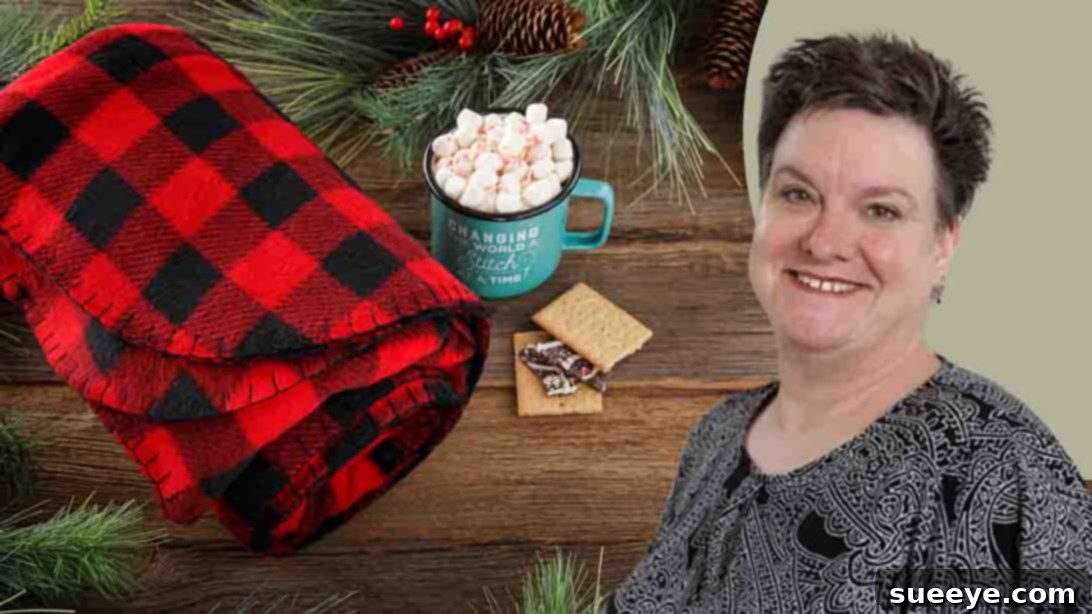
Mastering the Art of Comfort: An Easy Blanket Stitch Fleece Throw Tutorial
There’s a unique joy in crafting something beautiful with your own hands, especially when it’s destined to bring warmth and comfort to a loved one or your own home. If you cherish making personalized gifts, this simple yet rewarding sewing project is a must-add to your DIY list. Inspired by the creative minds at Missouri Star, this easy blanket stitch fleece throw can be completed in just a few hours, making it the perfect afternoon craft activity. Imagine the satisfaction of transforming soft fleece fabric into a snuggly masterpiece, ready for gifting or cuddling up on a chilly evening. This guide will walk you through every step, ensuring a smooth and enjoyable crafting experience, even if you’re a complete beginner.
Fleece fabric is a crafter’s dream due to its softness, warmth, and ease of handling. It doesn’t fray, which simplifies many sewing projects, making it ideal for the decorative blanket stitch we’ll be using. I particularly love selecting vibrant, eye-catching fleece patterns from local fabric stores, envisioning them as the foundation for a comforting throw-sized blanket. Whether it’s for holiday gifting, a special birthday, or simply to enhance your living space, a handmade fleece throw adds a personal touch that store-bought items can’t replicate. Follow along with our detailed instructions, inspired by the video tutorial, and discover how effortless it is to create this charming throw blanket.
Why Choose a Blanket Stitch Fleece Throw?
The blanket stitch is a classic embroidery stitch that creates a neat, decorative edge, perfect for finishing raw fabric edges without a sewing machine. For fleece, it’s an excellent choice because fleece doesn’t unravel, allowing the blanket stitch to serve as both a functional finish and a beautiful embellishment. This project is:
- Beginner-Friendly: Requires minimal sewing skills and no machine.
- Quick to Make: Most can complete it in an afternoon.
- Highly Customizable: Endless possibilities with fabric colors, patterns, and thread choices.
- Cost-Effective: Fleece is an affordable fabric, and the tools are basic.
- Warm and Cozy: Fleece is renowned for its insulating properties, making it perfect for blankets.
- Personalized Gift: A handmade throw shows thought and care, making it a cherished present.
Now, let’s gather our essential supplies and prepare to create something wonderfully cozy!
Materials for Your Cozy Fleece Throw:
Before you begin, ensure you have all the necessary items within reach. Having everything prepped will make the crafting process much more enjoyable and efficient.
- 2 Yards of Fleece Fabric: This is the standard amount for a comfortable throw-sized blanket, typically around 60×72 inches after trimming. Consider anti-pill fleece for extra durability and a smoother finish that resists pilling over time. Choose a color or pattern that inspires you or suits the recipient’s taste!
- 1 – Size 8 Perle Cotton Thread: Perle cotton is a mercerized, non-divisible thread that has a lovely sheen and provides a distinct, durable stitch. Size 8 is ideal as it’s thick enough to be decorative and strong for the blanket stitch. Select a color that either contrasts beautifully with your fleece for a bold look or complements it for a more subtle finish.
- 1 – Bohin Felt Needle (or a large-eye embroidery needle): A sturdy needle with a sharp point and a large eye is crucial for easily threading the perle cotton. Felt needles are often robust enough for this purpose, but any embroidery needle designed for thicker threads will work well.
- Sharp Fabric Scissors: Precision is key when cutting fabric. Invest in good quality fabric scissors that are solely used for fabric to keep them sharp and prevent snagging.
- Rotary Cutter: While optional, a rotary cutter paired with a cutting mat and ruler makes cutting straight lines and removing selvedge edges incredibly fast and accurate. If you don’t have one, your fabric scissors will suffice.
- Clear Acrylic Ruler: Essential for accurate measurements, especially when marking the stitch line and ensuring consistent spacing. A clear ruler allows you to see the fabric underneath.
- Fabric Pen or Chalk: A temporary marking tool that shows up well on your chosen fleece color. This will be used to mark your cutting lines and the guideline for your blanket stitches. Make sure it’s erasable or disappears over time.
Step-by-Step Guide: Crafting Your Easy Blanket Stitch Fleece Throw
With your materials ready, let’s dive into the creative process. Take your time with each step, and remember that the joy is in the making!
Step 1: Preparing Your Fleece Fabric and Marking for Stitching
The foundation of a beautiful blanket lies in careful preparation. Start by laying your fleece fabric flat on a large, clean surface, ensuring it’s smooth and free of wrinkles. Fleece doesn’t typically require pre-washing like cotton, but you can if you prefer to soften it or eliminate any manufacturing residue.
- Remove Selvedge Edges: The selvedge is the tightly woven edge of the fabric that runs parallel to the warp. It often looks slightly different or has small holes. Using your ruler and rotary cutter (or sharp scissors), carefully trim off these selvedge edges from both long sides of your fleece. This ensures a consistent, soft edge all around your blanket.
- Round All Four Corners: To give your throw a professional and polished look, and to prevent sharp corners that can fray or catch, we’ll round them. Find a suitable round object – a dinner plate, a large bowl, or a sturdy template. Place it at one corner of your fabric, aligning its curve with the edges. Use your fabric pen or chalk to trace the curve. Repeat this for all four corners, then carefully cut along these marked lines with your sharp fabric scissors.
- Mark Your Stitch Guideline: Precision in your blanket stitch starts with a clear guide. Using your ruler and fabric pen, mark a line 1/2 inch (approximately 1.25 cm) inward from the newly cut edges all around the blanket. This line will serve as your guide for where your needle will emerge from the fabric, ensuring uniform stitch depth and a beautifully straight line of stitches.
Step 2: Threading Your Needle and Initiating the Blanket Stitch
Now that your fabric is perfectly prepped, it’s time to begin the actual stitching. The blanket stitch, while appearing intricate, is surprisingly simple once you get the hang of it.
- Thread Your Needle: Cut approximately two to three feet of perle cotton thread. This length is manageable and reduces tangling. Thread it through the eye of your needle.
- Secure the Thread: Tie a secure knot at one end of the thread. A simple double knot or a surgeon’s knot will prevent it from pulling through the fabric.
- Starting Your First Stitch:
- Locate the 1/2-inch marked line you created earlier. You’ll start stitching at any point along this line, perhaps near one of the rounded corners.
- Bring your needle up from the back of the fabric, emerging precisely on the 1/2-inch marked line. Pull the thread through until the knot catches on the back, keeping it hidden.
- Now, re-insert your needle into the *same hole* or very close to where you just came up, pushing it through to the back of the fabric.
- Before pulling the needle all the way through, loop the thread *under* the tip of the needle.
- Gently pull the needle through the loop. This action creates the characteristic “L” shape of the blanket stitch, with a neat stitch along the edge of the fabric. The thread should lie flat along the raw edge.
- Continue the Stitch:
- Move down about 1/2 inch (or your desired consistent spacing) along the edge of the fabric.
- Insert your needle from the back, bringing it up through the 1/2-inch marked line.
- Again, before pulling the needle through completely, loop the working thread under the tip of the needle.
- Pull the needle and thread through the loop, forming the next stitch.
- Maintain consistent spacing and tension as you work your way around all the edges of the fabric. Even stitches will result in a professional-looking finish.
Step 3: Managing Thread Changes and Finishing Your Blanket
As you work around your throw, you’ll inevitably run out of thread or need to start a new section. Knowing how to do this seamlessly is crucial for a clean finish.
- Finishing a Thread Section: When your thread is running low, take a small stitch on the back of the fabric, ensuring it’s hidden within the fleece fibers. Make a secure knot, perhaps by looping the thread around the existing stitches a couple of times before tying. Trim the excess thread close to the knot.
- Starting a New Thread: To continue stitching, simply thread a new length of perle cotton, knot the end, and insert your needle from the back of the fabric at the exact point where your previous thread left off. Bring the thread up through the 1/2-inch mark and continue the blanket stitch as before, ensuring your first new stitch flows smoothly from the last.
- Completing the Circuit: Continue stitching around the entire perimeter of your fleece throw. When you reach your starting point, make your final stitch connect cleanly with the very first stitch you made. To secure the end, pass your needle through the loop of the first stitch, then make a knot on the back of the fabric, just like when you ran out of thread. Trim any remaining loose ends.
Tips for a Perfect Blanket Stitch Fleece Throw
Even though this is a simple project, a few insider tips can elevate your finished product from good to great:
- Practice Makes Perfect: If you’re new to the blanket stitch, try a few practice stitches on a small scrap of fleece before working on your main project. This helps you get a feel for the tension and spacing.
- Consistent Spacing and Tension: The key to a beautiful blanket stitch is uniformity. Aim for stitches that are all the same depth (thanks to your marked guideline) and spaced evenly apart. Don’t pull the thread too tight, or it will pucker the fabric; too loose, and it will look sloppy.
- Good Lighting: Work in a well-lit area to easily see your stitches and ensure accuracy.
- Use a Thimble: If your fingers start to get sore from pushing the needle through the fleece, a thimble can be a lifesaver.
- Thread Color Choice: Consider how your thread color interacts with your fleece. A contrasting color will make the stitches pop, while a matching color will give a more subtle, integrated look.
- Keep the Fabric Flat: As you stitch, try to keep the fabric as flat as possible on your lap or table. This helps maintain evenness.
Caring for Your Handmade Fleece Throw
Fleece is wonderfully easy to care for, ensuring your blanket remains cozy and vibrant for years to come. Follow these simple care instructions:
- Washing: Machine wash cold on a gentle cycle. Use a mild detergent. Avoid fabric softeners as they can reduce fleece’s breathability and softness over time.
- Drying: Tumble dry on low heat or air dry. High heat can damage fleece fibers, leading to matting or pilling. Remove promptly to avoid wrinkles.
- Ironing: Fleece generally does not require ironing. If it does become wrinkled, a steamer on a low setting or a very cool iron (with a pressing cloth) can be used with extreme caution, but it’s often best avoided.
Creative Variations and Personalization Ideas
Once you’ve mastered the basic blanket stitch fleece throw, you might want to explore ways to personalize it further:
- Embroidered Details: Add initials, a name, or a simple design in one corner using additional embroidery floss.
- Appliques: Cut shapes from contrasting fleece fabric and stitch them onto your blanket before applying the blanket stitch to the edges.
- Double-Sided Fleece: Use two layers of fleece, perhaps in complementary colors or patterns, to create an even warmer and reversible throw. You would stitch through both layers simultaneously.
- Different Sizes: Adjust the fabric yardage to create smaller baby blankets, lap throws, or even larger bed throws.
- Fringe Edge: Instead of a blanket stitch, you could cut a fringe around the edges for a different look, particularly popular with tied fleece blankets. However, the blanket stitch offers a more refined, finished aesthetic.
And there you have it – a truly easy and immensely satisfying sewing project! This handmade blanket stitch fleece throw is not just a functional item; it’s a testament to your creativity and thoughtfulness. Whether it’s draped over a sofa, snuggled on a bed, or lovingly given as a gift, it will undoubtedly bring warmth and comfort to those who use it. The beauty of this project lies in its simplicity and the personal touch you imbue with every stitch.
So, grab your materials, set aside a relaxing afternoon, and start stitching your way to a beautiful, cozy creation. Share your finished throws with us – we’d love to see the unique designs and color combinations you come up with. Happy crafting!