
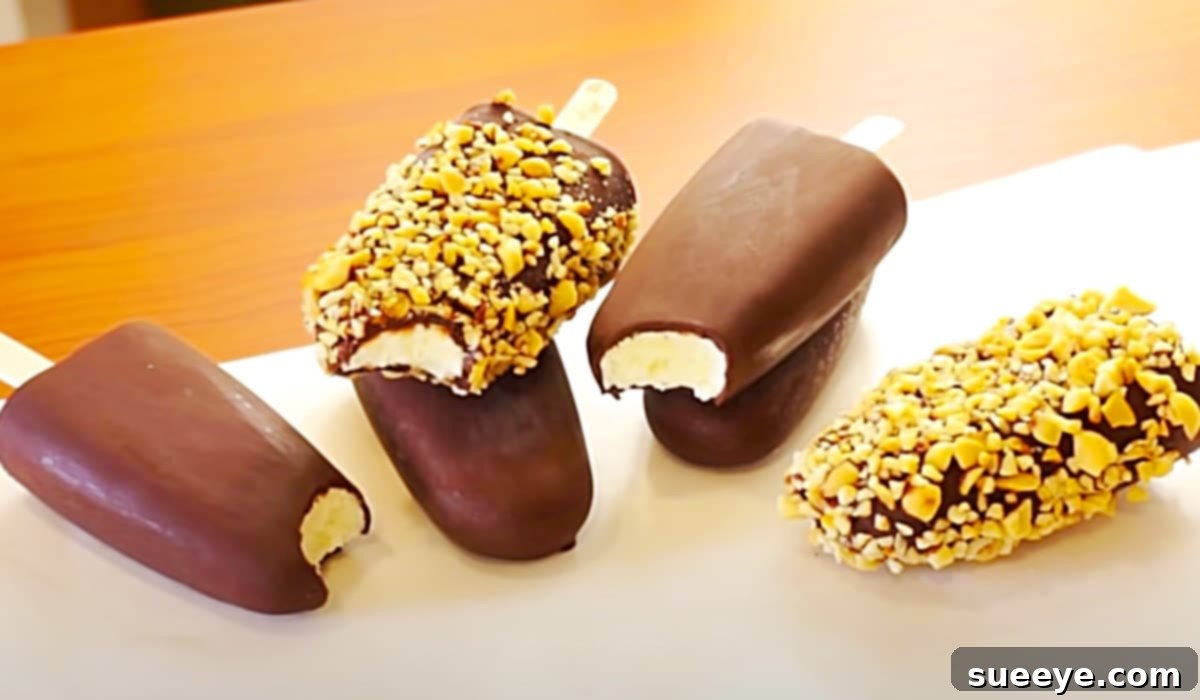
Irresistible Homemade Chocolate-Covered Ice Cream Bars: A Simple & Delightful Recipe
There’s an undeniable magic to ice cream, a universal comfort food that transcends seasons and age. For me, it’s more than just a sweet treat; it’s a satisfying indulgence, especially when it comes in a perfectly portable, frozen bar. The sheer delight on my children’s faces when they bite into a creamy, refreshing ice cream bar is truly priceless, constantly inspiring me to seek out new and exciting frozen dessert recipes that we can enjoy together. It was during one of these searches that I stumbled upon an incredible chocolate-covered ice cream bars video tutorial by Home Cooking Adventure on YouTube, and I immediately knew I had discovered a genuine gem. This recipe promised simplicity, requiring just a few staple ingredients, which meant I couldn’t wait to dive in and recreate these fantastic treats.
What makes homemade ice cream bars so special? It’s the ability to control every aspect, from the richness of the ice cream base to the crispness of the chocolate shell. These bars are designed for ease, whether you choose to prepare them in a large casserole dish and slice them into individual portions, or opt for dedicated ice cream molds for a more uniform shape. Regardless of your method, the result is a supremely delicious, custom-made dessert that will surely become a family favorite.
Why Choose Homemade Ice Cream Bars?
In a world full of convenient store-bought options, the decision to make something from scratch often comes down to quality, customization, and pure enjoyment. Homemade chocolate-covered ice cream bars offer a distinct advantage over their commercial counterparts. Firstly, you have complete control over the ingredients. This means no artificial flavors, colors, or preservatives – just pure, wholesome goodness. You can select high-quality chocolate, fresh cream, and your favorite toppings, ensuring a superior taste and texture that mass-produced versions simply can’t match.
Secondly, the process itself can be a wonderfully rewarding experience. Involving your family, especially children, in the making of these bars transforms it into a fun activity, creating lasting memories along with delicious treats. From mixing the creamy base to dipping the frozen bars in melted chocolate and adding toppings, each step is an opportunity for creativity and bonding. And let’s be honest, there’s an unparalleled sense of satisfaction that comes from serving a dessert you’ve crafted with your own hands, seeing the smiles it brings to everyone’s faces.
Finally, the ability to customize is a huge draw. While this recipe provides a fantastic foundation, it’s incredibly versatile. You can easily experiment with different flavor extracts for the ice cream, various types of chocolate for the coating (dark, milk, white), and an endless array of toppings. This makes every batch a unique culinary adventure, perfectly tailored to your cravings or those of your guests. So, get ready to embark on a delicious journey that celebrates fresh ingredients, personalized flavors, and the simple joy of a perfectly crafted frozen treat.
Ingredients For Your Decadent Chocolate-Covered Ice Cream Bars:
Crafting these irresistible ice cream bars requires just a handful of simple ingredients, each playing a crucial role in creating the perfect balance of creamy and crunchy textures, and rich flavors. Quality ingredients are key here, so choose the best you can find to elevate your homemade treat.
For the Creamy No-Churn Ice Cream Base:
- 2 cups of heavy cream: This is the foundation of our rich, velvety ice cream. Whipped to stiff peaks, it incorporates air, giving the ice cream its light, fluffy texture without the need for an ice cream machine.
- 12.5-ounces of sweetened condensed milk: The secret to our no-churn magic! Condensed milk provides sweetness and an incredibly smooth, dense consistency, preventing the ice cream from becoming too icy. It also eliminates the need for any additional sugar.
- 1 and 1/2 teaspoons of pure vanilla extract: A classic flavor enhancer that adds warmth and depth to the ice cream. Use good quality vanilla for the best results.
- 1/8 teaspoon of salt: A tiny pinch of salt might seem unusual for a sweet treat, but it’s a crucial ingredient. It perfectly balances the sweetness and enhances all the other flavors, making the vanilla and cream taste even more pronounced.
For the Crisp Chocolate Shell and Toppings:
- 11 ounces of high-quality chocolate (melted): The star of our shell! You can use semi-sweet, milk, or dark chocolate chips or bars, depending on your preference. Ensure it’s good quality chocolate for a smooth melt and a delicious crack when frozen.
- 3 tablespoons of coconut oil: This is the magic ingredient that gives our chocolate shell that satisfying, snappy crunch when it’s cold. Coconut oil thins the melted chocolate, making it easier to dip, and helps it set quickly and firmly without becoming brittle.
- Chopped salted peanuts (or pecans): Optional, but highly recommended for an extra layer of texture and a delightful salty-sweet contrast. Feel free to substitute with other nuts like almonds, or even sprinkles, shredded coconut, or crushed cookies for variety.
Step-by-Step Directions For Crafting Your Homemade Ice Cream Bars:
Creating these delightful chocolate-covered ice cream bars is a straightforward process, broken down into two main phases: preparing the creamy ice cream base and then creating the perfect crisp chocolate shell. Follow these detailed steps to achieve homemade perfection, inspired by the excellent Home Cooking Adventure tutorial.
Phase 1: Preparing the No-Churn Ice Cream Base
- Whip the Heavy Cream: Begin by pouring the 2 cups of heavy cream into a large, chilled mixing bowl. Using an electric mixer on medium-high speed, whip the cream until stiff peaks form. This means when you lift the beaters, the cream stands up firmly. Be careful not to over-whip, or it will turn grainy.
- Combine Sweetened Condensed Milk and Flavorings: In a separate medium bowl, combine the 12.5 ounces of sweetened condensed milk, 1 and 1/2 teaspoons of vanilla extract, and 1/8 teaspoon of salt. Whisk these ingredients together until well combined and smooth.
- Fold Ingredients Together: Gently fold about one-third of the whipped cream into the condensed milk mixture. This lightens the condensed milk mixture, making it easier to incorporate the remaining whipped cream without deflating it. Once lightly combined, gently fold in the remaining whipped cream until no streaks remain and the mixture is uniform. Be gentle to maintain the airiness of the whipped cream, which is crucial for a smooth, no-churn ice cream.
- Prepare for Freezing: Now it’s time to prepare your mold. You have a couple of excellent options:
- Option A (Baking Pan Method): Line an 8×8 or 9×13-inch baking pan with parchment paper, leaving an overhang on the sides. This will make it easy to lift the frozen ice cream out later. Pour the ice cream mixture into the prepared pan and smooth the top with a spatula.
- Option B (Ice Cream Mold Method): If you have silicone ice cream bar molds, carefully spoon or pour the mixture into each cavity, ensuring they are filled evenly.
- Freeze Until Solid: Cover the pan or molds with plastic wrap and transfer them to the freezer. Freeze for a minimum of 6-8 hours, or preferably overnight, until the ice cream is completely firm and solid. This is crucial for the bars to hold their shape during the dipping process.
Phase 2: Creating the Chocolate Shell and Finishing the Bars
- Prepare the Frozen Bars: Once the ice cream is thoroughly frozen, remove the pan or molds from the freezer. If using the baking pan method, use the parchment paper overhang to lift the block of ice cream out of the pan and place it on a cutting board. Using a sharp, warm knife, carefully cut the ice cream into desired bar shapes and sizes. If using molds, gently pop the frozen bars out. You may want to insert popsicle sticks into each bar at this stage if you desire handles.
- Melt the Chocolate and Coconut Oil: In a microwave-safe bowl, combine the 11 ounces of chocolate chips/chunks with the 3 tablespoons of coconut oil. Microwave in 30-second intervals, stirring well after each, until the mixture is completely melted and smooth. Alternatively, you can use a double boiler method on the stovetop. Ensure the chocolate is smooth and lump-free. Pour the melted chocolate into a tall, narrow glass or container – this makes dipping much easier.
- Dip the Ice Cream Bars: Working quickly, take one frozen ice cream bar at a time and fully submerge it into the melted chocolate. The cold ice cream will cause the chocolate to harden almost instantly, creating a crisp shell.
- Pro Tip: Allow any excess chocolate to drip off for a few seconds before moving the bar.
- Add Toppings (Optional): If you’re using chopped nuts, sprinkles, or other toppings, sprinkle them onto the chocolate-coated bar immediately after dipping, while the chocolate is still wet.
- Place on Parchment Paper: Carefully place the freshly coated bar onto a sheet of parchment paper or a wire rack set over parchment paper. Repeat the dipping process with the remaining ice cream bars.
- Final Freeze: Once all bars are coated and topped, place them back into the freezer for another 15-30 minutes to allow the chocolate shell to fully set and become firm.
- Serve and Enjoy: Your irresistible homemade chocolate-covered ice cream bars are now ready to be enjoyed!
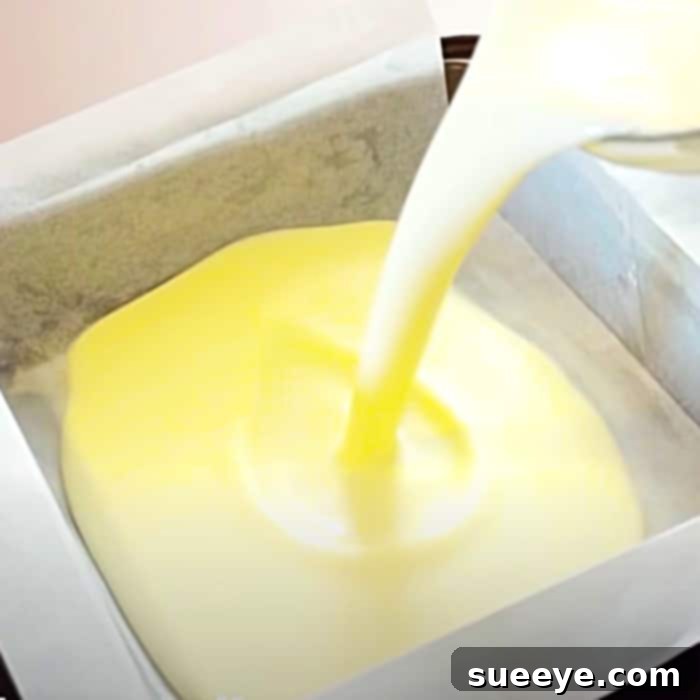
Whether you choose to make them in a traditional baking pan and cut them, or opt for specialized molds, the process remains wonderfully straightforward. The joy of creating these treats at home is immense, and the flavors are absolutely unparalleled.
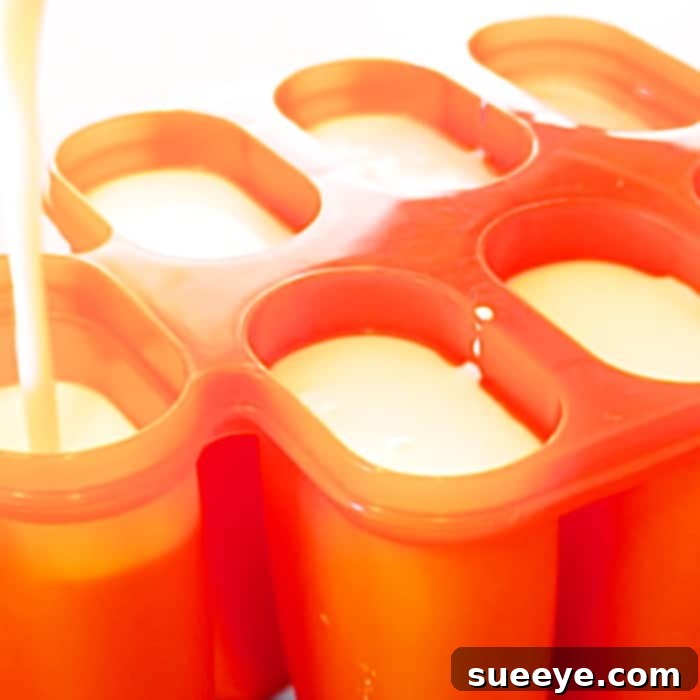
Pro Tips for Perfect Chocolate-Covered Ice Cream Bars:
- Ensure Deep Freeze: The colder your ice cream bars are, the better they will dip. Super-chilled bars will set the chocolate almost instantly, preventing the ice cream from melting and ensuring a crisp shell.
- Maintain Chocolate Temperature: The melted chocolate should be warm enough to be liquid and pourable, but not so hot that it melts the ice cream too quickly. If it starts to thicken, gently reheat it in short bursts in the microwave or over a warm water bath, stirring constantly.
- Use a Narrow Container: Pouring your melted chocolate into a tall, narrow glass or container makes it much easier to fully submerge the ice cream bars without needing a huge amount of chocolate.
- Work Quickly: Once the bars are out of the freezer, the clock starts ticking. Have your chocolate and toppings ready, and work efficiently to dip each bar before it starts to soften.
- Experiment with Chocolate: Don’t limit yourself to one type of chocolate! Try dark chocolate for a more intense flavor, milk chocolate for a sweeter profile, or even white chocolate for a different aesthetic.
- Get Creative with Toppings: Beyond peanuts, consider sprinkles, shredded coconut, mini chocolate chips, crushed Oreos, freeze-dried fruit, or a drizzle of caramel or white chocolate for extra flair.
- Popsicle Sticks: For an authentic ice cream bar experience, insert wooden popsicle sticks into the base of your cut ice cream pieces before the final freeze.
Storage Suggestions:
To keep your homemade chocolate-covered ice cream bars fresh and delicious, proper storage is essential. Once fully set, wrap each bar individually in parchment paper or plastic wrap to prevent freezer burn and keep them from sticking together. Then, place them in an airtight container or a freezer-safe bag. They will stay fresh and delightful in the freezer for up to 2-3 weeks. This also makes them perfect for meal prepping your desserts or having a ready-to-go treat whenever a craving strikes!
Conclusion: Your Homemade Frozen Delight Awaits!
There’s truly nothing quite like the satisfaction of creating your own treats, and these homemade chocolate-covered ice cream bars are a testament to that. With their creamy, rich interior and a satisfyingly crisp chocolate shell, these bars offer a superior taste and texture that will impress everyone who tries them. Whether you’re looking for a refreshing summer dessert, a fun project to do with the kids, or simply a delightful snack to brighten your day, this recipe is a winner.
Forget the complexities often associated with homemade ice cream; this no-churn method keeps things wonderfully simple without sacrificing flavor or creaminess. The combination of minimal ingredients and straightforward steps makes it accessible for even novice bakers, while the customizable options ensure it never gets boring. So, gather your ingredients, follow these easy steps, and prepare to indulge in the ultimate homemade frozen treat. Get ready to experience the pure joy of biting into your very own perfectly crafted, chocolate-covered ice cream bar – a true celebration of flavor, texture, and homemade goodness!
I can’t wait to make these for my family!