
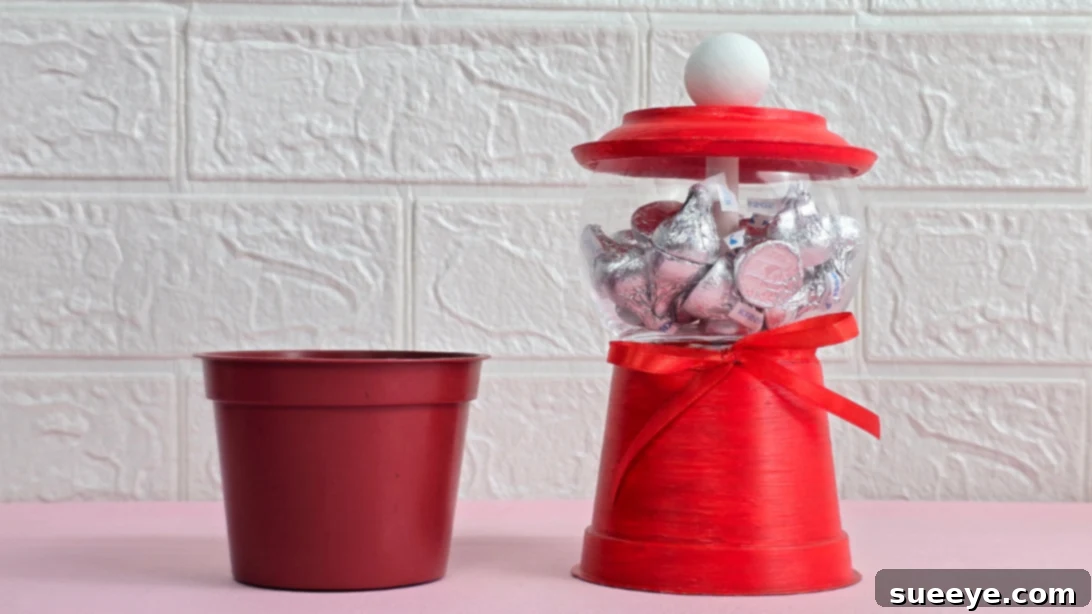
DIY Gumball Machine Candy Jar: A Sweet & Nostalgic Craft Project
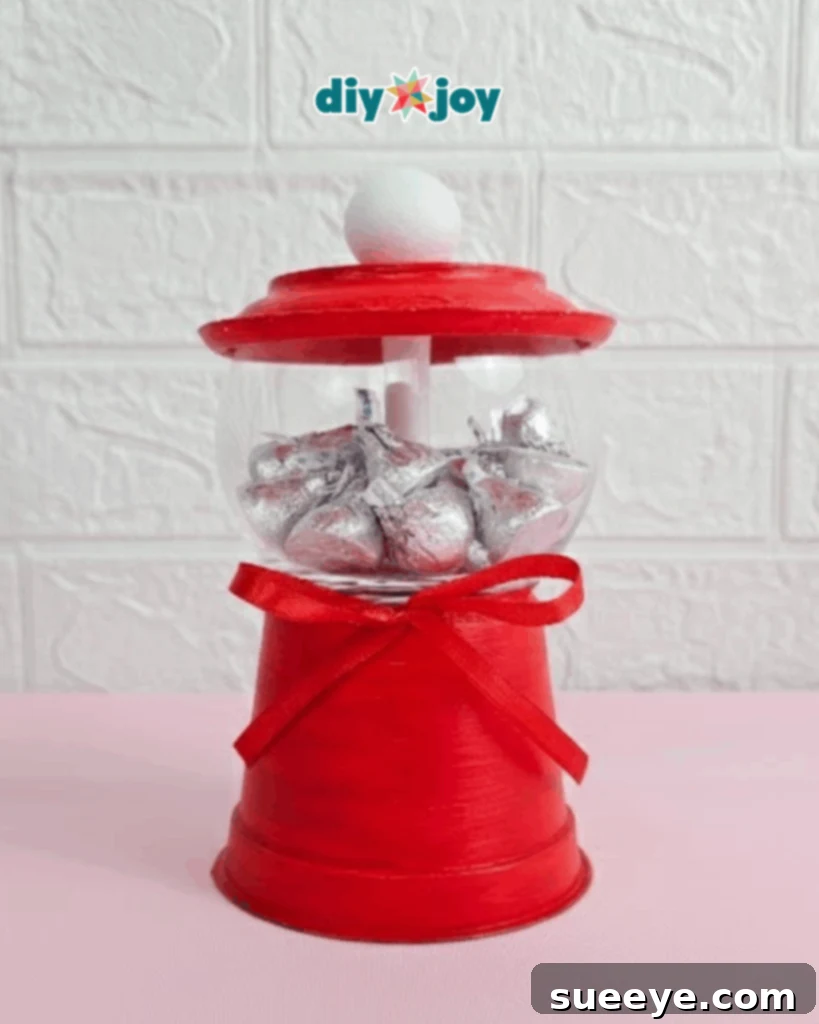
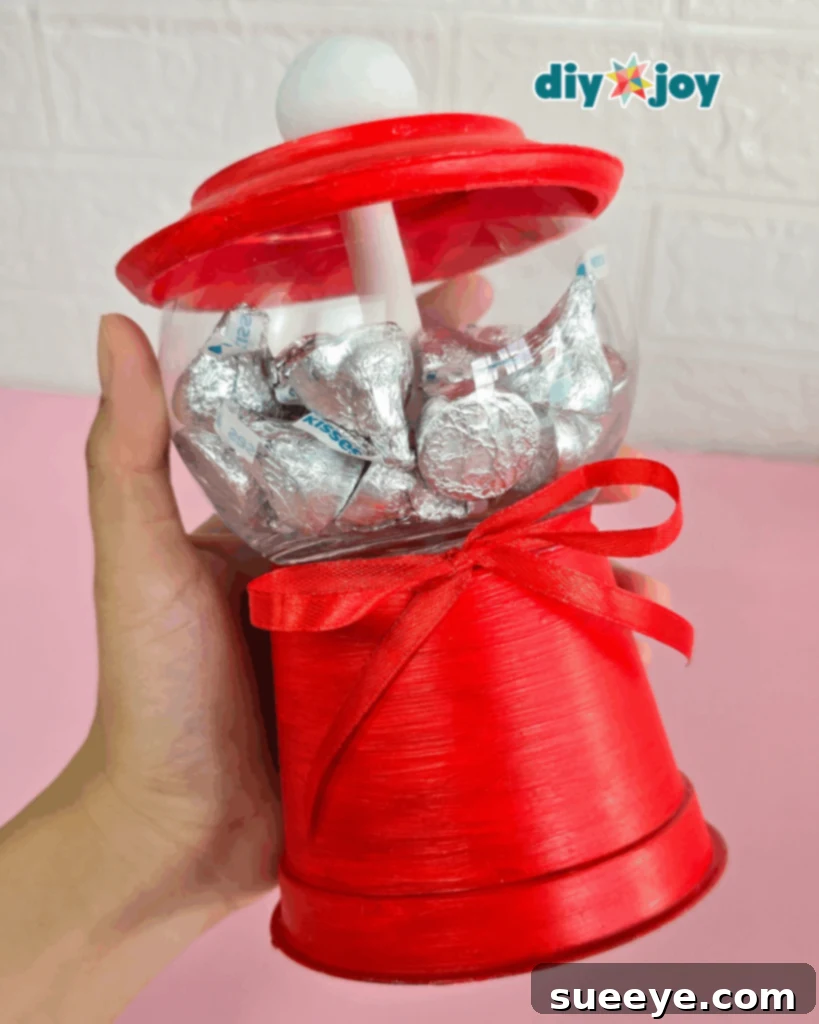
Remember the thrill of visiting gumball machines as a child? The anticipation of inserting a coin, turning the crank, and watching a colorful gumball roll down? Those classic gumball machines evoke a sense of nostalgia and instantly recognizable charm. Many of us have fond memories of these iconic machines, and some still exist today, adding to their timeless appeal. In this exciting DIY project, we’re bringing that childhood favorite back to life! We’ll guide you through creating your own DIY treat container that looks just like a gumball machine, using readily available materials you can easily find at home or in your local craft store.
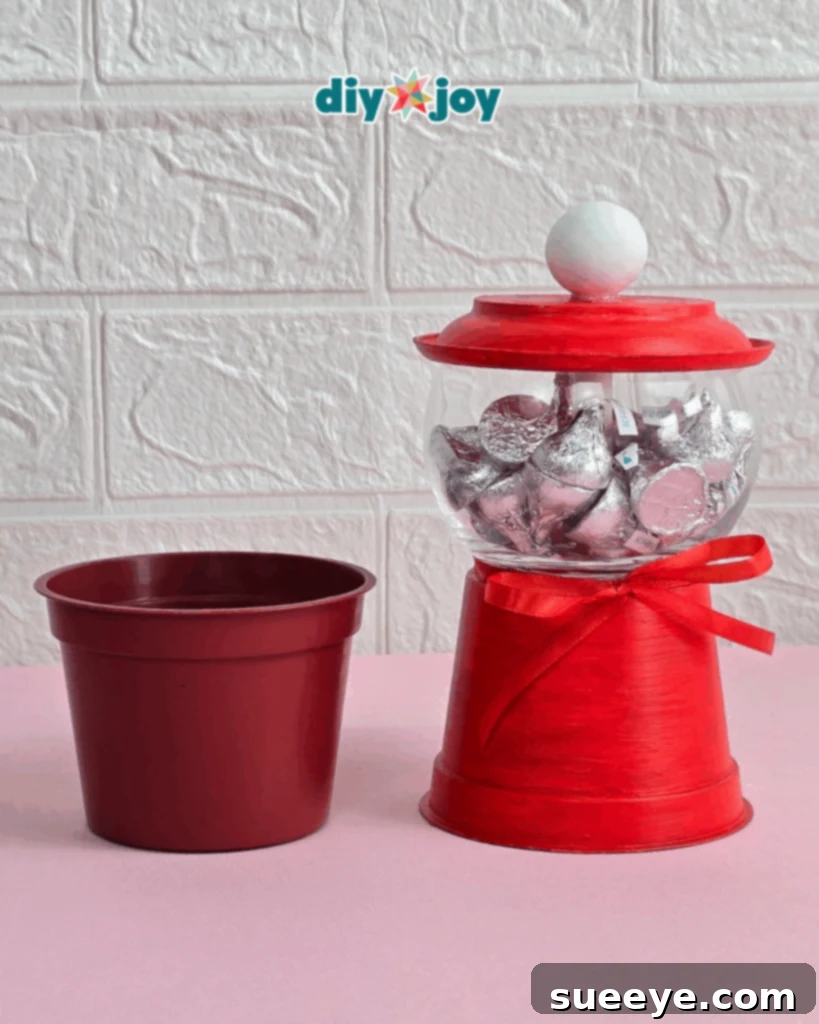
This project isn’t just a fun craft; it’s a wonderful way to create a unique and thoughtful gift for any occasion. Imagine presenting chocolates, candies, or small trinkets in this adorable gumball machine-inspired jar. It instantly elevates the gift, making it feel more personal and meaningful. Beyond gifting, this DIY gumball machine can also serve as a delightful storage solution for small keepsakes, crafting supplies, or even office essentials. Its versatility and playful design make it a welcome addition to any room.
RELATED: Upcycled Ferrero Rocher Jewelry Box
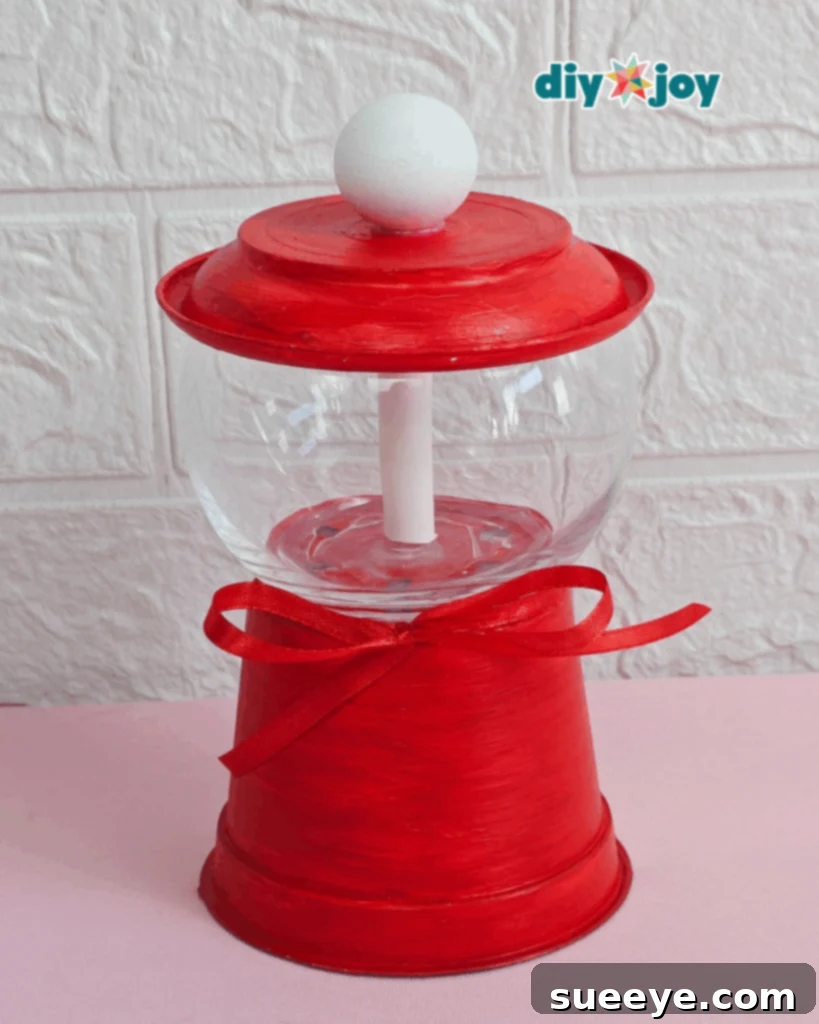
While this DIY craft may seem intricate at first glance, you’ll be pleasantly surprised by how easy and quick it is to assemble. It’s a fantastic project to enjoy with friends, family, or even kids, providing a fun and engaging activity for everyone involved. Plus, you have the freedom to customize the design with your own unique details and embellishments. Let your creativity shine as you choose colors, patterns, and decorations that reflect your personal style.
Follow the comprehensive step-by-step instructions provided below, accompanied by helpful photos to guide you through each stage of the process. For an even more immersive learning experience, consider watching the video tutorial, which offers extra tips and visual demonstrations. Get ready to unleash your inner crafter and create a charming gumball machine candy jar that will bring joy and nostalgia to your life!
How to Make Your Flower Pot Candy Jar: A Step-by-Step Guide
Step 1: Prepare and Paint the Base
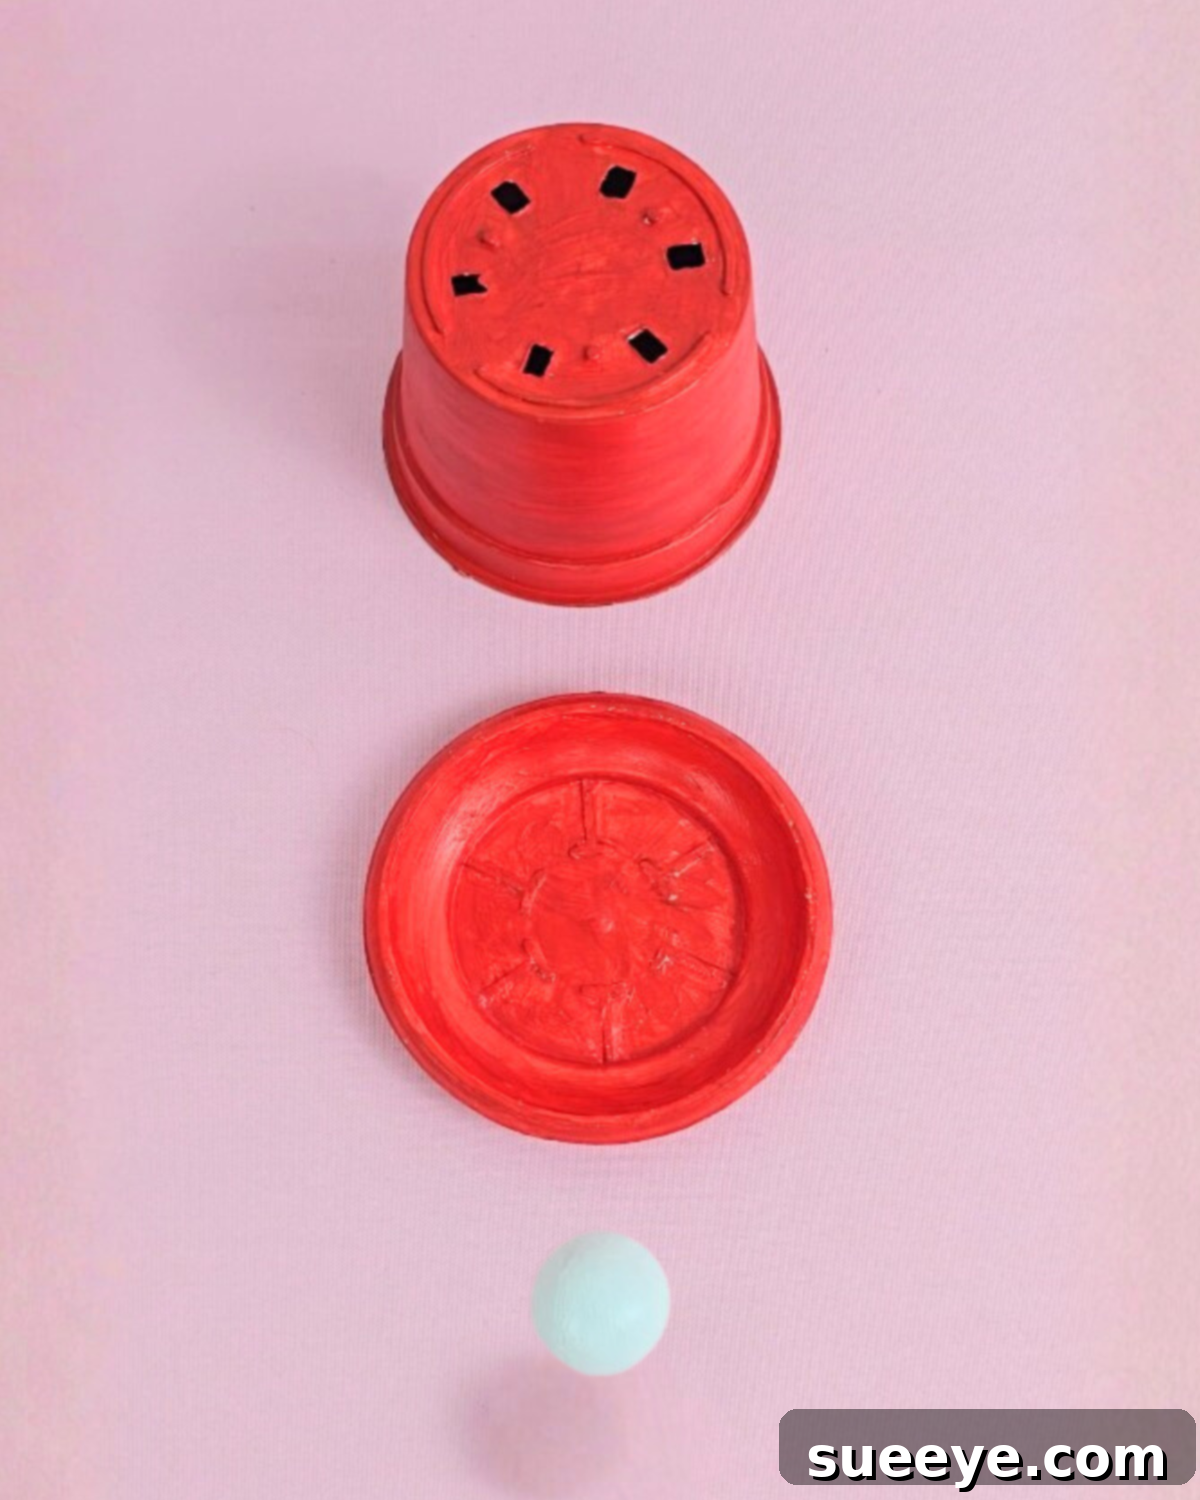
Begin by applying a primer to the flower pot, drip tray, and wooden ball. Primer helps the paint adhere better and provides a smooth, even surface. Once the primer is completely dry, paint the flower pot, wooden ball, and drip tray in your desired color. Consider using vibrant, classic gumball machine colors like red, white, or a combination of both. Allow the paint to dry thoroughly. If needed, apply a second coat of paint to achieve a rich, opaque finish. Ensure each coat is completely dry before applying the next.
Step 2: Assemble the Base Structure
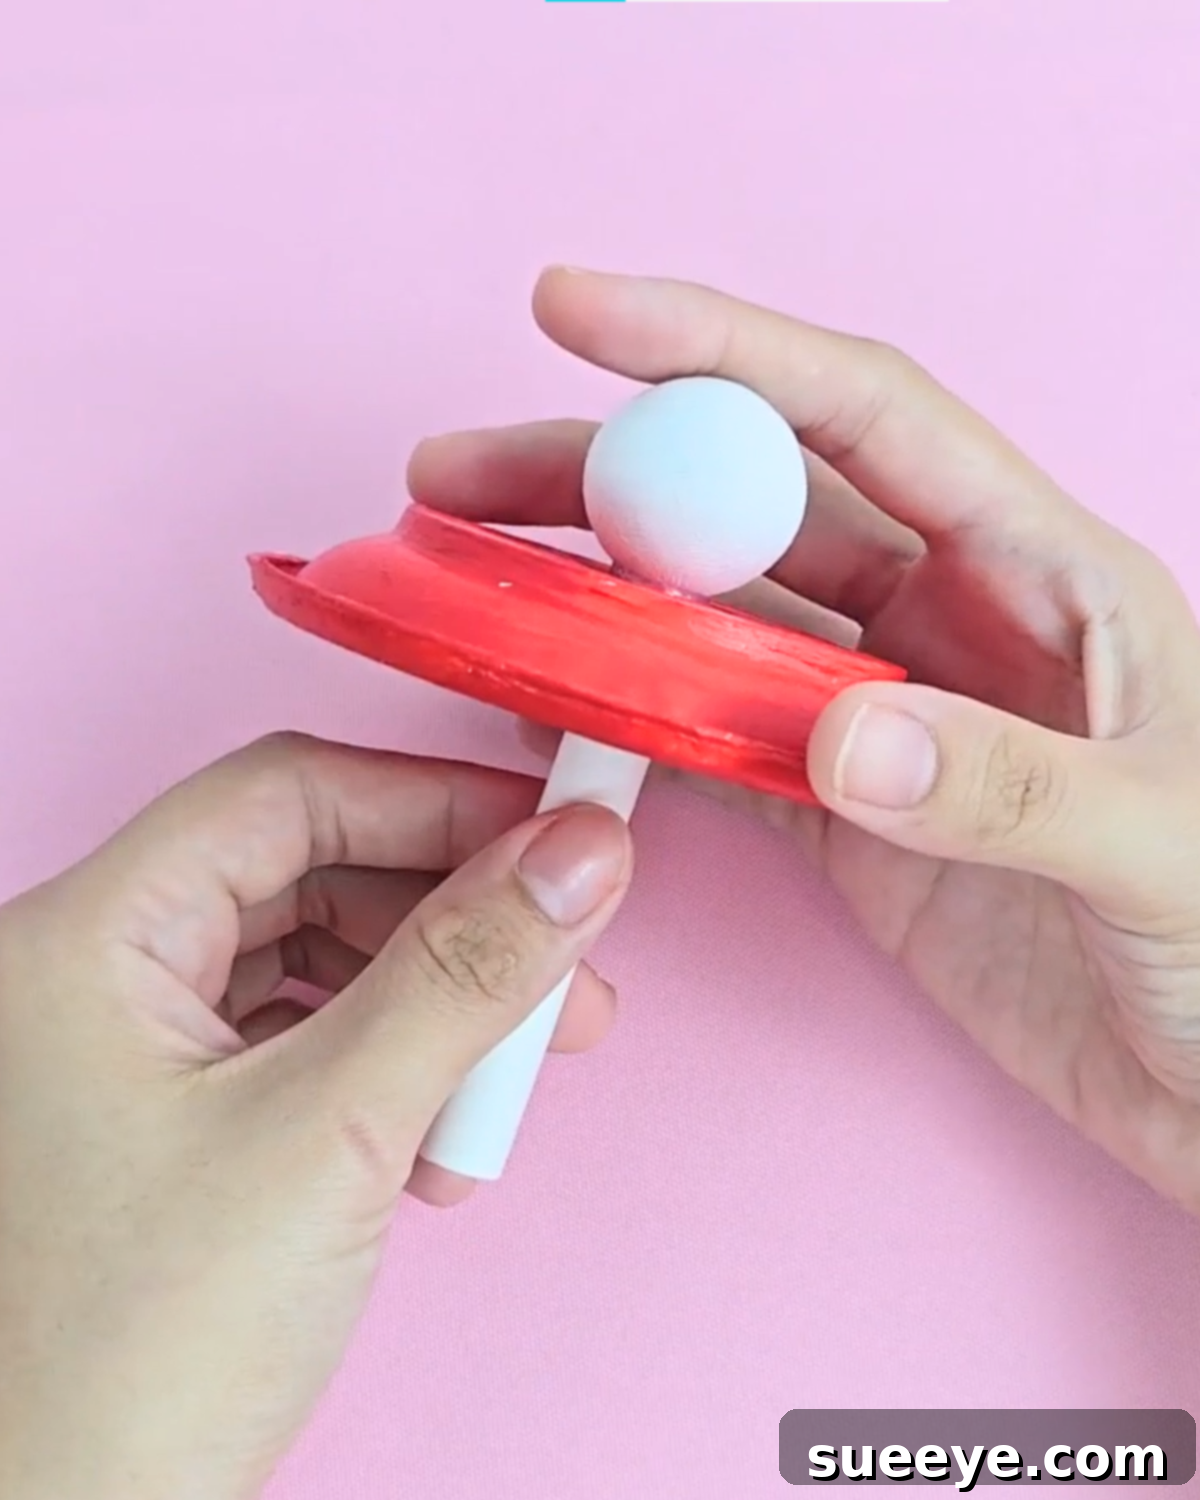
Flip the painted drip tray upside down. This will serve as the base of your gumball machine. Using a hot glue gun, carefully attach the painted wooden ball to the center of what is now the top of the tray. Ensure the wooden ball is securely glued in place. Next, measure the height of your fishbowl. Cut the paper straw to match this height. Apply hot glue to one end of the straw and attach it to the center of the tray’s bottom, making sure the wooden ball and straw are perfectly aligned. The straw will act as a support for the fishbowl.
Step 3: Attach the Flower Pot and Fish Bowl Base
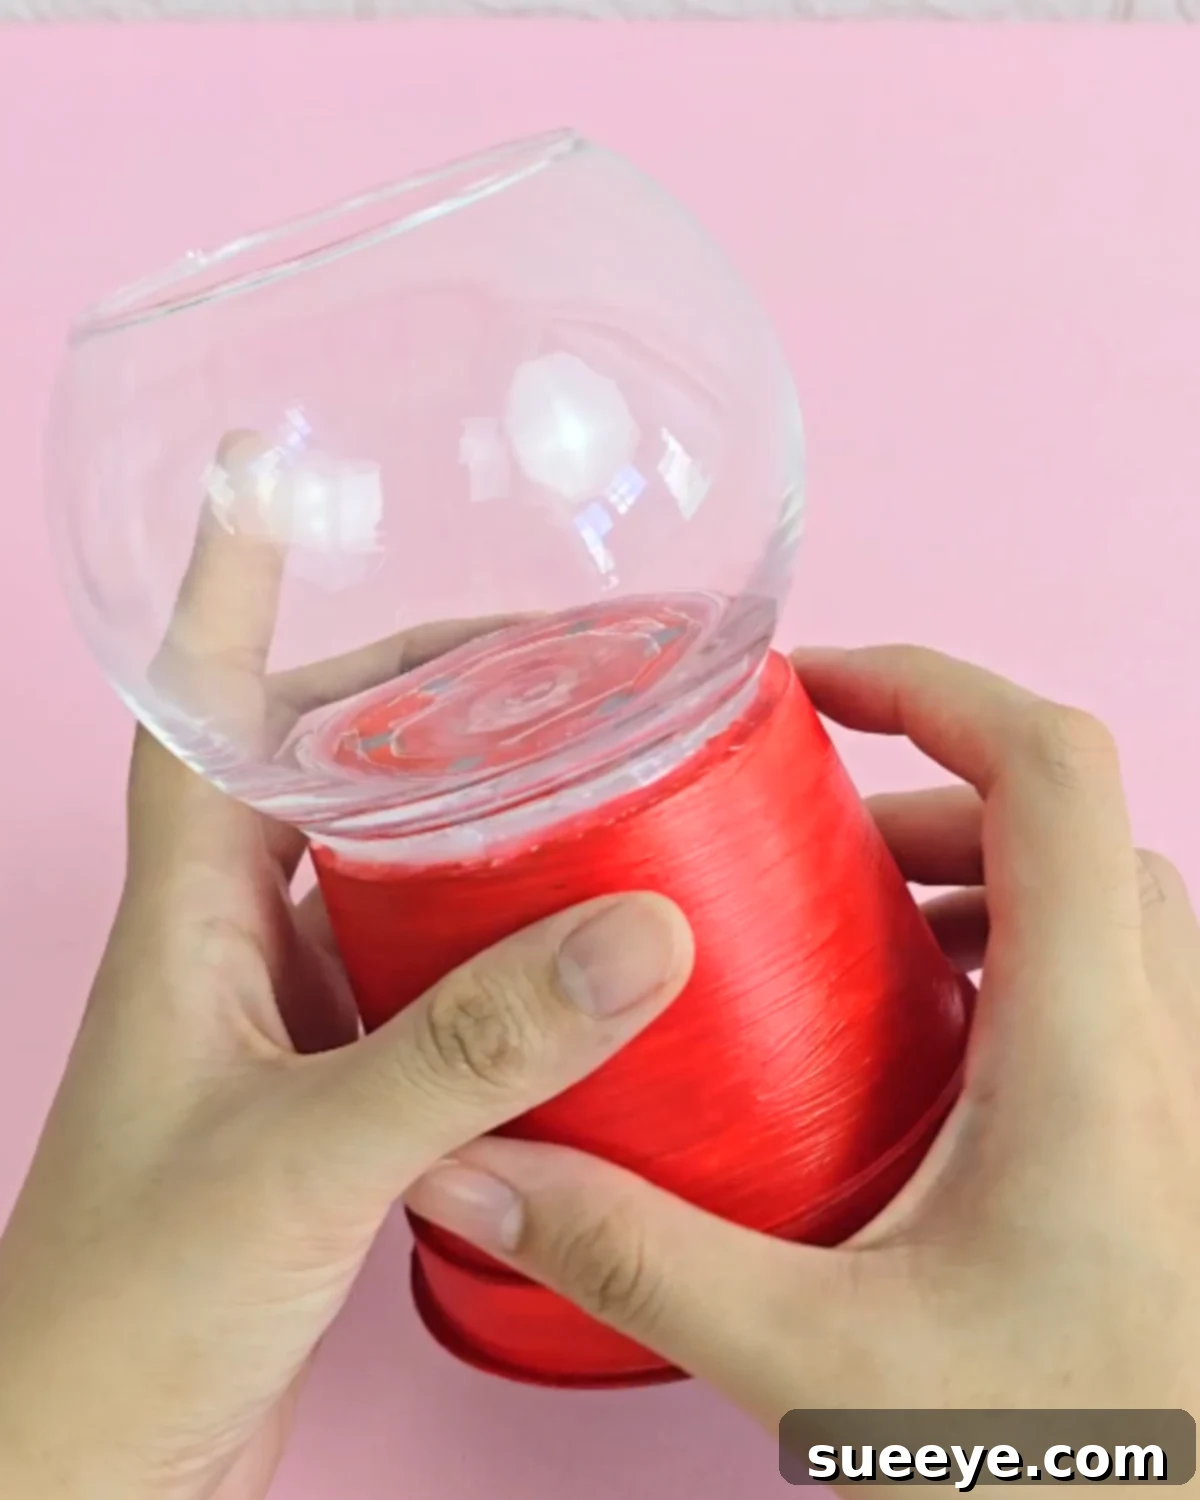
Apply a generous amount of E6000 glue to the bottom rim of the fishbowl and the top rim of the painted flower pot. E6000 glue is a strong adhesive that provides a durable bond. Let the glue sit for a few minutes to become tacky. This will help create a stronger bond. In addition to the E6000 glue, add hot glue to specific areas for immediate adhesion. Carefully press the fishbowl and flower pot together, ensuring they are aligned. Hold them firmly in place until the hot glue sets. Allow the E6000 glue to cure completely according to the manufacturer’s instructions. This may take several hours or overnight.
Step 4: Decorate and Fill the Candy Jar
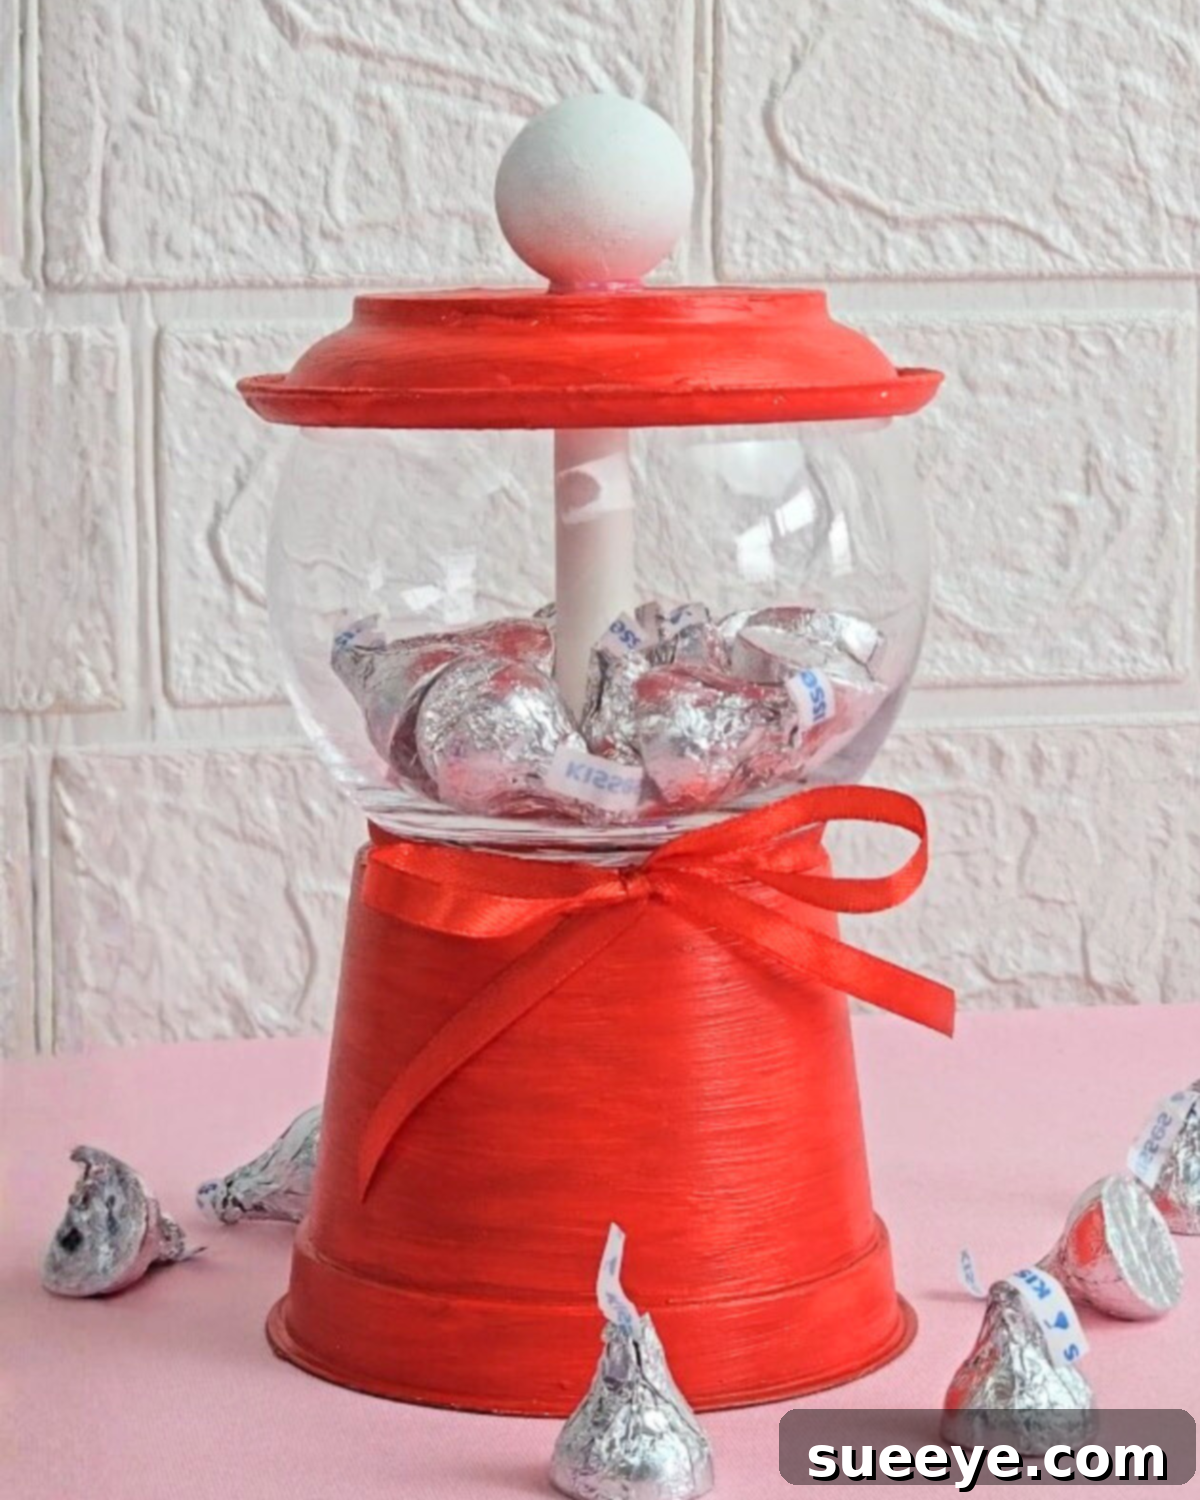
Once the glue has fully cured, it’s time to decorate your gumball machine candy jar. Tie a ribbon around the “neck” of the candy jar, where the fishbowl and flower pot meet, to conceal the glued area and add a decorative touch. Get creative and add more painted details or designs to the body of the jar. You can paint polka dots, stripes, or even personalized messages. Finally, fill the jar with your favorite candies, chocolates, or small treats. Close it securely with the jar’s lid.
Materials Needed
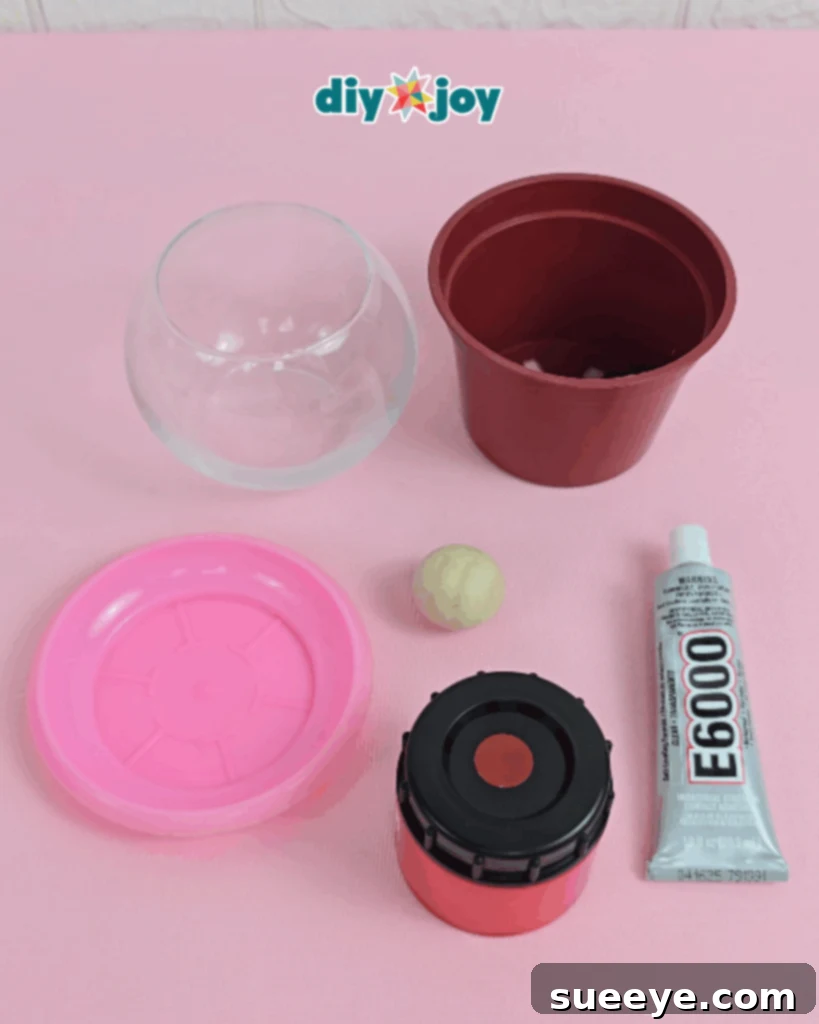
- Flower Pot with Matching Drip Tray (Choose a size appropriate for your desired candy jar)
- Fishbowl (Select a fishbowl that fits snugly on top of the flower pot)
- Primer Paint (Essential for preparing the surfaces for paint)
- Paint and Paintbrush (Choose your favorite colors and a brush suitable for detailed work)
- Ribbon (For adding a decorative touch and concealing the glued area)
- E6000 Glue (A strong adhesive for a durable bond)
- Hot Glue Gun and Glue Sticks (For quick adhesion and securing smaller elements)
- Wooden Ball (To act as the “coin slot” detail)
- Paper Straw (To provide support for the fishbowl)

Pro Tips for a Perfect DIY Gumball Machine Candy Jar
- Test the fit before gluing: Dry fit all the pieces first to ensure proper alignment. This prevents uneven placement and enhances the final look.
- Customize by occasion: Change colors and labels to match holidays like Valentine’s Day or party themes for a personalized touch.
- Scale it down: Use smaller containers to create mini versions for keychains or party favors, offering versatility in design.
- Secure edible items: If using candy, line the inside or use wrapped treats to maintain cleanliness and food safety.
- Let the glue cure overnight: Allow extra time for the glue to set, ensuring a sturdier and longer-lasting creation.
More Fun DIY Projects to Explore
Easy Fabric Hearts Sewing Tutorial (No Machine Needed!)
Sewing Ideas
DIY Customized Mug Using Sharpie
Crafts
Easy DIY Flower Pot Candy Jar
Crafts
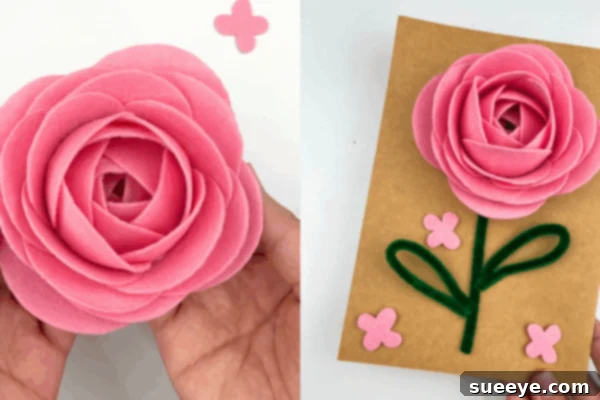
How to Make Roses With a Paper Cup | DIY Valentine’s Day Card
Paper Flowers
If you enjoyed this craft, be sure to visit our website for more inspiring DIY projects! Follow us on our social media channels for daily doses of creativity and subscribe to our YouTube channel for engaging video tutorials. Let’s embark on more crafting adventures together!
Enjoying your DIY Flower Pot Candy Jar Tutorial!