
How to Make a Modern Puff Quilt: A Beginner-Friendly Guide to Cozy Comfort
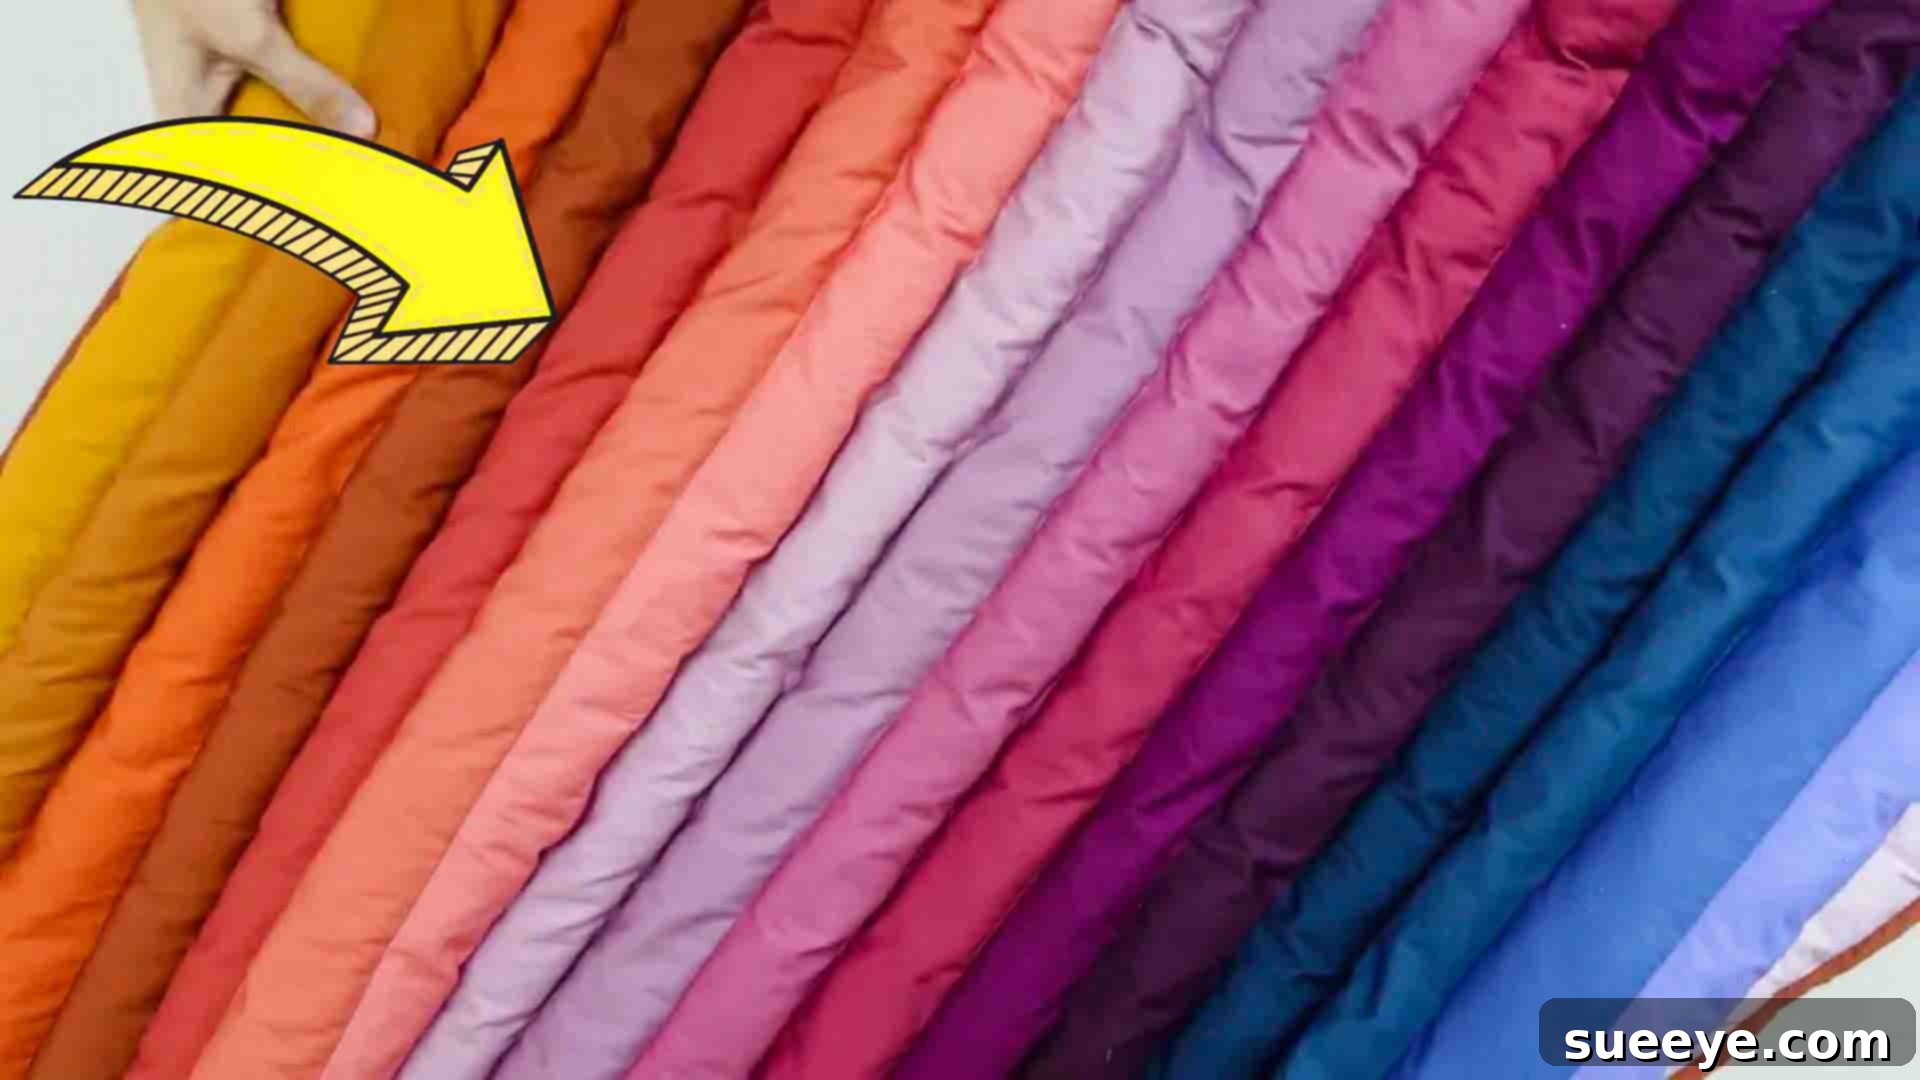
Are you searching for a quilting project that’s not only visually captivating but also wonderfully soft and incredibly rewarding to make? Look no further! This comprehensive guide will walk you through creating a beautiful modern puff quilt, a project perfect for quilters of all skill levels, especially beginners. Inspired by the fantastic tutorial from Art Gallery Fabrics on YouTube, this unique strip-pieced quilt incorporates a delightful twist: soft stuffing that gives it an irresistible puffy texture. Imagine snuggling under a cloud-like quilt that you made with your own hands! It’s a fun, engaging, and surprisingly straightforward process that results in a truly gorgeous, custom-made masterpiece.
Why Choose a Modern Puff Quilt?
Modern puff quilts stand out from traditional quilts with their distinctive three-dimensional, pillowy appearance. Each ‘puff’ adds an extra layer of warmth and a unique tactile experience, making them incredibly cozy and inviting. They are perfect as a plush throw for your sofa, a comforting baby blanket, or even a decorative wall hanging. The strip-pieced method used in this design simplifies the construction, making it accessible even if you’re new to quilting. Plus, the ability to choose your own fabric colors and patterns allows for endless customization, ensuring your finished quilt perfectly matches your style and decor.
Materials for Your Modern Puff Quilt
Gathering the right materials is the first step toward a successful quilting journey. For this modern puff quilt, we’ve selected items that ensure a beautiful finish and a comfortable feel. Quality fabric makes a significant difference, especially for a project designed for softness.
- Fabric Strips: 20 strips, each measuring 3 1/4″ x WOF (Width of Fabric) in pure solids. Choosing high-quality pure solids will give your quilt a sleek, modern look and ensure durability. The ‘ombre’ effect, transitioning from one color shade to another, is a popular choice for contemporary designs.
- Binding Fabric: 1/8 yard of AGF Chocolate fabric (or any coordinating fabric). This will create a neat, narrow binding that frames your quilt beautifully.
- Flannel Backing Fabric: 4 yards of AGF Sunflower fabric (or any soft flannel fabric). Flannel is an excellent choice for the backing as it adds extra warmth and a luxuriously soft feel, enhancing the overall comfort of your puff quilt.
- Stuffing: Polyester fiberfill (Poly-fil) or a similar soft stuffing material. This is the secret ingredient for creating those wonderful puffs!
- Dowel: A wooden dowel or a similar blunt stick. This tool will be indispensable for gently pushing the stuffing into each quilt channel.
- Rotary Cutter: For precise and efficient cutting of fabric strips and trimming edges.
- Scissors: For general fabric cutting and trimming threads.
- Thread: High-quality sewing thread that coordinates with your fabrics.
- Quilting Ruler: A clear, sturdy ruler for accurate measurements and cutting.
- Pins and Clips: Essential for holding fabric layers together securely before sewing.
- Washable Pen or Marking Tool: For marking cutting lines or stitching guides on your fabric.
- Sewing Machine: A reliable sewing machine with a 1/4-inch foot (optional, but very helpful for consistent seam allowances).
- Iron and Ironing Board: For pressing seams open and flat, crucial for a professional finish.
Crafting Your Modern Puff Quilt: A Step-by-Step Guide
Now that you have all your materials ready, let’s dive into the exciting process of bringing your modern puff quilt to life. Follow these detailed steps for a smooth and enjoyable quilting experience.
1. Fabric Preparation and Precise Cutting
Before you begin sewing, it’s a good practice to pre-wash and iron all your fabrics. This helps prevent shrinkage and removes any manufacturing chemicals, ensuring your quilt remains beautiful for years to come. Once prepared, it’s time for precise cutting:
- Cut Fabric Strips: Using your rotary cutter and quilting ruler, meticulously cut 20 strips of your pure solid fabrics. Each strip should measure 3 1/4 inches in width by the full Width of Fabric (WOF). Accuracy here is key for perfectly aligned puffs.
- Plan Your Color Order: Lay out your strips to determine your desired color arrangement. If aiming for an ombre effect, arrange them from lightest to darkest or vice versa. This visual planning helps create a cohesive and appealing design.
2. Assembling the Quilt Top
With your strips cut and arranged, it’s time to sew them into a cohesive quilt top. Take your time to ensure straight seams for the best results.
- Sew Strips Together: Take your first two strips, place them right sides together, and sew along one long edge using a precise 1/4-inch seam allowance.
- Press Seams Open: After each seam, press it open with a warm iron. Pressing seams open helps to reduce bulk and creates a flatter, neater quilt top, which is essential for uniform puffiness later.
- Continue Sewing: Repeat this process, adding each subsequent strip to the growing quilt top until all 20 strips are sewn together in your chosen color order.
3. Preparing the Cozy Flannel Backing
The flannel backing not only adds warmth but also provides the soft base against which your puffs will form.
- Cut Flannel to Size: Refer to the dimensions provided in the Art Gallery Fabrics tutorial for your desired quilt size. Cut your flannel fabric accordingly. Often, for a larger quilt, you’ll need to join two pieces of flannel.
- Sew Center Seam: If your backing requires multiple pieces, place them right sides together and sew a center seam. Press this seam open for a flat, comfortable back.
4. Layering and Initial Quilting
Now, we’ll combine the quilt top with the backing and add initial quilting lines to create the channels for stuffing.
- Layer the Quilt: Lay your flannel backing fabric flat, wrong side up. Then, place your pieced quilt top over the backing, wrong sides together. This means the right side of the quilt top will be facing up, and the right side of the backing will be facing down.
- Secure with Pins: Pin the layers together securely around the perimeter and along the seam lines of your strips to prevent shifting.
- Quilt the Channels: Using coordinating thread, quilt along each of the seam lines you previously sewed. A simple edge stitch or straight line quilting about 1/8 inch on either side of the seam is effective. These quilting lines will create the individual ‘tubes’ or channels that you will later stuff.
5. Bringing the Puffs to Life: Stuffing Each Channel
This is the magical step where your quilt transforms into a puffy, cloud-like creation!
- Prepare for Stuffing: Once all your quilting lines are stitched, you’ll have a series of parallel channels. Leave one end of these channels open for stuffing, typically the top or bottom edge of the quilt.
- Gentle Stuffing: Take your dowel and small handfuls of Poly-fil. Gently push the stuffing into each channel, distributing it evenly. The goal is to make each tube puffy but not overly stiff or dense. You want a soft, squishy feel, not a rock-hard one. The dowel helps reach the far ends of the channels.
- Secure the Edges: As you finish stuffing each channel, pin the open edge to keep the stuffing in place. Once all channels are stuffed, baste or stitch along the open edge to securely close off all the puffs.
6. Trimming the Quilt and Preparing the Binding Strips
A clean edge is essential for a professional finish, and careful binding preparation ensures a beautiful frame for your quilt.
- Trim Edges: Using your rotary cutter and ruler (or sharp scissors), carefully trim all four edges of your stuffed quilt to make them perfectly straight and square.
- Cut Binding Strips: From your binding fabric, cut 6 strips, each measuring 1 1/2 inches wide by WOF. These narrower strips create a delicate, modern binding.
- Press Binding Strips: Take each binding strip and press it in half lengthwise, wrong sides together. This creates a neat, folded edge.
- Join Binding Strips: To create one continuous binding strip, lay two strip ends right sides together at a 90-degree angle, forming a ‘T’ shape. Draw a diagonal line from one corner of the top strip to the opposite corner of the bottom strip. Stitch along this line.
- Trim and Press Seams: Trim the excess fabric from the seam allowance, leaving a 1/4-inch seam. Finger press the seams open to reduce bulk. Repeat this process until all 6 strips are joined into one long binding strip.
7. Attaching the Binding to the Quilt Top (Machine Sewing)
Machine sewing the binding to the front of the quilt ensures durability and ease before the final hand-stitching.
- Start Point: Begin attaching the binding on one side of the quilt, about 10 inches down from a corner. Leave a tail of about 8-10 inches of unsewn binding at the start.
- Stitch the Binding: Align the raw edge of your folded binding strip with the raw edge of the quilt. Stitch with a 1/4-inch seam allowance.
- Turning Corners: When you reach 1/4 inch from the first corner, stop sewing, backstitch, and cut your thread. Fold the binding strip straight up (creating a 45-degree angle off the edge of the quilt). Then, fold it back down so the folded edge aligns with the next raw edge of the quilt, creating a neat mitered corner. Start stitching again from the very edge of the quilt.
- Continue Around: Repeat this process for all four corners, continuing to stitch the binding around the perimeter of the quilt.
8. Finishing the Binding with a Seamless Hand Stitch
The final step involves hand-stitching the binding to the back of the quilt, creating a beautiful and invisible finish. This is especially recommended for puffy quilts, as it allows for flexibility and a less visible stitch.
- Join Binding Ends: As you approach your starting point, stop sewing a few inches before where you began. Overlap the two raw ends of the binding, measure the width of your binding (1 1/2 inches), and trim one end to create an overlap. Pin the two ends right sides together, mark a 45-degree angle, and stitch. Trim the excess, finger press the seam open, and continue machine stitching the remaining portion of the binding to the quilt front.
- Flip and Pin: Flip the folded binding over to the back of the quilt, neatly encasing the raw edges. Pin it securely in place all around the quilt.
- Hand Stitch with an Invisible Stitch: This is where the magic happens! Using a hand-sewing needle and thread that perfectly matches your binding fabric, begin hand-stitching the binding to the back of the quilt. Use an invisible stitch (also known as a ladder stitch or blind stitch). Take one tiny stitch through only the top layer of the flannel backing, then bring your needle directly through the fold of the binding. Continue this method all around the quilt. The goal is to make your stitches almost imperceptible.
- Secure and Enjoy: Once you’ve stitched all the way around, tie off your thread securely. Give your quilt a final gentle press if needed. Your magnificent modern puff quilt is now complete!
Your Beautiful Modern Puff Quilt Awaits!
Congratulations! You’ve successfully created a stunning and exceptionally cozy modern puff quilt. This project is a true testament to the joy of handmade crafts, offering not only a beautiful addition to your home but also a sense of accomplishment. Whether you keep it for yourself or gift it to a loved one, this puffy quilt is sure to bring warmth and comfort for years to come. Don’t hesitate to personalize your next puff quilt with different fabric choices, color palettes, or even varying puff sizes. The possibilities are endless. We encourage you to share your beautiful creations and continue exploring the wonderful world of quilting!