
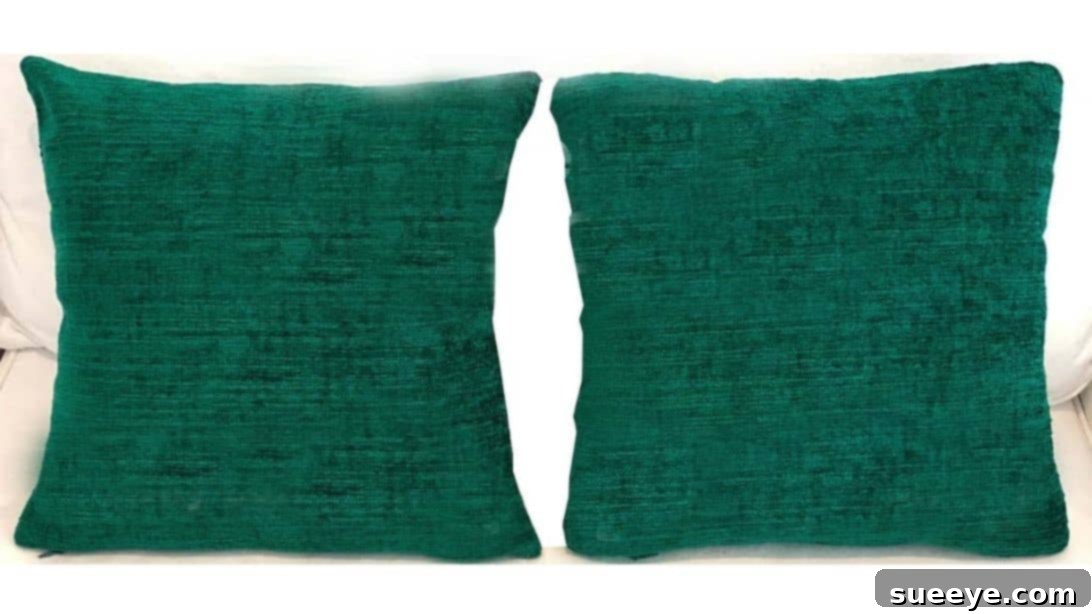
Mastering DIY Cushion Covers: A Comprehensive Guide to Creating Beautiful, Zippered Designs
Sewing is more than just a craft; it’s a wonderfully relaxing and rewarding hobby that offers a fantastic escape and a sense of accomplishment. There’s a unique joy in transforming a piece of fabric into something functional and beautiful, especially when it adds a personal touch to your home. Among the myriad of sewing projects, creating custom cushion covers stands out as an incredibly satisfying endeavor. Not only is it beginner-friendly, but it also allows for endless creativity, enabling you to refresh your living space with personalized accents.
Cushion covers are versatile heroes of home decor, capable of instantly updating a room’s aesthetic, adding a splash of color, or introducing new textures. This detailed guide, inspired by the excellent tutorial from Notches Sewing on YouTube, will walk you through two distinct methods for crafting your own zippered cushion covers. Whether you prefer a soft, classic look or a more structured, tailored finish, you’ll gain the skills to create durable, professional-looking covers that perfectly match your style.
Essential Materials for Your Custom Cushion Cover Project
Before you begin your sewing journey, gathering all the necessary materials is crucial. High-quality supplies will ensure your project is enjoyable and yields a beautiful, long-lasting result. Here’s a detailed list of what you’ll need, along with tips for making the best selections:
- Fabric: The heart of your cushion cover! The type and amount of fabric will depend on your cushion insert’s size and desired aesthetic. Consider durable options like cotton canvas, linen blends, upholstery fabric, or even velvet for a luxurious touch. Always pre-wash and iron your fabric before cutting to prevent shrinking and ensure a smooth surface for accurate measurements. For a standard 18×18 inch cushion, you’ll typically need about 0.75 to 1 yard of fabric, allowing for seam allowances.
- Cushion Insert: The foundation of your cushion. Measure your existing insert accurately. If you’re buying new, ensure it’s slightly larger than your intended cover for a plump, full look.
- Ruler or Measuring Tape: Essential for precise measurements. A clear quilting ruler can be particularly helpful for accurate cutting lines.
- Zipper: A closed-end zipper that is at least 1 inch (2.5 cm) longer than the intended opening for your cushion cover. Choose a standard coil zipper for easy installation. The color should either match your fabric or provide a subtle contrast if you want it to be a design element.
- Fabric Scissors: Sharp scissors dedicated solely to fabric will ensure clean, precise cuts, which are vital for a professional finish.
- Fabric Chalk or Marker: For marking cutting and sewing lines on your fabric. Choose a color that contrasts with your fabric but is easily erasable or washable.
- Coordinating Thread: Select a high-quality polyester thread that matches your fabric color. Polyester thread is strong and durable, perfect for cushion covers that will see regular use.
- Sewing Machine: A basic sewing machine with a straight stitch and a zipper foot attachment will be ideal for this project.
- Pins or Fabric Clips: To hold your fabric pieces securely in place while sewing, preventing shifting.
- Iron and Ironing Board: Crucial for pressing seams open and ensuring a crisp, professional finish at every stage.
Step-by-Step Guide: Crafting Your Perfect Cushion Cover
Preparation: Laying the Foundation for Success
Before diving into cutting and stitching, take a moment to prepare your fabric. Pre-washing and ironing your fabric is a critical first step. This prevents any potential shrinkage after your cushion cover is made and ensures a smooth, wrinkle-free surface for accurate measurements and cuts. Gather all your tools and set up your sewing machine, making sure it’s threaded with your chosen color and you have a bobbin ready.
Method 1: The Classic, Comfy Cushion Cover
This method creates a beautiful, standard cushion cover, perfect for a cozy and inviting look. It’s an excellent starting point for beginners, focusing on straightforward measurements and construction.
Step 1: Precise Measurement and Cutting
Begin by accurately measuring your cushion insert. To account for its fullness, gently curve your ruler around the insert to get the most accurate dimensions. Fold your chosen fabric with the right sides together, then mark these measurements onto the fabric using your chalk or marker. Add a ½ inch (12mm) seam allowance to all sides. Place a weight in the center of your fabric to keep it steady while you cut out the square. From a scrap piece of fabric, cut two small 1×1 inch (2.5cm x 2.5cm) squares; these will be used later for reinforcing the zipper ends.
Step 2: Constructing the Main Body
With the right sides of your main fabric pieces still together, carefully pin around the edges. Stitch around the perimeter using a ½ inch (12mm) seam allowance. It’s crucial to leave a designated opening along one edge for your zipper. Mark this opening clearly at the bottom of the fabric, ensuring it’s slightly shorter than your zipper. Remember to backstitch at the beginning and end of your seams, especially around the zipper opening, to reinforce them.
Step 3: Mastering Zipper Insertion
Position your zipper along the opening you left, with the wrong side of the zipper facing you. Ensure the zipper is at least 1 inch (2.5 cm) longer than the opening to allow for easy handling. Carefully separate the teeth of the zipper and align each side of the zipper tape with the raw edges of your opening. Using a zipper foot on your sewing machine, stitch each side of the zipper securely to the fabric. Once sewn, trim away any excess zipper tape. Now, take one of the small 1×1 inch fabric squares, fold it in half with the wrong sides facing out, and place it at the bottom edge of the zipper slider. Stitch it down right beside the zipper teeth, sewing back and forth a few times to create a robust stop for the zipper slider. Repeat this process for the other side of the zipper.
Step 4: Finishing Touches
With the zipper securely in place, unzip it partially. This will make it easier to turn the cover right side out. Carefully trim any loose threads and excess fabric from your seam allowances, being careful not to cut your stitches. Turn the fabric right side out, gently poking out the corners with a blunt tool (like a chopstick or a corner turner) to achieve a nice, crisp shape. Finally, insert your cushion, zip it closed, and admire your beautifully handmade cover!
Method 2: The Tailored Look – Achieving Crisp Corners
If you desire a more defined, crisp, and structured corner for your cushion cover, this method introduces a clever cutting technique that achieves a wonderfully tailored finish. The zipper installation remains largely the same, but the initial cutting is different.
Step 1: Specialized Corner Marking and Cutting
Start by accurately marking the square size of your cushion insert onto your folded fabric, remembering to add your ½ inch (12mm) seam allowances. Now, for the tailored corners, draw a diagonal line from one corner to the opposite corner on each of the four corners. From the corner point along each diagonal line, measure and mark 1 inch (2.5cm) up. From these new 1-inch marks, draw a 2.5 inch (6.5cm) line to the edges on either side, forming a small V-shape or dart-like cut. At the bottom edge of your fabric, mark the ends of these lines for your zipper opening, just as in Method 1. Carefully cut out these marked sections, paying close attention to precision for sharp corners.
Step 2: Assembling the Cover and Zipper Insertion
With the unique corner cuts made, place your fabric pieces right sides together and pin them securely. Stitch around the fabric with a ½ inch (12mm) seam allowance, leaving the marked opening for your zipper. For the zipper installation, follow the detailed instructions provided in Method 1’s Step 3. This involves aligning the wrong side of the zipper with your opening, stitching each side, and reinforcing the zipper slider ends with the small fabric squares. Ensure your zipper is precisely centered and securely sewn for a clean and professional look.
Step 3: Final Assembly and Finishing
Once the zipper is installed, trim any excess thread and seam allowance. Partially unzip the cover before turning it right side out. Carefully push out the corners from the inside to reveal the crisp, defined shape achieved by your specialized cuts. Insert your cushion, zip it closed, and enjoy the sharp, tailored appearance of your new cushion cover!
Pro Tips for Professional-Looking Cushion Covers
- Press As You Go: Ironing your seams open after each stitching step creates flatter, neater seams and a more professional finish overall.
- Use a Zipper Foot: A zipper foot attachment on your sewing machine allows you to stitch much closer to the zipper teeth, resulting in a cleaner and more secure installation.
- Backstitch for Durability: Always backstitch at the beginning and end of your seams, especially around the zipper opening, to prevent stitches from unraveling.
- Grade Seam Allowances: After sewing, trim your seam allowances to different widths (e.g., ¼ inch and ⅛ inch) to reduce bulk, particularly in the corners, which helps them lie flatter.
- Test Your Stitches: Before sewing on your project fabric, test your stitch length and tension on a scrap piece of the same fabric.
Unleash Your Creativity: Customization Ideas
The beauty of DIY cushion covers lies in their endless potential for customization. Once you’ve mastered the basic construction, consider adding personal touches to make your cushions truly unique:
- Add Piping: Integrate piping into your seams for a sophisticated, structured edge.
- Ruffles or Fringe: Attach ruffles or decorative fringe along the edges for a playful or luxurious look.
- Appliques or Embroidery: Personalize your covers with fabric appliques, monograms, or intricate embroidery.
- Mix and Match Fabrics: Combine different fabric patterns or textures on the front and back, or create color-blocked designs.
- Upcycle: Transform old jeans, curtains, or even sweaters into unique and eco-friendly cushion covers.
Conclusion
Creating your own zippered cushion covers is a deeply rewarding project that combines practicality with artistic expression. With these two methods, you have the flexibility to choose a style that best suits your home and your skill level. The satisfaction of seeing your handmade creations adorn your living space is truly unparalleled. So, gather your materials, fire up your sewing machine, and embark on this delightful journey of crafting comfort and style. We encourage you to experiment, personalize, and most importantly, enjoy every stitch!
All image credit belongs to Notches Sewing via YouTube. Follow and subscribe to her channel for more inspiring tutorials!