
Machine Embroidery For Beginners: Your Comprehensive Guide to Getting Started
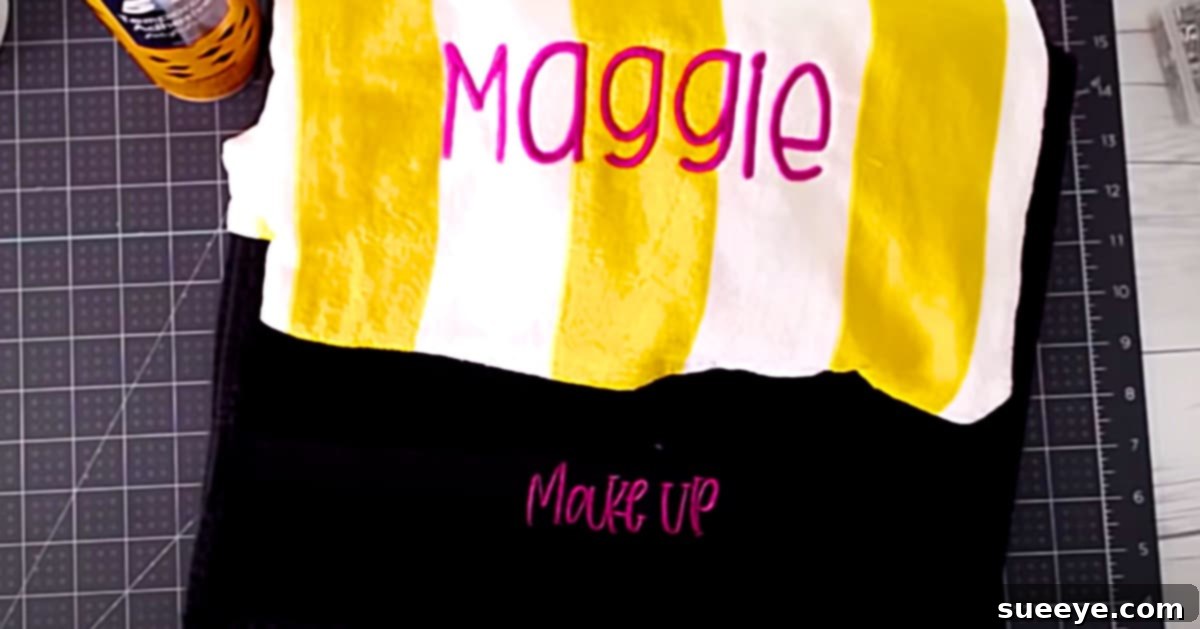
The allure of personalized items is undeniable. From custom monograms on bathrobes to intricate designs adorning shirts and towels, machine embroidery offers a fantastic way to transform ordinary textiles into unique, cherished possessions. For years, I admired the beauty of embroidered pieces, dreaming of creating my own bespoke designs. The idea of machine embroidery captivated me, yet the prospect of starting felt incredibly daunting. Questions swirled in my mind: How do I properly hoop my fabric? When is the right moment to position my design? And how do I ensure it lands exactly where I want it? This initial hesitation is common for many aspiring embroiderers, but I discovered that with the right guidance, this fascinating craft is much more accessible than it seems.
My journey into machine embroidery began with a quest for answers. I scoured the internet, searching for a resource that could demystify the process and provide a clear, step-by-step introduction. That’s when I stumbled upon a truly wonderful beginner’s machine embroidery video tutorial by Lorrie Nunemaker on YouTube. Her explanation made everything click into place. The complexities I imagined dissolved, replaced by a clear path forward. Suddenly, the world of machine embroidery seemed not just achievable, but incredibly exciting. I couldn’t wait to embark on this new creative adventure, and I’m here to share the foundational knowledge I gained, so you can start yours with confidence.
Why Dive into Machine Embroidery? The Creative Benefits
Beyond the simple act of stitching, machine embroidery opens up a world of creative possibilities and practical applications. It’s more than just a hobby; it’s a skill that allows you to infuse personality and charm into countless items, making them truly your own or perfect as heartfelt gifts.
Unleashing Your Creativity with Custom Designs
Imagine being able to personalize virtually anything made of fabric. With machine embroidery, you’re not limited to pre-made designs. You can create custom monograms for wedding gifts, add playful motifs to children’s clothing, or even craft intricate designs for home decor items like cushions and wall hangings. The satisfaction of seeing your vision come to life in thread is incredibly rewarding. It allows for a unique expression of style and a distinctive touch that mass-produced items simply can’t offer. This creative outlet is boundless, limited only by your imagination and the vast array of designs available or those you can digitize yourself.
Beyond a Hobby: Practical Applications and More
Machine embroidery isn’t just for decorative purposes. It also offers practical benefits. You can mend small tears in clothing with stylish patches, add custom branding to uniforms or business merchandise, or even create a small side business selling personalized items. The ability to customize apparel and accessories makes it a valuable skill for crafters, small business owners, and anyone looking to add a professional, personalized touch to their fabric projects. From enhancing fabric items to creating memorable gifts, the versatility of machine embroidery makes it a truly worthwhile endeavor.
Essential Materials for Your First Embroidery Project
Before you even power on your embroidery machine, gathering the right tools and materials is crucial. Having these essentials on hand will ensure a smooth and successful learning experience, minimizing frustration and maximizing your creative enjoyment. Think of this as your foundational toolkit for embarking on your machine embroidery journey.
-
Tear-Away Stabilizer: Your Fabric’s Best Friend
Stabilizer is perhaps the most critical, yet often overlooked, component in machine embroidery. It provides the necessary support to your fabric during the stitching process, preventing puckering, stretching, and distortion. For beginners, tear-away stabilizer is highly recommended. It’s easy to use and ideal for a wide range of fabrics, especially non-stretchy ones. After your design is complete, you simply tear away the excess stabilizer from around your stitches. Other types, like cut-away (for stretchy fabrics or denser designs) and wash-away (for delicate fabrics or free-standing lace), exist, but tear-away is an excellent starting point for understanding the principle of fabric support.
-
A Scrap Piece of Fabric: Practice Makes Perfect
Resist the urge to start your first project on a cherished item. Instead, arm yourself with a generous supply of scrap fabric. This allows you to experiment with different stitches, hooping techniques, and design placements without the fear of ruining something valuable. Cotton broadcloth or old denim are excellent choices for practice, as they are stable and forgiving. Think of these scraps as your personal embroidery playground where you can make mistakes, learn from them, and refine your skills before tackling your dream projects.
-
Curved Embroidery Scissors: Precision in Tight Spaces
You might wonder why specialized scissors are necessary. Once your fabric is hooped and placed on the machine, you’ll find that regular scissors are too cumbersome for trimming jump stitches or stray threads within the confines of the hoop. Curved scissors, with their fine, angled tips, are specifically designed for this purpose. They allow you to snip threads cleanly and precisely without risking damage to your fabric or the precious stitches you’ve already laid down. This small tool makes a significant difference in achieving a professional finish.
-
An Embroidery Machine: Your Creative Engine
Of course, the star of the show is your embroidery machine. Whether you have a dedicated embroidery machine or a sewing machine with embroidery capabilities, understanding its basic functions is key. Modern machines come with a variety of built-in designs, fonts, and editing features. For beginners, an entry-level machine that is user-friendly and reliable is often sufficient. Familiarize yourself with your machine’s manual, as it will be your primary guide to its unique operations, threading paths, and maintenance requirements.
-
A Stabilizing Hoop: The Frame for Your Masterpiece
The embroidery hoop is essential for holding your fabric taut and secure while the machine stitches. A stabilizing hoop consists of an inner and outer ring that clamp together, keeping your fabric perfectly flat and preventing it from shifting. This stability is vital for achieving crisp, even stitches. Hoops come in various sizes, allowing you to accommodate different project dimensions. Learning to hoop correctly is fundamental to successful embroidery, as improper hooping can lead to puckering and misaligned designs.
Your First Steps: Mastering the Basics of Machine Embroidery
With your materials ready, it’s time to delve into the practical steps of machine embroidery. This is where resources like Lorrie Nunemaker’s beginner tutorial truly shine, guiding you through the initial setup and critical techniques that will lay the foundation for all your future projects.
Preparing Your Fabric and Stabilizer: The Art of Hooping
One of the very first and most critical skills you’ll master is hooping your fabric with the stabilizer. This process seems simple but requires attention to detail. The goal is to get your fabric and stabilizer perfectly taut within the hoop, without any wrinkles or slack. Begin by placing the stabilizer under your fabric, ensuring it extends beyond the edges of your chosen design. Then, carefully align the outer hoop over the inner hoop and fabric, pressing down firmly. Tighten the screw on the hoop until the fabric is as taut as a drum, but without stretching the fabric itself. Improper hooping is a common source of puckering and distorted designs, so taking your time here will save you headaches later.
Precision Design Placement: Getting It Just Right
Once your fabric is perfectly hooped, the next challenge is ensuring your design is placed exactly where you want it. This step is where many beginners feel overwhelmed. Lorrie Nunemaker’s tutorial brilliantly breaks down techniques for centering your project and marking your fabric. Many embroidery machines come with built-in templates or crosshairs that help align your design. You can also use temporary fabric markers to pinpoint the exact center of your design area on the hooped fabric. This precision ensures that your monogram doesn’t end up off-center on a towel or your decorative motif is perfectly aligned on a shirt sleeve. Practice with these placement techniques on your scrap fabric until you feel confident.
Programming Your Embroidery Machine: From Design to Stitch
With your fabric hooped and placement secured, the final step before stitching is programming your embroidery machine. This involves selecting your desired design from the machine’s library or loading a design from a USB stick. You’ll then choose your thread colors, adjust the size or rotation of the design if necessary, and ensure all settings are correct. Once everything is confirmed, you’ll attach the hoop to the machine’s embroidery arm and press start. The machine will then meticulously stitch out your design. While it works, it’s a good idea to stay nearby, especially for your first few projects, to snip any stray threads with your curved scissors or address any potential issues like thread breaks.
Remember, the journey of learning machine embroidery is all about practice and patience. Start with simple designs on your scrap fabric, follow comprehensive tutorials like Lorrie Nunemaker’s, and don’t be afraid to experiment. Each stitch is a step forward in mastering this delightful craft.
Beyond the First Stitch: Expanding Your Embroidery Skills
Once you’ve successfully completed your first few projects, you’ll likely feel a surge of confidence and a desire to explore more advanced techniques and materials. Machine embroidery is a craft with endless possibilities, and there’s always something new to learn.
Exploring Different Threads and Needles
The world of embroidery threads is vast and vibrant. While polyester and rayon threads are excellent for beginners due to their durability and shine, you can also experiment with metallic threads for a sparkling effect, cotton threads for a matte, natural look, or even specialty threads like glow-in-the-dark. Each thread type requires a specific needle to perform optimally. For instance, metallic threads often require a larger eye needle, while delicate fabrics might benefit from a sharp, fine needle. Understanding these combinations will help you achieve better stitch quality and minimize thread breaks, especially on challenging fabrics.
Caring for Your Machine and Projects
Just like any precision tool, your embroidery machine requires regular maintenance to perform its best. This includes cleaning the bobbin area, oiling moving parts (as recommended by your machine’s manual), and changing needles frequently. A well-maintained machine runs smoothly, produces better stitches, and lasts longer. Similarly, proper care for your finished embroidered projects ensures their longevity. Knowing how to wash and iron embroidered items correctly, typically using gentle cycles and low heat, will keep your personalized creations looking beautiful for years to come.
Troubleshooting Common Embroidery Challenges
Even experienced embroiderers encounter challenges. Thread breaks, puckering, poor stitch quality, and design registration issues are common. Instead of getting discouraged, view these as learning opportunities. Often, simple adjustments like changing your needle, re-hooping your fabric more tightly, or adjusting thread tension can resolve most problems. Online forums, your machine’s manual, and advanced tutorials are invaluable resources for troubleshooting. Developing a systematic approach to identifying and solving these issues will greatly enhance your skills and confidence.
Embrace Your Machine Embroidery Journey
Machine embroidery is a deeply rewarding craft that combines technology with artistic expression. What once seemed an intimidating hobby has transformed into an accessible and enjoyable pursuit for countless individuals, including myself. The ability to take a plain piece of fabric and transform it into something truly personal and beautiful is an empowering experience. From the initial thrill of finding that perfect beginner’s guide to the satisfaction of completing your first intricate design, every step of the machine embroidery journey is filled with discovery and creativity.
Whether you’re looking to create heartfelt gifts, personalize your wardrobe, or even explore starting a small business, machine embroidery offers endless possibilities. Don’t let initial questions or perceived complexities deter you. With the right materials, a willingness to learn, and excellent resources like Lorrie Nunemaker’s beginner tutorial, you have everything you need to embark on this fantastic creative adventure. So, thread your machine, hoop your fabric, and get ready to stitch your way to incredible personalized creations. Happy embroidering!