
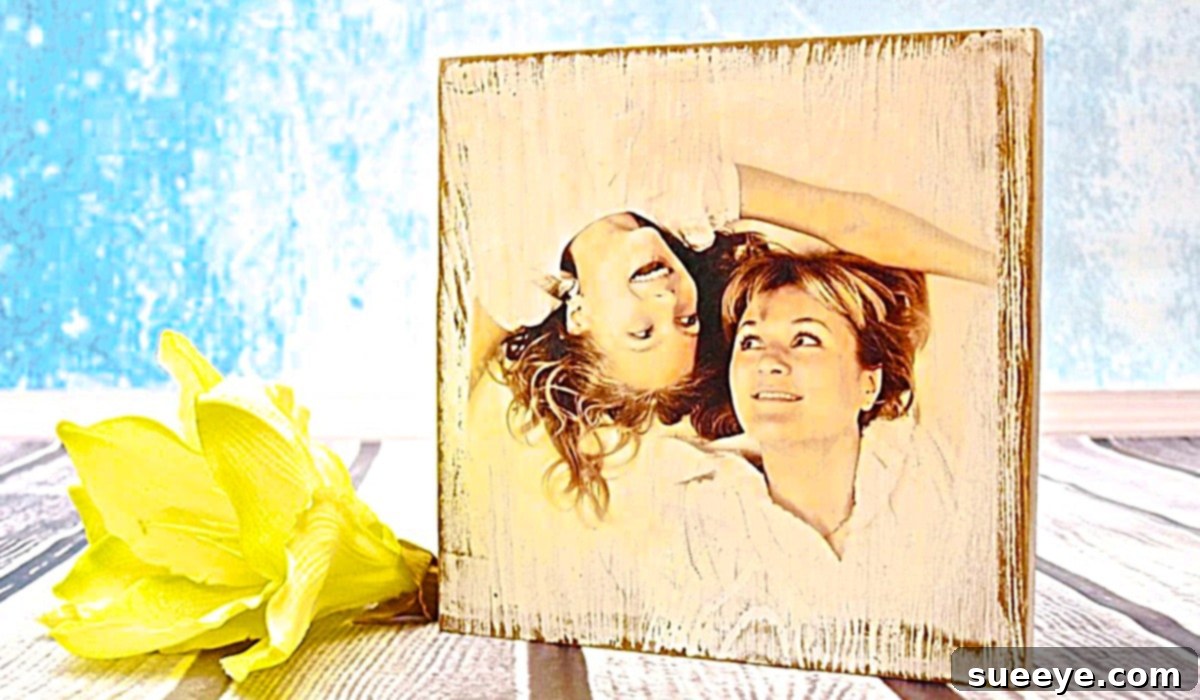
DIY Photo Transfer on Wood: Crafting Timeless Memories into Rustic Decor
There’s something incredibly special about family photos and cherished memories. They capture moments, emotions, and the stories that define us. While traditional photo frames are lovely, imagine transforming those precious snapshots into unique pieces of art that add a rustic, personalized touch to your home decor. A photo transfer onto wood offers a captivating way to achieve this, merging the warmth of natural wood with the intimacy of your favorite images.
This popular DIY technique allows you to create custom gifts, beautiful wall art, or unique keepsakes with relative ease and affordability. When I first discovered the intriguing process of photo transfer via Craft Tutorials on YouTube, I was instantly captivated. The idea of embedding a photograph into wood, letting its natural grain peek through, felt like a magical way to preserve and display memories. This guide will walk you through everything you need to know to master this craft, ensuring beautiful, professional-looking results every time.
One crucial tip right from the start: always use photocopies of your original photos. Never risk your irreplaceable originals in any crafting process. You can easily get high-quality laser photocopies at most office supply stores or even some grocery stores. The process itself is surprisingly straightforward: select your wood, prepare your photo, apply the transfer medium, and then reveal your stunning, personalized creation. The instructions are simple, and the materials are readily available and budget-friendly, making this an ideal project for crafters of all skill levels.
Why Choose Wood for Your Photo Transfers?
Wood provides a unique canvas for photo transfers that offers several advantages over traditional printing methods:
- Rustic Charm: The natural grain and texture of wood add an organic, rustic, or farmhouse aesthetic that digital prints or canvas simply can’t replicate. Each piece of wood is unique, giving your transfer an inimitable character.
- Durability: Once sealed, your photo transfer on wood will be more durable and long-lasting than a simple paper print, resisting wear and tear over time.
- Personalization: Beyond the image itself, you can choose different wood types, stains, and finishes to perfectly match your home decor or the recipient’s style, making each piece truly bespoke.
- Versatility: Wood transfers aren’t just for wall art. They can be used to create custom coasters, ornaments, signs, gift tags, jewelry boxes, or even furniture accents, opening up a world of creative possibilities.
- Eco-Friendly Potential: Using reclaimed wood or sustainable wood sources can make this a more environmentally conscious craft project.
Essential Materials for Your Wood Photo Transfer Project:
Gathering your materials before you begin will make the process smoother and more enjoyable. Here’s a detailed list of what you’ll need, along with some important considerations:
- A Piece of Wood:
- Type: Smooth, untreated wood works best. Options include pine, birch plywood, wood slices, or even reclaimed wood.
- Surface: Ensure the surface is clean, dry, and as smooth as possible. Light-colored wood will allow your photo’s colors to show through most vibrantly.
- Preparation: Sanding with fine-grit sandpaper (180-220 grit) is often necessary to achieve an ideal surface.
- Stain (Optional):
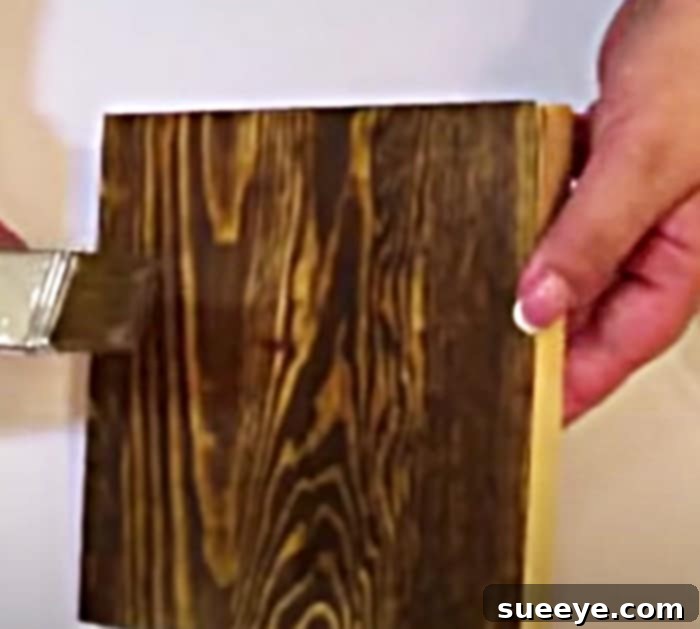
- If you desire a darker, more aged, or specific wood tone as your base, a wood stain can be applied before the transfer process. Allow it to dry completely.
- Laser Photocopy of Your Photo:
- CRUCIAL: Use a laser-printed photocopy, not an inkjet print. Laser printer toner is what adheres to the transfer medium; inkjet ink typically won’t work.
- Orientation: If your photo contains text or a specific orientation is important, remember to mirror or flip the image horizontally before printing, as the transfer process will reverse it.
- Quality: A high-resolution photo will yield clearer results.
- Acrylic Paint (Optional Base Layer):
- A thin, light coat of acrylic paint (white or a light neutral color) can be applied to the wood before the transfer medium. This creates a brighter base, making the transferred image’s colors pop more vibrantly, especially on darker woods.
- A Paintbrush or Foam Brush:
- For applying stain, acrylic paint, and especially the transfer gel evenly.
- Photo Transfer Gel/Medium:
- This is the key ingredient! Brands like Mod Podge Photo Transfer Medium, Liquitex Gel Medium, or other dedicated photo transfer gels work wonderfully. Ensure it’s specifically designed for photo transfers, not just general craft glue.
- Water (in a spray bottle or bowl): For dampening the paper backing during removal.
- Clean Cloths or Paper Towels: For wiping excess, cleaning, and dampening.
- Scraper Tool or Old Credit Card: To smooth out the photo and remove air bubbles after application.
- Craft Knife or Scissors: For trimming your printed photo.
- Sealer (Optional but Recommended): A clear acrylic sealer, varnish, or Mod Podge topcoat will protect your finished transfer from moisture and wear, enhancing its longevity.
Step-by-Step Directions: Mastering Your Wood Photo Transfer
Follow these detailed steps to create your beautiful photo transfer on wood:
Step 1: Prepare Your Wood Surface
The foundation of a great transfer is a well-prepared wood surface. Begin by thoroughly sanding your chosen piece of wood with fine-grit sandpaper (180-220 grit) until it’s smooth to the touch. This ensures better adhesion of the transfer medium. Wipe away all sawdust with a clean, dry cloth. If you plan to stain your wood for a specific aesthetic, apply the stain now according to product instructions and allow it to dry completely—typically 12-24 hours. For a brighter image, you might also apply a thin, even coat of light-colored acrylic paint (like white or cream) and let it dry before moving to the next step. This base coat helps the colors of your transferred image stand out more vividly.
Step 2: Prepare Your Laser Photocopy
Carefully trim your laser-printed photocopy to the exact size and shape you want for your wood piece. Remember the crucial detail: if your image contains text or needs a specific orientation, ensure you printed it mirrored (flipped horizontally) beforehand. The transfer process will reverse the image back to its original orientation on the wood. Precision in cutting will help ensure a clean edge for your final transfer.
Step 3: Apply the Transfer Medium
Using a paintbrush or foam brush, apply a generous, even layer of photo transfer gel directly onto the image side of your trimmed photocopy. Make sure the entire image area is covered thoroughly, but avoid excessive pooling. The layer should be thick enough to allow for good adhesion without being so thick that it squeezes out excessively when pressed. Work quickly, as some mediums start to dry relatively fast.
Step 4: Position and Adhere Your Photo
Carefully place your photo (gel-side down) onto your prepared wood surface. Position it precisely where you want the image to appear. Once placed, gently but firmly press down on the entire surface of the photo. Using a scraper tool, an old credit card, or even your fingers, smooth out any air bubbles or wrinkles, working from the center outwards. Even pressure is key here to ensure full contact between the gel and the wood. Be careful not to shift the paper once it’s laid down.
Step 5: The All-Important Drying Time
This step is absolutely critical and often where crafters go wrong by rushing. You must allow the transfer medium to dry completely. This typically means a minimum of 12-24 hours, and sometimes even longer in humid conditions. Resist the urge to peek or move the wood during this period. Adequate drying time ensures the toner from your photocopy fully bonds with the transfer gel and the wood surface.
Step 6: Remove the Paper Backing
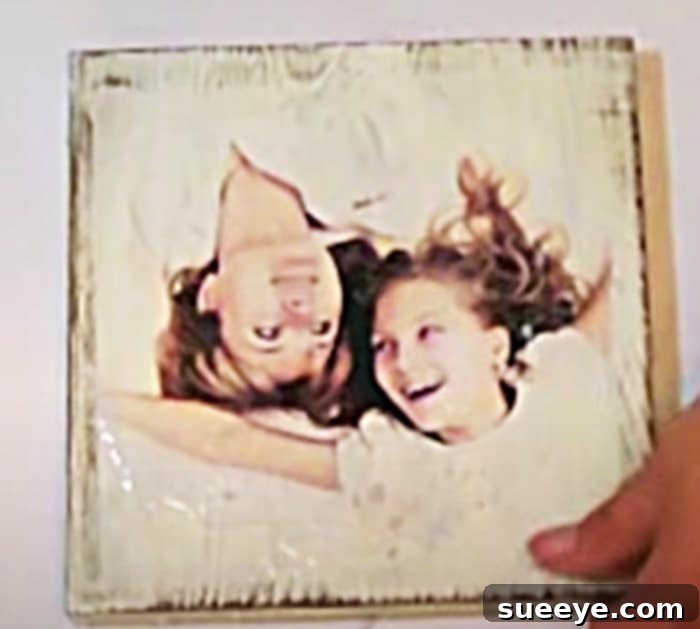
Once completely dry, it’s time for the reveal! Lightly dampen the paper backing of your photo. You can use a spray bottle filled with water or a damp cloth/sponge. Let the water soak into the paper for a minute or two until it becomes translucent. Then, using your fingertips, gently rub away the wet paper in small circular motions. The paper fibers will start to pill and come off, revealing your transferred image underneath. Be patient and gentle; avoid scrubbing too hard, as this can damage the transferred image. If some paper is stubborn, re-dampen and continue rubbing. This process may take several passes until all the paper fibers are gone and the image is clear. Allow the wood to dry again.
Step 7: Final Touches and Sealing (Optional)
Once your transfer is fully dry and all paper residue is removed, you can enhance its look. For a vintage or distressed effect, you can lightly sand the edges or parts of the image. To protect your beautiful new creation and ensure its longevity, apply a clear acrylic sealer, varnish, or a topcoat of Mod Podge. This will protect against moisture, UV damage, and everyday wear and tear. Allow the sealer to dry completely according to product instructions. Now your personalized wood photo transfer is ready for display!
Troubleshooting Common Photo Transfer Issues:
Even experienced crafters can encounter a few bumps along the way. Here are solutions to common issues:
- Fuzzy or Blurry Image: This often indicates insufficient drying time before removing the paper, or not applying enough pressure during the initial photo placement. Also, ensure you used a laser print, not an inkjet.
- Incomplete Transfer or Missing Patches: This can happen if the transfer gel was applied unevenly, or if there wasn’t enough pressure during the initial application, leading to poor contact between the image and the wood. Premature paper removal can also cause this.
- Bubbles or Wrinkles: Usually a result of not smoothing out the photo thoroughly enough after placing it on the wet gel.
- White Haze or Cloudy Appearance: This is almost always due to leftover paper fibers. Re-dampen the area and gently rub more, ensuring all paper residue is removed.
- Cracking or Peeling: Can occur if too thick a layer of transfer medium was applied, or if the wood surface wasn’t properly prepared.
Creative Ways to Display Your Wood Photo Transfers:
Once you’ve mastered the technique, the possibilities for showcasing your creations are endless:
- Wall Art: Hang a single statement piece or create a gallery wall with multiple transfers of varying sizes.
- Personalized Coasters: Protect your surfaces with unique, photo-adorned coasters, perfect for gifting.
- Ornaments: Transfer family photos onto wood slices for charming holiday tree ornaments.
- Custom Gifts: These make incredibly thoughtful and personalized gifts for weddings, birthdays, anniversaries, or housewarmings.
- Decorative Boxes: Adorn the lids of wooden boxes for personalized storage.
- Tabletop Decor: Prop up smaller transfers on shelves or mantelpieces for a touch of rustic elegance.
- Furniture Accents: Integrate larger transfers into repurposed furniture pieces for a truly unique look.
Unleash Your Creativity with Wood Photo Transfers!
The art of transferring photos onto wood is more than just a craft; it’s a beautiful way to personalize your living space, create meaningful gifts, and preserve your most cherished memories in a tactile, artistic form. It transforms a simple photograph into a timeless piece of rustic art that tells a story. The process is rewarding, the materials are accessible, and the results are consistently stunning. So, gather your supplies, choose your favorite photos, and embark on this delightful DIY journey. You’ll be amazed at the unique and heartfelt creations you can bring to life. Happy crafting!