
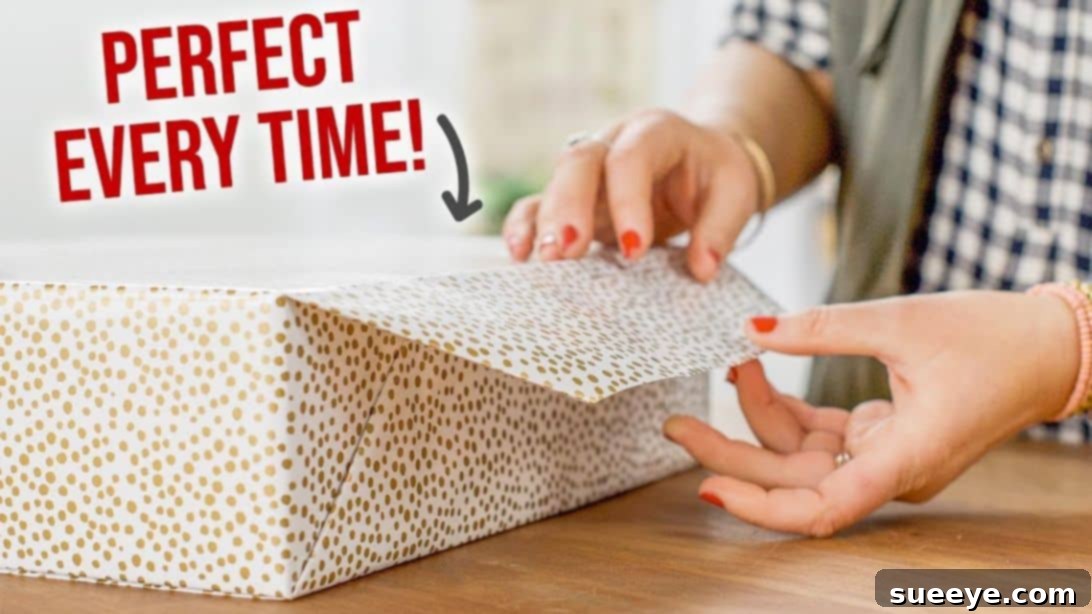
Presenting a beautifully wrapped gift adds an extra layer of thoughtfulness and excitement to any occasion. Yet, for many, the art of gift wrapping can feel like a daunting task, often resulting in crumpled paper, visible seams, and frustrating efforts. The journey to mastering this skill, from cutting the paper just right to achieving those coveted crisp edges, can be challenging. I vividly recall my initial attempts: the wrapping paper was always either too short, too long, or the seams were simply an eyesore, detracting from the joy of the gift itself.
RELATED: Discover More Easy & Genius Life-Changing Gift Wrapping Hacks
My perspective on gift wrapping completely transformed after discovering an incredible video tutorial by HGTV Handmade on YouTube. This revolutionary method simplifies the entire process, making it incredibly easy to follow and implement. What once seemed like a complex chore is now an enjoyable part of the gifting experience. Thanks to their clear instructions, I now wrap all my gifts with confidence, achieving nearly invisible seams and a polished finish every time. This invaluable tutorial even includes bonus tips for tackling those notoriously tricky odd-shaped objects, ensuring no gift is left behind.
Master the Art of Gift Wrapping: Perfect Presents for Any Shape
Why Flawless Gift Wrapping Makes All the Difference
A beautifully wrapped gift is more than just an aesthetic touch; it’s an extension of your care and consideration. It builds anticipation and enhances the overall gifting experience, leaving a lasting impression on the recipient. A perfectly wrapped present demonstrates attention to detail and a genuine effort, transforming a simple item into a cherished token of affection. It elevates the perceived value of the gift and adds a touch of elegance to any celebration, making the unwrapping process as delightful as the gift itself.
Essential Tools for Seamless Gift Wrapping
Before you begin your wrapping journey, gathering the right supplies is crucial. High-quality materials not only make the process smoother but also contribute significantly to the final, polished look of your gift.
- Sturdy Wrapping Paper: Opt for thick, durable paper that resists tearing and wrinkling. This is the foundation of a perfectly wrapped gift and provides a clean canvas for your efforts. Consider the occasion and recipient when choosing patterns and colors.
- Sharp Scissors: A clean, precise cut is vital for crisp edges and professional-looking seams. Dull scissors can fray paper and lead to uneven lines, so ensure your scissors are sharp and dedicated to crafting.
- Regular Tape: Standard adhesive tape is essential for initial securement and hidden folds. Choose a clear variety to maintain a pristine appearance, or consider matte options that blend seamlessly with the paper.
- Double-Sided Tape: This is the secret weapon for invisible seams and a truly professional finish. Using double-sided tape prevents visible tape lines and allows the paper’s design to shine through uninterrupted.
- Ribbon and Embellishments: While optional, ribbons, bows, tags, and other decorative elements add a personal touch and elevate the presentation. They can transform a simple package into a work of art and are particularly useful for camouflaging minor imperfections.
How to Wrap Box-Shaped Gifts Perfectly
Wrapping a box is the most common gift-wrapping scenario. With these detailed steps, you’ll achieve crisp corners and invisible seams, making every box a masterpiece.
Step 1: Preparation – Measuring and Cutting with Precision
Begin by laying your chosen wrapping paper face down on a clean, flat surface. Place your box centrally on top of the paper. To determine the correct paper length, bring one long side of the paper up and over the box. Continue pulling it across the top until it overlaps the other side of the box by approximately 2 to 3 inches. This overlap ensures a secure and clean seam. For the width, leave enough paper on both ends to extend about three-quarters of the height of the box. This measurement is crucial for creating neat, tucked-in sides. Once measured, carefully trim the excess paper on both the length and width, ensuring the opposite side matches the calculated dimensions. Precision here is key to avoiding wasted paper and achieving a snug fit.
Step 2: Initial Securement and Alignment
With your paper perfectly cut, flip the box over so its bottom side is now facing up. This ensures the main seam will be on the underside, out of sight. Take one of the shorter edges of the wrapping paper and fold it inward by about 1 to 2 inches. This folded edge will provide a clean, reinforced line. Carefully pull this folded edge up and over the edge of the box, securing it firmly with a piece of regular tape. Ensure the paper is pulled taut against the box to prevent wrinkles and create a smooth foundation for the subsequent steps. This initial securement sets the stage for a seamless finish.
Step 3: Achieving Crisp, Invisible Seams
Now, focus on the primary seam that runs along the length of the box. Pull the remaining longer side of the paper tightly over the top of the box, ensuring it meets or slightly overlaps the previously secured edge. Once you have a snug fit, use your fingers or a ruler to create a sharp crease along the edge where the paper meets the box. This crisp crease is vital for a professional look. For an invisible seam, tuck the raw edge of the longer paper underneath itself, creating a clean folded edge. Secure this hidden fold along the previous seam using double-sided tape. As you secure, pay close attention to the side flaps. On each end, gently pull the paper outwards, then inwards, shaping a neat triangle. Press down firmly to create sharp creases along all edges of this triangular fold, ensuring a tight, clean finish.
Step 4: Finishing the Ends with Finesse
Repeat the triangular folding technique on the other end of the box, ensuring symmetry and crispness. Once both side triangles are firmly creased, fold the top part of the paper down over the end of the box, pulling it taut. Next, fold the bottom part of the paper up, making sure it overlaps the top flap. Secure both these flaps with double-sided tape for an invisible closure. The goal is to have no visible tape lines on the ends of the package. Repeat this entire process for the opposite side of the box, working methodically to achieve uniform, impeccably wrapped ends. Give the entire package a final once-over, gently creasing all edges and ensuring the last flap is securely taped, completing your perfectly wrapped box.
Mastering the Art of Wrapping Odd-Shaped Gifts
Wrapping oddly shaped gifts often feels like an impossible task, leading to frustration and a less-than-stellar presentation. However, with a clever technique that involves creating a customized paper pouch, you can transform even the most challenging items into beautifully presented gifts. This method focuses on creating a secure and aesthetically pleasing wrap that complements the unique contours of the item.
Step 1: Assessing Paper Needs and Initial Sealing
Begin by placing your odd-shaped present on your wrapping paper to gauge the required amount. You’ll need enough paper to entirely enclose the item with sufficient allowance for folding and sealing. Once you’ve determined the length, fold the two longer halves of the paper towards the center, ensuring they overlap slightly. This overlap will form the main seam of your custom pouch. Secure this central seam meticulously with regular tape, running a neat line of tape along the entire length to create a strong, durable bond. This initial sealing creates the foundational tube or pouch that will hold your unique gift.
Step 2: Crafting the Base: The Diamond Fold Technique
With the main seam secured, lay the paper flat. Hold the middle section firmly in place with one hand and gently crease the ends. Now, fold the bottom edge of your paper tube upwards, creating a fold approximately 6 to 8 inches deep, depending on the size of your gift. This upward fold forms the base of your pouch. Carefully crease these new seams firmly. Next, open this folded section to reveal a diamond shape. This is where the magic happens! Take each point of the diamond and fold it inwards towards the center, making sure they meet perfectly. These precise folds will create a sturdy, flat base. Secure all overlapping points and edges with tape, reinforcing the diamond shape and creating a robust bottom for your gift package.
Step 3: Inserting the Gift and Sealing the Top
Carefully insert your odd-shaped present into the newly created paper pouch, ensuring it sits securely at the bottom. Once the gift is nestled inside, assess the remaining excess paper at the top. Trim any significant excess, leaving just enough to create a neat closure. Fold the edges of the top opening down at an angle, creating neat triangular flaps on either side, similar to sealing a paper bag. Then, fold the main top flap down over these angled edges, pulling it snugly against the gift. Secure this flap firmly with tape for a clean and contained finish. To complete the presentation, artfully wrap a ribbon around the entire present, concealing the taped top seam and adding a decorative touch. Finish with a charming bow, transforming your uniquely shaped gift into an elegant and delightful package.
Pro Tips for Impeccable Gift Wrapping
- Choose Quality Paper: Thicker paper is easier to work with and less prone to tearing, giving a luxurious feel.
- Work on a Flat Surface: A large, clean table allows for precise measurements and crisp folds.
- Sharp Tools are Your Friends: Invest in a good pair of scissors and a sharp craft knife for clean lines.
- Measure Twice, Cut Once: Always double-check your paper measurements before cutting to avoid waste.
- Crease, Crease, Crease: Sharp creases are the secret to professional-looking packages. Use a bone folder or a ruler edge for extra crispness.
- Less Tape is More (Visibly): Utilize double-sided tape whenever possible to hide seams and give a cleaner finish.
- Embellish Thoughtfully: Ribbons, tags, natural elements, or even small ornaments can elevate a simple wrap.
- Practice Makes Perfect: Don’t get discouraged if your first few attempts aren’t flawless. Each gift wrapped is a step towards mastery.
- Consider the Recipient: Tailor your wrapping style to the person and the occasion for an even more personal touch.
Common Gift Wrapping Challenges and Solutions
- Paper too short: If you’re slightly short, try adding a decorative band of contrasting paper around the middle. If it’s too short to meet, you might need to find a smaller box or a different piece of paper.
- Paper too long/wide: Always trim excess paper. Too much paper makes it bulky and difficult to fold neatly.
- Wrinkles and creases in the wrong places: Smooth the paper out as you go. Work slowly and firmly. If a wrinkle appears, gently lift the paper and re-smooth it.
- Tape showing: Switch to double-sided tape for all visible seams and folds. For areas where regular tape is necessary, place it on the underside of overlaps.
- Awkwardly shaped items: Consider using gift bags, fabric wraps, or the “pouch” method described above. For very soft items, place them in a box first, then wrap the box.
Elevate Your Gifting Experience
Gift wrapping doesn’t have to be a source of stress. With the techniques and tips shared in this guide, inspired by the expertise of HGTV Handmade, you’re now equipped to transform any present into a beautifully wrapped token of affection. The effort you put into presentation speaks volumes, making the recipient feel truly special. So, gather your materials, follow these steps, and enjoy the satisfaction of creating perfectly wrapped gifts every time. Happy wrapping!
All image credit belongs to HGTV Handmade via YouTube. Follow and subscribe to their channel for more inspiring DIY projects and gift wrapping tutorials!