
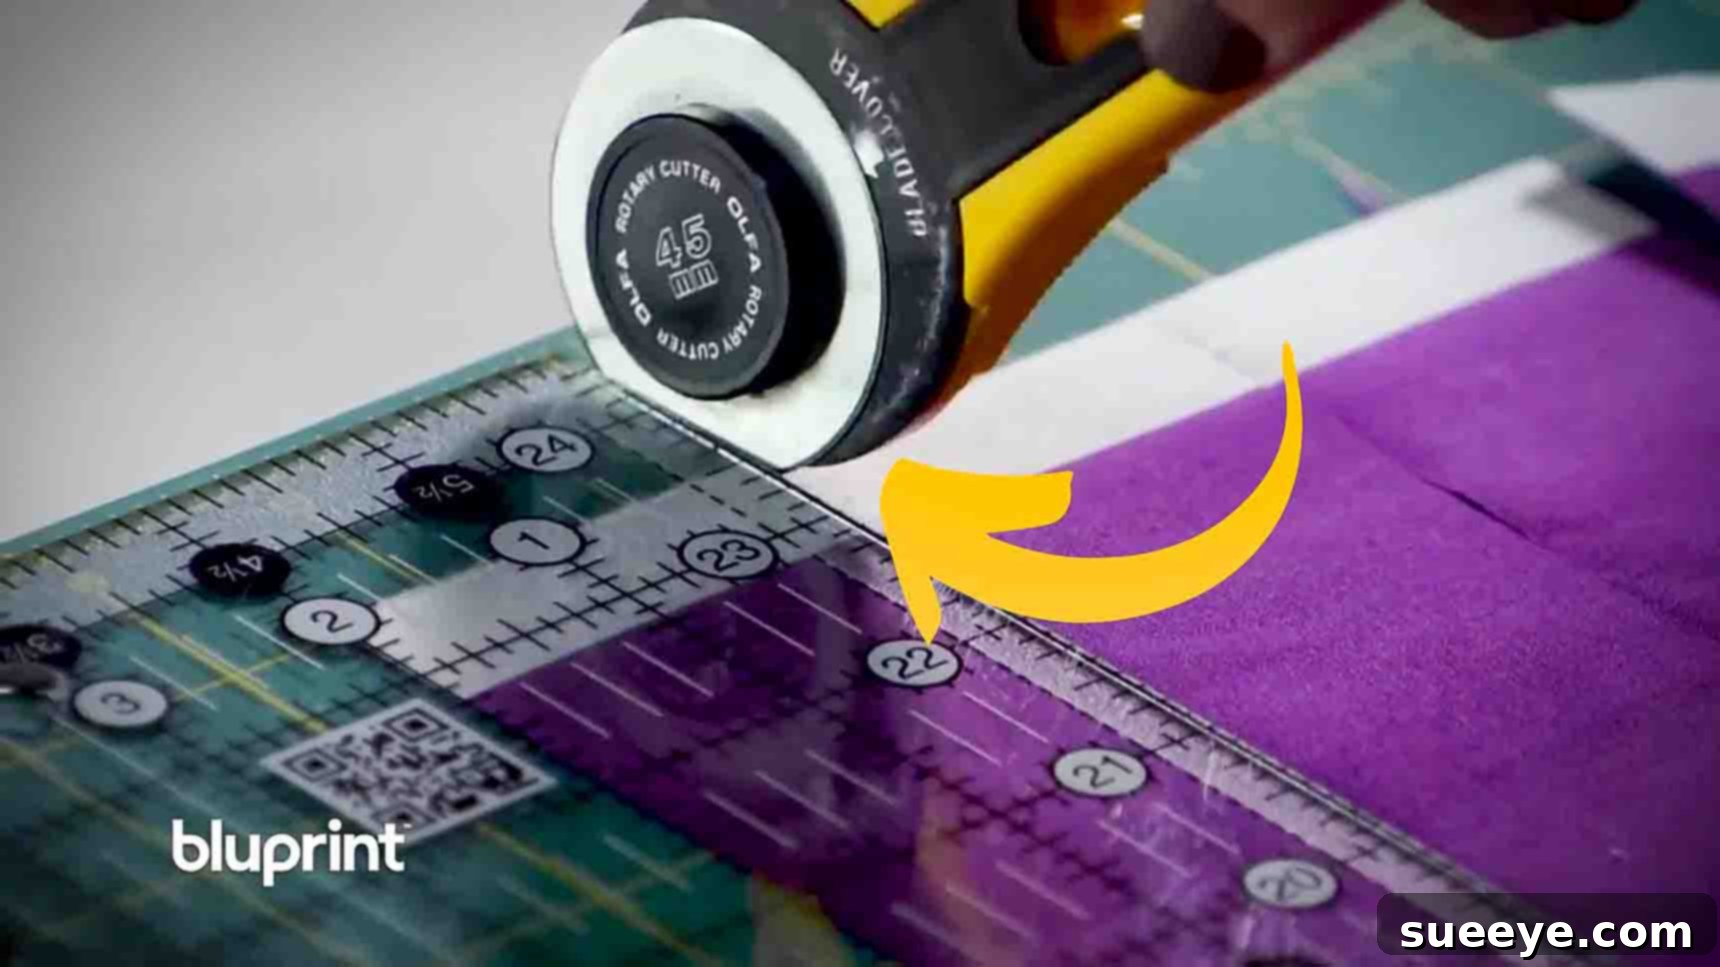
Mastering Precision: Essential Fabric Cutting Hacks for Every Quilter
For any quilter, whether a seasoned pro or just starting out, achieving precise cuts is the cornerstone of a beautiful finished project. The old adage “measure twice, cut once” takes on profound meaning in quilting, as even a millimeter off can throw an entire block or quilt top out of alignment. While the process of cutting fabric might seem straightforward, there are ingenious techniques and habits that can dramatically enhance your accuracy, speed, and overall quilting experience. Drawing inspiration from expert quilters, particularly valuable insights shared by Craftsy, we’ve compiled a list of essential fabric cutting hacks designed to transform your quilting journey. These tips will help you conquer common cutting challenges, minimize fabric waste, and build confidence in every snip and slice, leading to quilts that are perfectly pieced and a joy to create.
Why Precision Cutting is the Foundation of Beautiful Quilts
Before diving into the specific hacks, it’s crucial to understand why impeccable fabric cutting is non-negotiable in quilting. Quilting is, at its heart, an art of geometry. Each block relies on perfectly measured and cut pieces to fit together without distortion. Imagine building a house where the foundation is uneven; the walls won’t be plumb, and the roof won’t sit right. The same applies to quilting. Imperfect cuts lead to a cascade of problems that can quickly derail your project and dampen your enthusiasm:
- Distorted Blocks: Pieces that are too long or too short will cause blocks to be warped or require stretching during piecing, leading to wavy seams, puckering, and uneven finished sizes. This directly impacts the visual appeal and structural integrity of your quilt.
- Wasted Fabric: Poor cuts often mean recutting, which wastes precious fabric and adds to your overall project cost. Fabric is an investment, and precise cutting protects that investment.
- Frustration and Time Loss: Constantly battling misaligned pieces can quickly turn a joyful hobby into a source of stress and significantly extend your project timeline as you try to compensate for inaccuracies.
- Unprofessional Finish: Ultimately, a quilt with poorly cut components will lack the crispness, clean lines, and professional appearance that accurate cutting provides. Your hard work deserves to shine through in every detail.
By investing time in mastering these cutting techniques, you’re not just saving time and frustration; you’re elevating the quality of your entire quilting repertoire and ensuring that every stitch contributes to a stunning masterpiece.
Unlocking Flawless Quilting: Top Fabric Cutting Hacks Revealed
1. Optimize Your Tools and Prepare Your Fabric for Success
The journey to perfect cuts begins even before the rotary blade touches the fabric. Two critical elements often overlooked are the sharpness of your blade and the meticulous preparation of your material. A dull rotary cutter blade is a quilter’s worst enemy – it drags, chews fabric fibers, requires excessive pressure, and significantly increases the risk of inaccurate cuts, not to mention potential injury. Regularly replacing your rotary cutter blade is one of the simplest yet most impactful changes you can make to improve your cutting precision. A fresh, sharp blade glides through multiple layers of fabric effortlessly, producing crisp, clean edges every single time, which is paramount for seamless piecing.
Equally important is proper fabric preparation. Fabric fresh off the bolt often contains wrinkles, creases, and sizing (a chemical treatment) that can distort its true dimensions. Always ensure your fabric is thoroughly pressed and wrinkle-free before cutting. Using a good quality iron and steam can make a significant difference. For larger pieces, folding the fabric precisely can streamline the cutting process significantly. When folding, make sure the folded edge runs perfectly parallel to the fabric’s selvage (the tightly woven edge that prevents fraying). This alignment is vital, as it ensures your initial cut establishes a true 90-degree angle, providing a perfectly straight baseline from which all subsequent cuts will be measured. Always position the folded edge closest to you when making your initial trim, allowing for maximum stability, control, and visibility of your working edge.
2. Measure with Your Ruler, Not Your Cutting Mat
One common pitfall for many quilters is relying too heavily on the grid lines of their cutting mat for measurements. While the mat provides an excellent visual guide and protects your work surface, using its lines for precise measurements can lead to inconsistencies and premature wear. Your cutting mat’s lines can shift over time due to temperature changes or heavy use, or your perspective might introduce parallax errors, leading to slightly off-cuts. More importantly, habitually cutting along the same mat lines will cause those areas to wear down more quickly, creating grooves that can snag your rotary blade and further compromise accuracy.
The superior and professional method is to consistently measure directly with your quilting ruler. Your ruler is designed for precision, featuring clear, accurate markings that are much more reliable than those on your mat. To implement this hack effectively, first, square up your fabric, establishing a perfectly straight edge as your reference point. Then, align the specific measurement line on your ruler (for example, the 2-inch line) precisely with the freshly cut edge of your fabric. This technique ensures that every cut is referenced directly from your fabric’s edge, utilizing the ruler’s inherent accuracy. As you cut, maintain firm, even pressure on the ruler with your non-cutting hand, ensuring it doesn’t shift or wobble. Glide your rotary cutter smoothly along the ruler’s edge, focusing intently on maintaining constant contact with the ruler rather than glancing at the mat’s lines. This practice not only guarantees more accurate and consistent cuts but also significantly prolongs the life of your cutting mat by distributing wear more evenly across its surface.
3. Master the Art of Ruler Movement for Efficient Batch Cutting
When you need to cut multiple strips of the same width, efficiency and accuracy go hand-in-hand. Many quilters instinctively start cutting from the edge closest to them and work their way outwards. However, a more effective and stable approach, especially for longer strips, involves a subtle but powerful shift in technique: move the ruler, not the fabric, and begin with your furthest cut. This method maximizes stability and minimizes the chance of fabric shifting.
Here’s how this hack works to enhance your batch cutting precision: after you’ve squared up your fabric and established a clean baseline, position your ruler for your *first* strip cut. Instead of cutting that first strip and then repositioning the fabric for the next, think about the entire sequence of cuts. Place your ruler at the measurement for the furthest strip you intend to cut from your squared edge. Make that cut. Then, without disturbing or moving your main fabric piece, simply reposition your ruler closer to your initial squared edge for the next strip. Continue this process, cutting multiple strips as you work your way back towards the original clean edge. This strategic approach offers several distinct advantages:
- Increased Stability: Your large piece of fabric remains largely undisturbed and anchored on the mat, significantly reducing the chance of it shifting, stretching, or skewing between cuts.
- Reduced Handling: Less handling of the fabric means less stretching, distortion, or creasing, which is particularly beneficial for delicate or bias-cut materials.
- Improved Accuracy: Each subsequent cut references the same stable fabric, minimizing cumulative errors that can creep in when repeatedly adjusting the fabric.
- Enhanced Speed: Once you’ve mastered the technique, the fluid motion of only moving the ruler can speed up your cutting process, especially when dealing with dozens of identical strips.
This technique is particularly valuable when preparing large batches of strips for jelly rolls, sashing, borders, or consistent block components, ensuring uniformity and precision across all your pieces, which is essential for a truly cohesive quilt.
4. Utilize Washi Tape for Visual Precision with Odd Measurements
Quilting rulers are indispensable tools, but their myriad lines and numbers can sometimes be overwhelming, especially when working with unusual or fractional measurements like 1/8th or 7/8th inches. Losing your place among the quarter-inch and eighth-inch markings is a common frustration that can quickly lead to costly mistakes and wasted fabric. This is where a simple, inexpensive roll of washi tape becomes your secret weapon for enhanced visual precision and error prevention.
Washi tape, with its low tack adhesive and vibrant colors, is perfect for temporarily marking specific lines on your ruler. When you’re tasked with cutting an odd measurement, such as 2 & 7/8 inches, instead of constantly re-checking the tiny markings and risking misreads, take a moment to apply a thin strip of washi tape directly along that specific measurement line on your ruler. This creates an immediate, unmistakable visual reference point. Your eye will be instantly drawn to the bright tape, making it incredibly easy to align your fabric accurately and ensure your rotary cutter follows the correct path. This hack is particularly helpful for:
- Repetitive Cuts: If you’re cutting many pieces of the same unusual size, the tape saves you from constant re-measurement checks, speeding up the process and reducing mental fatigue.
- Reducing Eye Strain: It provides a clear target, reducing the need to squint or strain your eyes against a busy grid of lines, which is especially beneficial during long cutting sessions.
- Minimizing Errors: By clearly highlighting the desired line, you significantly decrease the chance of accidentally cutting at the wrong mark, thus preventing mistakes and saving fabric.
- Learning New Rulers: If you’re new to a specific ruler or pattern, marking the lines helps you familiarize yourself without constant double-checking.
Simply peel off the washi tape once your task is complete – it leaves no sticky residue and keeps your ruler clean for future use. This small, inexpensive trick can save you a world of frustration and ensure your quirky or precise measurements are just as accurate and consistent as your standard ones.
5. Invest in a Versatile Collection of Essential Quilting Rulers
Just as a carpenter needs a variety of saws for different cuts, a quilter benefits immensely from a comprehensive set of rulers. While it might seem like a significant investment initially, having the right ruler for the job dramatically improves efficiency, accuracy, and ease of use. Trying to make a long, straight cut with a small square ruler, or square up a large block with a tiny one, is a recipe for frustration and imprecise results. Each ruler size serves a specific purpose, making certain tasks much easier and more accurate.
Here’s a breakdown of essential rulers every quilter should consider adding to their toolkit, ensuring versatility for a wide range of projects:
- Wide 6 & 1/2″ x 24″ Ruler: This is arguably the workhorse of your ruler collection. Its generous length is perfect for squaring up fabric bolts, cutting long strips for sashing or borders, and trimming large pieces of background fabric. The 6.5-inch width provides ample surface for stable grip and measurement across broader sections.
- 4 & 1/2″ Square Ruler: An indispensable tool for squaring up smaller blocks, cutting medium-sized squares for patchwork, or trimming HSTs (Half-Square Triangles) to a precise finished size. Its compact nature makes it easy to maneuver for precise block-level adjustments and details.
- Long 2 & 1/2″ x 18 & 1/2″ Ruler: Perfect for cutting narrower strips, such as those frequently used for quilt binding, small sashing, or accent pieces. Its length allows for continuous, straight cuts even on longer fabric sections, avoiding the need to reposition multiple times, which can introduce inaccuracies.
- Wide 8 & 1/2″ x 12 & 1/2″ Ruler: A versatile mid-sized ruler that bridges the gap between your large strip ruler and smaller squares. Excellent for cutting larger squares, rectangles for various blocks, or squaring up medium-sized components like sub-blocks. Its wider format provides good stability for these intermediate cuts, offering a comfortable balance between size and maneuverability.
As you advance in your quilting journey, you might consider specialty rulers for specific tasks like cutting circles, triangles, or using unique templates. However, these four foundational rulers will cover the vast majority of your quilting cutting needs, making your process smoother, more efficient, and your results consistently more professional.
Beyond the Basics: General Tips for Quilt Cutting Success
While the five hacks above are transformative, incorporating a few additional best practices into your routine can further refine your cutting technique and ensure consistently excellent results for every quilting project:
- Good Lighting is Key: Ensure your cutting area is brightly and evenly lit. Shadows or dim lighting can make it hard to see ruler lines accurately, increasing the likelihood of errors and eye strain.
- Maintain Good Posture: Stand directly over your cutting mat and ruler, avoiding leaning or twisting your body. This allows you to apply even, consistent pressure and see your lines clearly, minimizing parallax error (where the angle of view makes a line appear to be in a different position).
- Sharpen Your Blades Regularly: As emphasized, a sharp rotary blade is non-negotiable for clean cuts. Don’t wait for your blade to start chewing fabric or requiring excessive force; change it proactively. Keep a supply of fresh blades on hand so you’re never caught off guard.
- Practice Makes Perfect: Like any skill, fabric cutting improves significantly with practice. Don’t be afraid to cut practice strips from scrap fabric to build your muscle memory, refine your technique, and boost your confidence before tackling your project fabric.
- Clean Your Mat: Regularly clean your self-healing cutting mat from fabric fibers, dust, and debris. A clean, smooth surface ensures your fabric lays perfectly flat and your ruler doesn’t wobble or catch, maintaining cutting accuracy.
- Use a Non-Slip Surface: If your ruler tends to slide on your fabric or mat, consider adding non-slip grips (such as small clear dots or a spray adhesive designed for rulers) to the back of it. These small additions can make a huge difference in maintaining stability and control during cutting, preventing costly slips.
- Slow and Steady: Resist the urge to rush. Take your time, focus on your alignment, and make one confident, continuous cut rather than short, choppy motions.
Investing in Your Craft: The Right Tools Make a Difference
Beyond the rulers discussed, ensuring you have quality supporting tools will significantly impact your cutting experience and overall quilting enjoyment. A good quality self-healing cutting mat is crucial for protecting your work surface, providing a smooth base, and prolonging the life of your rotary blades. These mats are specifically designed to “heal” after each cut, maintaining a pristine surface for accurate work. Similarly, a comfortable and ergonomic rotary cutter that fits well in your hand can reduce fatigue and discomfort during long cutting sessions, allowing for more consistent pressure. Don’t overlook the importance of a good pair of fabric shears for small snips, trimming threads, or intricate cuts where a rotary cutter isn’t practical. Think of your tools as an extension of your craft; investing in quality ensures both enjoyable creation and consistently superior, professional-looking results in your quilting projects.
Conclusion: Empowering Your Quilting Journey with Precision
Accurate fabric cutting is not just a tedious preliminary step in the quilting process; it’s a fundamental art form that directly influences the beauty, integrity, and overall success of your finished quilt. By adopting these five essential cutting hacks – from optimizing your tools and meticulous fabric preparation to strategic ruler usage and investing in a versatile ruler collection – you empower yourself to create with greater precision, efficiency, and unwavering confidence. Remember, every perfectly cut piece is a foundational step towards a perfectly pieced and stunning quilt. Embrace these techniques, practice regularly to hone your skills, and watch as your quilting projects transform from simply good to absolutely extraordinary. Happy quilting, and may your cuts always be straight and true!