
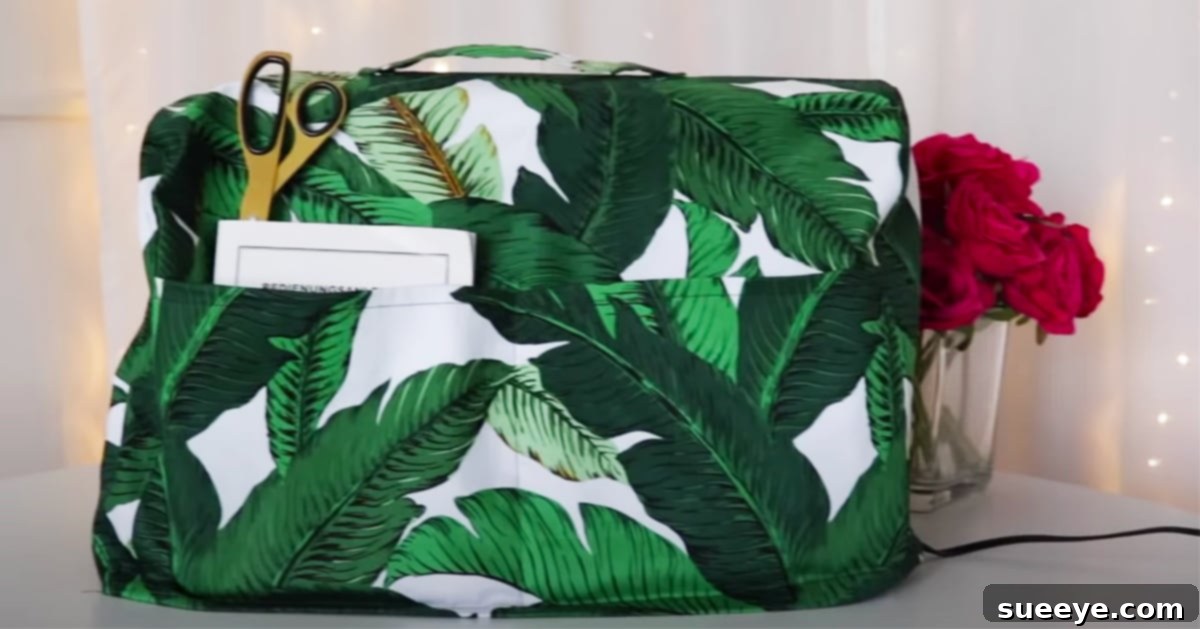
DIY Sewing Machine Cover: Protect Your Machine with Style
Every passionate sewer knows that a sewing machine is more than just a tool – it’s an investment, a creative partner, and often a cherished possession. Just like any valuable item, it deserves proper care and protection. That’s where a well-crafted sewing machine cover comes into play. Far more than just an aesthetic accessory, a cover shields your machine from dust, dirt, and potential nicks, significantly extending its lifespan and keeping it in pristine condition. This guide will walk you through creating your very own custom sewing machine cover, a perfect and rewarding project for beginners and seasoned sewers alike.
Imagine a cover that not only offers superior protection but also beautifully complements your sewing space, reflecting your personal style. This DIY project allows for endless creativity with fabric choices, patterns, and embellishments, transforming a functional item into a decorative piece. It’s an excellent way to keep your sewing area tidy and organized, discreetly tucking away your machine when not in use. Beyond the practical benefits, the satisfaction of making something useful and beautiful with your own hands is truly immense.
While many sewing machines come with basic plastic covers, they often lack durability, aesthetic appeal, and custom fit. Crafting your own fabric cover ensures a snug fit and offers superior protection against environmental elements. Plus, it’s a fantastic opportunity to practice fundamental sewing techniques, making it an ideal project for those new to sewing. We’ll explore the essential steps, from selecting your materials to the final stitches, ensuring you create a cover that’s both durable and delightful.
Why a Sewing Machine Cover is Essential for Every Sewer
Protecting your sewing machine isn’t just about keeping it looking nice; it’s about preserving its functionality and ensuring it serves you well for years to come. Here are the key benefits of using a sewing machine cover:
- Dust and Dirt Protection: The most obvious benefit. Dust can infiltrate the delicate mechanisms of your machine, leading to clogs, reduced efficiency, and costly repairs. A cover acts as a barrier, keeping dust, lint, and pet hair out.
- Shield Against Scratches and Bumps: Accidents happen. A sturdy fabric cover offers a layer of protection against accidental bumps, scratches, or minor spills that could otherwise damage the machine’s exterior.
- Extends Machine Lifespan: By preventing dust buildup and minor damage, a cover helps maintain the internal components of your machine, contributing to its overall longevity and consistent performance.
- Maintains Resale Value: If you ever decide to upgrade or sell your sewing machine, one that has been well-protected and maintained will command a higher resale value.
- Keeps Your Workspace Tidy: A stylish cover can transform your sewing machine from a piece of equipment into an attractive part of your room decor, making your sewing station look more organized and put-together when not in use.
- Personalization and Style: Unlike generic plastic covers, a DIY fabric cover allows you to infuse your personality into your sewing space. Choose fabrics that match your decor, reflect your hobbies, or simply bring you joy.
Why DIY is the Best Approach for Your Sewing Machine Cover
While you can certainly buy sewing machine covers, crafting your own offers a multitude of advantages that make the DIY route incredibly appealing:
- Custom Fit: Every sewing machine is slightly different. When you make your own cover, you can tailor it perfectly to the dimensions of your specific machine, ensuring a snug and effective fit.
- Cost-Effective: You likely have fabric scraps or remnants from other projects that are perfect for this. Even if you purchase new fabric, it’s often more economical than buying a ready-made, high-quality cover.
- Unleash Your Creativity: This project is a blank canvas! Experiment with different fabric patterns, colors, textures, and even add embellishments like applique, embroidery, or decorative trims.
- Perfect for Beginners: The construction of a basic sewing machine cover involves straight seams, simple cutting, and perhaps attaching a pocket or handle – all fundamental skills that are ideal for those learning to sew.
- Eco-Friendly: Repurpose fabric remnants or upcycle old textiles into something beautiful and functional, contributing to a more sustainable crafting practice.
- Sense of Accomplishment: There’s immense satisfaction in using your skills to create something practical and beautiful for your own home.
Choosing the Perfect Fabric and Design
The fabric you choose will define the look, feel, and durability of your sewing machine cover. Consider these factors when making your selection:
- Durability: You want a fabric that can withstand regular handling and protect your machine effectively. Medium-weight cottons, canvas, denim, or even upholstery fabric scraps are excellent choices. Quilting cotton is a popular option due to its vast array of patterns and ease of sewing.
- Washability: Your cover will inevitably gather dust. Choose a fabric that is machine washable and easy to clean.
- Aesthetics: This is where your personality shines! Select a fabric that you love and that complements your sewing space. Bright and bold, subtle and elegant, quirky and fun – the options are endless. Consider patterns that hide minor lint or dust.
- Optional Lining: For added structure, protection, and a professional finish, you might consider adding a lining fabric. This could be a plain cotton or even a complementary pattern.
- Embellishments: Think about adding a contrasting pocket, decorative stitching, or perhaps even an embroidered motif to personalize your cover further.
Materials You’ll Need
Before you begin, gather all your supplies. Having everything at hand will make the sewing process smooth and enjoyable. For this project, you’ll need:
- Fabric: The amount will depend on the size of your machine and whether you plan for a pocket or handle. A good starting point is usually 1-2 yards of medium-weight cotton or similar fabric.
- Coordinating Thread: Choose a thread color that matches or complements your chosen fabric.
- Sewing Machine: Of course!
- Scissors: Sharp fabric scissors are essential for clean cuts.
- Fabric Pins or Clips: To hold fabric layers in place.
- Iron and Ironing Board: For pressing seams and creating crisp folds, crucial for a professional finish.
- Measuring Tape or Ruler: For accurate measurements of your machine and pattern pieces.
- Marking Tool: Fabric chalk, a disappearing ink pen, or a washable marker for tracing patterns.
- Sewing Machine Needle: A universal needle, size 80/12 or 90/14, should work well for most medium-weight fabrics.
- Optional: Pattern: While you can draft your own, a pre-made pattern can simplify the process, especially for beginners. A great example of a user-friendly pattern can be found on platforms like Etsy, such as this sewing machine cover pattern, which offers clear guidance.
Step-by-Step Guide to Crafting Your Sewing Machine Cover
This tutorial draws inspiration from the clear and engaging style of creators like MyStyledDiaryy, whose YouTube sewing machine cover tutorial provides excellent visual guidance. Always refer to your chosen pattern’s specific instructions, but here’s a general flow of the process:
Step 1: Prepare Your Pattern and Fabric
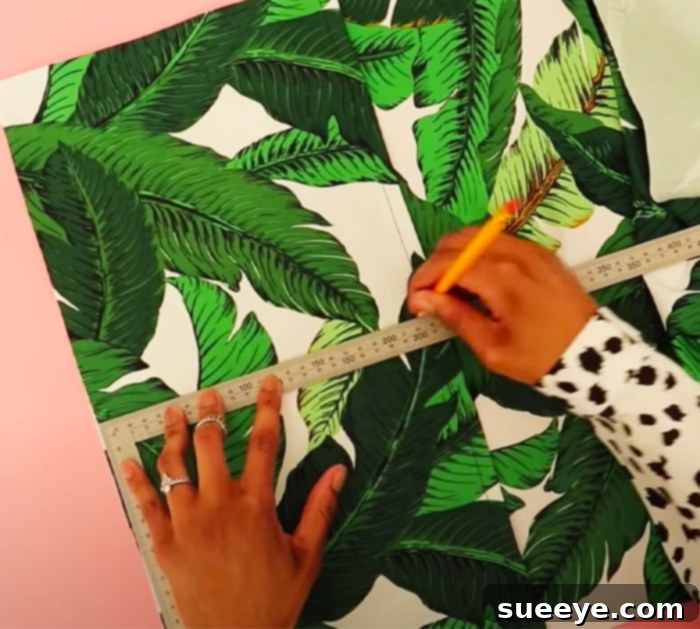
First and foremost, accurately measure your sewing machine. Measure its height, width, and depth. These measurements will be crucial whether you’re using a purchased pattern or drafting your own. If using a pattern, print it out and assemble the pieces carefully. Cut out all your fabric pieces according to the pattern’s specifications, paying close attention to grainlines and any notches or markings. Pre-wash and iron your fabric before cutting to prevent shrinkage after the cover is made.
Step 2: Construct Optional Pockets and Handles
Many sewing machine covers feature convenient pockets for holding notions, scissors, or a seam ripper, and a handle for easy lifting. If your pattern includes these, now is the time to construct them. Fold and press the fabric pieces for your pocket(s) and handle(s) according to the pattern instructions. Stitch the handle pieces right sides together, turn them out, and press them flat. For pockets, hem the top edge, then fold and press the side and bottom edges. Pin these elements onto the main body pieces of your cover in their designated locations, then stitch them securely in place. Remember to reinforce the ends of the handle and the top corners of the pocket for durability.
Step 3: Assemble the Main Body of the Cover
With pockets and handles attached (if applicable), you’ll now join the main fabric pieces. Typically, this involves sewing the side panels to the top panel. Pin the pieces with right sides together, aligning edges carefully. Stitch along the marked seam lines, usually with a 1/2-inch or 5/8-inch seam allowance. Press your seams open or to one side to reduce bulk and create a neat finish. Repeat this process until all main body pieces are sewn together, forming the overall shape of your machine cover.
Step 4: Finish the Bottom Edge
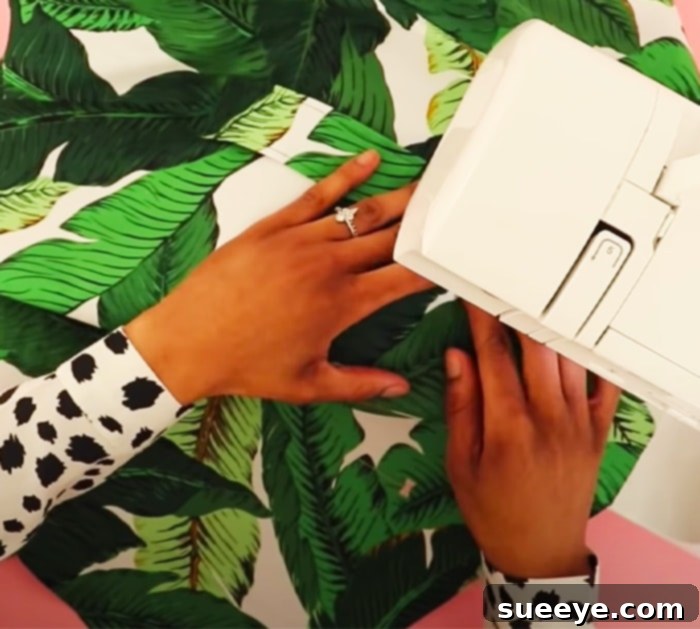
The final step for a polished look is to finish the bottom edge of your cover. You can do this by creating a simple hem or by adding bias binding for a contrasting detail. To create a hem, press up the raw edge 1/4 inch, then press it up another 1/2 inch (or as specified by your pattern). Stitch around the bottom edge, close to the folded hem. If using bias binding, attach it around the raw edge, enclosing it neatly for a clean finish. Give your finished cover a final press to remove any wrinkles and make those seams crisp.
Tips for a Perfect Sewing Machine Cover
- Pre-wash Your Fabric: Always pre-wash and dry your fabric before cutting to prevent shrinkage and ensure your cover maintains its shape after washing.
- Press, Press, Press: Ironing your fabric pieces before cutting and pressing seams as you sew will make a huge difference in the professional appearance of your finished cover.
- Use a Walking Foot: If you’re using thicker fabrics like canvas or multiple layers, a walking foot can help feed the fabric evenly through your machine, preventing shifting and puckering.
- Accurate Measurements are Key: Double-check your machine’s dimensions and pattern measurements to ensure a perfect fit.
- Don’t Be Afraid to Personalize: Add appliques, embroidery, fabric paint, or decorative stitches to make your cover truly unique.
- Consider a Liner: For extra durability and a more luxurious feel, consider adding a soft lining fabric. This also hides raw seams on the inside.
Maintaining Your Beautiful New Cover
To keep your sewing machine cover looking fresh and doing its job effectively, regular maintenance is key. Most fabric covers can be gently machine washed on a cold cycle with mild detergent. Air dry or tumble dry on low to prevent shrinkage and preserve fabric integrity. A quick iron after washing will keep it looking crisp and new. If your cover is heavily embellished or made from delicate fabric, hand washing might be a better option.
Conclusion: Sew Your Way to a Protected and Stylish Space
Congratulations! You’ve just created a beautiful, functional, and personalized sewing machine cover. This project is a testament to the power of DIY – transforming a simple necessity into a creative expression. Not only have you given your cherished sewing machine the protection it deserves from dust and wear, but you’ve also added a touch of your unique style to your workspace. Enjoy the peace of mind that comes with a well-protected machine and the pride of having crafted something wonderful with your own hands. Happy sewing!