
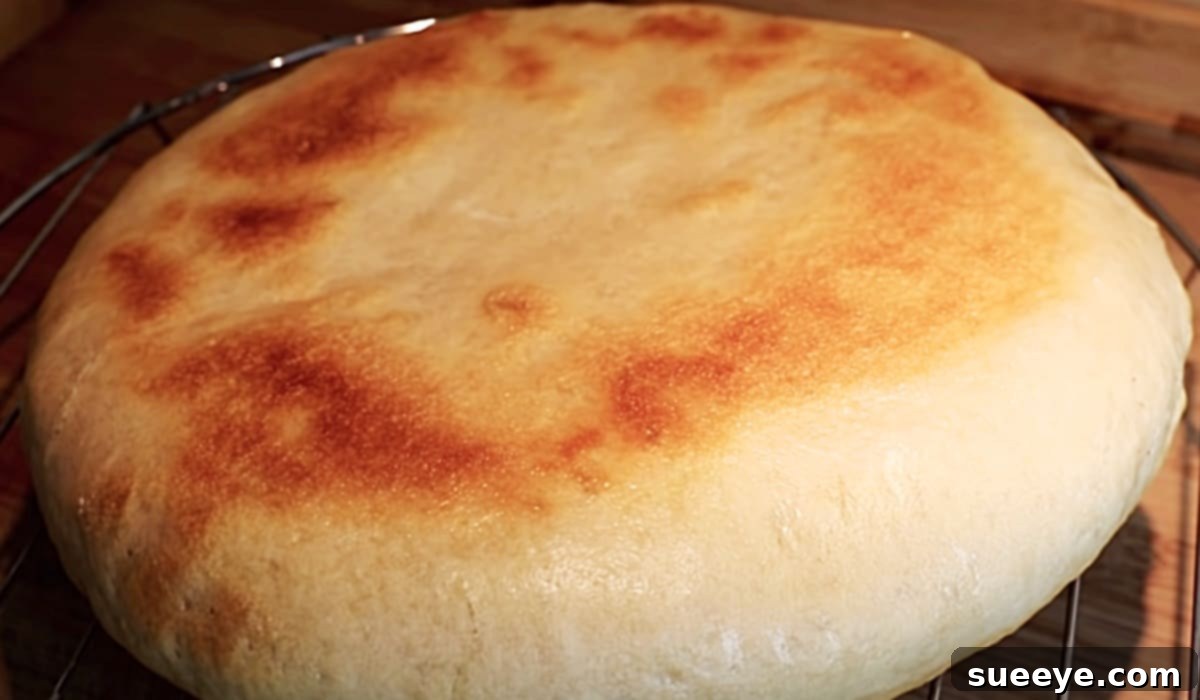
Homemade Stovetop Bread: Your Ultimate Guide to Easy Skillet Baking
There’s an undeniable magic to freshly baked bread. The aroma, the comforting warmth, the soft interior yielding to a perfectly crispy crust – it’s pure culinary bliss. For centuries, bread has been a staple, a source of comfort, and a testament to the simple joys of life. But what if you could enjoy this wholesome delight without ever needing to turn on your oven? Imagine baking a beautiful loaf of bread right on your stovetop, in your favorite skillet. It sounds too good to be true, but it’s not!
When I stumbled upon The Perfect Refuge’s fantastic stovetop bread video tutorial on YouTube, I was instantly captivated. The ingenuity of this method instantly struck me; it’s one of the most brilliant bread recipes I’ve ever encountered. This technique allows you to create a delicious, homemade loaf with minimal fuss, using just a few basic ingredients and your trusty frying pan. Whether you’re a seasoned baker looking for a new trick or a complete novice eager to try your hand at bread making, this stovetop method opens up a world of possibilities.
My cast-iron skillet, a cherished utensil in my kitchen, always seems to elevate anything I cook in it. True to form, it proves to be the perfect vessel for this no-oven bread, imparting an exceptional texture and flavor. This recipe isn’t just for a plain loaf, either; it’s an excellent foundation for various culinary explorations, including the ever-popular garlic bread. With your favorite garlic butter recipe, you can easily transform this simple bread into an aromatic, flavorful side dish that will impress everyone.
Why Choose Stovetop Bread? The Benefits of No-Oven Baking
While traditional oven-baked bread holds a special place, baking on the stovetop offers a unique set of advantages that make it an appealing alternative:
- No Oven Required: This is the most obvious benefit. Perfect for small apartments without an oven, during hot summer months when you want to avoid heating your kitchen, or even during power outages if you have a gas stove.
- Energy Efficient: A stovetop typically uses less energy than heating a large oven, making it a more eco-friendly and cost-effective option.
- Speed and Convenience: While the dough still requires rising time, the actual cooking process on the stovetop can often be quicker than preheating and baking in an oven.
- Unique Texture: Stovetop baking can result in a beautifully crisp bottom crust and a wonderfully soft, fluffy interior, creating a delightful contrast.
- Accessibility: Almost every kitchen has a stovetop and a frying pan, making this recipe incredibly accessible to everyone, regardless of their baking experience or specialized equipment.
- Great for Beginners: The process is straightforward and less intimidating than traditional oven baking, making it an excellent starting point for new bakers.
Simple Ingredients for Delicious Stovetop Bread:
One of the beauties of this recipe is its simplicity. You likely have most, if not all, of these basic ingredients in your pantry right now.
- 3 ½ cups of all-purpose flour (approximately 400 grams): All-purpose flour is ideal for its versatility and gives a lovely texture.
- 1 gram of dried yeast: This small amount ensures a gradual rise, contributing to flavor development.
- 200 to 250 ml. of water: The hydration level is crucial. Start with 200ml and add more if needed, depending on your flour. Warm water (around 105-115°F or 40-46°C) is best for activating the yeast.
- 1 teaspoon of salt: Essential for flavor and also helps control yeast activity.
- 2 teaspoons of sugar: Provides food for the yeast, helping it activate, and aids in browning the crust.
Essential Equipment for Stovetop Baking:
Beyond the ingredients, you’ll need a few common kitchen tools to make this bread a success:
- Large mixing bowl: For combining and kneading your dough.
- Spatula or wooden spoon: For initial mixing.
- Clean surface: For kneading the dough (a kitchen counter works perfectly).
- Heavy-bottomed skillet or cast iron pan (10-12 inches): A cast-iron skillet is highly recommended for its even heat distribution, which is key to preventing burnt spots and ensuring thorough cooking.
- Tight-fitting lid: Essential for trapping steam and heat, allowing the bread to cook through and rise properly. A glass lid is ideal so you can monitor progress without lifting.
- Measuring cups and spoons: For accurate ingredient measurements.
Directions: Your Step-by-Step Guide to Perfect Stovetop Bread
This fantastic stovetop bread video recipe tutorial by The Perfect Refuge on YouTube provides excellent visual guidance. Here, we’ll break down the process into easy-to-follow steps, ensuring your homemade bread turns out perfectly every time.
Step 1: Prepare the Yeast and Dry Ingredients
Begin by combining your dry ingredients. In a large mixing bowl, whisk together the all-purpose flour, salt, and sugar. In a separate small bowl, gently warm your water to the recommended temperature (105-115°F or 40-46°C – it should feel comfortably warm, not hot, to the touch). Add the dried yeast to the warm water and let it sit for 5-10 minutes until foamy. This “blooming” process confirms your yeast is active and ready to work.
Step 2: Mix and Knead the Dough
Pour the activated yeast mixture into your bowl of dry ingredients. Using a wooden spoon or a spatula, mix until a shaggy dough forms. If the dough seems too dry, add the remaining water a little at a time until it comes together. If it’s too wet, add a tiny bit more flour. Turn the dough out onto a lightly floured surface and begin to knead. Knead for about 8-10 minutes until the dough is smooth, elastic, and no longer sticky. You should be able to stretch a small piece of dough thin enough to see light through it without tearing (the “windowpane test”).
Step 3: First Rise (Bulk Fermentation)
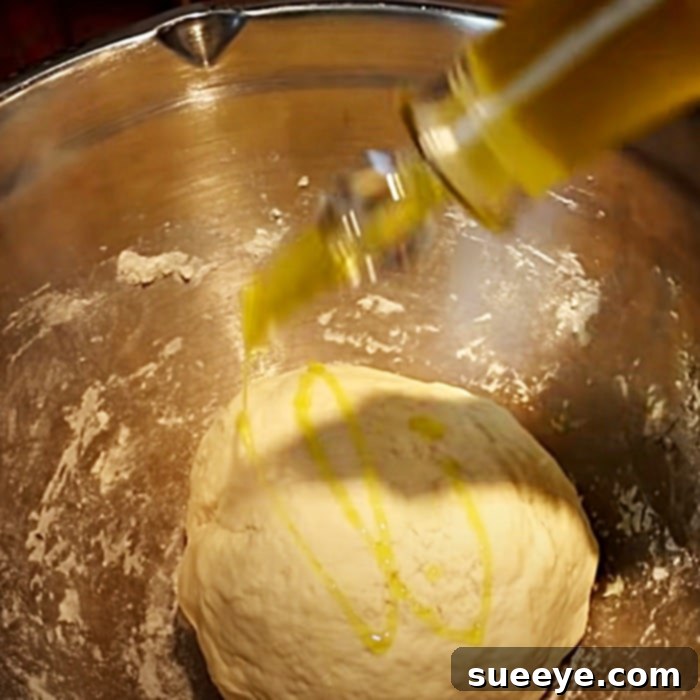
Form the kneaded dough into a ball and place it in a lightly oiled bowl, turning once to coat. Cover the bowl tightly with plastic wrap or a clean kitchen towel. Place it in a warm, draft-free spot (like a turned-off oven with the light on, or near a sunny window) and let it rise for 1 to 1.5 hours, or until it has doubled in size. This first rise is crucial for developing flavor and texture.
Step 4: Shape and Second Rise (Proofing)
Once the dough has doubled, gently punch it down to release the air. Turn it out onto a lightly floured surface and shape it into a round loaf that will fit comfortably in your skillet. Lightly grease your skillet with a little oil or butter. Place the shaped dough into the prepared skillet. Cover the skillet with its lid and let the dough rise for another 20-30 minutes in a warm spot. This second rise, known as proofing, ensures a light and airy texture.
Step 5: Cook the Bread on the Stovetop
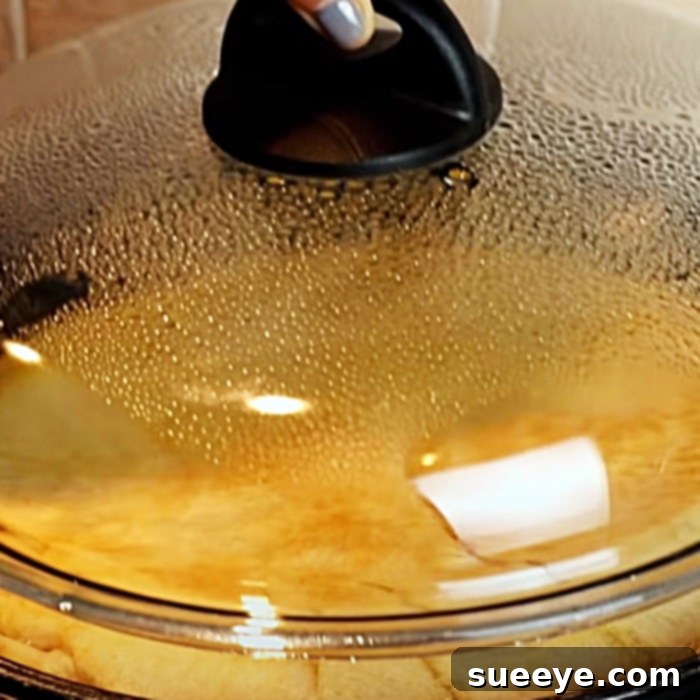
Place your covered skillet with the dough on your stovetop over medium-low heat. The key here is gentle, consistent heat. Cook for about 15-20 minutes on the first side. Resist the urge to lift the lid too frequently, as this releases steam and heat, interrupting the cooking process. After 15-20 minutes, carefully lift the lid to check the bottom. It should be golden brown. If not, cook for a few more minutes. Once browned, carefully flip the loaf using a spatula. Recover the skillet and cook for another 15-20 minutes on the second side, until it’s also golden brown and cooked through.
To check for doneness, you can tap the top of the bread; it should sound hollow. For ultimate precision, an internal temperature of 200-210°F (93-99°C) indicates that it’s fully baked. If the outside is browning too quickly, you can slightly lower the heat.
Step 6: Cool and Enjoy!
Once cooked, remove the bread from the skillet and transfer it to a wire rack to cool completely before slicing. Slicing warm bread can sometimes result in a gummy texture. Allowing it to cool helps the internal structure set, giving you that perfect crumb. This such an easy recipe, I just love it!
Expert Tips for Perfect Stovetop Bread Every Time
- Don’t Rush the Rise: Patience is a virtue in bread making. Let your dough rise fully; this develops flavor and ensures a light texture.
- Water Temperature is Key: Ensure your water is warm enough to activate the yeast but not so hot that it kills it.
- Listen to Your Dough: The amount of flour can vary slightly depending on humidity and brand. Add water or flour gradually until you achieve a soft, pliable, and slightly tacky dough.
- Use a Heavy-Bottomed Pan: A good quality cast iron or other heavy skillet ensures even heat distribution, preventing hot spots that can burn your bread.
- Resist Peeking: Opening the lid too often releases precious heat and steam, which are essential for cooking the bread evenly and achieving a good crust.
- Low and Slow: Medium-low heat is crucial. Too high, and the outside will burn before the inside cooks through.
- Cool Completely: While tempting, slicing into piping hot bread can make it gummy. Let it cool on a wire rack to allow the internal structure to stabilize.
Creative Variations & Flavor Enhancements
This basic stovetop bread recipe is a fantastic canvas for your culinary creativity. Here are some ideas to infuse extra flavor:
- Garlic Bread Supreme: As mentioned, this bread makes incredible garlic bread. While the bread is still warm, brush it generously with a mixture of melted butter, minced garlic, and fresh parsley. For an extra kick, sprinkle with a pinch of red pepper flakes or Parmesan cheese before serving.
- Herb Infusion: Incorporate 1-2 tablespoons of dried herbs (rosemary, thyme, oregano, Italian seasoning) into your dry ingredients before adding water. Fresh herbs can also be kneaded into the dough.
- Cheesy Delight: Add ½ cup of shredded cheese (cheddar, mozzarella, Parmesan, or a mix) to the dough during the last few minutes of kneading.
- Olive and Sun-Dried Tomato: Fold in ½ cup of chopped olives and sun-dried tomatoes (drained) for a Mediterranean-inspired loaf.
- Sweet Cinnamon Swirl: For a sweet treat, roll out the dough after the first rise, spread with butter, sprinkle with cinnamon sugar, roll it up, and then shape it for the skillet.
- Whole Wheat Twist: Substitute up to half of the all-purpose flour with whole wheat flour for a heartier, nuttier bread. You may need to adjust the water slightly.
Serving and Storage Suggestions
Your homemade stovetop bread is incredibly versatile!
- Serve Warm: Enjoy it fresh out of the pan with a pat of butter, a drizzle of olive oil, or your favorite jam.
- Pair with Meals: It’s the perfect accompaniment to hearty soups, stews, chili, pasta dishes, or a simple salad.
- Sandwiches and Toast: Once cooled, slice it for delightful sandwiches or toast for breakfast.
To store, wrap the cooled bread tightly in plastic wrap or place it in an airtight bread bag at room temperature for up to 2-3 days. For longer storage, slice the bread and freeze it in an airtight bag or container for up to 3 months. You can toast slices directly from frozen!
Frequently Asked Questions About Stovetop Bread
Q: Why isn’t my bread rising?
A: Several factors can inhibit rising: your yeast might be old or inactive, the water temperature might have been too cold or too hot, or your kitchen might be too cold. Ensure your yeast is fresh, and your water is comfortably warm. Give the dough a warm, draft-free spot to rise.
Q: My bread is dense. What went wrong?
A: Density can result from insufficient kneading (which develops gluten) or not allowing enough time for the dough to rise properly. Ensure you knead until the dough is smooth and elastic, and always give it ample time for both the first and second rises.
Q: How do I get a crispy crust on my stovetop bread?
A: A heavy-bottomed pan, especially cast iron, helps a lot. Ensuring the pan is sufficiently hot before adding the dough and maintaining consistent medium-low heat during cooking will contribute to a good crust. The lid also traps steam, which helps with crust development initially, while the direct contact with the hot pan creates crispness.
Q: Can I use a different type of pan?
A: While a cast-iron skillet is highly recommended for its superior heat retention and even cooking, you can use any heavy-bottomed, oven-safe pan with a tight-fitting lid. Avoid thin or lightweight pans, as they tend to create hot spots and burn the bread.
Q: Is stovetop bread as good as oven-baked bread?
A: It’s different, but equally delicious in its own right! Stovetop bread often has a unique texture – a wonderfully crispy bottom crust and a soft, chewy interior. It’s a fantastic alternative that stands on its own merits.
Conclusion: Embrace the Joy of No-Oven Baking!
Who knew making fresh, delicious bread could be this straightforward? This homemade stovetop bread recipe is a revelation for anyone who loves baking but seeks a simpler, more accessible method. It’s perfect for busy weeknights, a fun weekend project, or simply when you’re craving that comforting aroma of freshly baked goods without the fuss of an oven.
I genuinely adore this recipe for its simplicity and the incredible results it yields. It’s an invitation to rediscover the joy of bread making, proving that you don’t need fancy equipment to create culinary wonders. So, grab your skillet, gather your ingredients, and prepare to be amazed by the deliciousness of homemade bread, right from your stovetop. Don’t forget to check out The Perfect Refuge’s video for a visual guide!