
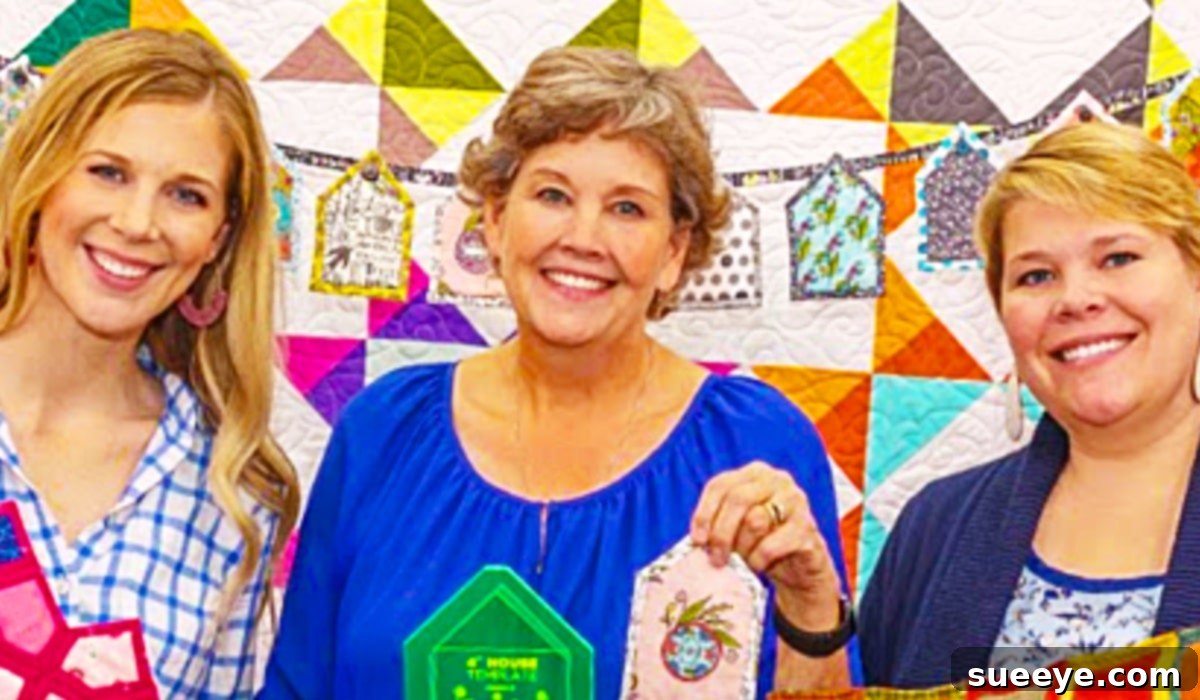
Create Charming Tiny House Quilting Projects with Jenny Doan and Missouri Star Quilt Company
Jenny Doan stands out as an iconic figure in the quilting community, renowned for her exceptional talent, engaging teaching style, and the incredible generosity with which she shares her vast knowledge. As the beloved face of Missouri Star Quilt Company, Jenny has dedicated years to quilting, designing innovative patterns, and inspiring countless individuals to discover the joy of sewing. Her experience shines through in every tutorial, demonstrating a profound understanding of both the art and craft of quilting. Hailing from Missouri, Jenny truly embodies the “star” in her company’s logo, radiating warmth and expertise that has made her a household name among quilters worldwide.
I’ve personally embarked on several quilting adventures using Jenny’s designs, and each project has consistently brought immense satisfaction. Her instructions are always clear, concise, and incredibly encouraging, making complex patterns accessible to quilters of all skill levels. It was during one of my many explorations on YouTube that I stumbled upon a delightful tutorial by the Missouri Star Quilt Company focusing on three distinct tiny house quilting projects. I was instantly captivated! These miniature houses possess an undeniable charm, adding a whimsical touch to any quilt. Furthermore, the beauty of these projects lies in their ability to utilize fabric scraps, transforming leftover pieces from previous endeavors into something new and beautiful, promoting both creativity and sustainability.
The Undeniable Allure of Tiny House Quilt Blocks
Tiny house quilt blocks hold a special place in the hearts of many quilters, and it’s easy to see why. Their simple, recognizable shape evokes feelings of warmth, comfort, and home. They are incredibly versatile, allowing for endless design possibilities – from rows of identical houses to a sprawling village scene, or even abstract arrangements. For beginners, the tiny house block offers an excellent opportunity to practice foundational quilting skills such as accurate cutting, precise piecing, and consistent seam allowances. Experienced quilters, on the other hand, can revel in the creative freedom to experiment with different fabric combinations, intricate details, and varied block sizes. The appeal also extends to the practical aspect of using up fabric scraps, giving purpose to those treasured leftover bits and pieces that every quilter accumulates.
Essential Materials for Your Tiny House Quilting Journey
Before you dive into constructing your charming tiny houses, gathering the right tools and materials is crucial for a smooth and enjoyable quilting experience. The beauty of these projects, as often demonstrated by Jenny Doan, is that they don’t require an overwhelming array of specialized equipment, making them accessible to many. Here’s what you’ll need:
- Fabric Scraps: This is where the magic begins! Collect a variety of cotton fabrics in different colors and patterns. Think about distinct fabrics for walls, roofs, doors, and foundations to create visual interest. Scraps ranging from fat quarters to smaller strips are all suitable.
- A Reliable Sewing Machine: Any standard sewing machine in good working order will suffice. Ensure it’s threaded correctly and has a fresh needle appropriate for quilting cotton.
- A Sharp Pair of Scissors: Essential for snipping threads and making small, precise cuts. A dedicated pair for fabric will keep them sharper longer.
- A High-Quality Rotary Cutter: This tool is indispensable for achieving straight, accurate cuts quickly. A 45mm or 60mm rotary cutter is ideal, paired with a sharp blade for clean edges.
- Coordinating Thread: Choose a good quality 50wt cotton or polyester thread that blends well with your fabric choices, or opt for a neutral color like white or gray that works with everything.
- A Durable Cutting Mat: Protect your work surface and your rotary blade with a self-healing cutting mat. Sizes vary, but a 18×24 inch or larger is highly recommended for quilting projects.
- An Iron and Ironing Board: Pressing seams open or to the side is a critical step in quilting to ensure your blocks lie flat and square. A good steam iron is a quilter’s best friend.
- Quilting Ruler: A clear acrylic ruler, typically 6×24 inches or 8×24 inches, is essential for measuring and cutting fabric accurately with your rotary cutter.
- Basic Quilting Pins or Wonder Clips: To hold fabric pieces together before sewing, ensuring they don’t shift.
Mastering the Tiny House Quilt Block: A Step-by-Step Guide
While the specific dimensions and exact construction methods might vary slightly across different tiny house patterns, Jenny Doan’s approach typically emphasizes simplicity and efficiency. This general guide provides the foundation for creating a versatile tiny house block, which you can then adapt for various projects. Precision in cutting and pressing is key to beautiful results.
Step 1: Fabric Selection and Preparation
Begin by selecting your fabric scraps. For each house block, you’ll generally need:
- One fabric for the ‘walls’ of the house.
- Another contrasting fabric for the ‘roof’.
- A small piece for the ‘door’ or ‘foundation’.
- Optionally, a background fabric if you’re creating individual blocks to be sashed together.
Pre-wash and press your fabrics if you typically do so to prevent future shrinkage and ensure all wrinkles are removed, providing a flat surface for accurate cutting.
Step 2: Precision Cutting for Perfect Pieces
Using your rotary cutter, mat, and ruler, cut the following pieces for each tiny house block. These are illustrative dimensions; you can adjust them to make larger or smaller houses. For example:
- House Walls: One rectangle (e.g., 4.5 inches x 6.5 inches) from your chosen wall fabric.
- Roof: Two squares (e.g., 3.5 inches x 3.5 inches) from your roof fabric. You’ll use these to create the roof slope.
- Door/Foundation: One small rectangle (e.g., 1.5 inches x 2.5 inches) from your door/foundation fabric.
- Background Triangles (for roof): Two squares (e.g., 3.5 inches x 3.5 inches) from your background fabric (if you’re creating a standalone block).
Accuracy at this stage is paramount. “Measure twice, cut once!” is a golden rule in quilting.
Step 3: Constructing the Walls and Roof
Take your two roof squares and your two background squares. On the wrong side of the two background squares, draw a diagonal line from one corner to the opposite corner. Place one background square right sides together onto one end of your wall rectangle. Align carefully. Stitch along the drawn diagonal line. Trim the excess fabric, leaving a 1/4-inch seam allowance, and press the triangular flap open to create the first part of your roof peak. Repeat this process with the other background square on the opposite end of the wall rectangle, ensuring the diagonal lines create a symmetrical peak. Alternatively, some patterns use simple half-square triangles or flying geese units for the roof, which can be constructed separately and then attached.
Step 4: Adding the Base and Door Details
Next, take your small door/foundation rectangle. If you’re adding a door, you might want to frame it with strips of your wall fabric or a contrasting background fabric. For a simple foundation, sew the door/foundation rectangle to the bottom edge of your main wall unit, right sides together, using a 1/4-inch seam allowance. Press the seam. You can also add small squares for windows or appliqué details at this stage to personalize your tiny house. Jenny often uses simple techniques to achieve these charming details without overly complicated piecing.
Step 5: Pressing for Professional Results
After each seam is sewn, it’s vital to press it. This flattens the seams, making your block lie perfectly flat and square, which is crucial for accurate piecing when you join multiple blocks. Jenny often recommends pressing seams open or to one side, depending on the pattern and how the seams will interact with adjacent blocks. Consistent pressing helps prevent bulk and ensures a professional finish.
Exploring Three Charming Tiny House Project Ideas
Once you’ve mastered the basic tiny house block, a world of creative possibilities opens up. The Missouri Star Quilt Company tutorial highlights three inspiring ways to transform these quaint blocks into beautiful and functional items. Here are some expanded ideas:
Project Idea 1: The Full-Size Tiny House Quilt
Imagine a whole neighborhood of charming houses coming together to form a cozy quilt! For a full-size quilt, you’ll create multiple tiny house blocks. The design options are limitless: arrange them in neat rows for a structured look, stagger them for a more organic village feel, or create alternating blocks with plain background squares to give your houses space to breathe. You can add sashing (strips of fabric between blocks) and borders to frame your design and increase the quilt’s size. Once the quilt top is assembled, layer it with batting and backing fabric, then quilt it. Simple straight-line quilting that follows the lines of the houses or a meandering free-motion design would complement the theme beautifully. Finally, bind the quilt with a coordinating fabric to complete your heartwarming tiny house masterpiece. This makes a wonderful throw quilt for your sofa or a delightful gift.
Project Idea 2: Decorative Tiny House Accent Pillows
If you’re looking for a quicker, more instant gratification project, turning your tiny house blocks into accent pillows is a fantastic idea. A single, well-crafted tiny house block can be the centerpiece of a charming throw pillow. You can make one large block or combine a few smaller ones for a mini-village effect on a pillow front. Surround the block(s) with borders to achieve the desired pillow size. Quilt the pillow top before assembling the pillow. For the back, you can use a simple envelope closure or install a zipper for a more finished look. These pillows are perfect for adding a touch of handmade charm to your living room, bedroom, or even a child’s nursery. They also make thoughtful, personalized housewarming gifts.
Project Idea 3: Adorable Tiny House Wall Hangings
For those who love to adorn their walls with textile art, a tiny house wall hanging offers an opportunity for creative expression on a smaller scale. These projects are often less time-consuming than full quilts but provide ample scope for intricate quilting and embellishments. You might create a focal tiny house block, perhaps with more detailed appliqué for windows, doors, or even a tiny garden. Add unique borders, use decorative stitches, or incorporate other quilting motifs like trees or clouds to build a complete scene. Once quilted, you can finish the wall hanging with a simple binding and add a hanging sleeve to the back, allowing it to be displayed on a dowel or rod. A tiny house wall hanging is a delightful way to add character to any room and is an excellent project for experimenting with new techniques without committing to a large quilt.
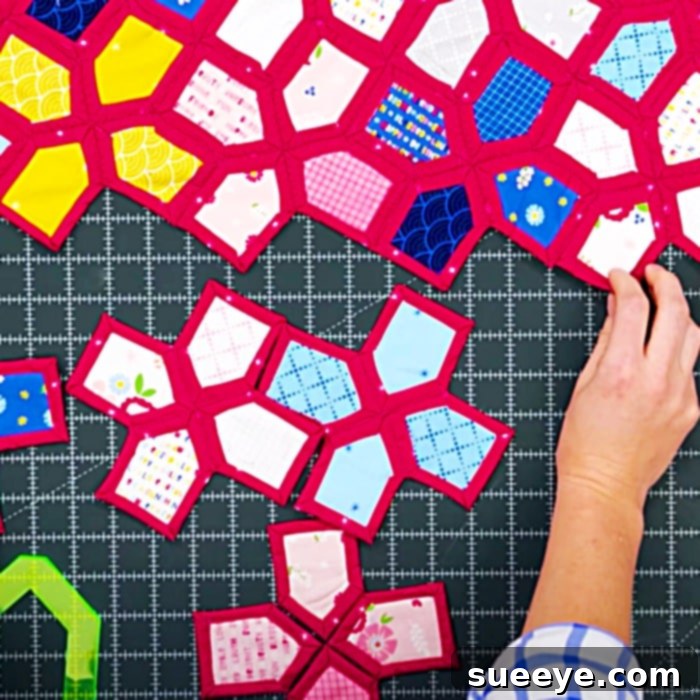
Jenny Doan’s Wisdom: Tips for Quilting Success
Throughout her teaching career, Jenny Doan has imparted invaluable wisdom that helps quilters achieve beautiful results with ease. When working on your tiny house projects, keep these tips in mind:
- Chain Piecing: This technique involves sewing multiple units consecutively without cutting your thread between them. It’s a huge time-saver and incredibly efficient, especially when making many identical blocks like tiny houses.
- Accuracy is Key: While quilting is fun, precision in cutting and sewing makes all the difference. A consistent 1/4-inch seam allowance is vital for blocks to fit together perfectly.
- Pressing Matters: Don’t underestimate the power of a good press. Pressing seams correctly after each step helps blocks lie flat, makes piecing easier, and contributes to the overall professional appearance of your finished project.
- Use Good Quality Tools: Invest in a sharp rotary cutter blade, a reliable cutting mat, and a sturdy ruler. These tools will make your quilting journey much smoother and more enjoyable.
- Embrace Your Scraps: Jenny is a master of scrap quilting. Don’t be afraid to mix and match different prints and colors. The varied textures and patterns of your scraps will add character and charm to your tiny houses.
- Enjoy the Process: Ultimately, quilting should be a source of joy and relaxation. Don’t strive for perfection; instead, focus on enjoying the creative journey and the satisfaction of making something beautiful with your own hands.
Your Creative Journey with Tiny Houses
These ideas are truly golden, a testament to Jenny Doan’s incredible talent and her ability to make intricate quilting accessible to everyone. Every project I’ve undertaken from her tutorials has turned out wonderfully, a reflection of her clear instructions and thoughtful designs. The tiny house quilting projects are no exception; they are simple yet incredibly rewarding, allowing you to breathe new life into your fabric scraps and create unique, personalized items for your home or as gifts.
Whether you choose to create a large quilt, a cozy accent pillow, or a decorative wall hanging, the process of constructing these little houses is sure to bring a smile to your face. For a comprehensive visual guide and Jenny’s signature easy-to-follow instructions, be sure to watch the full tutorial by the Missouri Star Quilt Company on YouTube. Let Jenny inspire you to turn your fabric stash into a charming village of quilted tiny homes. Happy quilting!