
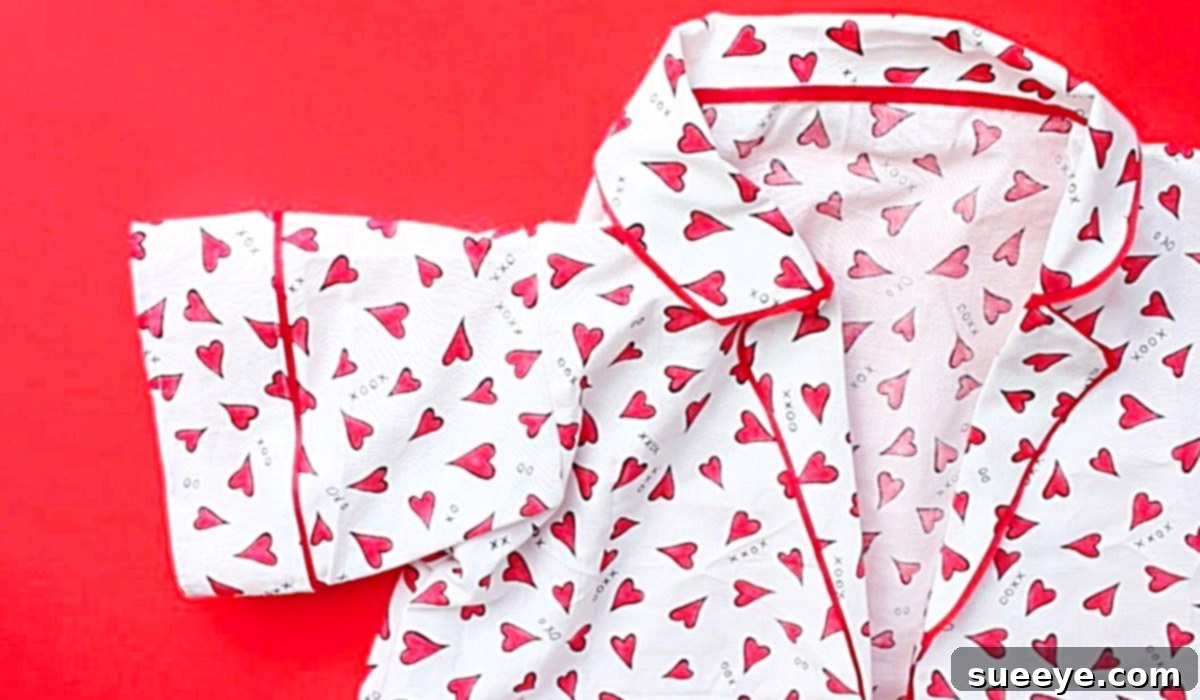
Imagine slipping into a pair of pyjamas that fit perfectly, are made from fabric you absolutely love, and cost you a fraction of store-bought loungewear. This dream becomes a reality with the incredibly clever and affordable “one-yard pyjama set” project, a brilliant idea popularized by creators like Seamingly Sarah on YouTube. This simple yet effective sewing tutorial empowers you to craft your own comfortable sleepwear using minimal fabric and an ingenious pattern-making technique often referred to as “clothes cloning.”
The beauty of this method lies in its simplicity and guaranteed fit. Instead of wrestling with complex measurements, sizing charts, or intricate paper patterns that often require advanced math skills (a common stumbling block for many, including myself!), you simply use a beloved pair of your existing pyjamas as a template. This ensures that your new handmade set will have the exact comfortable fit you already adore. It’s a fantastic entry point for beginners into the world of garment sewing and a refreshing, hassle-free approach for seasoned crafters looking for a quick and rewarding project. Dive into this guide to learn how to transform a single yard of fabric into your next favorite pyjama set.
How to Sew a One-Yard Pyjama Set: The Ultimate Guide
Creating your own pyjamas offers a wealth of benefits beyond just saving money. It’s an opportunity to express your personal style, ensure unparalleled comfort, and even contribute to a more sustainable wardrobe. This one-yard project specifically highlights efficiency and accessibility, making it an ideal choice for anyone eager to try their hand at sewing functional and fashionable items.
Why Sew Your Own Pyjamas? The Benefits of a DIY Sleepwear Project
- Perfect, Custom Fit: By cloning a pattern from your favorite existing pyjamas, you eliminate sizing guesswork. Your new set will conform precisely to your body, offering ultimate comfort.
- Cost-Effective: Needing only one yard of fabric significantly reduces material costs. Coupled with utilizing supplies you likely already own, this project is incredibly budget-friendly compared to buying new pyjamas.
- Unlimited Customization: Choose from an endless array of fabrics, prints, and colors to match your personal aesthetic. You can add unique details like piping, ruffles, or lace to make your pyjamas truly one-of-a-kind.
- Beginner-Friendly: The “clothes cloning” method simplifies pattern making, making this an excellent first garment project for novice sewers. It builds foundational skills without the intimidation of complex patterns.
- Sustainable Fashion Choice: Sewing your own clothes reduces reliance on fast fashion, minimizes textile waste, and allows you to make conscious choices about fabric sourcing.
- Sense of Accomplishment: There’s immense satisfaction in wearing something you’ve created with your own hands. It’s a rewarding hobby that yields practical, beautiful results.
Materials For Your One-Yard Pyjama Set
Gathering your supplies before you begin ensures a smooth and enjoyable sewing experience. Here’s what you’ll need for this exciting one-yard pyjama project:
- One Yard of Fabric: The cornerstone of this project! Choose a comfortable, soft fabric suitable for sleepwear. We’ll discuss fabric choices in more detail below.
- A Pair of Your Own Pyjamas: This is your cloning template. Select a pair that fits you well and has a comfortable style you wish to replicate.
- A Sewing Machine: Any basic sewing machine capable of straight stitches and a zigzag (for finishing seams) will work perfectly.
- A Pair of Fabric Scissors: Sharp scissors are crucial for clean, accurate cuts.
- Blank Pattern Paper: Large sheets of craft paper, medical exam paper, or even newspaper taped together can serve as your pattern paper.
- A Quilter’s Ruler (or any long straight ruler): Essential for drawing straight lines and adding seam allowances.
- A Pencil or Fabric Marker: For tracing your pattern and marking on fabric.
- An Iron and Ironing Board: Pressing seams as you go is vital for a professional finish and ensures accuracy.
- Matching Thread: Choose a good quality polyester thread that matches your fabric color.
- Elastic: For the waistband. The width and length will depend on your preference and the size of your existing pyjama waistband.
- Pins: To secure fabric pieces together before sewing.
Choosing the Perfect Fabric for Your Pyjamas
The right fabric can elevate your pyjamas from good to absolutely luxurious. When working with just one yard, it’s particularly important to select a material that drapes well, is comfortable against the skin, and is easy to sew. Here are some excellent choices:
- Cotton Lawn/Voile: Lightweight, breathable, and soft, perfect for warm weather pyjamas.
- Flannel: Ideal for cooler climates, offering warmth and a cozy feel. Look for soft, brushed flannels.
- Cotton Poplin: A crisp, smooth cotton that’s easy to handle for beginners. It’s breathable and holds its shape well.
- Rayon Challis: Known for its beautiful drape and silky feel, rayon challis creates elegant and flowy pyjamas. It can be a bit more slippery to sew, but the result is worth it.
- Jersey Knit (Cotton or Blends): Offers stretch and ultimate comfort, feeling like your favorite t-shirt. Sewing knits requires a ballpoint needle and a slight stretch stitch, but it’s manageable for beginners.
- Linen Blends: Breathable and natural, linen blends offer a sophisticated, slightly textured look that softens with wear.
Remember to pre-wash and dry your fabric according to its care instructions before cutting. This prevents shrinkage later and ensures your pyjamas maintain their fit.
Step-by-Step Directions: Crafting Your One-Yard Pyjama Set
This tutorial, inspired by Seamingly Sarah, breaks down the process into manageable steps. You’ll be amazed at how quickly you can create a custom, comfortable pyjama set!
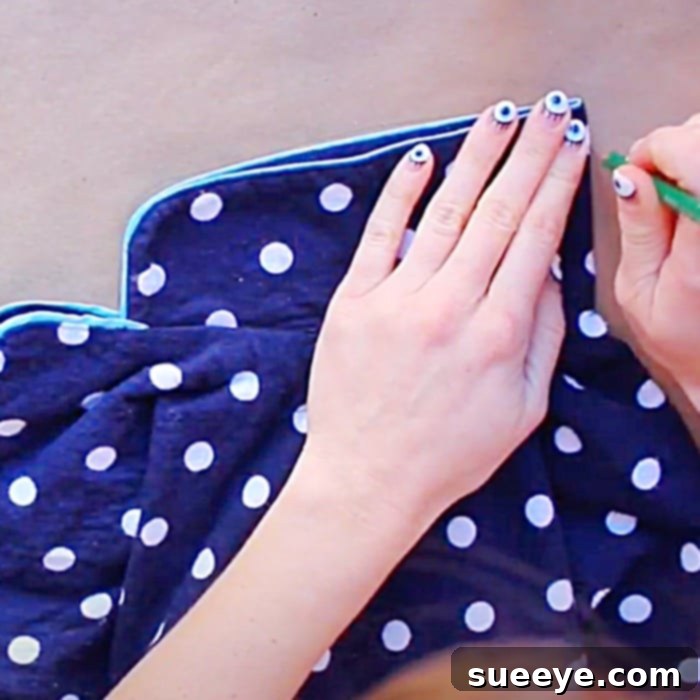
Step 1: Creating Your Custom Pattern (The Clothes Cloning Method)
This is where the magic of “clothes cloning” comes in. Lay your blank pattern paper on a large, flat surface. Take your chosen pair of existing pyjama bottoms. Carefully fold them in half lengthwise, aligning the side seams and crotch seams. Lay the folded pyjamas onto your pattern paper. Using your pencil or fabric marker, trace around the edges of the pyjamas, making sure to capture the rise, inseam, outseam, and leg opening. Don’t forget to mark the waistband line. Once you’ve traced the basic shape, remove the pyjamas. Now, using your quilter’s ruler, add a seam allowance of typically 1/2 inch (1.25 cm) to all edges, except for the waistband and hem. For the waistband and hem, you’ll need a larger allowance, usually 1 to 2 inches (2.5 to 5 cm), to create a casing for the elastic or a clean hem. Label your pattern pieces (e.g., “Front Pyjama Leg,” “Back Pyjama Leg”) and indicate “cut 2 on fold” if applicable, though for this method, you’ll likely trace separate front and back pieces. Cut out your new custom pattern pieces.
Step 2: Preparing and Cutting Your Fabric
With your custom pattern pieces ready, it’s time to work with your fabric. Lay your pre-washed and pressed one yard of fabric flat, typically folded lengthwise with selvage edges aligned. Carefully arrange your pattern pieces on the fabric, paying close attention to the fabric grainline (usually parallel to the selvage) and trying to maximize space to fit all pieces within the one-yard constraint. Pin the pattern pieces securely to the fabric. Using your sharp fabric scissors, carefully cut out your fabric pieces. Take your time to ensure clean, accurate cuts, as this will impact the final fit and finish of your pyjamas. You should end up with two main pyjama leg pieces (one for each leg), which will form the front and back of your pyjama bottoms.
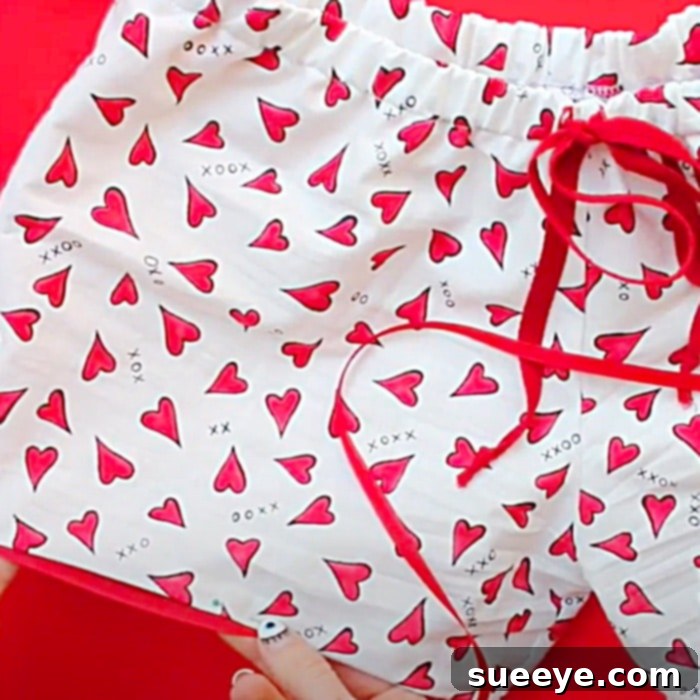
Step 3: Sewing the Main Components
Now, it’s time to start sewing! Take one pyjama leg piece. Fold it in half lengthwise, right sides together, matching the inseam (the inner leg seam). Pin along this raw edge. Sew a straight stitch along the pinned inseam, using your designated seam allowance (e.g., 1/2 inch). Repeat this for the second pyjama leg piece. Once both inseams are sewn, you’ll have two separate leg tubes. Turn one leg tube right side out, and keep the other wrong side out. Insert the right-side-out leg tube into the wrong-side-out leg tube, so their right sides are facing each other, and the crotch seams are aligned. Pin around the entire crotch curve. Sew this curve with a strong straight stitch. You can double-stitch for extra durability. Finish all raw seams with a zigzag stitch or an serger if you have one, to prevent fraying.
Step 4: Crafting the Waistband and Casing
The waistband casing will hold your elastic comfortably in place. For the waistband, fold down the top raw edge of your pyjamas towards the wrong side by about 1/4 inch (0.6 cm) and press. Then, fold it down again by an amount wide enough to accommodate your elastic (e.g., 1.25 to 1.5 inches for a 1-inch elastic). Press this fold well. Stitch along the bottom edge of this folded casing, leaving a small opening (about 1-2 inches) at the back. This opening is crucial for inserting your elastic. Once sewn, attach a safety pin to one end of your elastic. Thread the elastic through the casing, guiding it all the way around until it emerges from the opening. Overlap the ends of the elastic by about 1 inch and securely stitch them together, forming a loop. Gently pull the elastic into the casing, distributing the gathers evenly, and then stitch the opening closed. Your waistband is now complete and ready for comfortable wear.
Step 5: Hemming for a Professional Finish
The final step for a polished look is hemming the leg openings. For each leg, fold up the raw edge towards the wrong side by 1/4 inch (0.6 cm) and press firmly. Then, fold it up again by your desired hem allowance (e.g., 1 inch or 2.5 cm) and press. This double fold encloses the raw edge, creating a neat and durable hem. Pin the hem in place and stitch it down from the right side of the fabric, close to the folded edge, all the way around each leg. Ensure your stitches are even and neat. Press your finished hems one last time for a crisp, professional appearance.
Step 6: Adding Personal Touches (Optional)
As Seamingly Sarah demonstrates, simple details can make your pyjamas truly unique. Consider adding ribbon piping along the side seams or around the leg openings for a pop of color and definition. Ruffles can be easily created by gathering a strip of fabric and attaching it to the bottom hem or waistband. You could also add a small patch pocket to the back or front, using a pattern piece cloned from another garment or simply designing your own. These extra touches allow your creativity to shine and transform a basic pyjama set into a personalized fashion statement.
Tips for a Successful Sewing Project
- Pre-Wash Your Fabric: Always pre-wash and dry your fabric before cutting and sewing to prevent shrinkage and color bleeding after your garment is made.
- Press As You Go: Ironing seams flat after each step is a game-changer. It makes subsequent steps easier, helps seams lie flat, and gives your finished project a much more professional look.
- Use Sharp Tools: Sharp fabric scissors and fresh sewing machine needles make a significant difference in the quality of your cuts and stitches. Change your needle after every few projects or if it snags the fabric.
- Test Stitches: Before sewing on your actual garment, test your stitch settings (length and tension) on a scrap piece of your fabric.
- Pin Generously: Don’t be shy with pins. They help keep your fabric layers aligned, especially on curves or when working with slippery fabrics.
- Go Slow: Especially around curves or when new to sewing, slow down your machine. Precision beats speed every time.
- Watch the Video: Seamingly Sarah’s tutorial is an invaluable visual aid. Watching the steps performed can clarify any written instructions.
Caring for Your Handmade Pyjamas
To ensure your beautiful handmade pyjamas last for years to come, follow proper care instructions. Generally, machine wash your pyjamas in cold or warm water on a gentle cycle with similar colors. Avoid harsh bleaches. Tumble dry on low or hang to dry to preserve fabric integrity and prevent excessive wear. Iron on a low to medium setting if needed, depending on your fabric type. With proper care, your custom-sewn pyjamas will provide comfort and style for many nights.
This one-yard pyjama set project is more than just a sewing tutorial; it’s an invitation to explore your creativity, enhance your sewing skills, and enjoy the unparalleled comfort of truly personalized sleepwear. Whether you’re a complete beginner or a seasoned pro, the “clothes cloning” method makes pattern creation accessible and fun, guaranteeing a perfect fit every time. So, grab your fabric, fire up your sewing machine, and prepare to create a delightful pyjama set that you’ll be proud to wear. Don’t forget to check out Seamingly Sarah’s video tutorial on YouTube for a fantastic visual guide to complement these steps!