
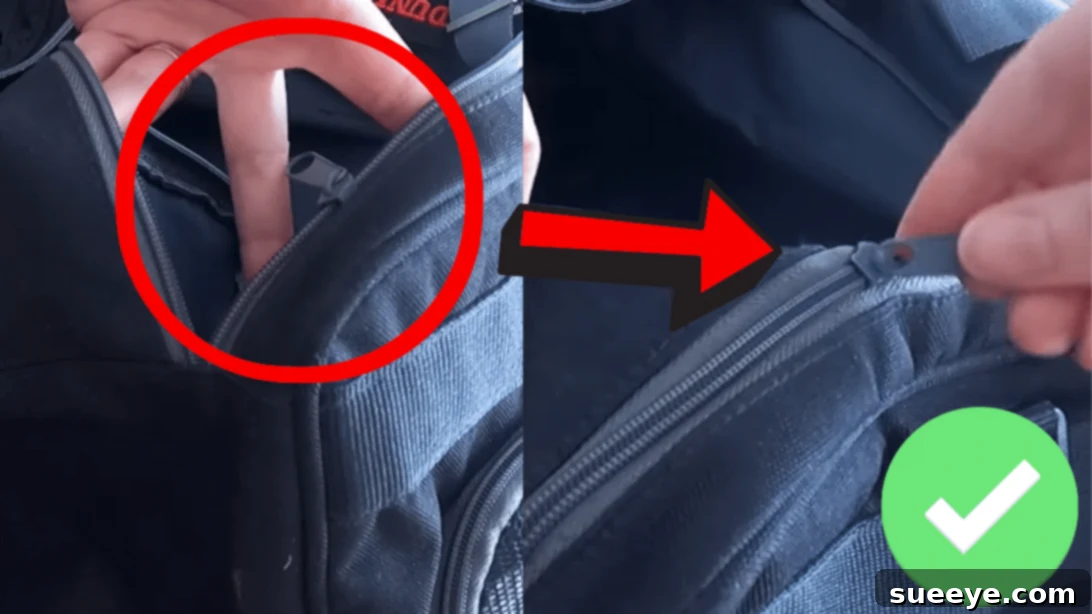
How to Fix a Zipper That’s Come Off One Side of the Track: The Ultimate DIY Guide
Do you own a cherished bag, a trusty backpack, or a favorite pair of jeans sidelined by a frustratingly broken zipper? It’s a common problem that can render perfectly good items unusable. While many might consider professional alteration services, the cost can often be prohibitive, making it seem easier to simply discard the item. However, before you throw out that beloved garment or accessory, consider a simple, yet incredibly effective DIY solution. This guide presents a brilliant life-saving hack, originally shared by Guiding Bolt on YouTube, that will empower you to fix a zipper that has come off one side of its track, or even one that has both sides disconnected. Forget complicated sewing projects or expensive repairs; with this easy-to-follow tutorial, you can restore your items to full functionality and enjoy them once more. Let’s dive into how you can bring your broken zippers back to life!
Why Zippers Malfunction and Why DIY is Your Best Bet
Zippers are intricate mechanisms, and they can fail for various reasons. Often, the slider – the part you pull – becomes too wide or misaligned, causing the teeth to separate or one side to detach from the track. Fabric snags, worn-out teeth, or even simply pulling too hard can also contribute to the problem. While professional tailors possess the expertise for complex zipper replacements, this particular issue of a zipper coming off its track is surprisingly simple to remedy yourself. Opting for a DIY fix not only saves you money but also promotes sustainability by extending the life of your belongings, reducing waste, and providing immense satisfaction from a job well done. This technique focuses on re-aligning the slider and securing the track, offering a practical and permanent solution.
Materials You’ll Need:
Gathering the right tools before you begin will make the repair process smooth and efficient. You likely already have most of these items lying around your home:
- A Sharp Pair of Scissors: Precision is key for the initial cut. Ensure your scissors are sharp enough to make a clean snip through the zipper fabric without fraying. This prevents further damage and makes the re-threading easier.
- Strong Thread: Choose a durable thread that matches or complements the color of your zipper tape. Polyester or nylon threads are often recommended for their strength and resistance to wear.
- A Sewing Needle: A standard hand-sewing needle will suffice. Make sure it’s thin enough to pass through the zipper fabric comfortably but sturdy enough not to bend during the stitching process.
- Pliers: Small, needle-nose pliers or jewelry pliers work best. These will be used to gently adjust the zipper slider, applying controlled pressure without damaging the metal.
Having these materials ready will ensure you can complete each step without interruption, leading to a quick and successful zipper repair.
Step-by-Step Instructions: Restore Your Zipper
Step 1: Preparing the Zipper Track
The first crucial step involves preparing the disconnected side of the zipper for re-alignment. Begin by pulling the zipper slider as far down as possible towards the end of the zipper tape. This creates tension and helps expose the area you need to work on. Carefully examine the side where the zipper has come off the track. You’ll notice a series of interlocking teeth, or “prongs,” attached to the fabric tape. With your sharp pair of scissors, make a small, precise cut directly in between two of these prong pieces on the disconnected side. It’s imperative to cut as close to the base of the zipper teeth as possible, creating only a small, clean slash in the fabric tape. The goal here is to create just enough of an opening to allow the zipper slider to pass through without cutting through the very end of the zipper stop. Avoid making a long cut; a small, strategic snip is all that’s required to facilitate the re-threading process.
Step 2: Re-threading and Adjusting the Zipper Slider
Once you’ve made the small snip, it’s time to re-thread the zipper slider onto both tracks. Carefully guide the disconnected side of the zipper tape back into its proper channel within the slider, using the small cut you made as an entry point. Push it through until both sides of the zipper track are fully aligned and the slider is sitting correctly on the teeth. Now, gently pull the zipper slider up and down to test its functionality. Does it close smoothly? If the zipper doesn’t work properly, or if it closes but then separates again, it’s a clear indication that the zipper slider might be loose, particularly at its back end. This looseness prevents the slider from properly engaging and interlocking the zipper teeth. To fix this, unzip it completely, taking it back out of the tracks if necessary. Then, take your pliers and very gently clamp down on the back bottom end of the zipper slider. Apply light, even pressure, being careful not to over-tighten, which could cause the slider to seize up or break. A subtle squeeze is often enough to narrow the opening just enough for it to grip the teeth effectively. After this adjustment, go ahead and rethread the zipper once more. Test it again to ensure it now glides smoothly and interlocks the teeth securely.
Step 3: Creating a Permanent Backstop
With your zipper now functioning correctly, the final step is to prevent it from derailing again. This involves creating a durable backstop using your needle and thread. Locate the spot right before the snip you made in Step 1, at the very end of the zipper’s travel. Using your threaded needle, begin to sew a series of tight, circular stitches around the zipper tape at this exact point. The idea is to create a small, reinforced bump or barrier that will act as a physical stop for the zipper slider. This stitching should be robust and compact, effectively forming a new, permanent bottom stop for your zipper. Keep going around in a circle, layering the stitches closely together, until you have a small but firm bundle of thread. This reinforced area will prevent the zipper slider from going past the end of the track and coming off again. Once you’re satisfied with the strength of your backstop, secure your thread with a knot and trim any excess. This simple sewing technique significantly enhances the durability of your repair, ensuring your zipper stays on track for a long time.
Tips for Zipper Maintenance and Longevity
Now that you’ve mastered the art of zipper repair, here are some additional tips to keep your zippers in top condition and prevent future issues:
- Lubrication: For stubborn zippers that stick, a small amount of graphite from a pencil or a specialized zipper lubricant can work wonders. Apply it directly to the teeth.
- Gentle Handling: Avoid forcing a zipper if it gets stuck. Instead, gently wiggle it or try to remove any fabric caught in its teeth.
- Cleanliness: Dirt, sand, and debris can accumulate in zipper teeth, causing them to jam. Periodically clean your zippers with a brush and mild soap, especially on outdoor gear.
- Check for Wear: Regularly inspect your zippers for signs of wear, such as fraying fabric tape or bent teeth, and address minor issues before they become major problems.
- Proper Storage: When storing items, ensure zippers are closed to prevent them from getting bent or damaged.
Conclusion: Empower Yourself with DIY Zipper Repair
Fixing a broken zipper that’s come off its track might seem daunting at first, but as this guide demonstrates, it’s a remarkably straightforward process with the right tools and a little patience. This ingenious hack, brought to you by Guiding Bolt, empowers you to take control of common wardrobe malfunctions, saving you money, time, and the hassle of replacing perfectly good items. You no longer need to endure the frustration of a dysfunctional zipper or resort to expensive professional repairs. By following these clear, step-by-step instructions, you can confidently repair your bags, jeans, and other garments, extending their lifespan and making them usable once more. Embrace the satisfaction of DIY and keep your favorite items in circulation!