
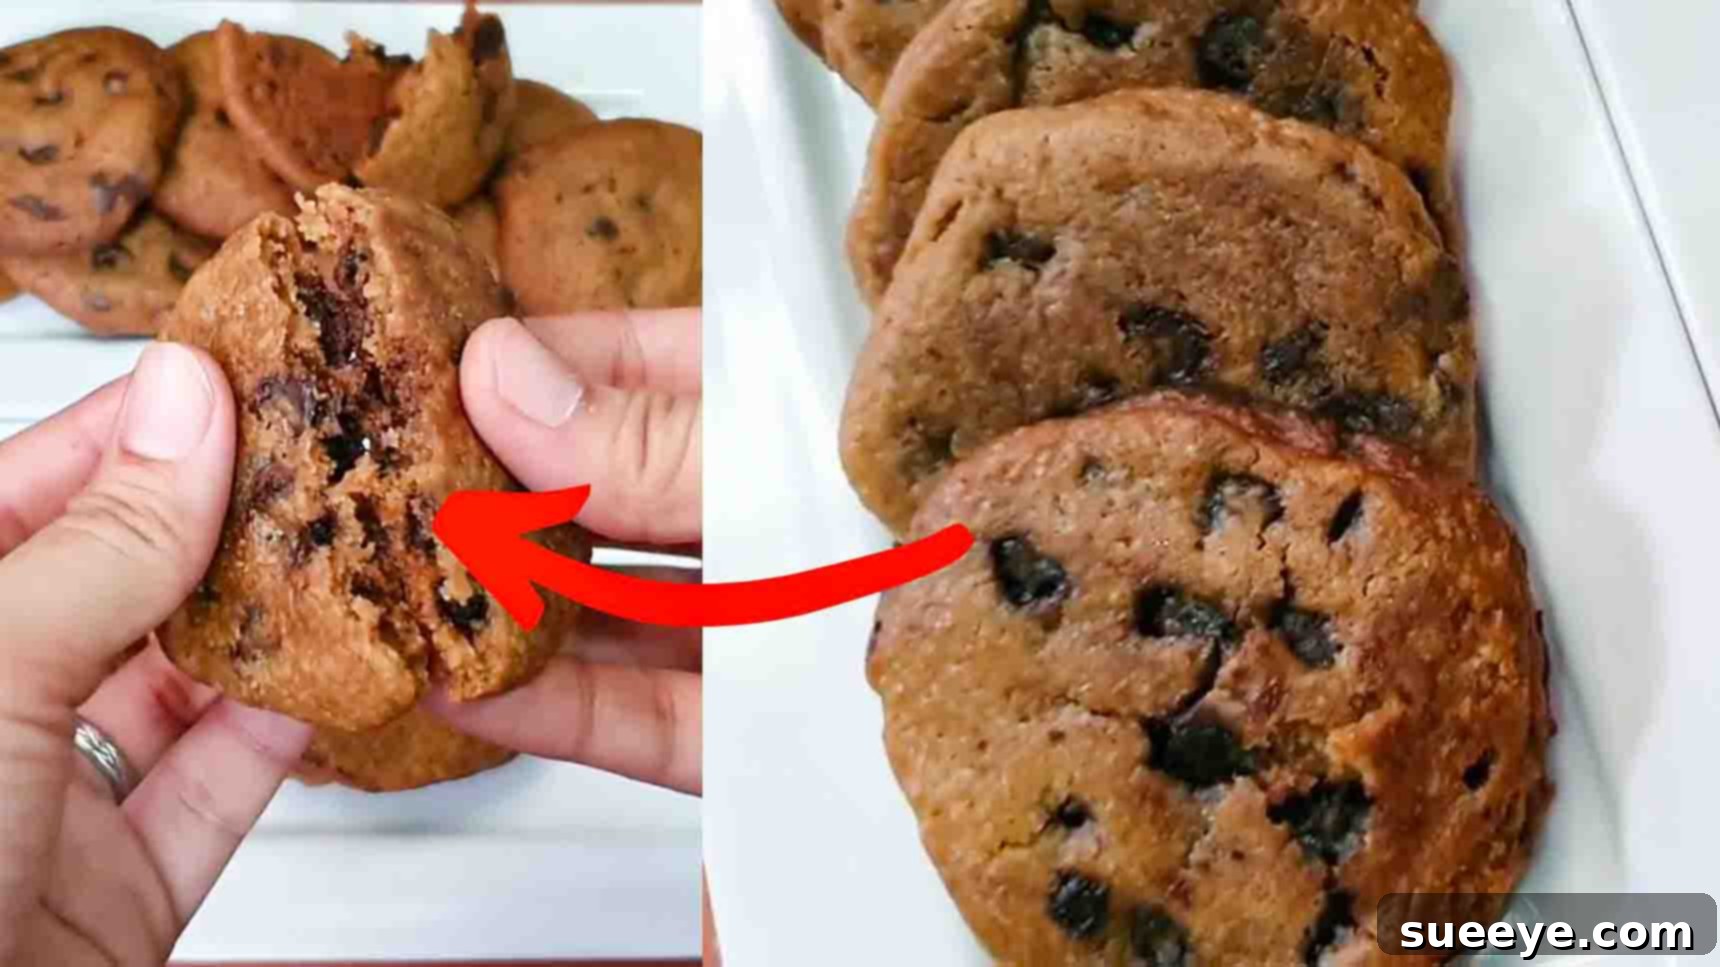
Effortless Indulgence: The Ultimate Guide to No-Bake Chocolate Chip Cookies
Heads up, cookie lovers and aspiring bakers! Prepare to revolutionize your dessert game with a recipe that delivers incredible flavor without ever needing to touch an oven. This delightful method, inspired by the creative culinary insights from Hainah’s Vlog on YouTube, introduces you to the magic of no-bake chocolate chip cookies. Forget the hassle of preheating and cooling racks; these cookies are surprisingly good, offering a rich, chewy texture and classic chocolate chip taste using only a handful of simple ingredients. It’s a quick, easy, and incredibly satisfying treat that your entire family will absolutely adore. Perfect for those hot summer days, impromptu cravings, or simply when you want a homemade snack with minimal fuss. Dive into this comprehensive guide and learn the step-by-step procedure to whip up your new favorite no-bake delight.
Why Choose No-Bake Cookies? The Freedom of Oven-Free Desserts
In a world where time is a precious commodity and culinary adventures can sometimes feel daunting, no-bake recipes emerge as true heroes. They offer a fantastic alternative to traditional baking, bringing a host of benefits that make them incredibly appealing. Firstly, the obvious: no oven required! This is a game-changer, especially during warmer months when cranking up the oven can turn your kitchen into a sauna. It also eliminates the need for precise baking times and temperatures, reducing the margin for error and stress. With no-bake cookies, you get to enjoy the satisfaction of homemade treats with significantly less effort and cleanup. They are perfect for beginners, kids, or anyone looking for a quick dessert fix. The simplified process means you can enjoy fresh cookies faster, making them ideal for unexpected guests, a sudden sweet craving, or a last-minute contribution to a potluck. Embrace the simplicity and joy of creating delicious desserts without breaking a sweat!
Essential Ingredients for Your No-Bake Masterpiece
The beauty of this recipe lies in its simplicity, utilizing common pantry staples to create an extraordinary treat. Each ingredient plays a crucial role in achieving that perfect no-bake cookie texture and flavor. Here’s what you’ll need:
- 1/2 cup butter, softened
- 1/2 cup brown sugar
- 1/2 cup white sugar
- 1 egg
- 1 tsp vanilla extract
- 1 & 1/4 cups of all-purpose flour
- 1/2 tsp salt
- 1/2 tsp baking soda
- 1 cup of chocolate chips
A Closer Look at Your Ingredients: Quality Matters
While the list is simple, understanding each component can elevate your no-bake cookies from good to absolutely fantastic.
- Softened Butter: This is crucial for achieving a smooth, well-combined dough. Butter at room temperature creams beautifully with sugar, creating a light, airy base. Avoid melted butter, as it will alter the dough’s consistency. Good quality unsalted butter is recommended for better control over the salt content.
- Brown Sugar & White Sugar: The combination of both sugars is key. Brown sugar adds moisture, chewiness, and a subtle caramel note, contributing to the rich depth of flavor. White sugar provides essential sweetness and helps achieve a tender crumb. Their synergy ensures a balanced sweetness and delightful texture.
- Egg: A single egg acts as a binding agent, helping to hold the dough together and providing richness. Ensure your egg is also at room temperature for better emulsification with the butter and sugars.
- Vanilla Extract: A teaspoon of pure vanilla extract is a non-negotiable flavor enhancer. It adds warmth and depth, complementing the chocolate and sugar beautifully. Opt for high-quality vanilla for the best results.
- All-Purpose Flour: This provides the necessary structure to your cookies. While these are no-bake, the flour still needs to be incorporated properly. Sifting it helps prevent lumps and ensures a smoother dough.
- Salt: Just half a teaspoon of salt is vital for balancing the sweetness and enhancing all the other flavors. Don’t skip it, as it prevents the cookies from tasting overly sweet and brings out the chocolate notes.
- Baking Soda: Even without traditional baking, baking soda plays a role. It reacts with the acidic components (like brown sugar) to give the cookies a slight lift and a pleasant chewiness, preventing them from being too dense.
- Chocolate Chips: The star of the show! Use your favorite kind – semi-sweet, milk, or dark chocolate chips all work wonderfully. Quality chocolate chips will melt beautifully and provide bursts of rich flavor throughout each bite. You can also experiment with chocolate chunks for a more varied texture.
Step-by-Step Guide to Crafting Your Perfect No-Bake Cookies
Step 1: The Art of Mixing and Chilling Your Dough
The foundation of any great cookie begins with precise mixing. In a spacious mixing bowl, begin by adding 1/2 cup of softened butter. The butter should be pliable, not melted, to ensure it creams well. Follow this with 1/2 cup of brown sugar and 1/2 cup of white sugar. Now, mix these ingredients thoroughly. You can use an electric mixer on medium speed or a sturdy whisk and a good amount of arm power. The goal here is to cream the butter and sugars together until the mixture is light, fluffy, and all sugar lumps have disappeared. This aeration process is key to a tender cookie. Continue mixing until the texture is visibly smooth and uniform, usually taking 2-3 minutes with an electric mixer.
Next, crack in 1 egg and add 1 tsp of vanilla extract. Incorporate these into the butter and sugar mixture, mixing well until everything is perfectly combined and emulsified. The mixture should look cohesive and glossy. Now, it’s time for the dry ingredients. Sieve 1 and 1/4 cups of all-purpose flour and 1/2 tsp of baking soda directly into the wet mixture. Sifting prevents lumps and helps distribute the leavening agent evenly. Gently fold the flour mixture into the wet ingredients until just combined. Be careful not to overmix, as this can lead to a tougher cookie texture. A few streaks of flour are acceptable at this stage.
Finally, stir in 1 cup of your preferred chocolate chips. Fold them in gently until they are evenly distributed throughout the dough. The dough should be thick and somewhat sticky. Transfer your freshly made cookie dough to a small bowl, press it down lightly, and cover it snugly with plastic wrap, ensuring no air gets in. This crucial step prepares the dough for chilling. Place it in the freezer for a minimum of 30 minutes. This chilling period isn’t just to firm up the dough; it also allows the flavors to meld and prevents the cookies from spreading excessively during the stovetop cooking process, ensuring a perfect texture.
Step 2: Mastering the Stovetop Cooking Technique
After the 30-minute chilling period, retrieve your cookie dough from the freezer. It should now be firm enough to handle easily. Take small portions of the dough and roll them into uniform balls, roughly 1 to 1.5 inches in diameter. You can place these dough balls on a parchment paper-lined baking tray as you work, though they don’t need to be baked. This just helps keep them organized.
Next, prepare your cooking surface. Grease a non-stick pan with a tiny bit of oil or butter. The amount should be minimal, just enough to prevent sticking. Place three to four balls of dough in the pan, ensuring there’s enough space between them to allow for slight expansion. Gently flatten each dough ball slightly with your palm or the back of a spoon. They should be about 1/2 inch thick discs. Cover the pan with a lid; this is essential as it creates a contained environment, allowing the cookies to cook through and become tender without needing an oven.
Cook them over very low heat for approximately ten minutes. Keep the heat consistently low to prevent burning the bottom before the cookie is cooked through. During this time, the heat trapped by the lid will gently cook the dough, firming it up and melting the chocolate chips within. After ten minutes, carefully lift the lid. The bottoms of the cookies should be lightly golden brown and set, and the tops should appear cooked, though perhaps still a little soft to the touch. Using a thin spatula, carefully flip each cookie. Cook for another five minutes on the other side, still over low heat and covered with the lid, to ensure even cooking and a beautifully golden finish.
Once both sides are cooked and golden, remove the cookies from the pan and transfer them to a wire rack to cool completely. Cooling is a crucial step; as they cool, their texture will firm up, and the flavors will intensify. Resist the urge to eat them hot, as they will be fragile and not yet have their optimal chewiness. Repeat the process with the remaining cookie dough until all your delicious no-bake chocolate chip cookies are ready to be devoured.
Tips for No-Fail No-Bake Chocolate Chip Cookies
Even though this recipe is incredibly straightforward, a few expert tips can ensure your no-bake cookies turn out perfectly every single time:
- Ingredient Temperature is Key: Always ensure your butter and egg are at room temperature. This allows them to emulsify properly with the sugars, creating a smooth, homogenous dough that cooks evenly.
- Don’t Rush the Chilling: The 30-minute freezer chill is non-negotiable. It firms up the dough, making it easier to handle and preventing excessive spreading during cooking. A colder dough holds its shape better.
- Low and Slow Heat: When cooking on the stovetop, maintain consistently low heat. High heat will burn the outside of the cookie before the inside has a chance to cook through. Patience here will be rewarded with perfectly tender cookies.
- The Power of the Lid: Covering the pan during cooking traps steam and heat, essentially creating a mini-oven. This helps cook the cookies evenly from all sides, ensuring they are tender and moist.
- Even Cookie Size: Try to make your cookie dough balls as uniform in size as possible. This ensures they cook at the same rate, preventing some from being undercooked while others are overdone.
- Grease Lightly: A very thin layer of oil or butter is all you need. Too much grease can make the cookies oily.
- Cool Completely: As tempting as it is to eat them warm, letting the cookies cool completely on a wire rack is crucial. This allows them to set, firm up, and develop their best chewy texture.
Creative Variations to Elevate Your No-Bake Cookies
While classic chocolate chip is always a winner, these no-bake cookies are wonderfully adaptable! Feel free to unleash your creativity and experiment with different additions to customize your batch:
- Chocolate Varieties: Instead of just semi-sweet, try a mix of dark and milk chocolate chips, or even white chocolate chips for a different flavor profile. Chocolate chunks can also provide a richer, more gooey experience.
- Nutty Add-Ins: Fold in 1/2 cup of finely chopped nuts like walnuts, pecans, or almonds for added crunch and flavor. Toast them lightly before adding for an enhanced aroma.
- Dried Fruits: Dried cranberries, raisins, or chopped apricots can introduce a lovely chewiness and a hint of tartness or sweetness.
- Spices: A pinch of cinnamon, nutmeg, or even a touch of chili powder (for a Mexican hot chocolate twist) can add an exciting dimension to your cookies.
- Extracts: Beyond vanilla, try a dash of almond extract, peppermint extract (especially around holidays!), or even a hint of coffee extract to complement the chocolate.
- Toppings: Once cooled, drizzle your cookies with melted white chocolate, a caramel sauce, or sprinkle them with sea salt for a gourmet touch. Sprinkles can also add a festive look!
- Coconut Love: Add 1/2 cup of shredded coconut (toasted or untoasted) for a tropical flair and extra texture.
Storage and Shelf Life: Keeping Your Cookies Fresh
Proper storage is essential to maintain the deliciousness and texture of your no-bake chocolate chip cookies. Once completely cooled, store them in an airtight container at room temperature for up to 3-4 days. If you prefer a firmer texture or are making them in warmer climates, you can store them in the refrigerator, where they will last for up to a week. For longer storage, these cookies freeze beautifully! Place them in a single layer on a parchment-lined baking sheet and freeze until solid. Then, transfer the frozen cookies to a freezer-safe airtight container or bag. They can be stored in the freezer for up to 2-3 months. Thaw at room temperature for a quick treat, or enjoy them directly from the freezer for a different kind of chewy delight.
Frequently Asked Questions About No-Bake Cookies
Q: Can I use margarine instead of butter?
A: While butter is highly recommended for its flavor and fat content, you can use a high-quality stick margarine (not tub margarine) as a substitute. Be aware that the flavor and texture might be slightly different. Ensure it’s softened just like butter.
Q: Why are my cookies too soft or crumbly?
A: If your cookies are too soft, it might be due to not enough chilling time, too much butter, or not enough flour. If they are crumbly, it could be due to too much flour, not enough moisture (e.g., if your egg was too small or butter wasn’t softened correctly), or overmixing the dry ingredients. Ensure precise measurements and follow the chilling instructions carefully.
Q: Can I make these gluten-free?
A: Yes, you can! Substitute the all-purpose flour with a good quality 1:1 gluten-free baking flour blend. Make sure the blend contains xanthan gum, or add 1/4 teaspoon of xanthan gum per cup of flour for better structure, as gluten-free flours can behave differently.
Q: How long do these cookies last?
A: When stored in an airtight container at room temperature, they are best enjoyed within 3-4 days. In the refrigerator, they can last up to a week. Frozen, they maintain their quality for up to 2-3 months.
Q: What kind of pan is best for cooking?
A: A non-stick pan with a tight-fitting lid is ideal. The non-stick surface prevents sticking, and the lid is crucial for trapping heat and steam to cook the cookies through. A cast-iron skillet can also work, but requires careful heat management to prevent burning.
Conclusion: Indulge in Effortless Deliciousness
There you have it – a comprehensive guide to crafting the most delightful no-bake chocolate chip cookies right on your stovetop. This recipe proves that you don’t need a fancy oven or extensive baking skills to create incredibly satisfying homemade treats. With simple ingredients, a straightforward process, and a little bit of love, you can whip up a batch of chewy, chocolatey cookies that will impress everyone. Whether you’re a seasoned baker looking for a quick fix or a complete novice eager to try your hand at something sweet, this Hainah’s Vlog-inspired recipe is your ticket to effortless indulgence. So go ahead, gather your ingredients, follow these steps, and prepare to savor the magic of no-bake goodness. Happy “cooking” and enjoy every single bite!