
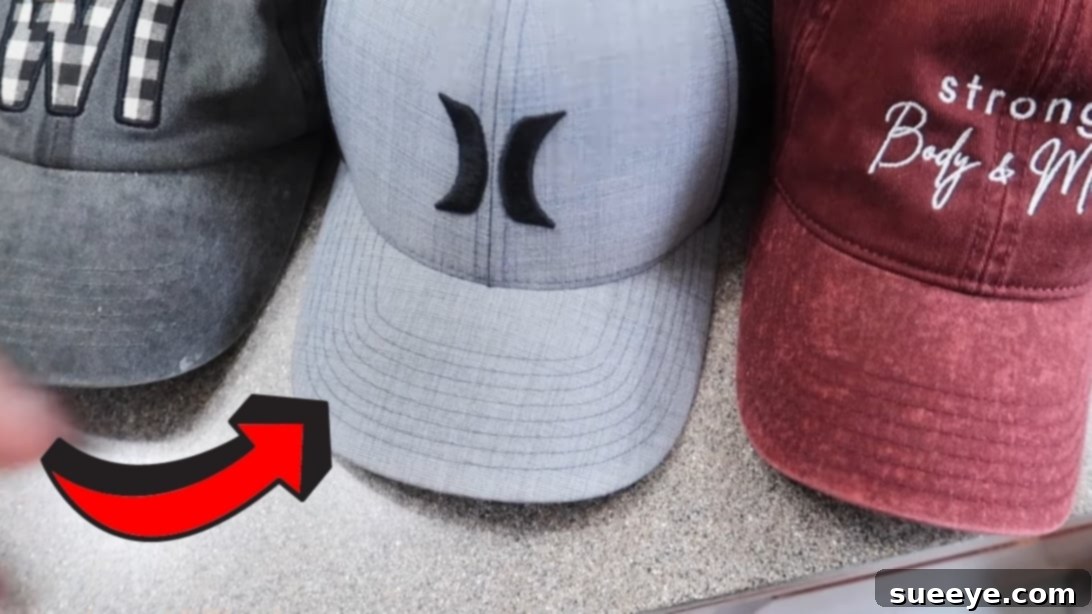
Do you have a beloved hat that has seen better days, perhaps adorned with tell-tale sweat stains or accumulated dirt from countless adventures? It’s a common dilemma – we wear our favorite hats often, and over time, they inevitably show signs of wear. While you might be tempted to toss it in the washing machine, that’s often a recipe for disaster, potentially shrinking or warping its shape. The good news is that cleaning your hat effectively without ruining it is entirely possible with the right approach. This comprehensive guide will walk you through a gentle yet powerful method to restore your hat’s pristine condition, inspired by expert tips from Andrea Jean Cleaning. Say goodbye to unsightly marks and hello to a hat that looks as good as new!
Why Regular Hat Cleaning is Essential
More than just aesthetics, cleaning your hats regularly is crucial for hygiene and extending their lifespan. Hats are constantly exposed to sweat, oils from your skin and hair, dust, pollen, and environmental pollutants. These elements can not only cause visible stains and unpleasant odors but also break down fabric fibers over time. Accumulated grime can lead to skin irritations and even accelerate the deterioration of the hat’s material and structure. A clean hat doesn’t just look better; it feels better, smells fresher, and lasts significantly longer, making it a worthy investment of your time.
Understanding Your Hat: A Key to Safe Cleaning
Before you dive into cleaning, it’s vital to understand the material and construction of your hat. Most baseball caps are made from cotton, wool, or synthetic blends, each with slightly different care requirements. Some hats have structured brims (often made of plastic or a sturdy material), while older or vintage hats might feature cardboard brims that cannot get wet. Always check for a care label inside your hat if available. If not, err on the side of caution with a gentle, hand-washing method. This guide focuses on methods safe for most common hats, particularly cotton and synthetic baseball caps, but remember to adjust for very delicate or specialized materials like wool or straw.
Essential Materials You’ll Need:
- Warm Water: Not too hot, as excessive heat can cause shrinking or fading, especially with certain dyes.
- Gentle Dish Soap: Any brand of mild dish soap, such as Dawn, is perfect. Its grease-cutting properties work wonders on sweat and oil stains without being harsh on fabrics. Avoid strong detergents or bleach, which can damage colors and materials.
- Large Brush with Soft Bristles: Ideal for gently scrubbing the main body and outer surfaces of the hat without damaging the fabric. A soft laundry brush or even a clean vegetable brush can work.
- Old Toothbrush: An invaluable tool for tackling stubborn stains and reaching tight spots like seams, eyelets, and the inner sweatband where dirt and sweat accumulate most.
- Stain Remover: A pre-treatment stain remover (e.g., OxiClean spray, Folex) is highly recommended for tough sweat or oil stains before the main wash. Choose one safe for colors and various fabrics.
- Bucket: Large enough to comfortably submerge your hat, allowing for thorough soaking and washing.
- Clean Towel: For absorbing excess water and aiding in the drying process, preventing stretching or deformation.
Step-by-Step Hat Cleaning Instructions:
Step 1: Pre-Treat Stubborn Stains
The first crucial step in reviving your hat is to address any prominent stains, particularly those pesky yellow sweat marks on the brim and sweatband. Identify all noticeable spots, whether from sweat, dirt, or oil. Take your chosen stain remover and spray it directly onto these soiled areas. Allow the solution to penetrate the fabric for a few minutes (check the product instructions for specific timings). Then, grab your old toothbrush and gently work the stain remover into the fabric in small, circular motions. Be thorough but avoid aggressive scrubbing, which can damage fibers. If a stain doesn’t seem to budge after the first application and light scrub, don’t hesitate to repeat this pre-treatment step. This initial focused attack significantly increases the chances of complete stain removal.
Step 2: Prepare Your Gentle Cleaning Solution
With pre-treatment complete, it’s time to prepare the main cleaning bath. Fill your bucket with warm water. Remember, warm water is preferred over hot water to prevent potential shrinking or color fading. Once the bucket is about two-thirds full, add just a few drops of your gentle dish soap. A little goes a long way – you’re aiming for a mild soapy solution, not a bubble bath. Stir the water well with your hand to ensure the soap is evenly distributed and creates a light lather. This creates the perfect environment for lifting general dirt and grime from your hat without harsh chemicals.
Step 3: Gentle Washing and Scrubbing
Carefully submerge your pre-treated hat into the soapy water, ensuring it is fully saturated. Allow it to soak for about 5-10 minutes, giving the solution time to loosen embedded dirt. Once soaked, retrieve your hat and begin the gentle scrubbing process. Use your larger brush with soft bristles to clean the entire outer surface of the hat. Work in sections, applying gentle pressure. For those hard-to-reach areas, intricate stitching, eyelets, and especially the inner sweatband (where most sweat and oils collect), switch to your old toothbrush. Pay close attention to the brim, both top and bottom, as this area often accumulates significant grime. Continue brushing all sides and areas until you are satisfied that you have cleaned all visible dirt and stains. The goal is a thorough clean without aggressive scrubbing that could damage the fabric or distort the hat’s shape.
Step 4: Thorough Rinsing
Once you’ve finished scrubbing, it’s time to rinse all that loosened dirt and soap away. Remove the hat from the soapy water and hold it under cool, running water. You can do this under a tap or by refilling your bucket with clean water. The key here is to rinse thoroughly and patiently. Any soap residue left behind can lead to stiffness, discoloration (especially if the hat dries in direct sunlight), or even skin irritation when you wear it. Gently squeeze the hat (if the material allows and it’s not a new, delicate hat) to help push out the soapy water. Continue rinsing and light squeezing until the water running off the hat is clear and you no longer feel any slick, soapy residue.
Step 5: Proper Drying for Shape Retention
This step is perhaps the most critical for ensuring your hat retains its original shape and doesn’t suffer damage. After rinsing, gently press out as much excess water as possible without twisting or wringing the hat aggressively. For older, more durable hats, you might give it a gentle squeeze. However, for newer hats or those you want to preserve perfectly, avoid harsh squeezing. Instead, lay the hat on a clean, dry towel and gently roll the towel around it to absorb moisture. The best method for drying is air drying. Crucially, you must shape the hat back to its original form before letting it dry. You can place it over a clean, dry bowl, a small balloon, or even your knee (if it fits comfortably) to help it maintain its dome shape. Avoid placing your hat in direct sunlight, as this can cause colors to fade significantly, especially dark shades. Instead, choose a well-ventilated area indoors, away from direct heat sources. While hanging a hat can seem convenient, it might cause some stretching or distortion, particularly if the hat is still heavy with water. Be patient; air drying can take several hours, or even a full day, depending on the hat’s thickness and humidity levels. Ensure it’s completely dry before wearing or storing.
Special Considerations for Different Hat Types
While the general hand-washing method works for many hats, some materials require extra care:
- Wool Hats: Always use cold water to prevent shrinking. Avoid excessive scrubbing and prolonged soaking. Gently blot dry with a towel and reshape immediately. Never put wool hats in a dryer.
- Straw Hats: Most straw hats cannot be fully submerged in water as it can cause the straw to weaken, break, or lose shape. Spot clean only with a damp cloth and a mild soap solution. Allow to air dry completely.
- Felt Hats: Similar to wool, felt hats are delicate. Spot cleaning is often preferred. If a deeper clean is needed, use very cool water and a minimal amount of gentle soap. Blot dry and use a hat form to retain shape.
- Hats with Cardboard Brims: Vintage baseball caps or some novelty hats might have cardboard brims. These hats absolutely cannot be submerged or even get too wet, as the cardboard will warp and disintegrate. For these, target spot cleaning only on the fabric parts, keeping the brim as dry as possible.
Preventing Future Stains and Extending Hat Life
Prevention is always better than cure! Here are some tips to keep your hats looking pristine for longer:
- Regular Wiping: After each wear, give your hat a quick wipe with a damp cloth, especially the sweatband, to remove superficial dirt and oils before they set in.
- Use Hat Liners: Disposable or washable sweat liners can be inserted into the sweatband of your hat to absorb sweat and oil, protecting the hat itself from staining.
- Proper Storage: Store your hats in a cool, dry place away from direct sunlight. Consider using hat boxes or shelves to help them maintain their shape. Avoid cramming them into tight spaces.
- Rotate Your Hats: If you have multiple hats, rotate wearing them. This allows each hat to air out between uses and reduces the frequency of deep cleaning required for any single hat.
Frequently Asked Questions About Hat Cleaning
- Can I put my hat in the washing machine?
- While some very durable, unstructured cotton hats might survive a gentle, cold-water cycle in a mesh bag, it’s generally not recommended. Washing machines can cause shrinking, fading, and irreversible damage to a hat’s structure and brim, especially for structured caps. Hand washing is the safest method.
- Can I put my hat in the dishwasher?
- This is a popular but highly debated method. While some claim success, dishwashers use very hot water and harsh detergents that can severely damage hats – causing shrinking, fading, and warping of brims, particularly plastic ones. It’s best to avoid this method.
- How often should I clean my hat?
- This depends on how often you wear it and your activity level. If worn daily, a light wipe after each use and a deep clean every 1-2 months might be necessary. For occasional wear, cleaning every few months or as soon as you notice visible stains or odors is sufficient.
- What if my hat shrinks?
- Shrinking usually occurs due to hot water or excessive heat during drying. If your hat shrinks, you might try to gently stretch it while damp, or wear it on your head as it dries, but often, shrinking is irreversible.
By following these detailed steps and considerations, you can confidently clean your favorite hats, removing sweat stains and dirt without compromising their integrity. A little care goes a long way in preserving the life and appearance of your cherished headwear. With regular, gentle maintenance, your hats will continue to be a stylish and fresh accessory for years to come. Remember, patience and a gentle touch are your best allies in hat cleaning!
If you found this tutorial helpful and want more insightful cleaning tips, be sure to visit Andrea Jean Cleaning’s Youtube channel. She offers a wealth of videos on cleaning various items and areas of your home, making everyday chores simpler and more effective.