
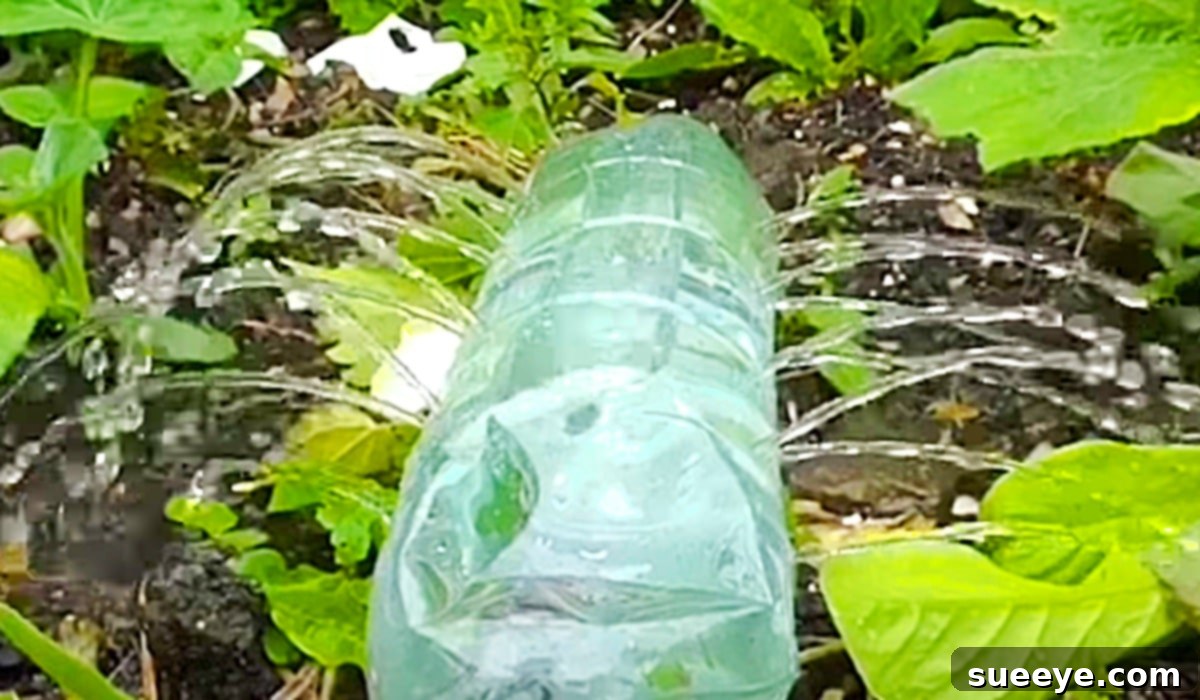
DIY 5-Minute Soda Bottle Sprinkler: An Eco-Friendly Garden Hack
In the quest for smarter, more sustainable, and budget-friendly gardening solutions, sometimes the best ideas come from the simplest innovations. That’s precisely the case with the ingenious DIY soda bottle sprinkler. Inspired by creative minds like The Man With The Hat on YouTube, this project transforms an everyday item into a versatile tool for your yard and garden. Whether you’re looking to efficiently water your lawn, provide a cooling mist on a scorching summer day, or deliver a gentle sprinkle to your most delicate plants, this homemade sprinkler is an absolute game-changer.
Beyond its primary function as a watering device, this DIY sprinkler offers remarkable flexibility. Imagine effortlessly hydrating your garden beds while you’re away, making the task significantly easier for a friend or neighbor who’s kindly tending to your plants. Unlike standing with a hose sprayer, which demands constant attention, this bottle sprinkler can be laid on the ground, delivering consistent moisture even with low water pressure. It’s an incredibly practical solution that marries convenience with an eco-conscious approach to gardening.
Why Choose a DIY Soda Bottle Sprinkler? Unleashing Its Benefits
Before diving into the creation process, let’s explore the myriad advantages of incorporating this simple yet effective tool into your outdoor routine:
- Unbeatable Cost-Effectiveness: One of the most compelling reasons to build your own sprinkler is the significant cost savings. Instead of spending money on expensive store-bought sprinklers, you’re repurposing items you likely already have on hand, turning potential waste into a valuable garden asset.
- Eco-Friendly Repurposing: This project is a fantastic example of upcycling. By transforming an empty plastic soda bottle into a functional sprinkler, you’re reducing waste and contributing to a more sustainable lifestyle. It’s a small step that makes a difference for the environment.
- Customizable Watering Solution: Unlike pre-made sprinklers with fixed spray patterns, your DIY version offers unparalleled customization. You can strategically place and size the holes to achieve the exact type of spray you need, from a fine mist for seedlings to a more robust stream for established lawns.
- Effortless Convenience: Once set up, this sprinkler requires minimal supervision. Simply connect it to your garden hose, turn on the water, and let it do the work. This hands-free operation is perfect for busy gardeners, enabling you to tackle other tasks or simply relax while your plants get the hydration they need.
- Gentle on Delicate Plants: Certain plants, especially young seedlings or those with fragile foliage, can be damaged by the powerful spray of a traditional hose. The soda bottle sprinkler, with its ability to create a soft, rain-like sprinkle, provides gentle yet effective watering, protecting your plants from stress.
- Ideal for Vacation Watering: If you’re planning a trip, this DIY sprinkler can be a lifesaver. Setting up a few of these in your garden beds ensures consistent watering, making it incredibly easy for a neighbor or friend to keep your plants thriving without complex instructions.
- Fun and Educational Project: This is a simple, engaging project that can be enjoyed by the whole family. It’s a great way to teach children about recycling, basic engineering, and the importance of water conservation in a practical, hands-on manner.
Materials For Your 5-Minute Soda Bottle Sprinkler: Gathering Your Tools
The beauty of this project lies in its simplicity and the readily available materials it requires. You likely have most of these items around your home already.
- An Empty Plastic Soda Bottle (1 or 2 Liters): This is the core of your sprinkler. A 2-liter bottle typically offers more surface area for holes, allowing for broader coverage, while a 1-liter bottle might be better for targeted watering. Ensure it’s clean and free of any sugary residue.
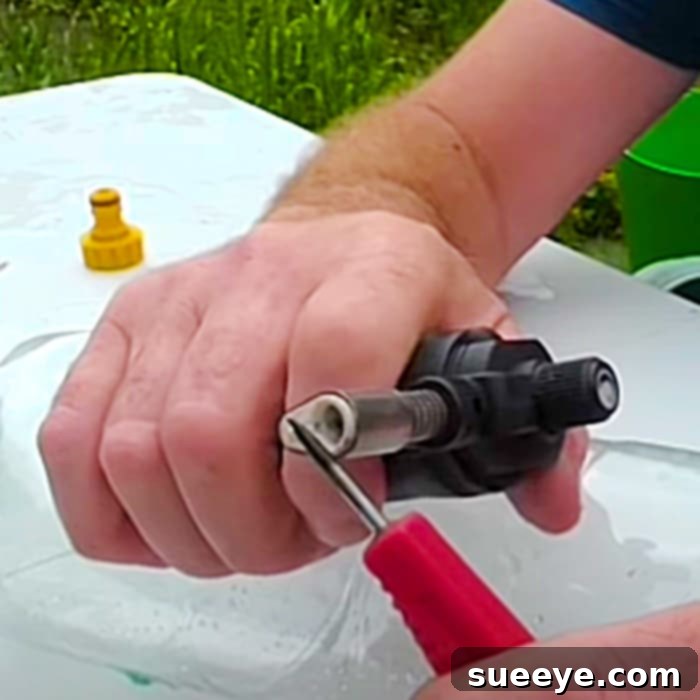
- An Ice Pick or Similar Sharp, Pointed Tool: This will be used to create the holes in your bottle. A sturdy ice pick works best, but a thin screwdriver or even a sturdy nail can also be used, though care must be taken.
- A Lighter or Small Torch: Essential for heating the tip of your ice pick. Heating makes piercing the plastic significantly easier and creates cleaner, more uniform holes without cracking the bottle.
- A Garden Hose Join/Connector: This is the crucial piece that will allow you to connect your soda bottle to a standard garden hose. Most garden centers or hardware stores carry universal hose repair kits or simple male/female connectors. Ensure it fits snugly into the mouth of your soda bottle.
- A Standard Garden Hose: You’ll need this to supply water to your newly created sprinkler.
Directions: Your Step-by-Step Guide to a Homemade Sprinkler
Creating your 5-minute soda bottle sprinkler is remarkably straightforward. Follow these easy steps, and you’ll have an effective watering solution in no time. For a visual demonstration, consider checking out the original tutorial by The Man With The Hat on YouTube.
Step 1: Prepare Your Soda Bottle
Begin by selecting your plastic bottle. A 2-liter bottle is often recommended for broader coverage, but a 1-liter bottle works well for more concentrated areas. Ensure the bottle is thoroughly rinsed and clean, removing any sticky residue from its previous contents. A clean bottle ensures clean water delivery to your plants and prevents any potential clogging of your newly created holes.
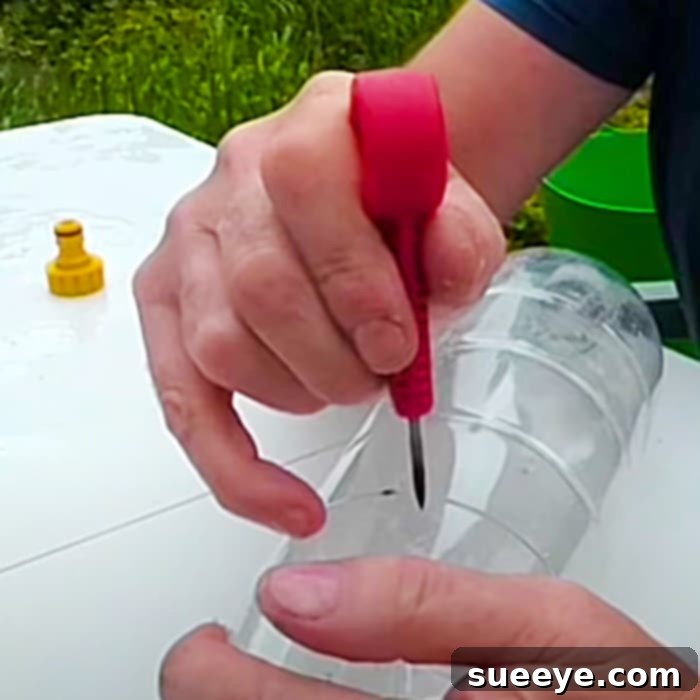
Step 2: Create the Sprinkler Holes
This is where the magic happens! Carefully heat the tip of your ice pick (or chosen sharp tool) using the lighter. Just a few seconds over the flame will make the metal hot enough to melt through plastic with ease. Once heated, gently but firmly press the tip of the ice pick into the side of the plastic bottle. You can create a variety of hole patterns depending on your desired spray:
- For a Gentle Mist: Create many small holes, spaced relatively close together.
- For Wider Coverage: Make holes all around the circumference of the bottle.
- For Targeted Streams: Concentrate holes on one side or in a specific pattern.
Remember to exercise caution when handling the hot ice pick. It’s advisable to wear gloves and work on a heat-resistant surface. Aim for a good number of holes—typically 15-30—to allow for a good distribution of water pressure. The more holes, the softer the spray will generally be, as the water pressure is divided among more outlets.
Step 3: Attach the Hose Join
With your holes created, it’s time to connect the bottle to your water source. Take your garden hose join or connector and securely attach it to the mouth of the soda bottle. Most standard hose connectors are designed to screw onto or push into the bottle’s opening, creating a snug, watertight seal. Ensure it’s fastened tightly to prevent leaks once the water pressure is applied. A good seal is critical for efficient water delivery.
Step 4: Connect to Garden Hose and Test
Finally, connect the assembled soda bottle sprinkler to your garden hose. Place the bottle in the desired watering area—on your lawn, in a garden bed, or near plants that need gentle hydration. Slowly turn on the water supply, starting with low pressure. Observe the spray pattern. If the spray is too aggressive, you might consider adding a few more holes to distribute the water pressure further. If the coverage isn’t wide enough, reposition the bottle or consider making holes in different directions. Adjust the water pressure from your tap until you achieve the desired sprinkle or spray for your specific needs.
Tips for Optimal Use and Customization
Maximize the potential of your DIY sprinkler with these handy tips:
- Experiment with Hole Patterns: Don’t be afraid to try different hole sizes and configurations. Larger holes create more direct streams, while smaller, more numerous holes result in a finer mist.
- Adjust Water Pressure: The effectiveness of your sprinkler is highly dependent on water pressure. A lower pressure is excellent for a soft, rain-like fall, while higher pressure can achieve a broader spray range.
- Stabilize Your Sprinkler: For consistent watering, especially on uneven ground or in windy conditions, you might need to stabilize the bottle. A small rock placed on top, a few stakes around it, or even burying it slightly can keep it in place.
- Combine with a Timer: For truly automated watering, connect your garden hose to a simple irrigation timer. This allows you to schedule watering sessions, making your DIY sprinkler an even more efficient and hands-free solution.
- Consider Bottle Size: While a 2-liter bottle is common, a smaller 1-liter bottle might be perfect for container gardens, raised beds, or very specific, localized watering needs.
- Add a Decorative Touch: If aesthetics are important, consider painting your soda bottle or adding decorative elements to help it blend seamlessly into your garden landscape.
Safety First: Important Considerations
While this is a simple DIY project, safety should always be a priority:
- Handling Hot Tools: Be extremely careful when heating the ice pick. Use gloves and avoid touching the hot tip directly. Ensure children are supervised or kept away during this step.
- Sharp Objects: The ice pick is sharp. Always work on a stable surface and direct the piercing motion away from your body.
- Water Pressure: Always start with low water pressure when testing your sprinkler to avoid any sudden bursts or disconnections. Gradually increase pressure as needed.
Troubleshooting Common Issues
Even with simple DIY projects, minor hiccups can occur. Here’s how to address some common problems:
- Uneven or Weak Spray:
- Solution: Check if any holes are clogged. Clear them with a thin wire or the ice pick. Also, ensure your water pressure is adequate; you might need to increase it slightly. If the spray is too weak overall, consider adding more holes to distribute the pressure more effectively.
- Leaking at the Hose Connection:
- Solution: This usually means the hose join isn’t sealed properly. Tighten the connection, or if possible, use plumber’s tape around the bottle’s neck before attaching the join to create a better seal.
- Bottle Tipping Over:
- Solution: If the water pressure or wind causes the bottle to fall, use rocks, stakes, or even partially bury the bottle in the soil to stabilize it.
- Spray is Too Aggressive:
- Solution: This indicates too much water pressure for the number and size of your holes. Reduce the water flow from your tap, or alternatively, add more holes to the bottle to distribute the pressure and soften the spray.
Conclusion: Your Garden’s New Best Friend
The 5-minute soda bottle sprinkler is a testament to the power of simple innovation. It’s a project that delivers on multiple fronts: it’s incredibly easy to make, remarkably effective for various watering needs, kind to your wallet, and a positive step towards sustainable living by repurposing plastic waste. Whether you’re a seasoned gardener seeking clever hacks or a beginner looking for a simple, impactful project, this DIY sprinkler is an absolute must-try.
So, gather your materials, follow these steps, and in mere minutes, you’ll have a versatile and eco-friendly tool ready to keep your lawn lush, your plants hydrated, and your summer days a little cooler. Happy gardening, and enjoy the satisfaction of creating something incredibly useful from something so ordinary!