
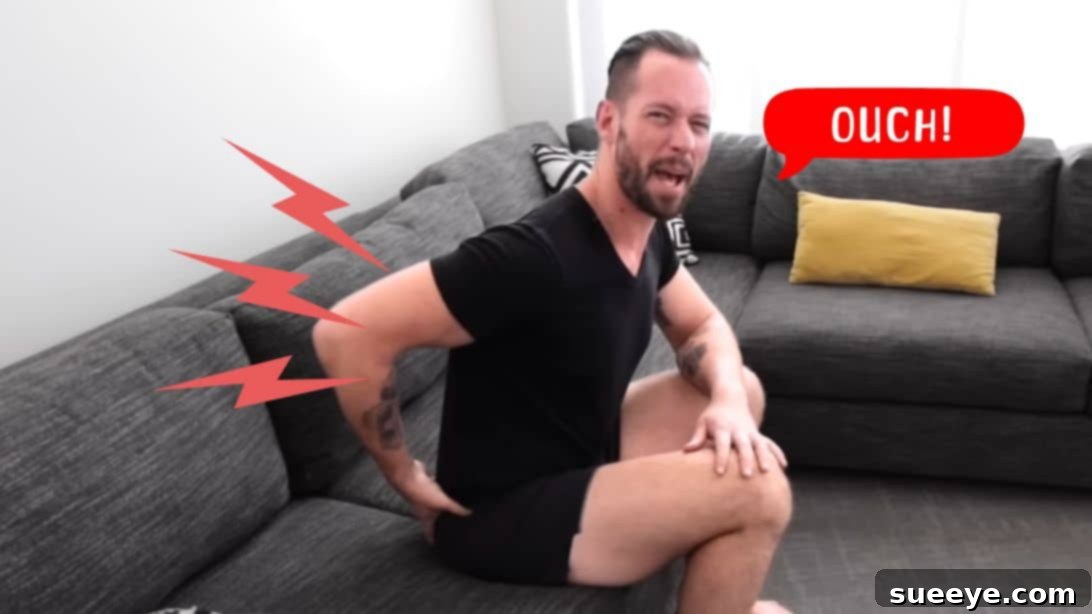
Effective Hip Flexor Stretches for Lower Back Pain Relief: Your Guide to a Pain-Free Back
In our increasingly sedentary world, prolonged sitting has become a widespread culprit behind a myriad of health issues, with lower back pain topping the list for many. If your daily routine involves extensive periods seated at a desk, in a car, or on a couch, you’re likely familiar with that persistent ache or stiffness in your lumbar region. This discomfort isn’t just an annoyance; it’s often a direct consequence of tight hip flexors and a resultant anterior pelvic tilt, which exerts undue pressure on your delicate spinal structures.
When you sit for hours, your hip flexor muscles, located at the front of your hips, remain in a shortened position. Over time, they adapt to this shortened state, losing their natural length and flexibility. This tightness then pulls your pelvis forward, causing it to tip into an anterior tilt. Imagine your pelvis as a bowl: in a healthy, neutral posture, it’s level. With an anterior tilt, it’s tipped forward, spilling its contents. This forward tilt exaggerates the natural curve of your lower spine (lumbar lordosis), compressing the vertebral discs and straining the surrounding muscles and ligaments. The ideal vertical alignment of your spine is compromised, leading directly to pain and discomfort.
The good news? This common issue is highly treatable with simple, targeted stretches. WeShape, a renowned name in fitness and wellness, offers an amazing, accessible stretch designed specifically to counteract the effects of prolonged sitting and alleviate lower back pain. This effective exercise targets those tight hip flexors, helping to restore pelvic neutrality and reduce spinal pressure. What makes it particularly versatile is its two variations: one performed kneeling and another in a standing position, allowing you to choose the most comfortable and convenient option for your body and environment. By incorporating this stretch into your daily routine, you can begin to unlock significant relief and reclaim a more comfortable, pain-free existence. Keep reading for a detailed breakdown of how to perform these transformative stretches, or watch the comprehensive video below for visual guidance.
Understanding the Link Between Sitting and Back Pain
To truly appreciate the power of these stretches, it’s helpful to understand the mechanics behind your back pain. Your hip flexors are a group of muscles, including the iliopsoas (iliacus and psoas major) and rectus femoris, that are responsible for bringing your knees towards your chest and flexing your hip joint. When you sit, these muscles are constantly contracted. Over time, they become adaptively shortened, losing their elasticity. This chronic tightness doesn’t just affect your hips; it has a domino effect on your entire core and lower back.
The primary issue arising from tight hip flexors is the anterior pelvic tilt. This postural imbalance means your pelvis rotates forward, causing your lumbar spine to excessively arch. This exaggerated curve, known as hyperlordosis, places increased compressive forces on the intervertebral discs in your lower back. These discs act as shock absorbers, and when constantly compressed, they can bulge, herniate, or simply become irritated, leading to localized pain. Furthermore, the muscles in your lower back (like the erector spinae) become overworked trying to compensate for the pelvic tilt and maintain an upright posture, contributing to muscle stiffness and spasms. Addressing the root cause—the tight hip flexors—is paramount to achieving lasting relief from lower back pain.
Benefits of Regular Hip Flexor Stretching
Integrating hip flexor stretches into your daily regimen offers a multitude of benefits beyond just alleviating back pain:
- Significant Reduction in Lower Back Pain: By releasing tension in the hip flexors and allowing the pelvis to return to a neutral position, the pressure on your lumbar spine is dramatically reduced, leading to direct pain relief.
- Improved Posture: A neutral pelvis supports a naturally aligned spine. Stretching helps correct the anterior pelvic tilt, leading to a more upright and healthier posture, both when standing and sitting.
- Increased Flexibility and Range of Motion: Releasing tight hip flexors enhances the mobility of your hip joints, which can improve performance in physical activities and make everyday movements like walking and bending easier.
- Enhanced Athletic Performance: Athletes, especially runners and those involved in kicking sports, often suffer from tight hip flexors. Stretching them can improve stride length, power, and overall athletic efficiency.
- Prevention of Future Injuries: Maintaining flexibility in your hip flexors can prevent compensatory movements that lead to strain in other areas, such as the hamstrings, knees, and upper back.
- Better Blood Circulation: Regular movement and stretching promote healthy blood flow to muscles and connective tissues, aiding in recovery and reducing stiffness.
- Overall Comfort and Well-being: Living without chronic back pain significantly improves your quality of life, allowing you to engage in activities you love without discomfort.
Essential Materials for Your Stretch Routine
These stretches are incredibly accessible, requiring minimal equipment. However, a few items can significantly enhance your comfort and effectiveness:
- Soft Surface: For the kneeling variation, a soft pillow, cushion, folded carpet, or towel is crucial. This provides padding for your knee, preventing discomfort or pressure during the stretch. Prioritizing comfort allows you to hold the stretch for the recommended duration without distraction.
- Support (Optional): For the standing variation, a sturdy chair or a wall provides excellent support for balance. This allows you to focus solely on the stretch itself without worrying about losing your footing, making the exercise safer and more effective, especially if you’re new to stretching or have balance concerns.
Before you begin, remember to listen to your body. Never push into pain, only a gentle stretch. If you have any pre-existing conditions or severe pain, it’s always wise to consult a healthcare professional before starting any new exercise routine.
Detailed Instructions: Two Powerful Variations for Back Pain Relief
Here are the step-by-step instructions for both the kneeling and standing hip flexor stretches, designed to maximize relief and improve your posture. Consistency is key, so aim to perform these stretches daily, especially after long periods of sitting.
Exercise 1: The Kneeling Hip Flexor Stretch
This variation allows for a deep, controlled stretch and is often preferred by those who find kneeling comfortable.
Step 1: Preparing Your Position
Start by placing your chosen soft surface (pillow, cushion, carpet, or towel) on the floor. Gently go down into a kneeling position, ensuring one knee is resting comfortably on the soft padding. Your other foot should be placed flat on the floor in front of you, with your knee bent at approximately a 90-degree angle, directly over your ankle. Make sure your torso is upright and your shoulders are relaxed.
Step 2: Executing the Stretch
Once you are stable, gently turn your hips slightly forward, aligning your pelvis so it faces directly ahead. Place your hands on your hips to help you monitor your pelvic alignment and prevent any twisting. Now, slowly and mindfully drop your pelvis downwards and forwards towards your front heel. As you descend into the stretch, you should feel a profound stretch originating from the top of the thigh of your kneeling leg, extending all the way up through your hip and into your lower abdomen. Focus on keeping your core gently engaged to maintain a straight spine and avoid arching your lower back. Inhale deeply as you prepare for the stretch, then exhale smoothly as you drop your pelvis into the deepest comfortable position. Hold this position for a full 30 seconds, maintaining steady, deep breaths throughout the stretch. The goal is to feel a strong pull, but never sharp pain. If you feel discomfort in your knee, adjust the padding or consider the standing variation.
Step 3: Switching Sides
After completing 30 seconds on one side, slowly and carefully return to the starting position. Take a moment to reset, then repeat the entire sequence (Steps 1 and 2) for the other side, ensuring you give equal attention to both hip flexors. This balanced approach is crucial for maintaining symmetry and preventing further imbalances. Aim for one to two repetitions on each side.
Exercise 2: The Standing Hip Flexor Stretch (No Kneeling Required)
This variation is perfect for those who find kneeling uncomfortable or prefer to stretch without getting down on the floor. It can be easily performed in an office setting or at home.
Step 1: Setting Up for Support
Find a clear space with a sturdy wall nearby or position a stable chair in front or beside you for support. Stand tall with your feet hip-width apart and your shoulders relaxed. Having something to hold onto will help you maintain balance and focus on the stretch.
Step 2: Initiating the Stretch
With your hands on your hips to monitor your pelvic alignment, step one foot forward, similar to a lunge position, but keep your back heel lifted if comfortable. The key is to keep your back leg relatively straight, allowing the stretch to occur in the hip flexor of the back leg. Your front knee should be bent, directly over your ankle, providing a stable base.
Step 3: Maintaining Proper Form
While keeping your torso upright and your core gently engaged, slowly drop your hips forward and down towards your front heel. The critical point here is to ensure your pelvis remains facing straight forward; avoid allowing it to twist or rotate. Your upper body should remain tall and erect throughout the movement; do not lean your torso forward, as this will reduce the effectiveness of the hip flexor stretch and could strain your back. As you push your pelvis forward, you will feel the stretch through the front of the hip and thigh of your back leg. Inhale as you are in the starting or resting position, then exhale as you deepen the stretch, pushing your pelvis further forward. Hold this stretch for 30 seconds, breathing deeply and evenly. Focus on creating length in your hip flexors rather than pushing past your comfortable range.
Step 4: Repeating on the Other Side
Once the 30 seconds are complete, slowly release the stretch and return to a standing position. Take a moment to adjust, then switch your leg position and repeat steps 2 and 3 for the other side. Ensure you maintain the same form and duration for both sides to achieve balanced flexibility and relief. Aim for one to two repetitions on each leg.
Common Mistakes to Avoid for Maximum Effectiveness
To get the most out of these stretches and prevent potential injury, be mindful of these common errors:
- Arching the Lower Back: This is the most frequent mistake. Instead of stretching the hip flexors, you’ll be hyperextending your lumbar spine, which can exacerbate back pain. Always keep your core gently engaged and your pelvis tucked slightly under (posterior tilt) to ensure the stretch targets the hip flexors correctly.
- Leaning Too Far Forward: While you are moving your hips forward, your upper body should remain upright. Leaning your chest towards your front knee shifts the stretch away from the hip flexors.
- Holding Your Breath: Proper breathing is essential. Exhale as you deepen the stretch to help your muscles relax. Holding your breath creates tension, counteracting the purpose of stretching.
- Rushing the Stretch: Stretching is not about speed, but about patience and consistency. Hold each stretch for the full 30 seconds to allow the muscle fibers adequate time to lengthen.
- Ignoring Pain Signals: A stretch should feel like a deep pull, not sharp or stabbing pain. If you experience pain, ease out of the stretch immediately. Pushing through pain can lead to injury.
- Uneven Stretching: Ensure you stretch both sides equally. Neglecting one side can create new imbalances.
Integrating These Stretches into Your Daily Life
For sustainable results and lasting relief, consistency is paramount. Make these hip flexor stretches a non-negotiable part of your daily routine. Here are some tips for integration:
- Morning Routine: Start your day with these stretches to prepare your body for movement and counteract any stiffness from sleep.
- Post-Sitting Relief: Perform a set of stretches every time you’ve been sitting for an extended period (e.g., after an hour at your desk, during a break from driving).
- Pre- and Post-Workout: Incorporate them into your warm-up to improve hip mobility before exercise and into your cool-down to aid muscle recovery and flexibility.
- Set Reminders: Use your phone or computer to set alarms that prompt you to stand up and stretch throughout the day.
- Pair with Other Habits: Stretch while your coffee is brewing, during commercial breaks, or after brushing your teeth. Linking it to an existing habit makes it easier to remember.
- Stay Hydrated: Well-hydrated muscles are more pliable and less prone to injury. Drink plenty of water throughout the day.
Remember, these stretches are a powerful tool, but they are most effective as part of a holistic approach to back health, which may also include maintaining good posture, regular movement, strengthening core muscles, and seeking professional advice when needed.
Embark on Your Journey to a Pain-Free Back
Lower back pain doesn’t have to be a permanent fixture in your life. By understanding its common causes, particularly the impact of prolonged sitting on your hip flexors and pelvis, you’re already on the path to reclaiming your comfort. The simple, yet profoundly effective, hip flexor stretches demonstrated by WeShape offer a practical and accessible solution for many.
Whether you opt for the kneeling or standing variation, consistent practice will gradually lengthen your hip flexors, help restore your pelvic alignment, and significantly reduce the strain on your lower spine. Imagine a day free from that nagging ache, where you can move with greater ease and confidence. These stretches are more than just an exercise; they are an investment in your long-term spinal health and overall well-being.
Don’t let the detrimental effects of a sedentary lifestyle dictate your comfort. Take control of your back health today. Incorporate these amazing stretches into your daily routine, listen to your body, and diligently work towards a more flexible, aligned, and ultimately, pain-free back. Your spine will thank you.