
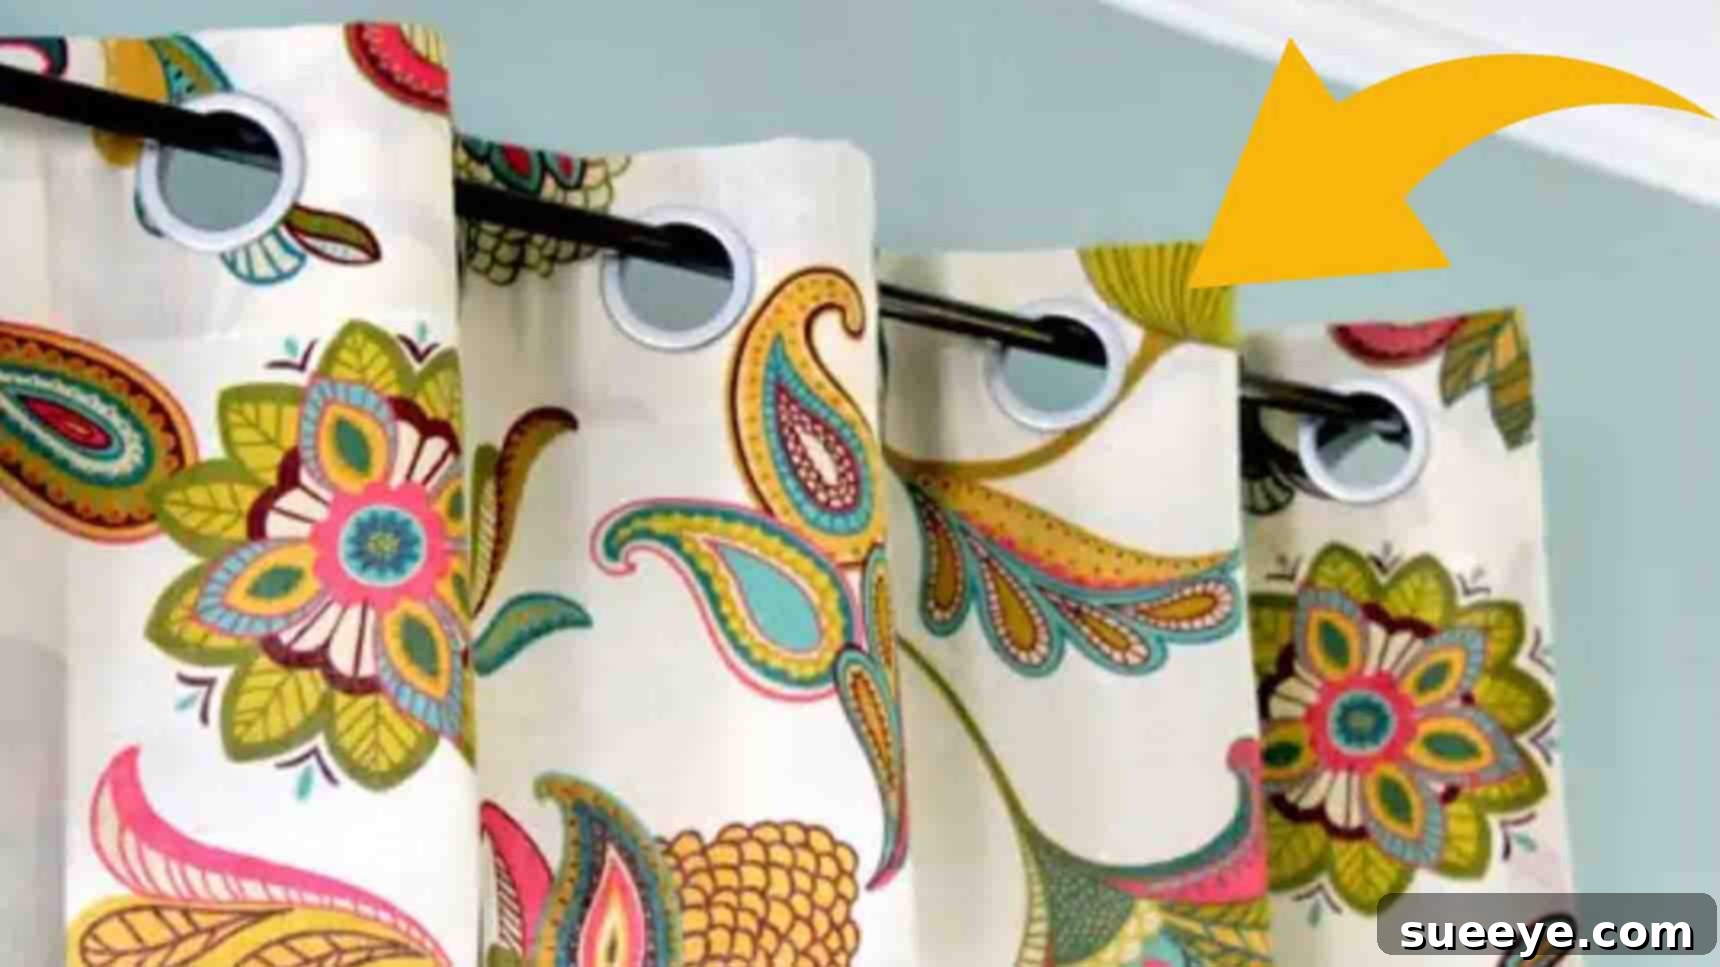
Create Stylish No-Sew Grommet Curtains: A Beginner-Friendly DIY Guide
Transforming your living space with custom window treatments doesn’t have to be a daunting task, nor does it require a sewing machine. If you’ve been dreaming of elegant, custom curtains but shy away from complex sewing projects, then this no-sew grommet curtain tutorial is your perfect solution! We’ll guide you through creating stunning drapery panels that look professionally made, all without a single stitch. This incredibly easy project is ideal for beginners and seasoned DIY enthusiasts alike, offering a budget-friendly way to enhance your home decor. Get ready to add a touch of sophistication and personality to any room with these simple, stylish grommet curtains.
Why Choose No-Sew Grommet Curtains?
No-sew grommet curtains offer a fantastic blend of style, simplicity, and affordability. Here’s why this DIY project is a game-changer for home decorators:
- Effortless Creation: The primary advantage is the elimination of sewing. Using fusible bonding web and grommet tape, you can achieve crisp hems and secure grommets without threading a needle. This makes the project accessible to everyone, regardless of their crafting experience.
- Cost-Effective Customization: Professional custom curtains can be quite expensive. By choosing the DIY route, you save significantly on labor costs. You get to select your favorite fabric, ensuring your curtains perfectly match your existing decor or inspire a fresh new look, all within your budget.
- Modern and Versatile Style: Grommet curtains provide a clean, contemporary aesthetic. The metal rings allow the curtains to glide smoothly along the curtain rod, creating soft, even folds that add a touch of modern elegance. This style is incredibly versatile, fitting seamlessly into various interior design themes, from minimalist to industrial chic.
- Quick Room Transformation: Curtains are powerful decorative elements that can instantly change the ambiance of a room. This no-sew method means you can complete a set of panels relatively quickly, allowing for immediate satisfaction and a fresh new feel in your space.
- Perfect for Renters: For those living in rental properties, permanent alterations are often restricted. DIY curtains offer a way to personalize your space and add style without making any permanent changes to the property.
Materials You’ll Need for Your No-Sew Grommet Curtains
Before diving into the creation process, gather all your materials. Having everything ready ensures a smooth and efficient workflow. Here’s a detailed list of what you’ll need:
- Drapery Fabric: The star of your project! Choose a fabric that complements your room’s aesthetic and desired light control. Consider factors like weight, drape, texture, and pattern. Heavier fabrics offer better insulation and light blocking, while lighter fabrics provide an airy feel.
- Ruler or Measuring Tape: Essential for accurate measurements of your window and fabric cuts. Precision here will lead to a professional-looking finish. A long, sturdy ruler or a carpenter’s tape measure is highly recommended.
- Grommet Tape: This specialized tape comes with pre-punched holes, making grommet placement incredibly easy and consistent. It simplifies the process of attaching grommets and provides reinforcement.
- Grommets: These metal rings come in various finishes (e.g., brushed nickel, antique brass, oil-rubbed bronze) and sizes. Select a finish that matches your curtain rod and overall room decor. They typically snap together or require a simple pressing tool.
- Fusible Bonding Web (e.g., Heat ‘n Bond, Stitch Witchery): This adhesive web is key to our no-sew method. When activated by heat and steam from an iron, it creates a strong, permanent bond between two layers of fabric, effectively creating a “seam” without stitching.
- Pins: Useful for temporarily holding fabric folds and grommet tape in place before bonding or cutting. Straight pins are sufficient.
- Sharp Fabric Scissors: Invest in good quality, sharp scissors dedicated solely to fabric. This ensures clean, precise cuts and prevents fraying.
- Sewing Gauge (Optional but Recommended): A small, sliding ruler tool that helps in measuring and pressing precise hems, ensuring consistency across your curtain panel.
- Fabric Marker or Tailor’s Chalk: For marking cut lines, hem allowances, and grommet circles on your fabric. Choose one that disappears with heat or water, or that washes out.
- Iron and Ironing Board: Crucial for pressing hems and activating the fusible bonding web. A steam iron will yield the best results for bonding.
Step-by-Step Guide: Crafting Your No-Sew Grommet Curtains
Follow these detailed steps carefully to achieve stunning, professional-looking no-sew grommet curtains. Precision and patience are your best tools in this process.
Step 1: Measure, Cut, and Hem the Side Edges
Accurate measurement is the foundation of any successful curtain project. Begin by determining the desired finished dimensions of your curtain panel. Measure the width of your window and decide how much fullness you want. A good rule of thumb is to multiply the window’s width by 1.5 to 2 times for adequate fullness, creating a lush, flowing look when closed. Next, measure the desired length from where your curtain rod will be installed down to where you want your curtain to end (e.g., windowsill, floor, or puddling on the floor).
Once you have your desired finished width and height, you’ll need to add allowances for hems. For the width, add 4 inches (2 inches for each side hem). For the height, add 16 inches (8 inches for the top hem and 8 inches for the bottom hem). For example, if you want your finished curtain panel to be 36 inches wide by 48 inches high, you would cut your fabric to 40 inches wide by 64 inches high. Always double-check your measurements before making any cuts.
Using your fabric marker and ruler, carefully mark and cut your drapery fabric to these calculated dimensions. Lay your fabric flat on a clean surface to ensure straight cuts.
Now, let’s tackle the side hems. Fold one long edge of your fabric over by 1 inch towards the wrong side of the fabric. Press this fold firmly with a hot iron. This initial press creates a sharp crease and makes the subsequent fold easier. Then, fold the edge over another 1 inch and press again. This double-fold creates a clean, durable hem that hides the raw edge of the fabric.
Once pressed, slide a strip of your fusible bonding web underneath the second fold, ensuring it runs the entire length of the hem and is nestled securely within the fold. Set your iron to a high steam setting and hold it on the hem for approximately 10-15 seconds, or according to the bonding web’s instructions. The heat and steam will melt the adhesive, bonding the fabric layers together. Lift the iron and reposition it on the next section, overlapping slightly to ensure a continuous bond. Repeat this process until the entire side hem is securely bonded. Flip the panel over and repeat the same bonding process on the other side of the hem, ensuring a strong, flat bond. Repeat all these steps for the other side edge of your curtain panel.
Step 2: Create Top and Bottom Hems, and Install Grommets
With the side hems complete, it’s time to create the top and bottom hems. For the top hem, which will hold your grommets and provide structural support, fold the fabric over by 4 inches towards the wrong side of the fabric. Press this fold with your iron. Then, fold it over another 4 inches and press again firmly. This creates an 8-inch deep double-folded hem, providing ample stability for the grommets.
Next, carefully insert the fusible bonding web underneath the edges of this double-folded top hem, just as you did with the side hems. Apply heat and steam with your iron, holding it in place for 10-15 seconds per section to create a strong, permanent bond. Ensure the entire hem is thoroughly bonded. Repeat the exact same process for the bottom hem, folding it over 4 inches, pressing, folding another 4 inches, pressing again, and then bonding with the fusible web. The bottom hem provides weight and helps the curtain drape beautifully.
Now comes the exciting part: attaching the grommets! Lay your curtain panel flat with the wrong side facing up. Take your grommet tape and measure it to the exact width of your curtain panel’s top hem. Trim any excess. Position the grommet tape along the top hem, ensuring that the grommet holes are centered within the 4-inch deep top hem. Even spacing is crucial for a polished look; take time to adjust the tape so that the first and last grommet holes are an equal distance from the side edges, and all grommets are evenly distributed across the width.
Secure the grommet tape in place with pins. Using your fabric marker, carefully trace around the inside edge of each circle on the grommet tape onto your curtain fabric. These tracings will be your cutting guides. Once all circles are traced, remove the grommet tape.
With your sharp fabric scissors, meticulously cut out each traced circle from the fabric. Be precise; clean cuts will ensure the grommets fit perfectly and look neat. After cutting out all the holes, align the grommet tape once more with the freshly cut holes on your fabric, ensuring everything is perfectly matched up. This alignment is key for the grommets to function correctly and look aesthetically pleasing.
Finally, it’s time to attach the grommets. Grommets typically come in two parts: a front ring and a back washer. Place the front ring of a grommet through one of the fabric holes from the front side of the curtain. On the backside, place the corresponding washer over the prongs of the front ring. Press them firmly together until they snap securely into place. You might hear a click. Some grommet sets come with a simple tool to help apply pressure for a secure fit. Repeat this process for all the grommets. Once all grommets are attached, your no-sew curtain panel is complete and ready to be hung!
Tips for a Professional Finish
Achieving a high-quality, professional look for your no-sew curtains involves more than just following the steps. Consider these additional tips to elevate your project:
- Choose the Right Fabric: Not all fabrics are created equal for no-sew projects. Medium-weight drapery fabrics like cotton duck, linen blends, or faux silk work best. Avoid very thin or sheer fabrics, as the fusible web might show through, and avoid very thick or heavily textured fabrics, which can be difficult to bond smoothly or cut for grommets.
- Invest in a Good Iron: A powerful steam iron is your best friend. The steam helps activate the bonding web more effectively and creates crisp, professional-looking creases.
- Test the Bonding Web: Always test a small piece of your fabric with the bonding web on an inconspicuous area first. This helps you determine the correct iron temperature and duration needed for a secure bond without damaging your fabric.
- Precision is Key: Measure twice, cut once! Use a sewing gauge for consistent hem measurements. Any slight variation can lead to uneven curtains.
- Use a Pressing Cloth: Especially for delicate fabrics or if you’re worried about scorching, a pressing cloth placed between the iron and your fabric can protect it while bonding.
- Mind the Grommet Placement: Ensure your grommets are evenly spaced and that the outer grommets are adequately distanced from the side hems for a balanced look. The grommet tape makes this much easier.
- Clean Your Work Area: Work on a large, clean, flat surface. This prevents wrinkles, dirt, and ensures your fabric stays straight during cutting and pressing.
Customization Ideas for Your Grommet Curtains
One of the joys of DIY is personalization. Here are some ideas to make your no-sew grommet curtains truly unique:
- Fabric Choice: Experiment with bold patterns, vibrant colors, or luxurious textures. Consider blackout fabric for bedrooms or sheers for a softer look (though ensure bonding web is suitable for sheers).
- Contrasting Hems or Bands: Add a strip of contrasting fabric along the bottom or sides of your curtain panel, attaching it with bonding web, for a custom, color-blocked effect.
- Decorative Trims: Apply decorative trim, ribbon, or cording along the edges or bottom hem using fabric glue or a narrower bonding web for an extra touch of elegance.
- Grommet Finishes: Choose grommets in different finishes (e.g., matte black, chrome, antique brass) to complement your room’s hardware or add a metallic accent.
- Tie-Backs: Create matching no-sew tie-backs from leftover fabric or incorporate decorative ropes and tassels.
Troubleshooting Common No-Sew Curtain Issues
Even with careful planning, sometimes minor issues can arise. Here are solutions to common problems:
- Bonding Web Not Sticking: Ensure your iron is hot enough and that you’re using sufficient steam. You might need to hold the iron in place for a few extra seconds. Also, check that the bonding web is specifically designed for fabric and that it’s positioned correctly between the layers.
- Uneven Hems: This usually stems from inaccurate measuring or pressing. Use a sewing gauge to ensure consistent folds. If a hem is slightly off, you might be able to gently reheat and reposition the bonding web before it fully sets, or carefully trim the fabric if the error is small.
- Grommets Won’t Snap Securely: Ensure you’ve cut the fabric hole precisely to the grommet’s inner diameter. If the hole is too small, trim a tiny bit more. If it’s too large, the grommet won’t hold. Make sure the fabric is not too thick for the grommet’s prongs. Apply firm, even pressure when snapping the two parts together.
- Fabric Bunching or Wrinkling: This often happens if the fabric isn’t laid perfectly flat during cutting or ironing. Always work on a large, flat surface and smooth out any wrinkles before pressing.
Conclusion: Your Beautiful, Custom No-Sew Grommet Curtains Await!
Congratulations! You’ve successfully created stunning, no-sew grommet curtains that add style and elegance to your home. This project proves that beautiful home decor doesn’t require advanced sewing skills or a hefty budget. With just a few basic materials, an iron, and a keen eye for detail, you can personalize your living space with custom window treatments that reflect your unique taste.
Hang your new curtains with pride and enjoy the fresh, updated look they bring to your room. Whether you chose a bold pattern or a subtle texture, these curtains are a testament to your creativity and resourcefulness. Share your creations and inspire others to embark on their own DIY journey. Happy decorating!