
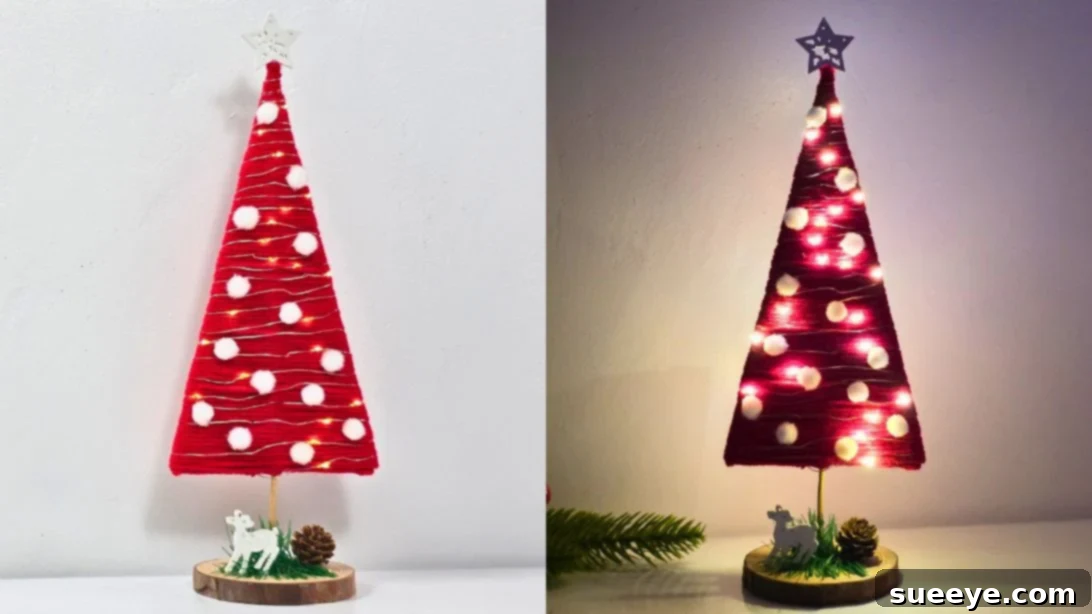
There’s an undeniable magic in handmade decorations, especially during the festive holiday season. Crafting your own Christmas decor isn’t just a fun pastime; it’s a wonderful way to infuse your home with unique charm, personal sentiment, and a touch of warmth that store-bought items simply can’t replicate. Beyond the joy of creation, DIY projects often prove to be incredibly budget-friendly, allowing you to beautifully adorn your space without overspending. This is particularly true when you embrace the spirit of upcycling, transforming everyday materials or repurposing old ornaments into dazzling new displays. Even if you purchase fresh supplies, the cost of crafting your own festive pieces typically remains far below that of their retail counterparts, making handmade decor a smart and heartfelt choice for holiday enthusiasts.
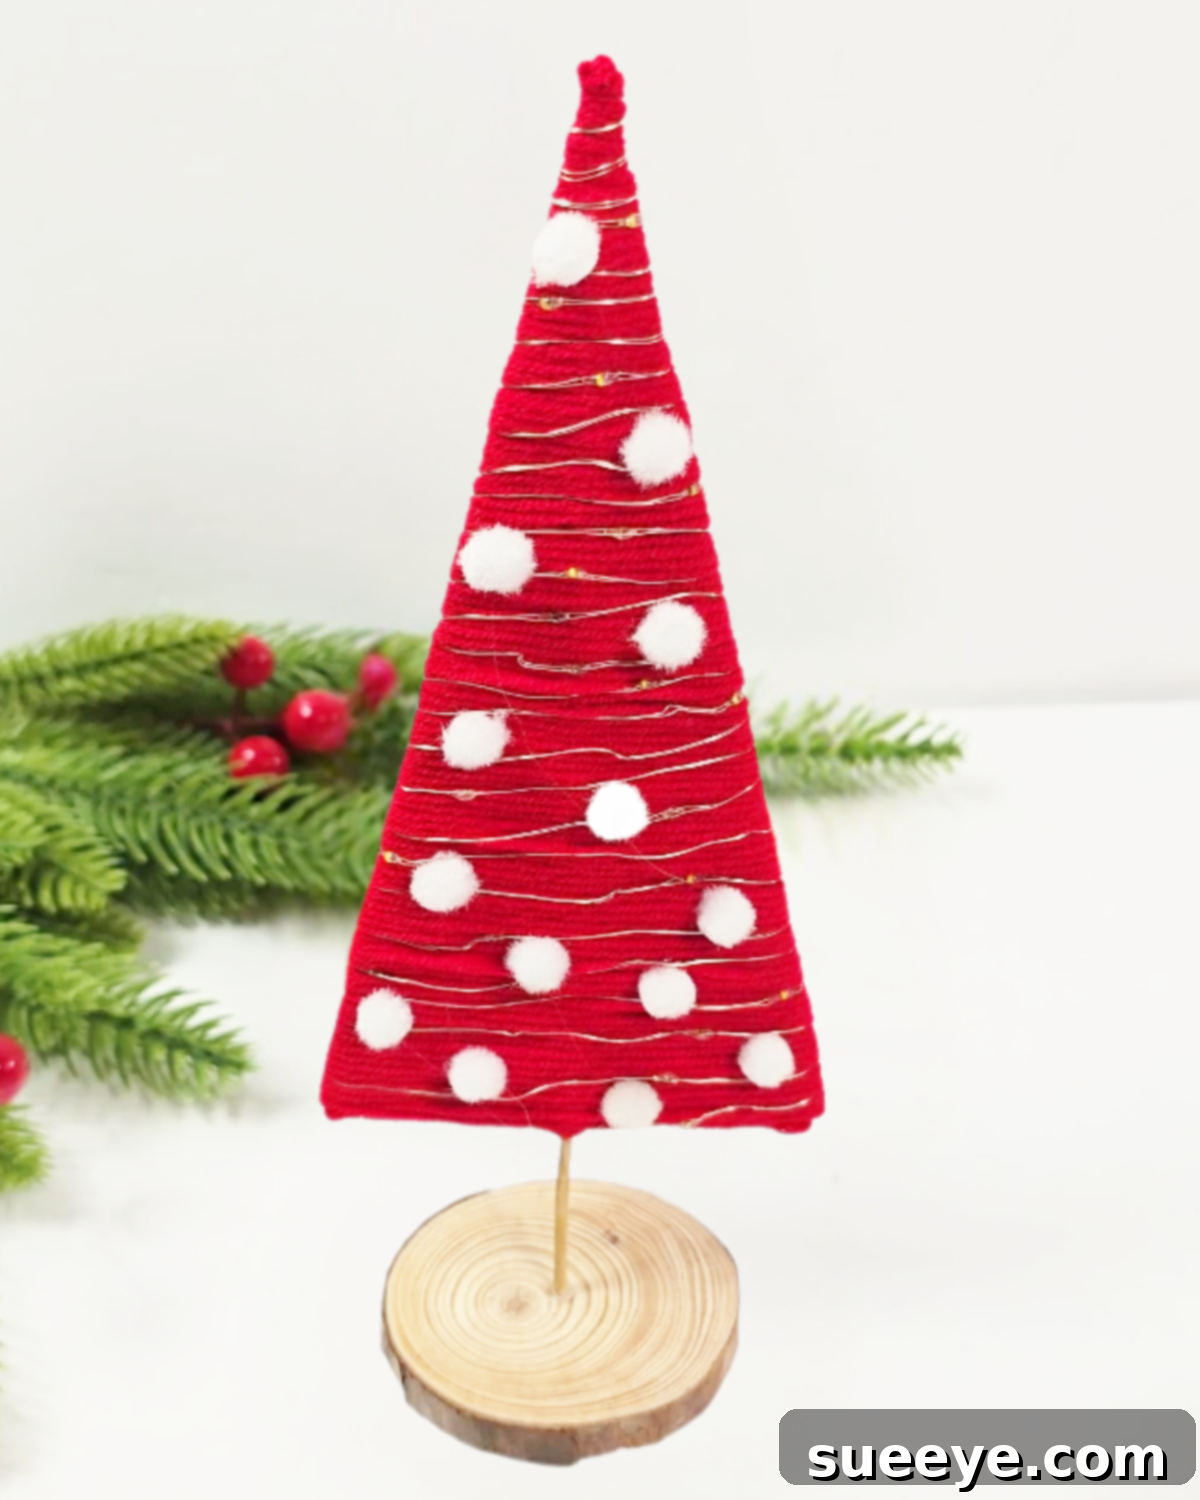
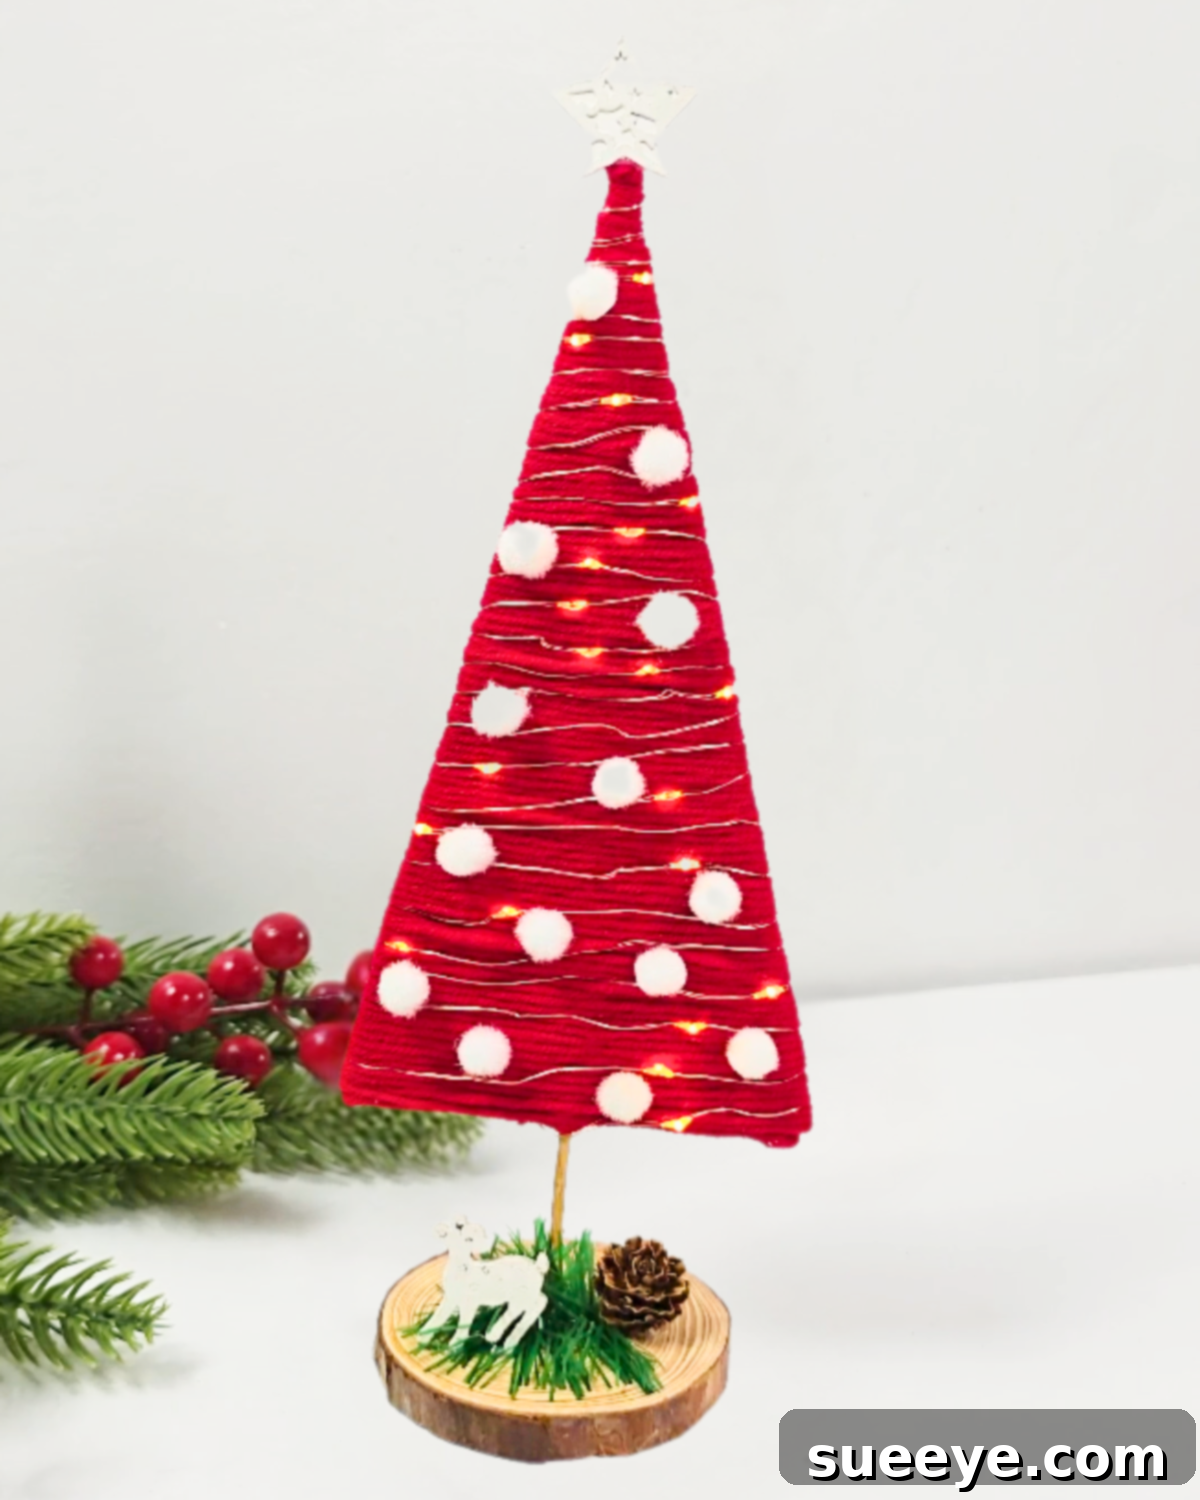
If you’re seeking a Christmas craft that’s wonderfully easy, quick to complete, and absolutely perfect for last-minute holiday decorating, you’ve landed in the right spot! Today, we’re thrilled to guide you through making an enchanting mini yarn Christmas tree. This delightful creation is not only simple to assemble but also features a charming secret: it actually lights up, mimicking the magical glow of a full-size tree! Imagine this cheerful, illuminated little tree gracing your table, desk, or becoming the radiant centerpiece of your holiday spread. It’s an ideal project for crafters of all skill levels, whether you’re looking to create heartfelt gifts for loved ones or build an entire festive forest for your own home.
RELATED DIY CHRISTMAS ORNAMENT IDEAS: Honeycomb Origami Christmas Tree | 3D Origami Christmas Tree
The true beauty of this DIY yarn Christmas tree lies in its simplicity and the minimal supplies required. Forget expensive craft store hauls! You’ll primarily need just yarn, a piece of sturdy cardboard, a string of battery-operated fairy lights, and a few optional embellishments. To make it even more budget-friendly, we encourage you to raid your existing craft stash or upcycle items from old, broken ornaments – little stars, beads, or ribbons can find a new life on your mini tree. You can comfortably finish one tree in mere minutes, making it entirely feasible to craft an entire collection in a single afternoon. Experiment with various sizes to create a charming matching set, or unleash your creativity by switching up yarn colors. Opt for classic green for a traditional festive vibe, minimalist white for a modern touch, or vibrant reds and golds to perfectly complement your existing holiday decorations.
Discover how to create your own enchanting yarn Christmas tree by following our detailed, step-by-step instructions below. For an even clearer understanding and a closer look at each crucial step, be sure to watch the accompanying video tutorial. Get ready to immerse yourself in the joy of crafting, and have a very merry and bright Christmas season!
How to Make a DIY Light-Up Yarn Christmas Tree
Embark on your crafting journey with these easy-to-follow steps to create a beautiful and illuminated yarn Christmas tree that will add a magical touch to your holiday decor.
-
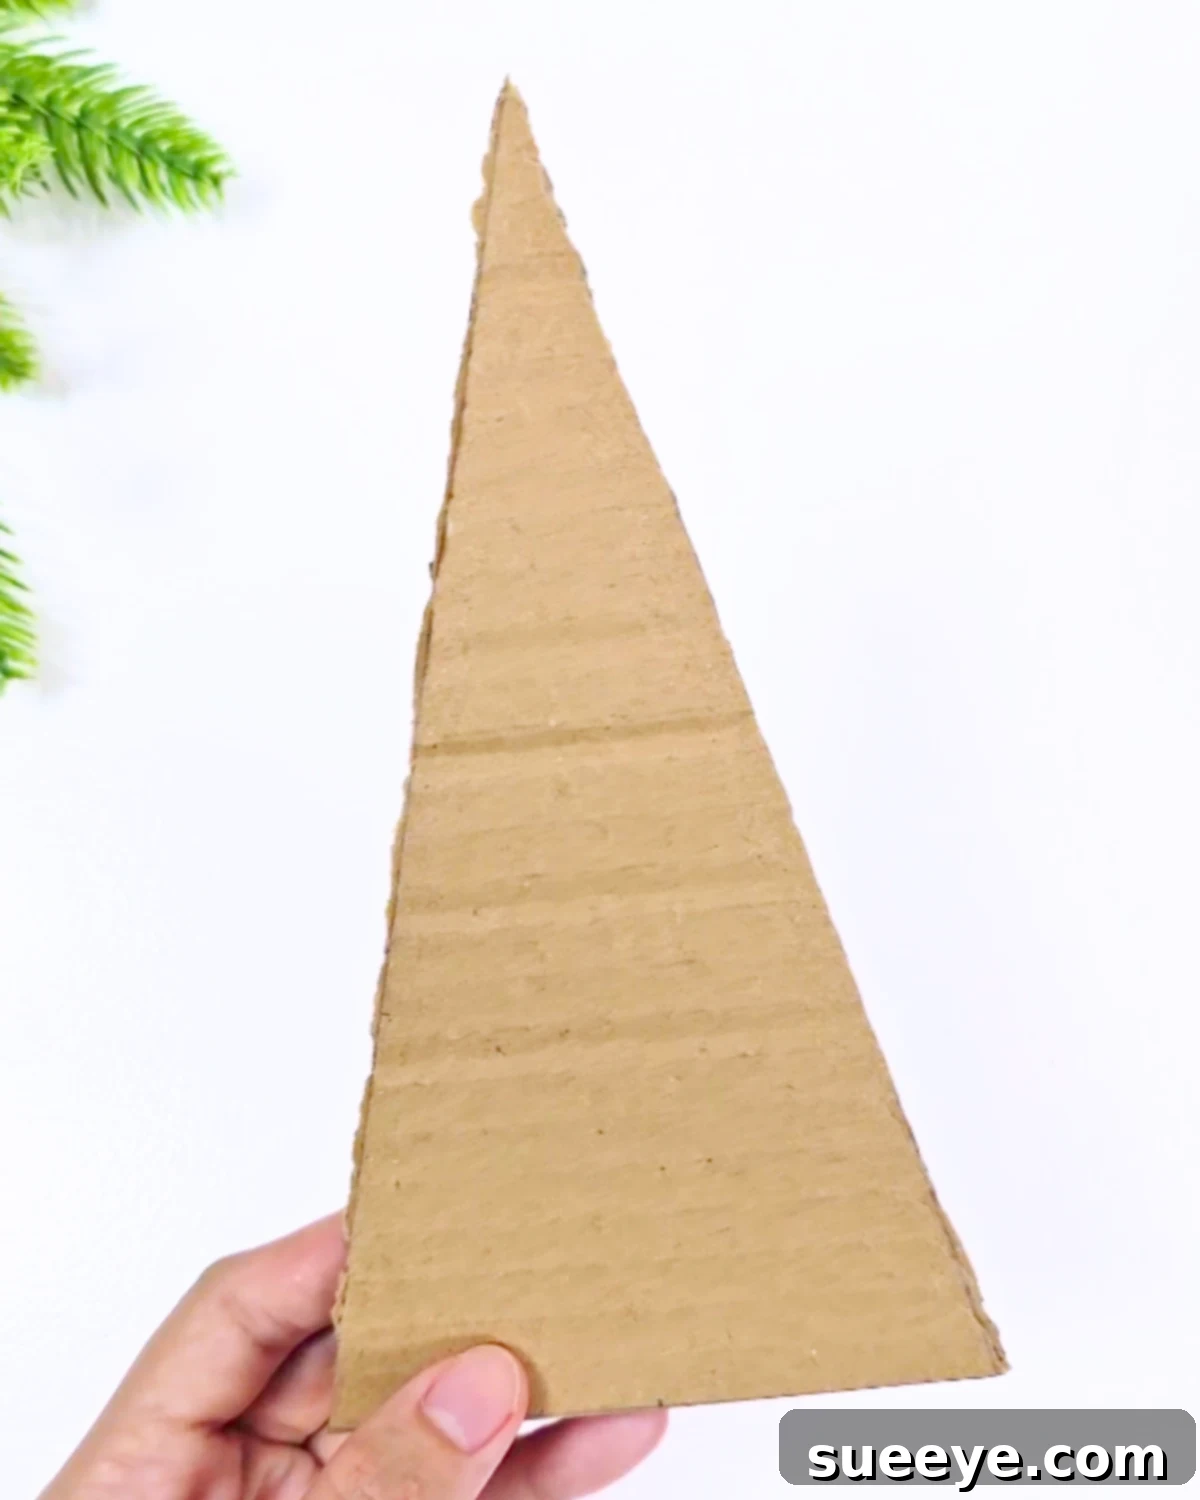
Step 1: Prepare the Tree Base

The foundation of your adorable mini Christmas tree is a sturdy cardboard base. Begin by taking a piece of cardboard and, using a ruler and pencil, carefully draw a large triangle. Aim for a symmetrical shape that will serve as the main body of your tree. Once drawn, use sharp scissors or a craft knife (with caution!) to precisely cut out this triangle. This will be the robust core around which your yarn will be wrapped. -
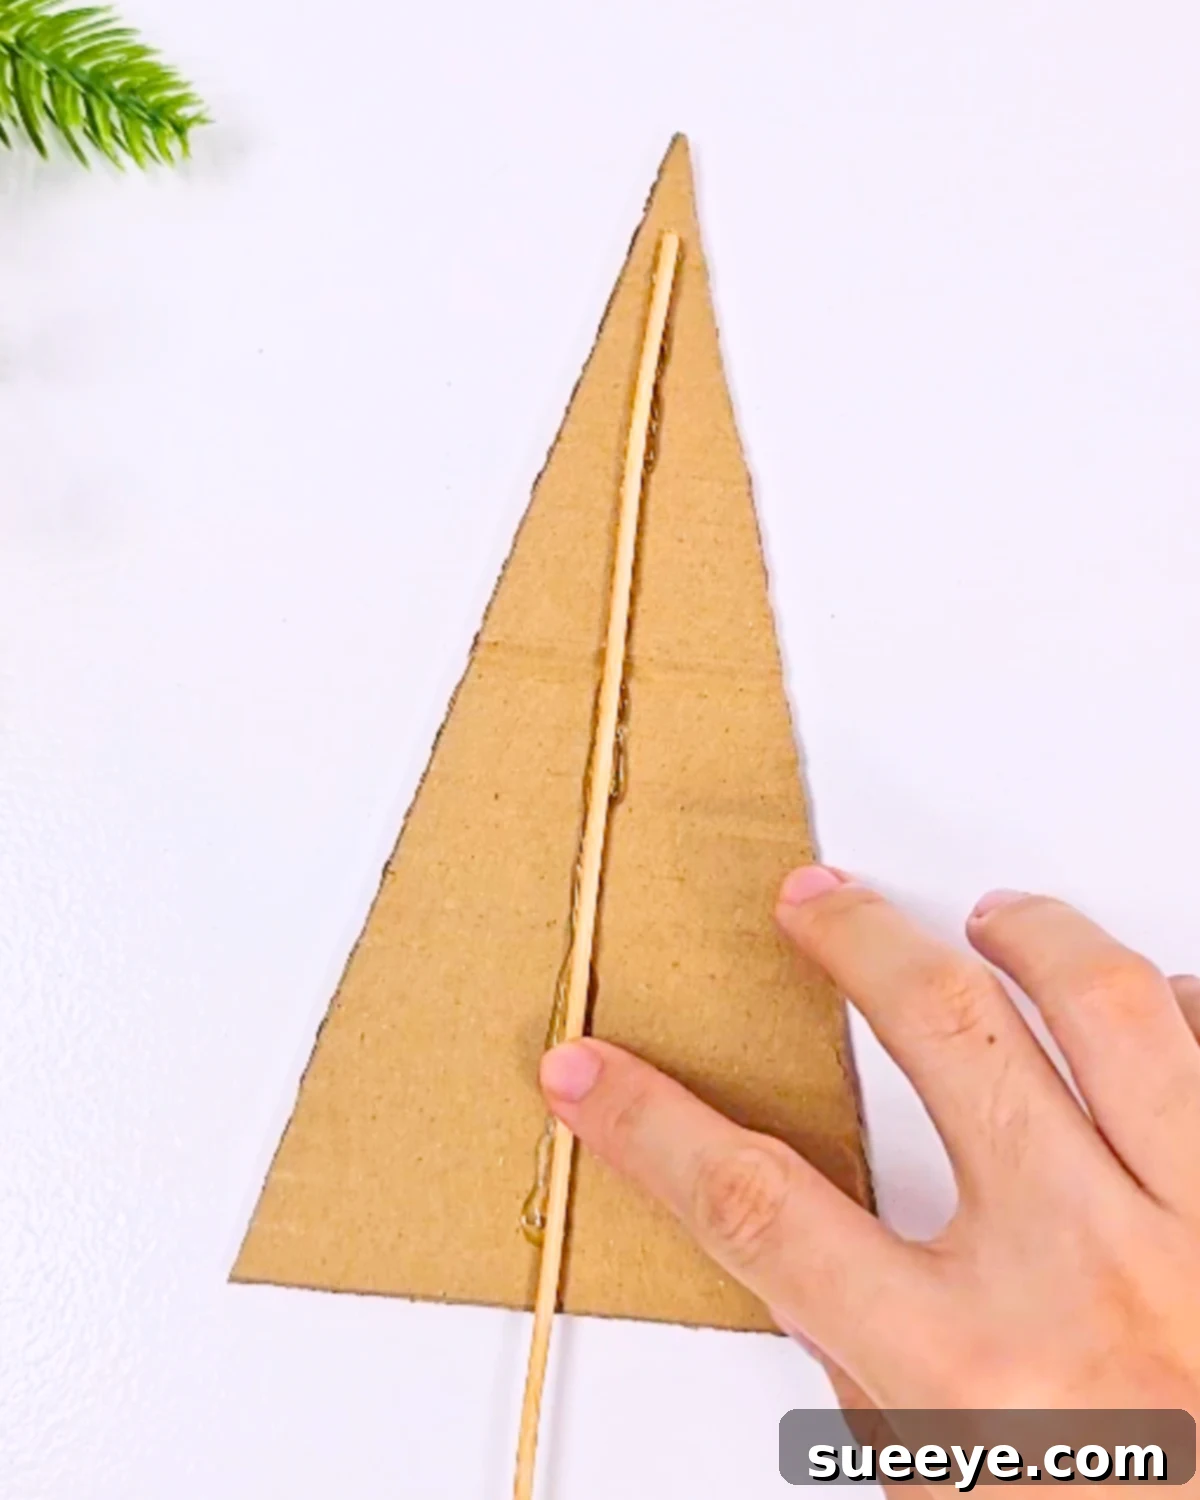
Step 2: Attach the Tree Trunk
Every good tree needs a trunk! For our mini yarn tree, a wooden skewer will serve this purpose perfectly. Apply a small but generous line of hot glue along one side of your skewer. Carefully and firmly press the skewer into the center of the cardboard triangle, ensuring it stands upright and is securely bonded. Hold it in place for a few moments until the glue sets. This central skewer will provide the structural integrity for wrapping your yarn and will eventually become the hidden core of your festive tree. -
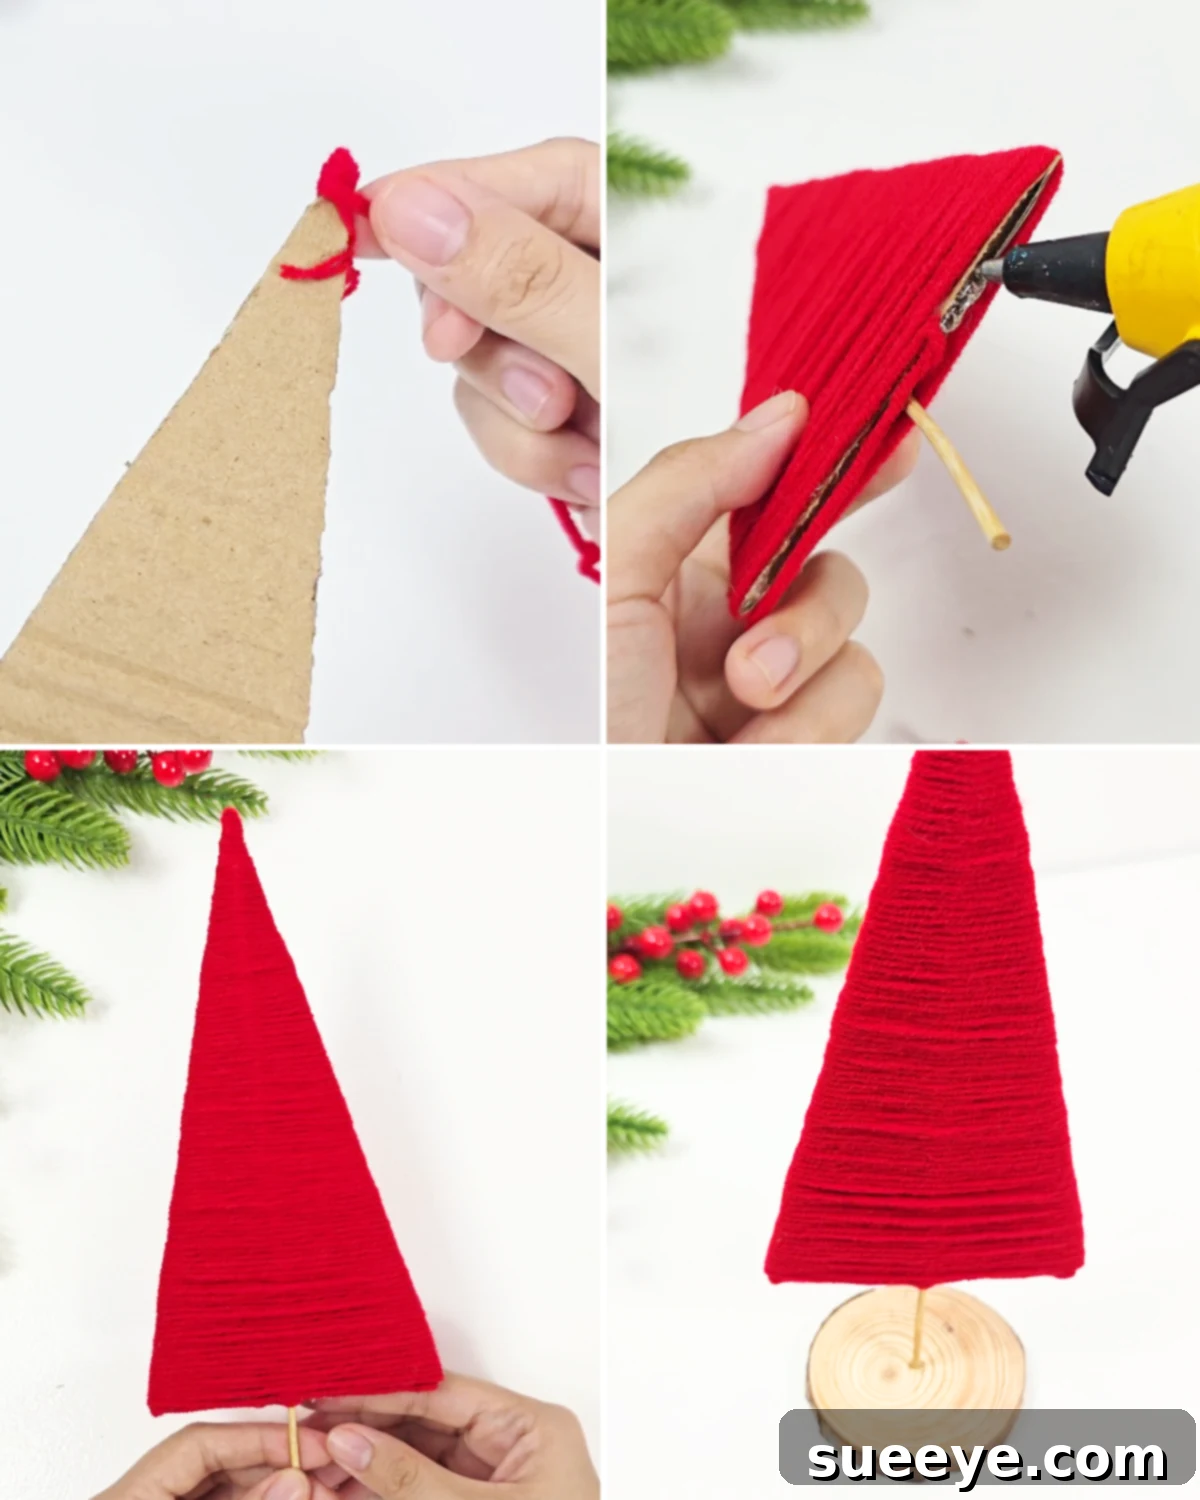
Step 3: Wrap the Tree with Yarn
Now comes the fun part: bringing your tree to life with soft, colorful yarn! Start by applying a small dab of hot glue at the very top of the skewer. Secure the end of your chosen yarn here, then begin wrapping it tightly and neatly around the skewer and cardboard triangle. Work your way down from the top, ensuring each new layer of yarn snugs closely against the previous one, completely covering the cardboard. Continue this process until you reach the bottom edge of the triangle. Secure the final end of the yarn with another dab of hot glue, even adding some along the underside to fully hide the cardboard. Finally, to give your tree a stable and charming base, place it securely in the center of a small wood slice. -
Step 4: Decorate the Tree with Lights and Ornaments
It’s time to add the sparkle! Take your string of small, battery-operated fairy lights and begin wrapping them around your yarn-covered tree, starting from the top. Distribute the lights evenly to achieve a beautiful, illuminated glow. Once your fairy lights are perfectly in place, enhance your tree’s festive appeal by adding small pom-poms. These colorful, fluffy additions instantly transform into charming miniature ornaments, bringing character and cheer to your creation. -
Step 5: Add Final Embellishments
Complete your delightful DIY Christmas tree by adding all the finishing touches that truly make it your own. Consider placing a tiny star or a delicate bow at the very top for that classic tree-topper look. Integrate small decorative elements like miniature deer figurines, faux snow, or tiny pinecones around the base for an enchanting woodland scene. Feel free to use any other embellishments you prefer – small beads, glitter, ribbons, or even tiny handmade gifts can personalize your tree and make it utterly unique. Let your imagination be your guide as you bring your festive vision to life!
Materials Needed for Your Yarn Christmas Tree
Gathering your materials beforehand makes the crafting process seamless and enjoyable. Here’s everything you’ll need to create your charming light-up yarn Christmas tree:
- Cardboard: Any sturdy piece will do, like from an old shipping box.
- Yarn: Choose your favorite color and texture! Green, white, red, or metallic yarns work wonderfully.
- Pom Poms: Various sizes and colors for festive ‘ornaments’.
- Ruler: For accurate measuring of your cardboard base.
- Scissors: Sharp scissors for cutting cardboard and yarn.
- Wood Slice: A small wood slice serves as an excellent, natural-looking base.
- Pencil: To mark your cutting lines on the cardboard.
- Skewer: A wooden skewer acts as the central trunk of your tree.
- Hot Glue Gun and Glue Sticks: Essential for securing everything firmly.
- A Small Piece of Garland: Optional, for additional base decoration or wrapping.
- Mini Pinecones: Perfect natural embellishments.
- Fairy Lights: Battery-operated LED lights are safe and easy to use.
⭐ Customization Tip: Make It Uniquely Yours
One of the most exciting aspects of DIY crafting is the ability to infuse your personality into every project. With this yarn Christmas tree, the possibilities for customization are endless! Consider swapping out yarn colors to perfectly match your existing Christmas theme – whether you prefer a traditional green and red palette, a minimalist white or silver scheme, or even bold and vibrant reds and golds. Beyond color, you can also experiment with yarn textures, from chunky to fine, fluffy to sleek. Don’t stop at just one size; make multiple trees in varying heights to create an adorable mini-tree village, a charming forest display for your mantelpiece, or even tiny ornaments for your larger Christmas tree. Get creative with embellishments too: add glitter, small beads, tiny bells, or intricate ribbons for extra sparkle and charm.
⭐ Budget Tip: Smart & Sustainable Decorating
Crafting on a budget doesn’t mean compromising on beauty or festive spirit. Before you head to the craft store, take a moment to explore what treasures you might already have at home. This project is wonderfully suited for upcycling! Dig through old ornaments that might be broken or out of style – often, tiny stars, sparkling beads, colorful ribbons, or even small bells can be salvaged and reused to decorate your new yarn tree. Leftover craft supplies from previous projects are also prime candidates. Think about bits of felt, fabric scraps, unused buttons, or even natural elements like small pebbles or dried berries found during a nature walk. These repurposed items not only save you money but also add a unique, sustainable, and truly personal touch to your handmade holiday decor.
Discover More Delightful DIY Christmas Ornament Ideas
Seasonal
Decorate Your Tree With Adorable 5 Minute Santa Gnome Ornaments
Seasonal
DIY Christmas Ornaments | Sparkle with Glitter Foam
Seasonal
DIY Christmas Ornament | Elegant Crepe Paper Poinsettia
Seasonal
DIY Honeycomb Paper Christmas Tree Ornament
We hope you’ve enjoyed this festive crafting journey! This DIY yarn Christmas tree is more than just a decoration; it’s a tiny beacon of holiday cheer, a testament to your creativity, and a reminder of the personal touch that makes the season so special. Whether you craft one for your own home or make a set for thoughtful gifts, these trees are sure to bring smiles and warmth. Remember, the joy of DIY lies in the process as much as the finished product. Happy crafting, and may your home be filled with handmade beauty and festive glow this Christmas!
*If you loved creating this beautiful craft, be sure to visit our official website for even more inspiring DIY projects, follow our Facebook page for daily doses of creativity, and subscribe to our YouTube channel for engaging video tutorials and endless crafting ideas!