
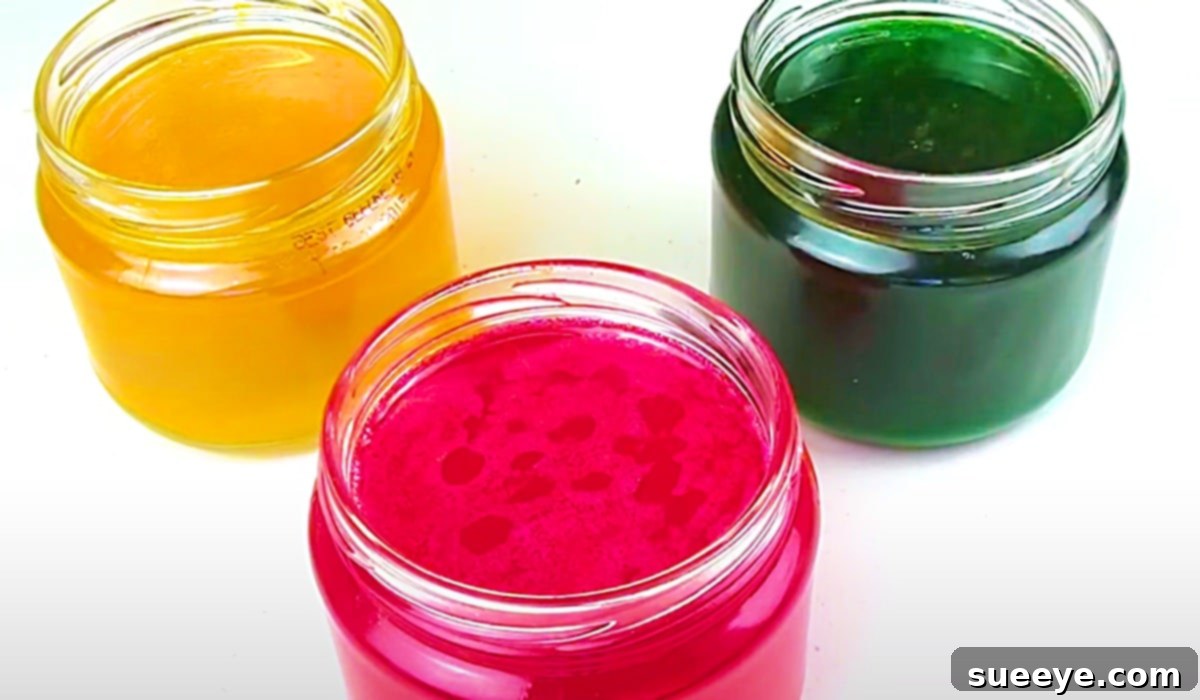
DIY Gel Air Freshener: Create Natural, Long-Lasting & Customizable Scents for Your Home
Are you tired of artificial, chemical-laden air fresheners that often do more harm than good? Many homeowners are actively seeking healthier, more natural alternatives to keep their living spaces smelling fresh and inviting. If you’ve ever appreciated the subtle, consistent fragrance released by commercial gel air fresheners, you’ll be delighted to discover just how easy it is to create your own, completely customized versions right at home.
Inspired by the brilliant minds at Home Handy Hints on YouTube, this ingenious method for crafting homemade gel air fresheners has transformed the way many approach home fragrance. It’s truly amazing how a simple combination of common ingredients can produce such effective and beautiful results. Say goodbye to heavy, synthetic odors and embrace the simplicity and satisfaction of a DIY solution that not only purifies your air but also adds a personal touch to your decor.
Making your own gel air fresheners is more than just a craft; it’s a step towards a healthier, more personalized home environment. Not only will you save money by avoiding expensive store-bought products, but you’ll also gain complete control over the ingredients, ensuring your home is filled with scents that are both pleasant and safe for your family and pets. Let’s dive into the world of natural home fragrance and discover how effortlessly you can infuse every corner of your house with your favorite aromas.
Why Opt for Homemade Gel Air Fresheners?
The appeal of DIY gel air fresheners extends far beyond just saving a few dollars. There are numerous compelling reasons why making your own is a superior choice for a modern, health-conscious home:
- Healthier Home Environment: Commercial air fresheners often contain volatile organic compounds (VOCs), phthalates, and synthetic fragrances that can trigger allergies, asthma, and other respiratory issues. By making your own, you eliminate these questionable chemicals, creating a purer atmosphere.
- Cost-Effective Solution: Essential oils, while an initial investment, are highly concentrated and last a long time. Gelatin and water are incredibly inexpensive. Over time, homemade air fresheners prove to be significantly more economical than continuously purchasing store-bought alternatives.
- Unrivaled Customization: This is perhaps the greatest benefit. You are the master of your scents! Choose from a vast array of essential oils to create specific moods – calming lavender for the bedroom, uplifting lemon for the kitchen, or invigorating peppermint for the office. You can also match the color and container to your home decor.
- Eco-Friendly Choice: Reduce waste by reusing beautiful jars or containers. The ingredients are natural, biodegradable, and far less impactful on the environment than aerosol cans or plastic plug-ins.
- Simple & Rewarding: The process itself is surprisingly straightforward, requiring minimal time and effort. It’s a rewarding project that allows you to engage creatively with your living space and enjoy the fruits of your labor daily.
Essential Materials for Your Homemade Air Freshener Gel:
Gathering your ingredients is the first exciting step in this simple DIY journey. Most of these items are readily available at your local grocery store or online, making this project accessible to everyone.
- Unflavored Gelatin: This is the magic ingredient that gives your air freshener its gel consistency. Look for plain, unflavored gelatin powder, typically found in the baking aisle. For a vegan alternative, agar-agar powder can be used following similar preparation instructions, though ratios may vary slightly.
- Water: Simple tap water is all you need. Filtered water can sometimes lead to a clearer gel, but it’s not strictly necessary.
- Food Coloring: Completely optional, but food coloring allows you to add a beautiful visual element to your air fresheners, matching them to your decor or simply making them more vibrant. Liquid or gel food coloring works perfectly. For natural dyes, consider a tiny amount of beet juice for red/pink or turmeric for yellow, but be mindful that these might slightly tint the scent or stain containers.
- Essential Oil (or other fragrance): This is where the true customization comes in. Essential oils are highly concentrated plant extracts that provide natural aromas and can even offer therapeutic benefits. Alternatively, fragrance oils (synthetic but often stronger), or even old cologne/perfume, as suggested by Home Handy Hints, can be used.
Choosing Your Signature Scent: Essential Oil Guide
The choice of essential oil is paramount to the overall experience of your homemade air freshener. Here are some popular options and their potential benefits:
- Lavender: Calming, relaxing, great for bedrooms or living areas.
- Lemon/Orange/Grapefruit: Uplifting, energizing, purifying, excellent for kitchens or offices.
- Peppermint: Invigorating, helps focus, can deter pests, good for workspaces.
- Eucalyptus/Tea Tree: Cleansing, refreshing, often used in bathrooms or sickrooms (use sparingly).
- Frankincense/Sandalwood: Grounding, meditative, perfect for creating a serene atmosphere.
- Rosemary: Stimulating, improves concentration, good for study areas.
- Blends: Get creative! Try lemon & peppermint for a fresh boost, lavender & chamomile for ultimate relaxation, or orange & cinnamon for a cozy, autumnal vibe.
Safety Note: While essential oils are natural, they are potent. Always handle them carefully. Keep them out of reach of children and pets. When choosing scents for areas frequented by pets, research which oils are safe for them (e.g., some oils like tea tree can be toxic to cats and dogs).
Step-by-Step Directions for Your DIY Gel Air Freshener:
Making these gel air fresheners is incredibly simple. Follow these easy steps, and you’ll have delightful, custom scents permeating your home in no time.
Step 1: Prepare Your Gelatin Mixture
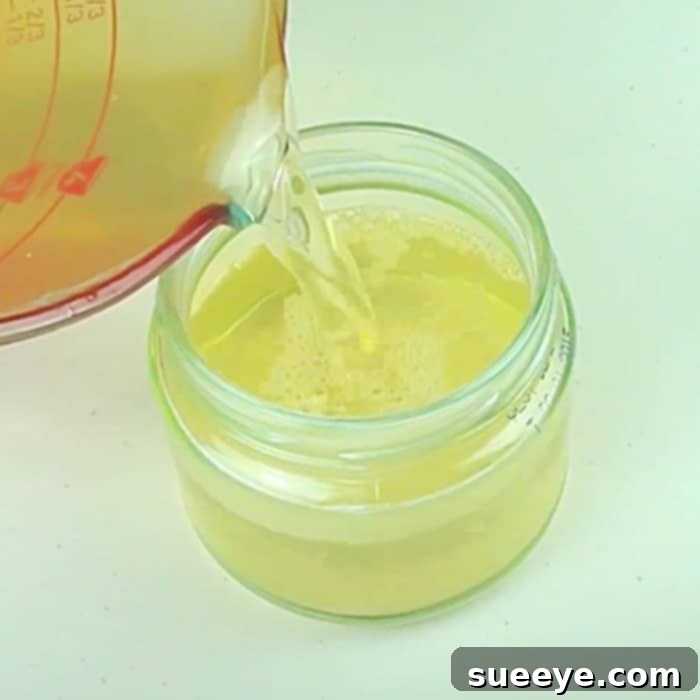
To begin, you will need to activate your gelatin. For a standard recipe, typically use about four packets (or 1 ounce/28 grams) of unflavored gelatin for every two cups of water. Start by pouring one cup of cold water into a saucepan. Sprinkle the gelatin powder evenly over the cold water and let it “bloom” for about 5 minutes. This allows the gelatin granules to absorb the water, preventing clumps when heat is applied. After blooming, add the second cup of water to the saucepan. Gently heat the mixture over medium-low heat, stirring constantly until the gelatin is completely dissolved. Ensure there are no granules left and the liquid is clear. Do not let it boil, as this can weaken the gelatin’s gelling properties.
Step 2: Add Your Chosen Fragrance and Color
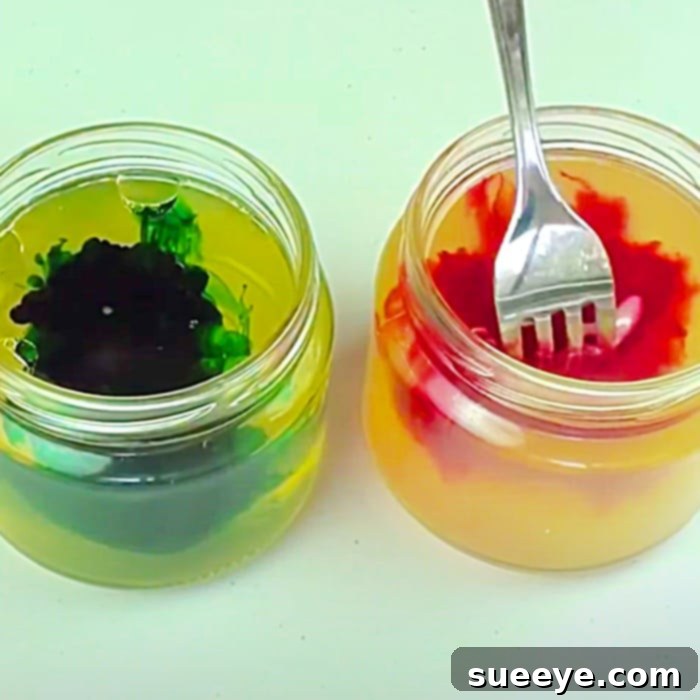
Once the gelatin is fully dissolved and the mixture is still warm (but not scalding hot), remove the saucepan from the heat. This is the perfect time to infuse your gel with scent and color. Add about 20-30 drops of your chosen essential oil per two cups of liquid. For a stronger scent, you can add more, up to 40-50 drops, but always test the intensity before adding too much. Next, add a few drops of food coloring, if desired. Start with 2-3 drops and add more until you achieve your preferred shade. Stir the mixture thoroughly to ensure the essential oil and food coloring are evenly distributed throughout the gelatin solution. A thorough stir is crucial for a consistent scent and color.
Step 3: Pour into Containers and Decorate
Carefully pour the fragrant, colored gelatin mixture into your chosen containers. Small mason jars, decorative glass bowls, recycled jam jars, or even cute ramekins work wonderfully. Consider adding decorative elements at this stage: a few dried flower petals, small river stones, citrus slices (if using citrus essential oils), or even glitter can be placed at the bottom of the container before pouring, or gently stirred into the mixture. Leave a little space at the top of the container, as the gel will expand slightly as it sets.
Step 4: Allow to Set
Once poured, place your containers in the refrigerator. The cooling process will allow the gelatin to solidify and transform into a firm, fragrant gel. This typically takes about 2-4 hours, depending on the size of your containers and the temperature of your refrigerator. Avoid moving them too much during this setting period to ensure an even consistency.
Step 5: Enjoy Your Freshly Scented Space
Once fully set, your homemade gel air fresheners are ready to use! Simply place them in any area of your home where you desire a fresh scent. They work perfectly in bathrooms, closets, living rooms, bedrooms, or home offices. The gel will slowly release its aroma over several weeks, providing a consistent and subtle fragrance without the need for electricity or harsh chemicals. It’s truly an incredibly cool idea, and I personally can’t wait for you to experience the joy of making and using your own!
Tips for Customization, Longevity, and Troubleshooting
To get the most out of your homemade gel air fresheners, consider these additional tips:
- Extend Life: To make your gel air fresheners last longer, avoid placing them in direct sunlight or near heat sources, as this can cause the gel to melt and the scent to dissipate more quickly. Store them in cooler, shaded areas.
- Refresh the Scent: If you notice the scent fading over time, you can often “reactivate” it. Gently scrape the top layer of the gel with a fork, or add a few more drops of essential oil to the surface and allow it to absorb.
- Different Containers, Different Looks: Experiment with various container types. Use wide-mouthed jars for maximum scent throw, or elegant small glasses for a subtle decorative touch. Consider covering the top with a decorative breathable fabric (like cheesecloth) secured with a ribbon for a rustic look while still allowing scent release.
- Troubleshooting – Too Soft/Too Hard: If your gel is too soft, you might not have used enough gelatin or the water was too hot. If it’s too hard, you might have used too much gelatin. For future batches, adjust the gelatin-to-water ratio slightly until you find your perfect consistency.
- Placement Matters: Think about air circulation. Placing your air freshener near a gentle breeze (but not a draft that could dry it out quickly) can help distribute the scent more effectively.
- Seasonal Scents: Tailor your scents to the season! Pumpkin spice or cinnamon during autumn, pine or peppermint for winter, citrus or floral for spring, and tropical blends for summer.
Safety Considerations for DIY Air Fresheners
While homemade gel air fresheners are generally safer than commercial alternatives, it’s important to keep a few safety guidelines in mind:
- Keep Out of Reach: Always place your air fresheners in locations inaccessible to young children and pets. While the ingredients are food-safe, the high concentration of essential oils is not meant for ingestion.
- Not for Consumption: Clearly label your homemade fresheners if there’s any chance of confusion, especially if made in attractive food-like containers. They are for scenting, not eating.
- Essential Oil Dilution & Handling: Always dilute essential oils appropriately. Avoid direct skin contact with undiluted oils. If you have sensitive skin or allergies, wear gloves during preparation. Ensure good ventilation when working with strong essential oils.
- Container Stability: Use sturdy, non-breakable containers, especially if placing them in areas where they might be accidentally knocked over.
Conclusion: Embrace a Naturally Fragrant Home
Creating your own gel air fresheners is a delightful and practical way to take control of your home’s atmosphere. It’s an easy, cost-effective, and environmentally conscious alternative to store-bought products, allowing you to banish harsh chemicals and embrace the pure, natural scents of essential oils. With endless possibilities for customization in terms of fragrance, color, and container, you can effortlessly match your air fresheners to any decor or mood.
So, why wait? Gather your simple materials and embark on this rewarding DIY project. Transform your home into a sanctuary of personalized aromas, knowing that every breath you take is clean, natural, and truly yours. We encourage you to experiment with different essential oil blends and share your favorite creations. Enjoy the process, and revel in the fresh, inviting ambiance of your naturally scented home!